Quantifying Micro-Deflection Stress Degradation on Fine Pitch Surface Mount Components during High Pin Density Clamping Cycles
High pin density test clamping induces micro-deflection substrate strain that causes latent solder joint fatigue and pad cratering on fine pitch components.
Clamp
Bed-of-nails test fixtures and automated test cells exert heavy mechanical loads across printed circuit boards during production testing. When a fixture engages a high-density assembly, several hundred to thousands of spring-loaded probes press against component pads, vias, and test points all at once. At an average contact force of 1.5 Newtons per pin, a 1,000-pin array delivers 1,500 Newtons of aggregate downward force.
Distributed unevenly across a 1.6-millimeter substrate, that load immediately causes structural bowing, local z-axis displacement, and steep strain gradients.
Automated test equipment uses pneumatic cylinders, vacuum shrouds, or mechanical push-rod covers to press boards down onto the probe field. Push-rods transfer compressive force to specific unpopulated areas, but their placement rarely matches the local pin density of the probe field underneath. That mismatch sets up a bending moment across the substrate.
Deflections as small as 50 micrometers over a 10-millimeter span generate enough flexural strain to overstress fine-pitch component attachments sitting in the bend zone.

Force Aggregation in High Density Fixtures
Total probe force scales linearly with spring rate, travel distance, and total node count. Standard test pins require 0.7 to 2.5 Newtons each to break through surface oxides and OSP coatings. High-density digital interfaces, BGA sockets, and tight surface-mount footprints concentrate these pin forces into dense clusters, turning single component footprints into heavy mechanical reaction points.
| Node Count | Nominal Force per Pin (N) | Total Downward Load (N) | Substrate Thickness (mm) | Peak Flexural Strain (με) |
|---|---|---|---|---|
| 450 | 1.2 | 540 | 1.6 | 420 |
| 900 | 1.5 | 1350 | 1.6 | 890 |
| 1400 | 1.8 | 2520 | 1.2 | 1450 |
| 2200 | 2.0 | 4400 | 1.0 | 2180 |
Flexural rigidity scales cubically with board thickness. A 1.0-millimeter board, for instance, has less than half the flexural stiffness of a 1.6-millimeter board made of the same laminate. When high-density pin arrays push against these thinner boards, localized deflection often crosses critical strain thresholds well before the fixture hits its mechanical stops.

Where Does Pin Density Exceed Board Stiffness Thresholds?
Peak strain concentrates wherever dense pin clusters align opposite unsupported areas of the board. BGAs with 0.4-millimeter and 0.5-millimeter pitch are particularly vulnerable because of their rigid solder joint geometry and small pad areas. If an array of 200 spring pins pushes up under a memory bus while top-side push-rods sit 15 millimeters away, the substrate bows upward around the array perimeter and downward under the push-rods.
Corner solder joints on large, fine-pitch packages absorb the worst shear stress from this S-curve bending. As boards cycle through 100 percent in-circuit screening, these footprints endure repeated mechanical loading. The localized strain field swings rapidly between clamping and release, driving cyclic stress into delicate solder joints.
Transient substrate flexure during fixture engagement drives immediate mechanical strain into fine-pitch component terminations.
Actuation Dynamics and Asymmetrical Deflection
Fixture closing speeds in pneumatic and vacuum systems introduce dynamic impact loads that static calculations miss. Fast closure rates transfer kinetic impulse into the board, creating transient strain spikes up to 45 percent higher than steady-state values. Uneven latching or worn linear guide pins make this worse by letting one side of the top plate engage milliseconds ahead of the other, twisting the board diagonally during initial probe contact.
Uneven mechanical engagement subjects solder joints to combined shear, tensile, and torsional stresses. Fine-pitch QFNs and small multilayer ceramic capacitors frequently suffer micro-fracturing under these combined loads.

Flex
Quantifying board deformation requires tracking strain magnitude, strain rate, and principal strain vectors in real time. Strain is measured in microstrain (με), defined as fractional change in length multiplied by one million. Micro-deflections during high-density test clamping generate intricate, non-uniform strain patterns across multilayer boards.
Strain testing shows that substrate bending creates strong surface tension on the convex side of a flexed board. Top-mounted components experience tension, while bottom-mounted components see compression. Because solder joints, copper traces, and ceramic bodies have very different yield strengths, their response to bending depends heavily on package layout and pad geometry.
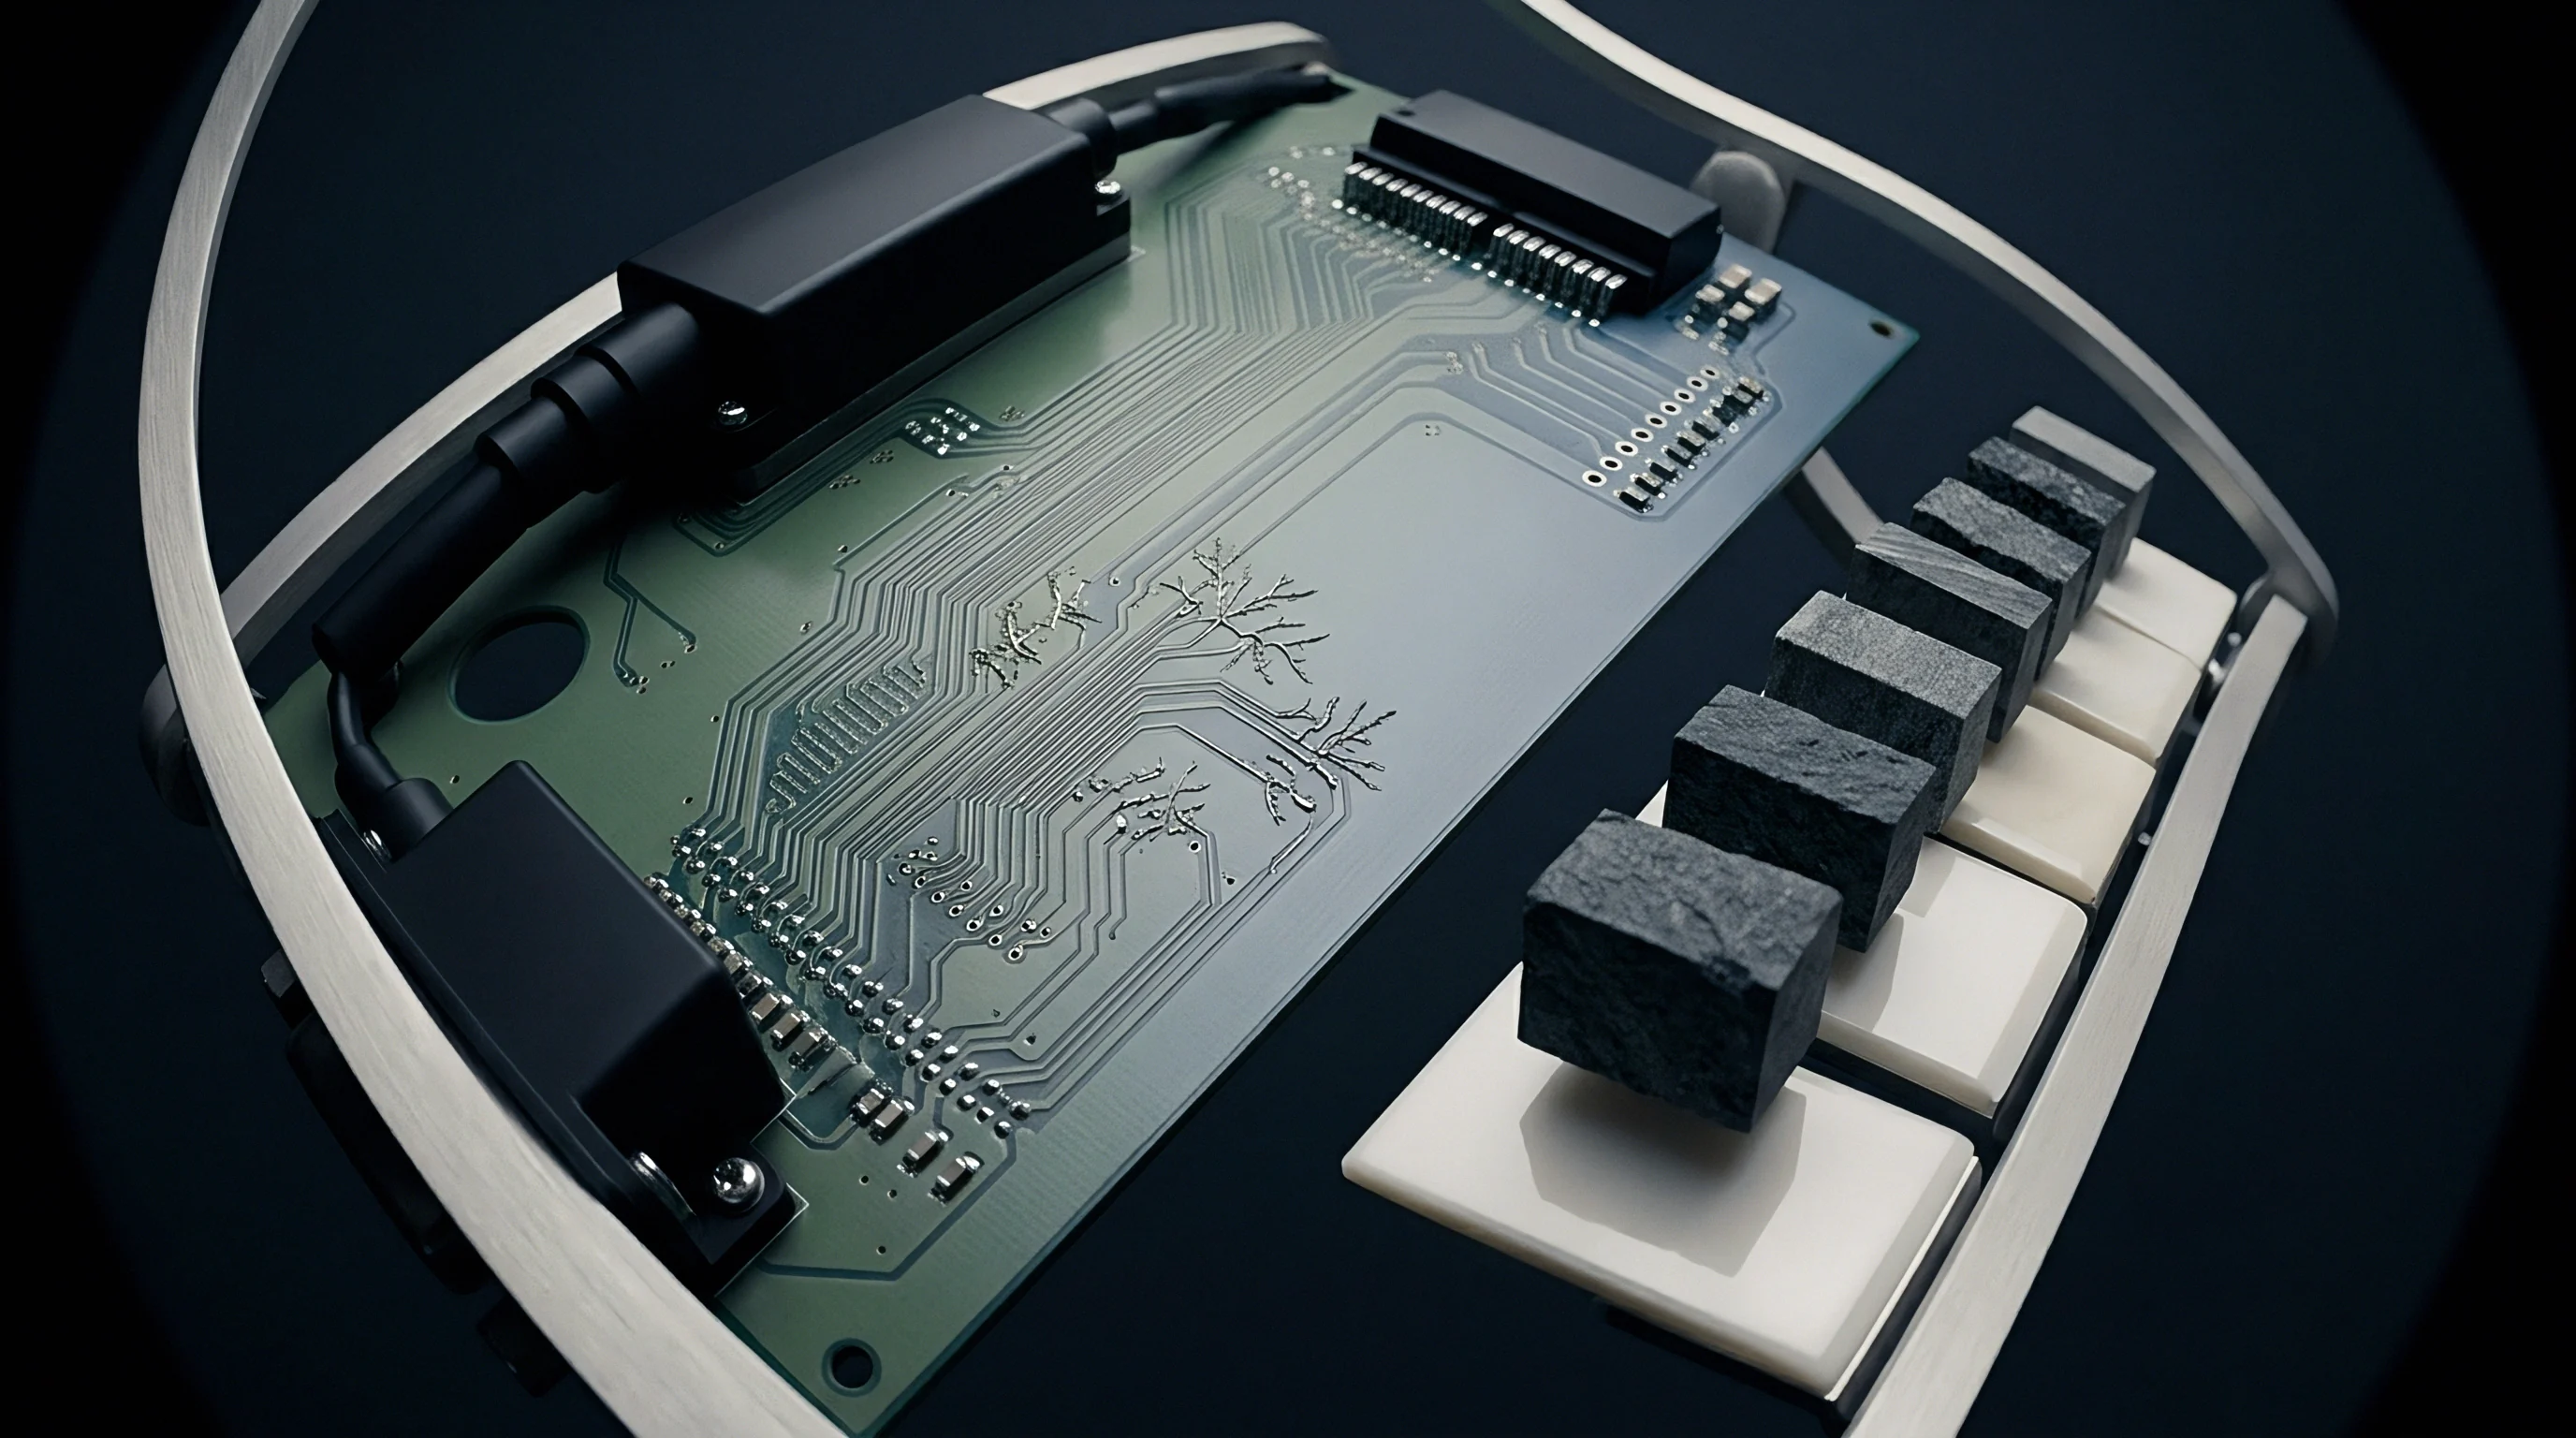
Transient Strain Kinematics during Engagement
Rapid clamping transitions send dynamic strain waves through the FR-4 epoxy-glass matrix. The rate of strain application (dε/dt) determines whether solder joints flex elastically or suffer plastic micro-damage. Rates above 10,000 microstrain per second drop the threshold where lead-free solder begins micro-cracking.
Strain rate dictates how surface-mount joints fail. Under slow flexure, solder creeps and relaxes stress. Under fast clamping, it behaves like a brittle material, dumping mechanical energy straight into the interface between the solder joint and copper pad.
That energy transfer causes pad cratering ~ micro-fracturing in the epoxy resin right underneath the copper foil.
| Package Type | Pitch (mm) | Max Strain Rate (με/s) | Max Allowable Strain (με) | Primary Failure Mode |
|---|---|---|---|---|
| BGA (SAC305) | 0.4 | > 10,000 | 500 | Pad Cratering / Corner Ball Fatigue |
| WLCSP | 0.3 | > 10,000 | 380 | Silicon Die Micro-Crack / Joint Shear |
| QFN | 0.5 | > 5,000 | 750 | Heel Solder Joint Fracture |
| MLCC (0201) | N/A | > 5,000 | 600 | Sub-surface Ceramic Micro-Fissure |
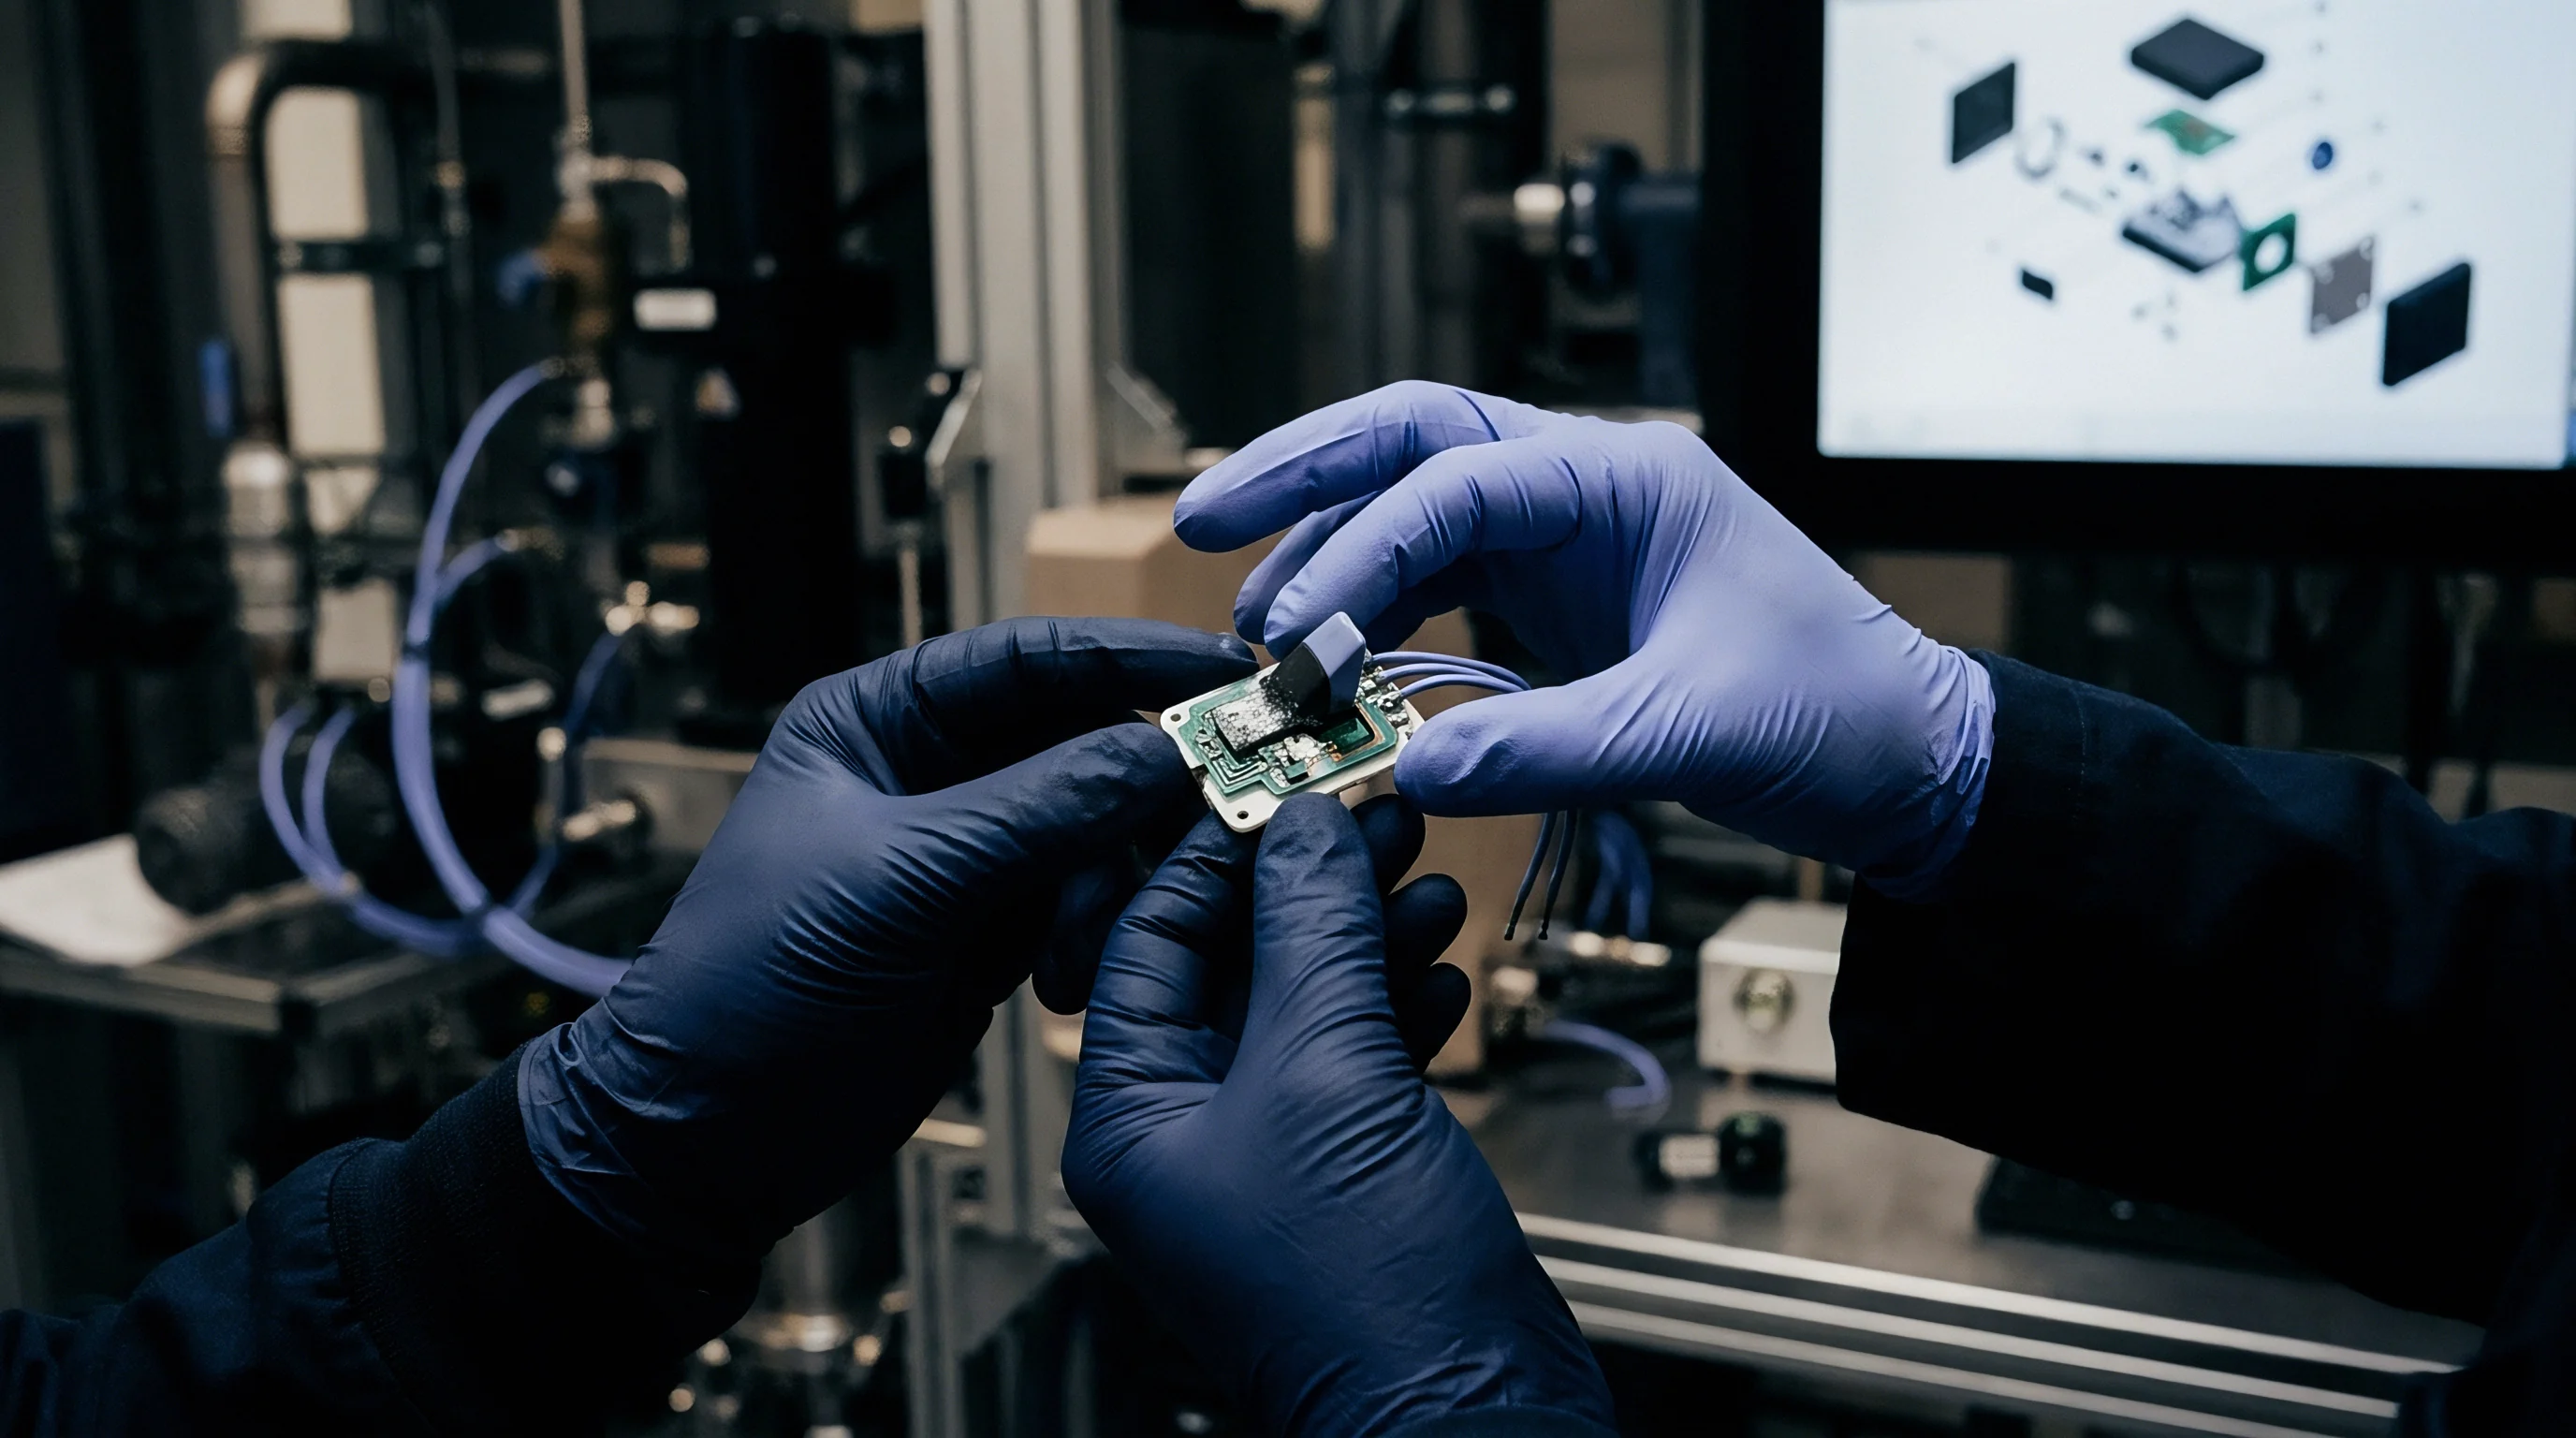
Package Geometry and Strain Sensitivity Thresholds
Fine-pitch BGAs and wafer-level chip-scale packages are exceptionally sensitive to board deflection. Low standoff heights and rigid silicon dies leave almost no mechanical compliance between package and board. When the substrate bends underneath a rigid die, the solder joints have to absorb nearly all the differential curvature strain.
Ceramic chip capacitors are another severe vulnerability because barium titanate dielectric material is brittle. Bending the board under an 0201 or 0402 capacitor pulls on the end terminations, starting diagonal micro-fissures beneath the metal end caps. These internal cracks usually pass functional testing without notice, only to open into low-impedance shorts after weeks in the field.
Mechanical stress degradation manifests through several distinct failure modes across an assembly:
- Pad cratering damage starts as micro-cracks in the resin layer directly beneath copper pads, eventually tearing the pad away from the underlying glass fabric under repeated probe force.
- Solder joint micro-cracking forms along the intermetallic layer between lead-free solder balls and component pads, gradually increasing electrical resistance over repeated test cycles.
- Ceramic dielectric fracture propagates diagonally through multilayer capacitors, creating latent leakage paths that slip past initial functional testing.
- Trace necking and shearing severs copper interconnects near high-density component pads where bending creates high localized shear stress.
Substrate strain rates exceeding 10,000 microstrain per second transform ductile lead-free solder interconnections into brittle mechanical failure points.
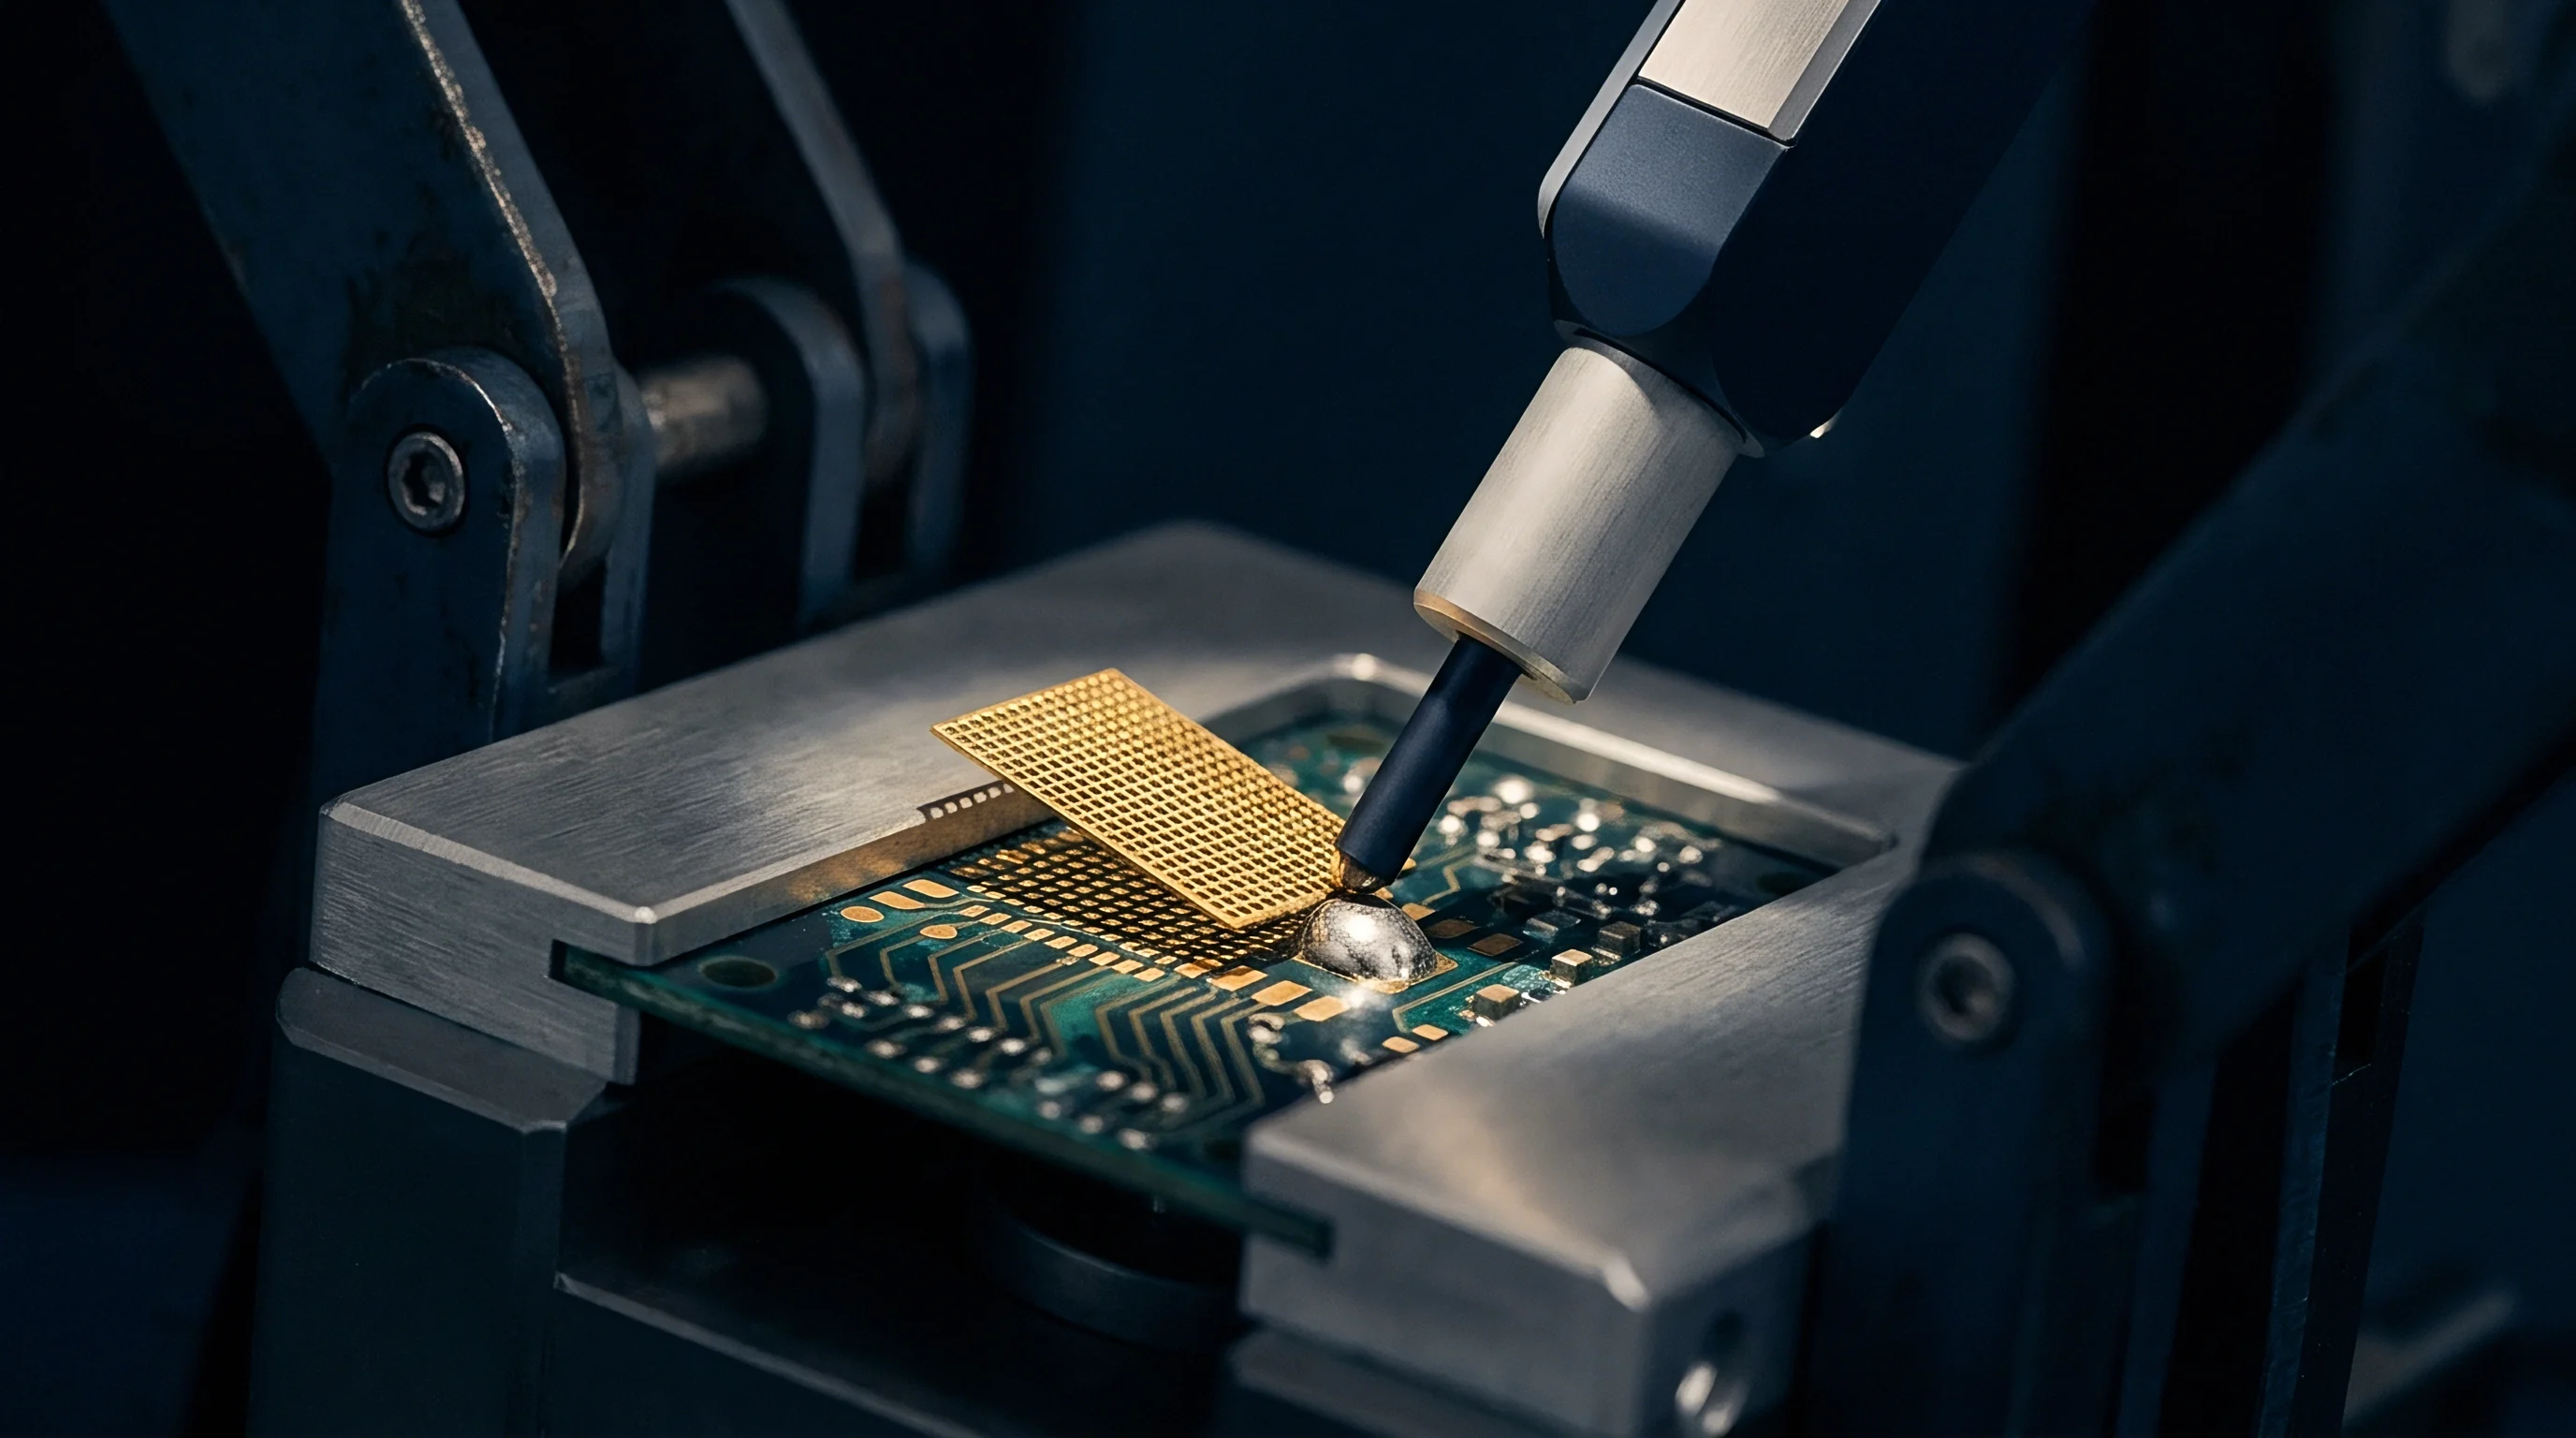
Multilayer Board Flexure and Shear Gradients
Internal copper layers and prepreg interfaces in multilayer boards undergo transverse shear during localized clamping. As the outer glass-epoxy layers bend, internal signal and power planes slip slightly against each other along the neutral mechanical axis. This internal shear puts heavy stress on plated through-holes, microvias, and buried vias near push-pin contact points.
Microvias stacked over inner-layer pads take heavy vertical stress during surface flexing. If clamping bends the board far enough, the microvia barrel pulls away from its capture pad entirely. To catch this, IPC-9704A Clause 5.2 calls for triaxial rosette strain gauges placed at points of maximum calculated deflection, verifying that strain stays within limits for every fine-pitch package on the board.

Creep
High-volume test clamping subjects solder joints to low-cycle mechanical fatigue. Unlike thermal cycling, where temperature shifts drive differential expansion over minutes, test fixtures strike every few seconds. Over thousands of cycles, these micro-deflection pulses drive progressive creep, work hardening, and microstructural damage in SAC305 and SAC105 lead-free alloys.
Lead-free SAC solders have high homologous temperatures even at room temperature (T/Tm ≈ 0.65), meaning ambient test operations fall directly within their creep regime. Every clamping stroke forces tin grain boundaries to slide and dislocations to multiply, storing unrecoverable plastic strain energy inside the solder joint.
Metallurgical Fatigue under Repeated Fixture Cycling
Damage from repeated mechanical micro-deflection accumulates following Coffin-Manson plastic fatigue principles. Each clamping actuation adds an incremental slice of plastic strain range (Δεp). Even if peak transient strain never exceeds single-stroke yield limits, 20,000 fixture cycles will produce localized plastic deformation in the corner solder balls of fine-pitch packages.
Dislocations in the beta-tin matrix pile up around rigid intermetallics like Cu6Sn5 and Ag3Sn. Repeated stress pulses degrade these pinning structures, causing local grain coarsening. These coarsened tin regions give micro-cracks an easy path to start and spread, reducing shear strength long before the product reaches the end of its intended operational life.
| Solder Alloy | Composition | Modulus (GPa) | Fatigue Life at 600 με (Cycles) | Fatigue Life at 1200 με (Cycles) |
|---|---|---|---|---|
| SAC305 | Sn-3.0Ag-0.5Cu | 51 | 120,000 | 18,000 |
| SAC105 | Sn-1.0Ag-0.5Cu | 43 | 180,000 | 32,000 |
| SN100C | Sn-0.7Cu-0.05Ni+Bi | 46 | 210,000 | 41,000 |
| SAC305 + Bi/In | High-Reliability Lead-Free | 56 | 95,000 | 12,000 |

Intermetallic Layer Cracking and Crack Propagation
The intermetallic compound layer at the solder-to-pad interface is hard and brittle. Typically 1.5 to 3.5 micrometers thick, this Cu6Sn5 layer concentrates stress when the substrate flexes during test. Micro-cracking usually starts inside this brittle layer or right along its boundary with the bulk solder.
Cracks grow progressively as boards pass through multiple test stations. Lines that route assemblies through ICT, primary functional test, card-edge clamping during burn-in, and final enclosure press-fit operations stack up mechanical strain cycles. As cracks propagate across the joint, they reduce metallic cross-section and drive up electrical resistance.
Fatigue degradation through lead-free solder joints generally follows a consistent sequence in high-volume production:
- Fixture engagement causes local elastic bending of the substrate, concentrating peak shear stress at package corner solder joints.
- Initial probe contact delivers transient shock pulses that force dislocation movement along tin grain boundaries surrounding intermetallic particles.
- Repeated clamping cycles coarsen the microstructural grain, softening localized slip bands within the bulk solder.
- Micro-voids form along coarsened grain boundaries and intermetallic interfaces, combining into micro-cracks under continued cycling.
- Micro-cracks propagate across the solder interface, creating high-resistance contacts or total open circuits that show up under field thermal swings.
Work Hardening and Sub-Grain Boundary Evolution
Plastic deformation during test clamping strain-hardens the lead-free solder matrix, altering its mechanical behavior. Local yield strength rises while ductility drops. This embrittlement leaves solder joints far more susceptible to damage during later operations like depaneling, connector insertion, or drop testing.
Electron backscatter diffraction maps of cycled joints show sub-grain boundaries forming in high-strain zones. Large initial tin grains break down into smaller sub-grains divided by high-angle boundaries. These new boundaries act as rapid diffusion paths for impurities and vacancies, accelerating long-term stress corrosion and creep.
Electromechanical Degradation and Intermittent Open Circuits
The electrical impact of micro-deflection fatigue shows up surprisingly late. Joint resistance often stays normal even after 70 percent of the cross-sectional area has cracked, simply because the crack faces remain pressed together when the board is un-clamped.
Intermittent open circuits usually emerge in the field under thermal expansion or vibration. As the product heats up in service, differential expansion pulls the crack faces apart, interrupting signals for milliseconds. Catching these micro-cracks on the test floor requires dynamic, high-speed sampling that can register nanosecond resistance spikes while the board is held under full clamping load.
Take a high-volume line producing 50,000 boards per month on a 1,200-node in-circuit test fixture. Finite element modeling shows that four corner solder joints on a 0.4-millimeter BGA endure 950 microstrain during every 8-second clamping cycle. Under linear damage accumulation assumptions, a straightforward question arises: how many re-test loops, engineering debug runs, and downstream screening passes can a single board survive before test fixtures consume over 20 percent of the solder fatigue life budgeted for its 10-year field deployment?
Telemetry
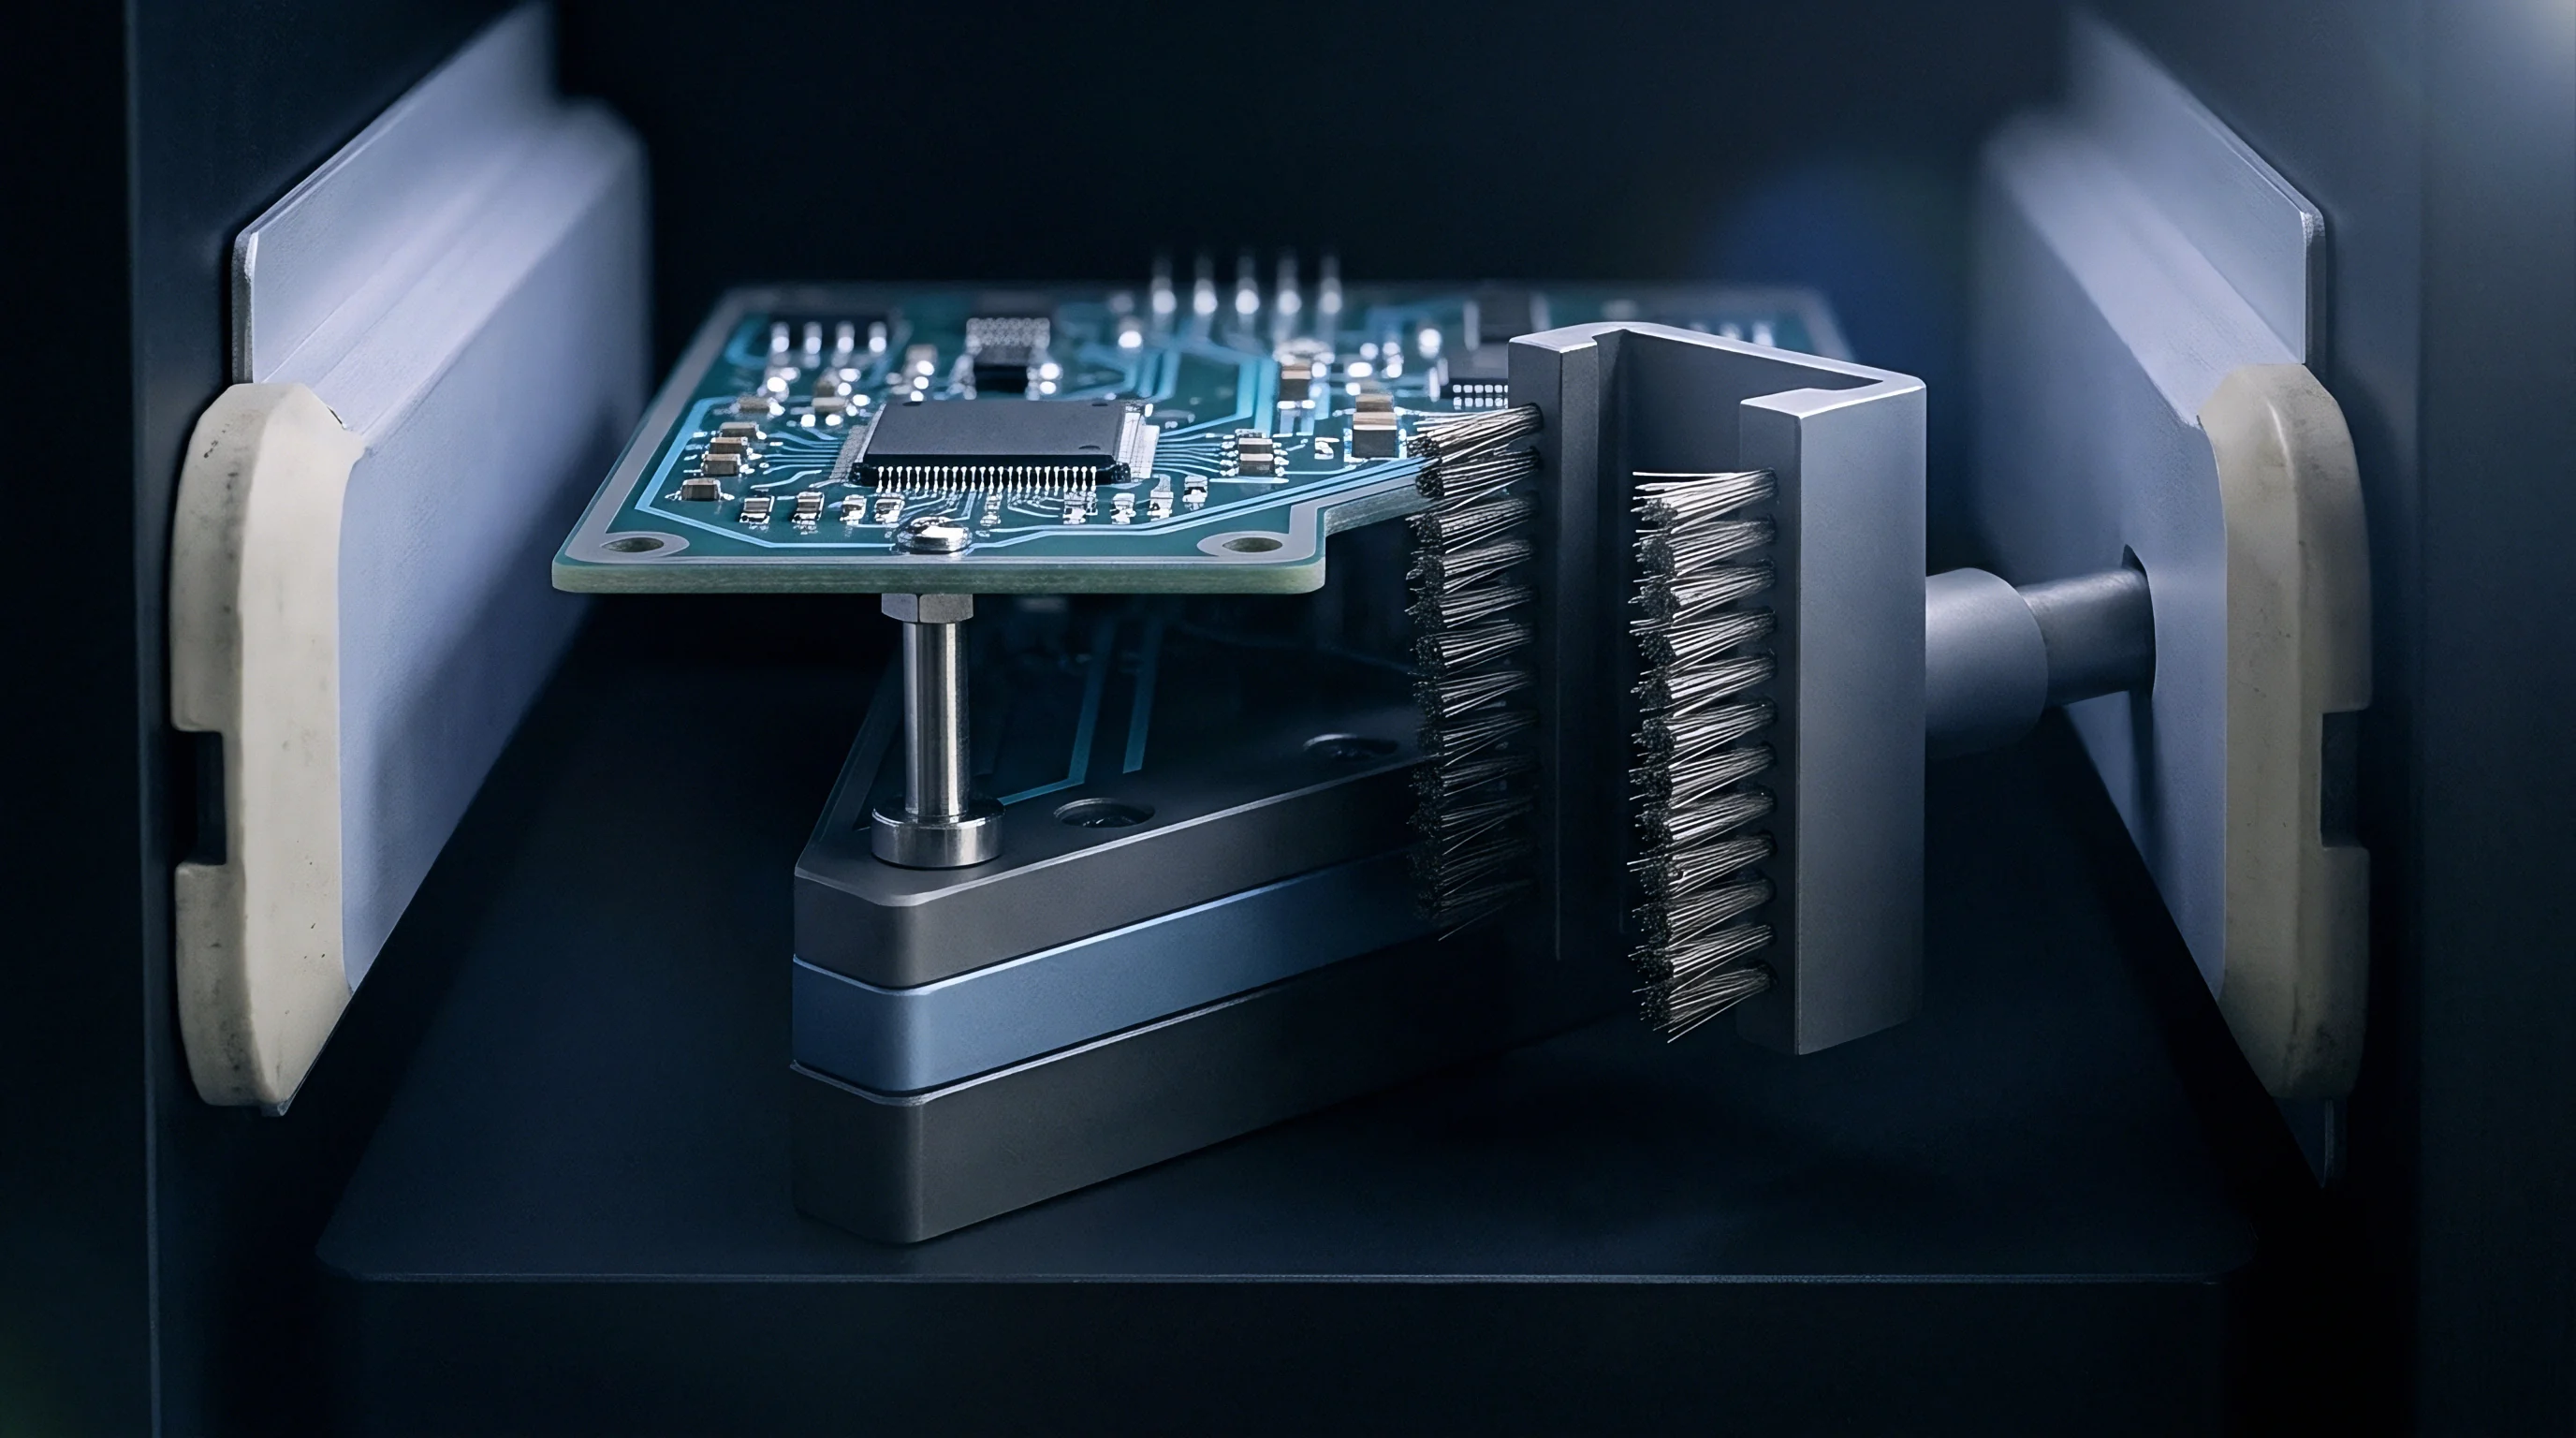
Measuring micro-deflection during fixture engagement requires specialized strain sensors, fast data acquisition hardware, and targeted signal processing. Triaxial strain gauge rosettes are the standard tool for verifying compliance with industry limits. Single-element gauges fall short here because the principal stress orientation across a board surface under localized pin loading is rarely predictable.
Sensors are installed directly on unpopulated test coupons or functional boards at positions identified by finite element modeling. Gauge placement focuses on BGA perimeters, corners of ceramic capacitors, and dense connector footprints. Sampling at rates above 10 kilohertz is necessary to catch the transient strain spikes that occur during initial mechanical latching.

Triaxial Strain Rosette Placement Strategy
Stacked triaxial strain rosettes combine three gauge elements at 0-degree, 45-degree, and 90-degree angles on one polyimide substrate. Compact gauge lengths of 0.6 millimeters or smaller are essential for fine-pitch analysis; standard 3.0-millimeter gauges integrate strain over too wide an area, smoothing over sharp local gradients near component pads.
| Measurement Technique | Spatial Resolution | Sampling Frequency | Real-Time Capability | Primary Measurement Vector |
|---|---|---|---|---|
| Triaxial Strain Rosette | 0.6 mm | Up to 100 kHz | Yes | In-plane surface strain (ε_x, ε_y, γ_xy) |
| Digital Image Correlation | 15 μm | Up to 5 kHz | No (Post-Process) | Full-field 3D surface displacement |
| Laser Doppler Vibrometer | 5 μm | Up to 100 kHz | Yes | Out-of-plane z-axis displacement |
| Fiber Bragg Grating Sensor | 1.0 mm | Up to 20 kHz | Yes | In-plane optical strain array |
Processing rosette data converts resistance changes into principal strains (ε1 and ε2) and maximum shear strain (γmax). These principal calculations reveal both the magnitude and angle of peak tensile stress across component footprints. If calculated principal strain exceeds component limits, fixture push-rod placement or clamping speed needs immediate adjustment.
High Speed Optical and Laser Deflection Mapping
Digital image correlation (DIC) provides full-field surface displacement mapping across an entire assembly during fixture actuation. Dual cameras track a high-contrast speckle pattern applied to the board surface, measuring sub-pixel shifts. DIC routinely uncovers board twisting, localized oil-canning, and complex flexural modes that discrete strain gauges miss.
Laser Doppler vibrometry captures high-frequency out-of-plane (z-axis) displacement. Point lasers targeted at component tops and adjacent board surfaces measure dynamic vibration modes and shock waves caused by rapid pneumatic clamping. These displacement profiles pinpoint exactly when structural acceleration peaks during the fixture stroke, allowing engineers to tune pneumatic flow valves and smooth out engagement curves.

Acoustic Emission Detection of Sub-Surface Cracking
Acoustic emission monitoring picks up transient elastic stress waves released when micro-fractures initiate inside the board matrix. Piezoelectric sensors clamped to the substrate register the acoustic pulses emitted during resin cracking, pad cratering, or ceramic dielectric failure. Analyzing signal amplitude, energy, and frequency spectrum separates actual structural damage from background fixture noise.
Acoustic data pinpoints the exact load levels where physical damage starts. Commissioning tests show acoustic emissions spike dramatically once transient strain crosses 750 microstrain. Unmonitored push-rod imbalance resulted in a 24,000 USD fixture re-tooling expense after generating latent pad cratering cracks across 12 percent of a high-reliability server motherboard production run.

Support
Preventing micro-deflection damage requires proactive mechanical controls built directly into fixture design. Test engineering must balance probe forces with rigid backing structures, optimized push-rod positioning, and controlled clamping kinetics. Relying on default push-rod layouts generated by fixture design software without empirical strain validation almost guarantees component damage on dense assemblies.
Top-side backing plates and rigid hold-down pins should be placed directly opposite dense probe fields to form a closed force loop. Setting hold-down pins within 3.0 millimeters of dense arrays transfers probe forces straight into top-side structural beams instead of flexing the board. Modern fixture design routines calculate probe center-of-gravity vectors for each component cluster, positioning push-pins along matching axes.
Topological Push Pin Placement Optimization
Topological push-pin layout relies on iterative finite element analysis. Board CAD models incorporating component height maps, keep-out areas, copper plane variations, and exact probe coordinates are fed into solvers that simulate the fixture stroke. The software adjusts push-pin positions until surface strain remains within target limits across every sector of the board.
Dynamic push-rods with spring-loaded or compliant polyurethane tips spread hold-down force over broader areas. Rigid nylon pins concentrate reaction forces onto tiny contact points, often creating secondary strain spikes directly underneath. Compliant tips widen the load footprint, smoothing out flexural gradients across adjacent fine-pitch pads.

Backing Plate Mechanics and Substrate Stiffening
Thick aluminum or G10 composite plates above and below the fixture provide the stiffness needed to resist thousands of Newtons of probe force. Top plates must maintain adequate thickness for their span; a 12-millimeter acrylic plate flexes noticeably under 3,000 Newtons of total force. Upgrading to a 20-millimeter anodized aluminum top plate drops plate deflection to sub-micron levels.
Segmented clamping mechanisms break engagement into multi-stage sequences. Primary locator pins align the board, low-force clamps hold the edges, and internal pneumatic push-blocks engage central test zones in sequence. Staggering pin contact reduces the instantaneous force application rate, preventing dynamic overshoot strain spikes.
Qualifying a high-density test fixture before production release demands a structured verification process:
- Mount triaxial strain gauge rosettes at all high-density BGA corners, ceramic capacitor clusters, and calculated peak strain zones on a dedicated test coupon.
- Connect the gauges to a high-speed data acquisition system sampling at a minimum of 10 kilohertz per channel.
- Run twenty consecutive clamping cycles, capturing baseline transient strain profiles, peak strain levels, and strain rates during engagement and release.
- Evaluate strain telemetry against IPC-9704A limits, identifying any channels exceeding allowable tensile strain or strain rate thresholds.
- Adjust push-pin positions, add backing support bars, or adjust pneumatic flow controls anywhere strain readings exceed limits.
- Re-test through twenty additional clamping cycles to confirm that mechanical adjustments bring all strain vectors into compliance.
- Lock the mechanical configuration, sign off compliance documentation, and log baseline strain profiles in the fixture maintenance record.
Dynamic Pressure Balancing and Clamping Sequences
Vacuum fixtures require calibrated pressure-balancing ports to prevent vacuum-induced bending. High pin-density zones under vacuum shrouds pull air out quickly, creating localized low-pressure pockets that pull the substrate downward into the probe plate before support pins make contact. Calibrated relief valves and distributed suction channels help balance pressure across the assembly during evacuation.
Pneumatic press-down fixtures need dual flow-control valves on drive cylinders to regulate stroke speed smoothly. Precise control over air exhaust prevents hard cylinder impacts, keeping engagement speeds below 5.0 millimeters per second. For static equilibrium, probe array counter-forces must align directly with top-side reaction pin vectors.
Warranty
Micro-deflection damage during production testing creates substantial financial risk for EMS providers and OEMs. Latent mechanical defects caused by fixture strain usually pass initial functional testing cleanly, slipping through factory screening into customer supply chains. Damaged components then degrade under operational stress, causing intermittent field failures, high early-mortality rates, and rising warranty costs.
Field returns caused by pad cratering or cracked capacitors show unmistakable signatures during failure analysis. Acoustic micro-imaging, dye-and-pry sectioning, and scanning electron microscopy clearly identify where structural damage originated. When analysis traces component cracking back to test fixture strain, OEMs hold manufacturing partners accountable for field recall costs, scrapped inventory, and warranty claims.
Field Latency and Intermittent Failure Economics
Latent micro-deflection failures typically surface between three and nine months of field operation. Thermal expansion, power cycling, and vibration propagate cracks across weakened solder joints or ceramic bodies until complete electrical opens occur. This drives up early operational failure rates, damaging reliability metrics and triggering contractual warranty penalties.
| Discovery Stage | Detection Method | Unit Financial Impact (USD) | Primary Cost Elements |
|---|---|---|---|
| Fixture Qualification | Triaxial Strain Telemetry | 120 | Gauge installation, technician bench time |
| In-Line ICT Screening | Dynamic Nodal Res-Check | 450 | Board scrap, localized manual rework |
| Final Factory Audit | Functional Burn-in Screening | 1,800 | Full assembly tear-down, re-test labor |
| Field Operation (< 6 Months) | Customer RMA Return | 22,000 | Logistics, field service, warranty reserve, scrap |
Catching strain issues during fixture qualification reduces costs by orders of magnitude. Fixing non-compliant strain on the engineering bench costs little more than gauge materials and technician hours. By contrast, letting damaged assemblies escape to the field brings massive liabilities in reverse logistics, warranty claims, customer payouts, and brand damage.
Contractual Strain Limits in Manufacturing Service Agreements
Master manufacturing service agreements increasingly require certified strain compliance reports before production fixture sign-off. OEMs specify that EMS partners submit IPC-9704A strain gauge reports for every high-density fixture before launching commercial production. Contractual limits typically cap allowable strain at 500 microstrain for 0.4-millimeter BGAs and 0201 passives, with strain rates capped at 5,000 microstrain per second.
Failing to supply certified strain telemetry reports often voids manufacturing guarantees and shifts financial liability for latent failures directly to the assembly contractor. Technical audit packages sent with batch shipments must include current strain gauge certificates, fixture maintenance logs, and probe force calibration records. Embedding strain verification into standard quality management systems ensures that high-density clamping stays within safe mechanical envelopes, protecting component microstructures and field reliability.