How Components Are Placed and Soldered onto a Board
Component placement and soldering quality depend on stencil aperture ratios above 0.66, vision placement accuracy under 25 microns, and controlled liquidus reflow profiles.
Foil
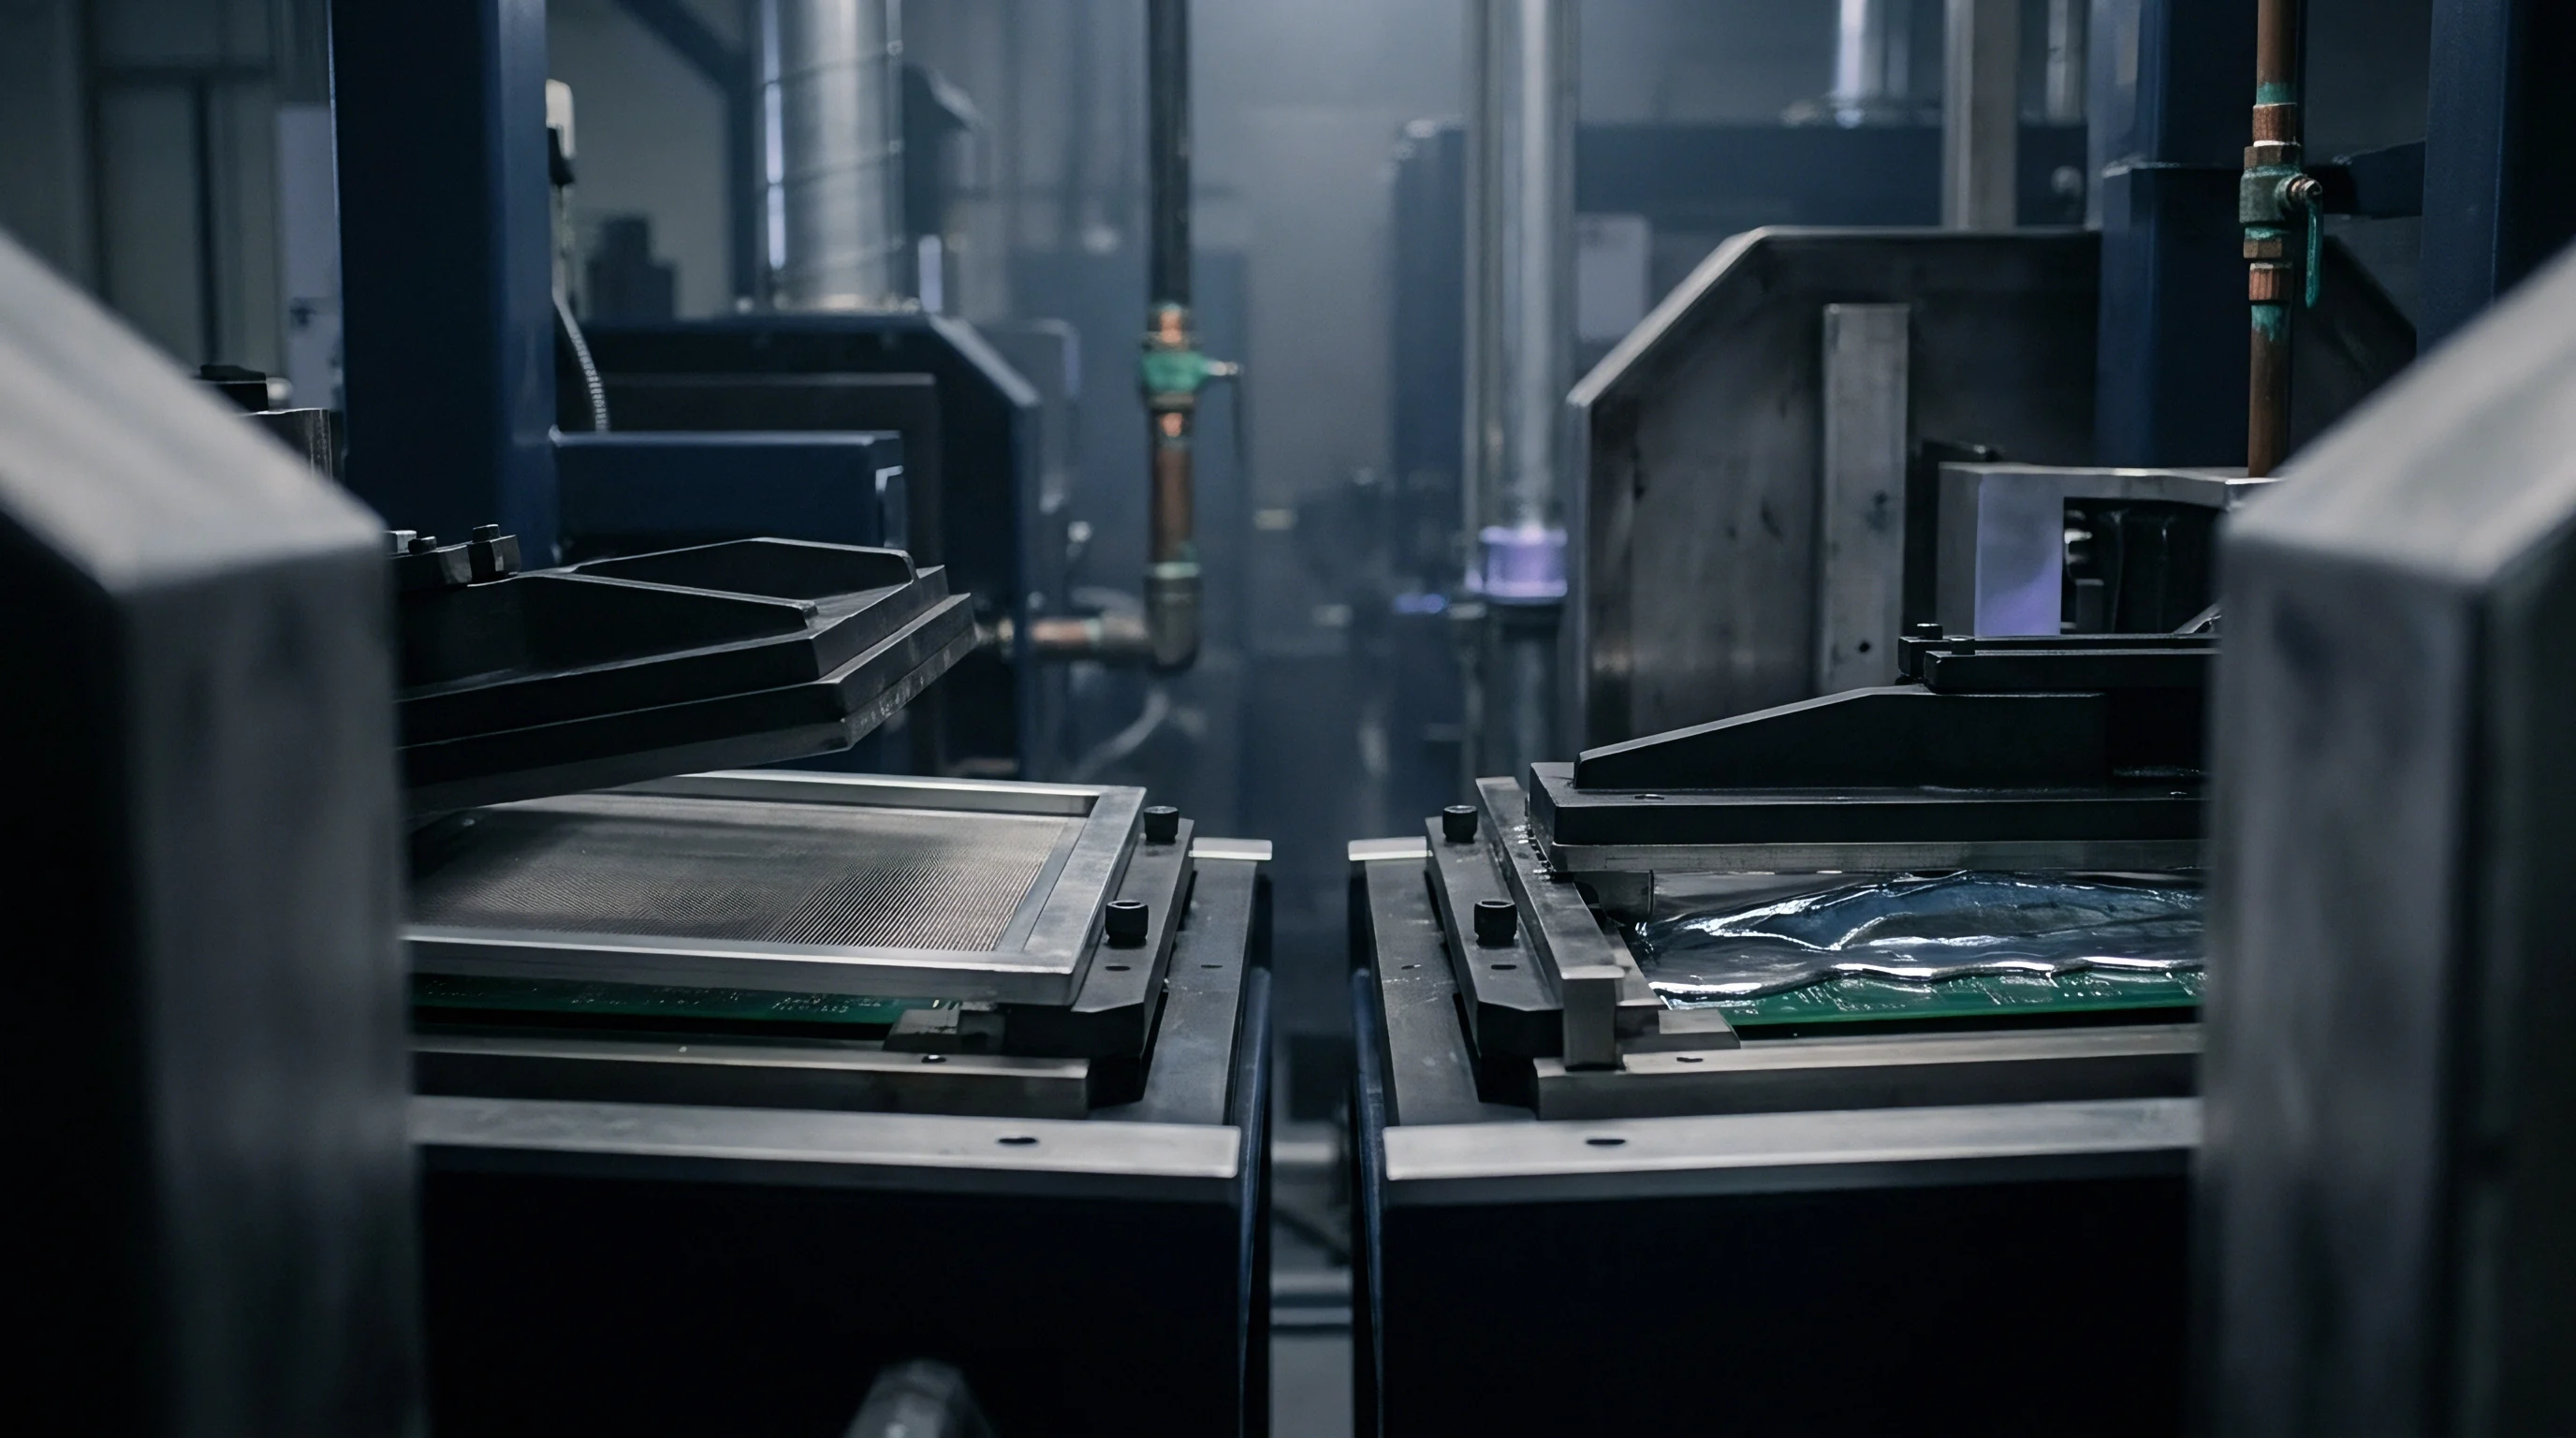
A bare circuit board lands at the screen printer with a surface planarity deviation under 0.5 millimeters across its diagonal. Vacuum backing pins and side clamps lock the substrate into position, aligning etched target fiducials within 10 micrometers of optical center. A squeegee blade made of 45-degree hardness nickel-plated stainless steel travels across the stencil at 35 millimeters per second, applying 0.25 kilograms of downward force per centimeter of blade length.
Solder paste rolls ahead of the blade in a cylinder five to fifteen millimeters across, undergoing shear thinning that drops its static viscosity of 800 Pascal-seconds down to a working range between 150 and 200 Pascal-seconds so it flows into the stencil cutouts. Once the pass completes, the stencil separates downward along the vertical axis at 0.5 millimeters per second, leaving the alloy deposits behind on the copper pads.
This solder paste deposit forms the mechanical and metallurgical base of the assembly. The paste itself is a mix of spherical metal alloy particles suspended in a thixotropic flux vehicle. Standard surface mount work down to 0.4 millimeter pad pitches uses Type 4 paste, where powder sizes run strictly between 20 and 38 micrometers.
Fine-pitch arrays and 0201 passives demand Type 5 paste ~ with smaller 15 to 25 micrometer particles ~ to avoid clogging apertures.
How efficiently paste deposits depends directly on cutout geometry. Industrial fiber lasers leave vertical micro-striations along aperture walls, which alters paste release. Electro-polishing gets rid of these asperities, smoothing the sidewalls to lower friction as the stencil pulls away.
Adding a nano-coated fluoropolymer monolayer across the contact face and walls cuts surface energy, boosting transfer efficiency by eight to twelve percent on small apertures and extending dry-wipe intervals from five prints up to thirty.
Aperture Area Ratio Dynamics
Transfer efficiency is simply the ratio of actual deposited paste volume against the theoretical volume of the aperture cutout ~ theoretical volume being aperture surface area multiplied by foil thickness. The area ratio itself divides the aperture opening area by the total area of its sidewalls. For a square aperture with side length W in a stencil of thickness T, this simplifies to W divided by 4T.
For a circular aperture of diameter D, it comes out to D divided by 4T.
Standard IPC-7525 draws the line at an area ratio of 0.66 for raw, uncoated laser-cut stencils. Drop below 0.66, and transfer efficiency collapses. Paste hangs up on aperture sidewalls instead of dropping onto the copper pad because pad adhesion can’t overcome the friction against the stencil wall.
Nano-coated foils push that stability threshold down to an area ratio of 0.55, which permits thinner paste deposits for micro-scale components without under-feeding adjacent power devices.
Proper stencil aperture geometry determines solder paste volume stability across fine pitch pad arrays.
Setting solder volume targets means matching foil thickness to the tightest component on the board. When a panel mixes 0.5 millimeter pitch Wafer Level Chip Scale Packages with power MOSFETs, paste demands directly clash. A uniform 125 micrometer foil drops the area ratio on 250 micrometer chip scale pads to 0.50 ~ well below the release threshold.
Step-down stencils work around this by micro-milling or chemically etching target relief zones. Recessing to 100 micrometers over fine-pitch parts brings the area ratio back up to 0.62, leaving the main 125 micrometer foil to handle the heavy paste volume for power connectors.
| Stencil Technology | Foil Thickness (µm) | Aperture Width (µm) | Area Ratio | Transfer Efficiency (%) | Volume Cpk (1.33 Target) |
|---|---|---|---|---|---|
| Standard Laser Cut Stainless | 127 | 250 | 0.49 | 52 ± 14 | 0.68 |
| Electro-polished Laser Cut | 127 | 250 | 0.49 | 68 ± 9 | 0.94 |
| Nano-Coated Laser Cut | 127 | 250 | 0.49 | 84 ± 6 | 1.21 |
| Electro-polished Laser Cut | 100 | 250 | 0.62 | 88 ± 5 | 1.42 |
| Nano-Coated Laser Cut | 100 | 250 | 0.62 | 96 ± 4 | 1.68 |
Laser Cut against Electroformed Surface Geometry
Foil manufacturing dictates wall profile accuracy and print repeatability. Laser cutting relies on a focused thermal beam to melt through stainless sheet stock, leaving a natural two to four micrometer taper per side. That taper widens the exit face of the stencil, helping paste drop clear when the board separates.
However, heat stress from the laser can bow larger foils if internal sheet tension isn’t relieved.
Electroforming builds nickel foils atom by atom over photoresist mandrels in an electroplating bath. This produces apertures with virtually zero wall taper, smooth corner radii, and slick surfaces. Because nickel has a lower friction coefficient against organic flux vehicles than stainless steel does, these walls release paste cleanly at area ratios down to 0.50 without nano-coatings.
The catch is price: electroformed stencils cost three to four times more than laser-cut foils, forcing a trade-off between upfront tooling costs and line yield.
Over long runs, squeegee blade wear alters the effective printing angle. Stencil aperture wear is tracked across twenty thousand passes before checking wall roughness on laser-cut foils again. As the edge of a polyurethane or steel blade rounds over, dynamic lift in the solder paste bead builds up.
That lift pushes flux vehicle under the stencil contact face, bridging adjacent fine-pitch pads. Keeping blades sharp and monitoring deflection prevents paste bleed under the foil.
Solder Paste Rheology and Print Yield
Printing quality comes down to how paste behaves under mechanical stress. Its rheology has to balance two competing traits: low shear viscosity to flow into tiny apertures under the squeegee, and high static yield stress so the printed brick holds its shape once the stencil lifts. If yield stress drops too far, printed deposits slump together before placement, creating solder bridges in the reflow oven.
Enclosure climate controls keep the paste stable over time. Continuous airflow evaporates volatile solvents in the formulation. When relative humidity drops below 40 percent, the flux vehicle dries out, raising viscosity until apertures clog.
Above 60 percent humidity, paste absorbs moisture, leading to spattering, solder balls, and slumping under heat. Running standard operations means holding temperature between 21 and 23 degrees Celsius and keeping relative humidity between 45 and 55 percent.
Automated 3D Solder Paste Inspection checks deposit quality right after printing. Structured blue LED projectors cast light patterns across the printed paste bricks while sensors log height, area, and volumetric profiles. Inspection software checks those measurements against the CAD layout.
Standard volumetric tolerance runs between 70 and 130 percent of nominal volume, while height limits are capped at plus or minus 20 percent of foil thickness.
Most surface mount assembly defects trace back to the print stage. Flagging bad deposits right here keeps flawed boards from moving further down the line.
- Solder Paste Bridging occurs when adjacent deposits touch, driven by excessive print pressure, damaged stencil gaskets, or paste slump.
- Insufficient Deposit Volume stems from clogged apertures, low squeegee pressure, excessive separation speed, or dried-out paste.
- Height Profile Slump comes from moisture absorption, elevated ambient ambient room temperatures, or paste formulations with low yield stress.
- Positional Print Misalignment traces to uncalibrated vision cameras, loose board clamps, or thermal expansion deltas between board and stencil.
When 3D inspection flags three consecutive boards for height variance, maintaining clean paste release at an area ratio of 0.50 typically requires solvent wiping cycles.
Vision
Edge-belt conveyors feed circuit panels straight from SPI into the pick and place machines. Board support pins prop up the substrate so it won’t flex when high-speed placement heads push components down into the paste bricks. Before any part lands on copper, dual-stage optical cameras read fiducial marks on the board surface to calculate X, Y, and theta rotational correction factors.
Placement platforms rely on high-acceleration gantries driven by linear brushless DC motors. Heads sweep across the work area at up to 50 meters per second squared, pushing raw placement speeds past 50,000 components per hour per module. High-resolution optical linear encoders reading down to 0.1 micrometers preserve placement accuracy.
Because gantry movement generates heavy dynamic forces, vibrations have to damp out instantly to keep nozzle placement repeatability within 25 micrometers at three-sigma limits.
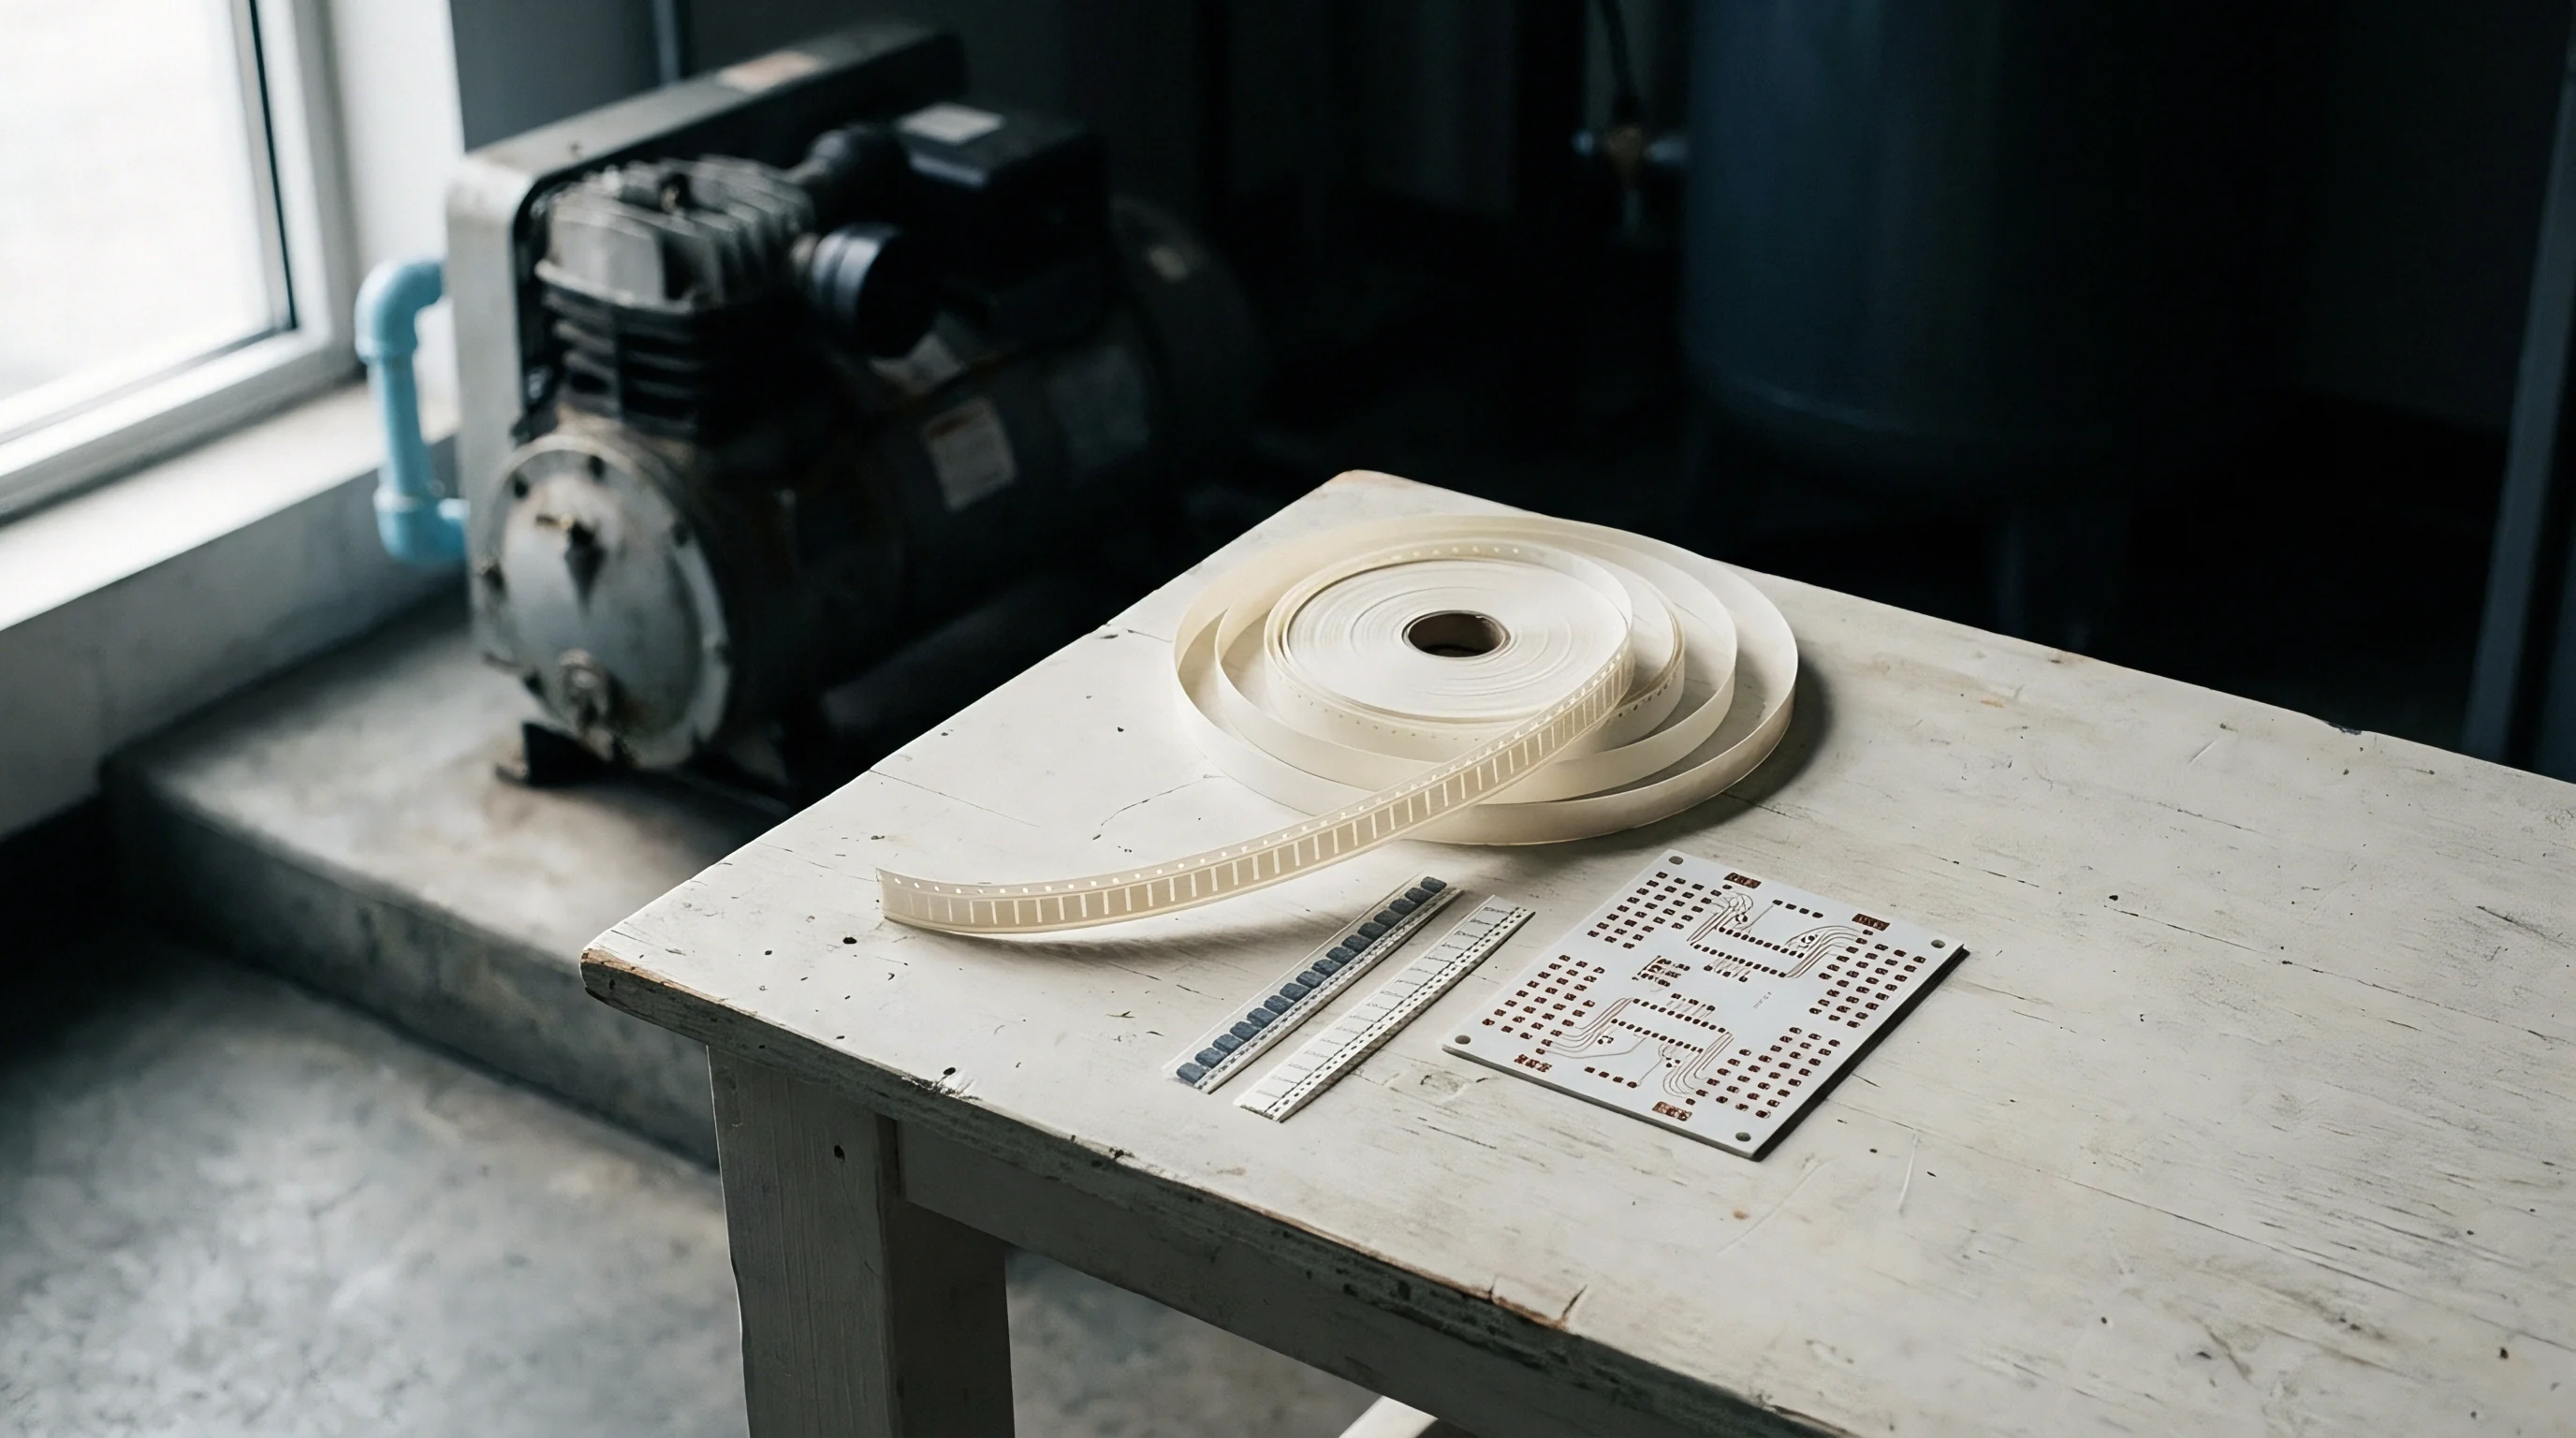
Feeder banks supply components packaged in tape reels, cut tapes, matrix trays, or plastic tubes. Motorized smart feeders step carrier tapes forward at increments tuned to part size ~ from a two millimeter pitch for 0201 passives up to 32 millimeters for large ICs. Accurate index pin alignment inside the mechanism keeps parts from tilting inside carrier pockets so vacuum nozzles pick cleanly every cycle.
Feeder Alignment and Carrier Tape Pitch Dynamics
Reliable picking starts right inside the carrier tape pocket. Embossed plastic or punched paper tapes hold parts oriented under clear top cover tape. A peel mechanism strips that cover off at an angle between 160 and 180 degrees to tape travel, holding tension between 20 and 70 grams.
Uneven peel force vibrates the carrier tape, flipping small passives inside their pockets before the nozzle even reaches them.
Feeders use precision registration features to lock into the feeder table. On older tape banks, advance mechanisms can slip by half a pitch when feeding thin 8mm carrier tapes. Wear in ratchet index gears causes pick location jitter.
If that pick point drifts more than 30 percent of component width, the nozzle strikes the body edge, causing ceramic chips, cracked bodies, or missed picks entirely.
Internal electronics track feeder index cycles for maintenance. Smart feeders send error logs, pitch settings, and serial numbers straight to the placement machine controller. When pick failure counts spike, system alerts flag mechanical wear or packaging variations so operators can swap out bad feeders without stopping the line.
Optical Alignment and Camera Calibration
Upward-looking cameras inspect components mid-air while nozzles travel from feeder bank to board. High-resolution CCD cameras capture silhouettes and lead geometry using targeted LED arrays. Coaxial light handles component undersides, while low-angle side lighting brings out ball arrays on BGAs and lead tips on Quad Flat Packages.
Vision algorithms evaluate images in milliseconds, verifying dimensions against component library templates to check lead pitch, pin count, ball diameter, and body outlines. Missing leads, bent pins, chipped packages, or dimensional errors trigger an immediate rejection. The machine drops the part into a scrap bin and automatically grabs a replacement.
A high-speed pick and place head operating at peak catalog speed maintains placement precision under 25 micrometers only when optical vision calibration offsets are recalculated across thermal expansion cycles.
Vision calibration ties together the camera’s optical center, nozzle mechanical axis, and panel coordinates. As the machine frame heats up and expands over long shifts, placement coordinates drift. Automated routines read glass target plates etched with dot arrays to map these thermal distortion fields and update compensation values on the fly.
| Package Class | Nominal Size / Pitch (mm) | Placement Accuracy (µm @ 3σ) | Vision Mode | Brochure Speed Rating (%) | Realized Output (CPH) |
|---|---|---|---|---|---|
| Standard Passive (0603/0805) | 1.6 x 0.8 | ± 50 | On-the-Fly Silhouette | 100 | 48,000 |
| Micro Passive (0201/01005) | 0.4 x 0.2 | ± 25 | High-Res Silhouette | 75 | 36,000 |
| Fine Pitch QFP (208 Lead) | 0.40 Lead Pitch | ± 15 | Full Lead Geometry Inspection | 35 | 16,800 |
| Standard BGA (256 Ball) | 1.00 Ball Pitch | ± 20 | Full Ball Grid Array Vision | 45 | 21,600 |
| Micro BGA / CSP (0.3mm) | 0.30 Ball Pitch | ± 10 | High-Res Ball Profile & Contour | 25 | 12,000 |
What Drives Pick Place Positional Variance?
Placement errors stem from a mix of mechanical, optical, and board-level factors. Variance stacks up from initial tape indexing all the way through nozzle touchdown. Breaking down these error vectors helps line engineers set process capability bounds that match design tolerances.
- Mount the optical calibration target plate on the placement area and run vision alignment to zero out camera-to-head offset vectors.
- Measure mechanical backlash in the X-Y gantry lead screws or linear motor drives using high-speed laser interferometer readings across full travel distances.
- Check vacuum nozzle runout with a dial indicator while turning the shaft through 360 degrees of theta rotation.
- Inspect feeder bank locking rails for mechanical play, tuning tolerance wedges until lateral movement drops below 10 micrometers.
- Run a placement test on sticky glass panels, measuring actual component landing points under AOI to calculate machine Cpk.
Board warpage messes with Z-height landing across large panels. Downward force sensors keep touchdown pressure contained between 1.0 and 5.0 Newtons. Pushing too hard squeezes paste out from under copper pads to form reflow bridges; pushing too light leaves component leads hovering over paste, allowing parts to shift during transport.

Nozzle Selection and Vacuum Retention
Nozzles handle the direct mechanical contact between head and component. Tips are made from materials like ESD-safe polyurethane, synthetic sapphire, titanium, or ceramic composites, picked to match component mass, area, and surface topography. Trying to grab a large IC with a small passive nozzle leads to vacuum leaks, part twisting during gantry moves, and dropped components.
Digital sensors monitor pick-head vacuum levels constantly. Standard operational vacuum runs between minus 70 and minus 90 kilopascals relative to atmosphere. If vacuum degrades past minus 50 kilopascals while moving, the system detects a leak and immediately pauses or rejects the part.
On release, air purge pulses blast through the orifice to blow clear flux dust, paper fibers, or paste residue accumulated during picks.
Tip wear alters touchdown geometry over time. A rounded tip lets components wobble during rotation, which throws off vision alignment calculations. Maintenance stations clean nozzle tips in ultrasonic baths and check face planarity with optical cameras, swapping out worn units automatically.
Precision placement depends on tight control over gantry mechanics and optical verification throughout every cycle.
Feeder wear directly limits placement repeatability on fine-pitch components.

Thermal
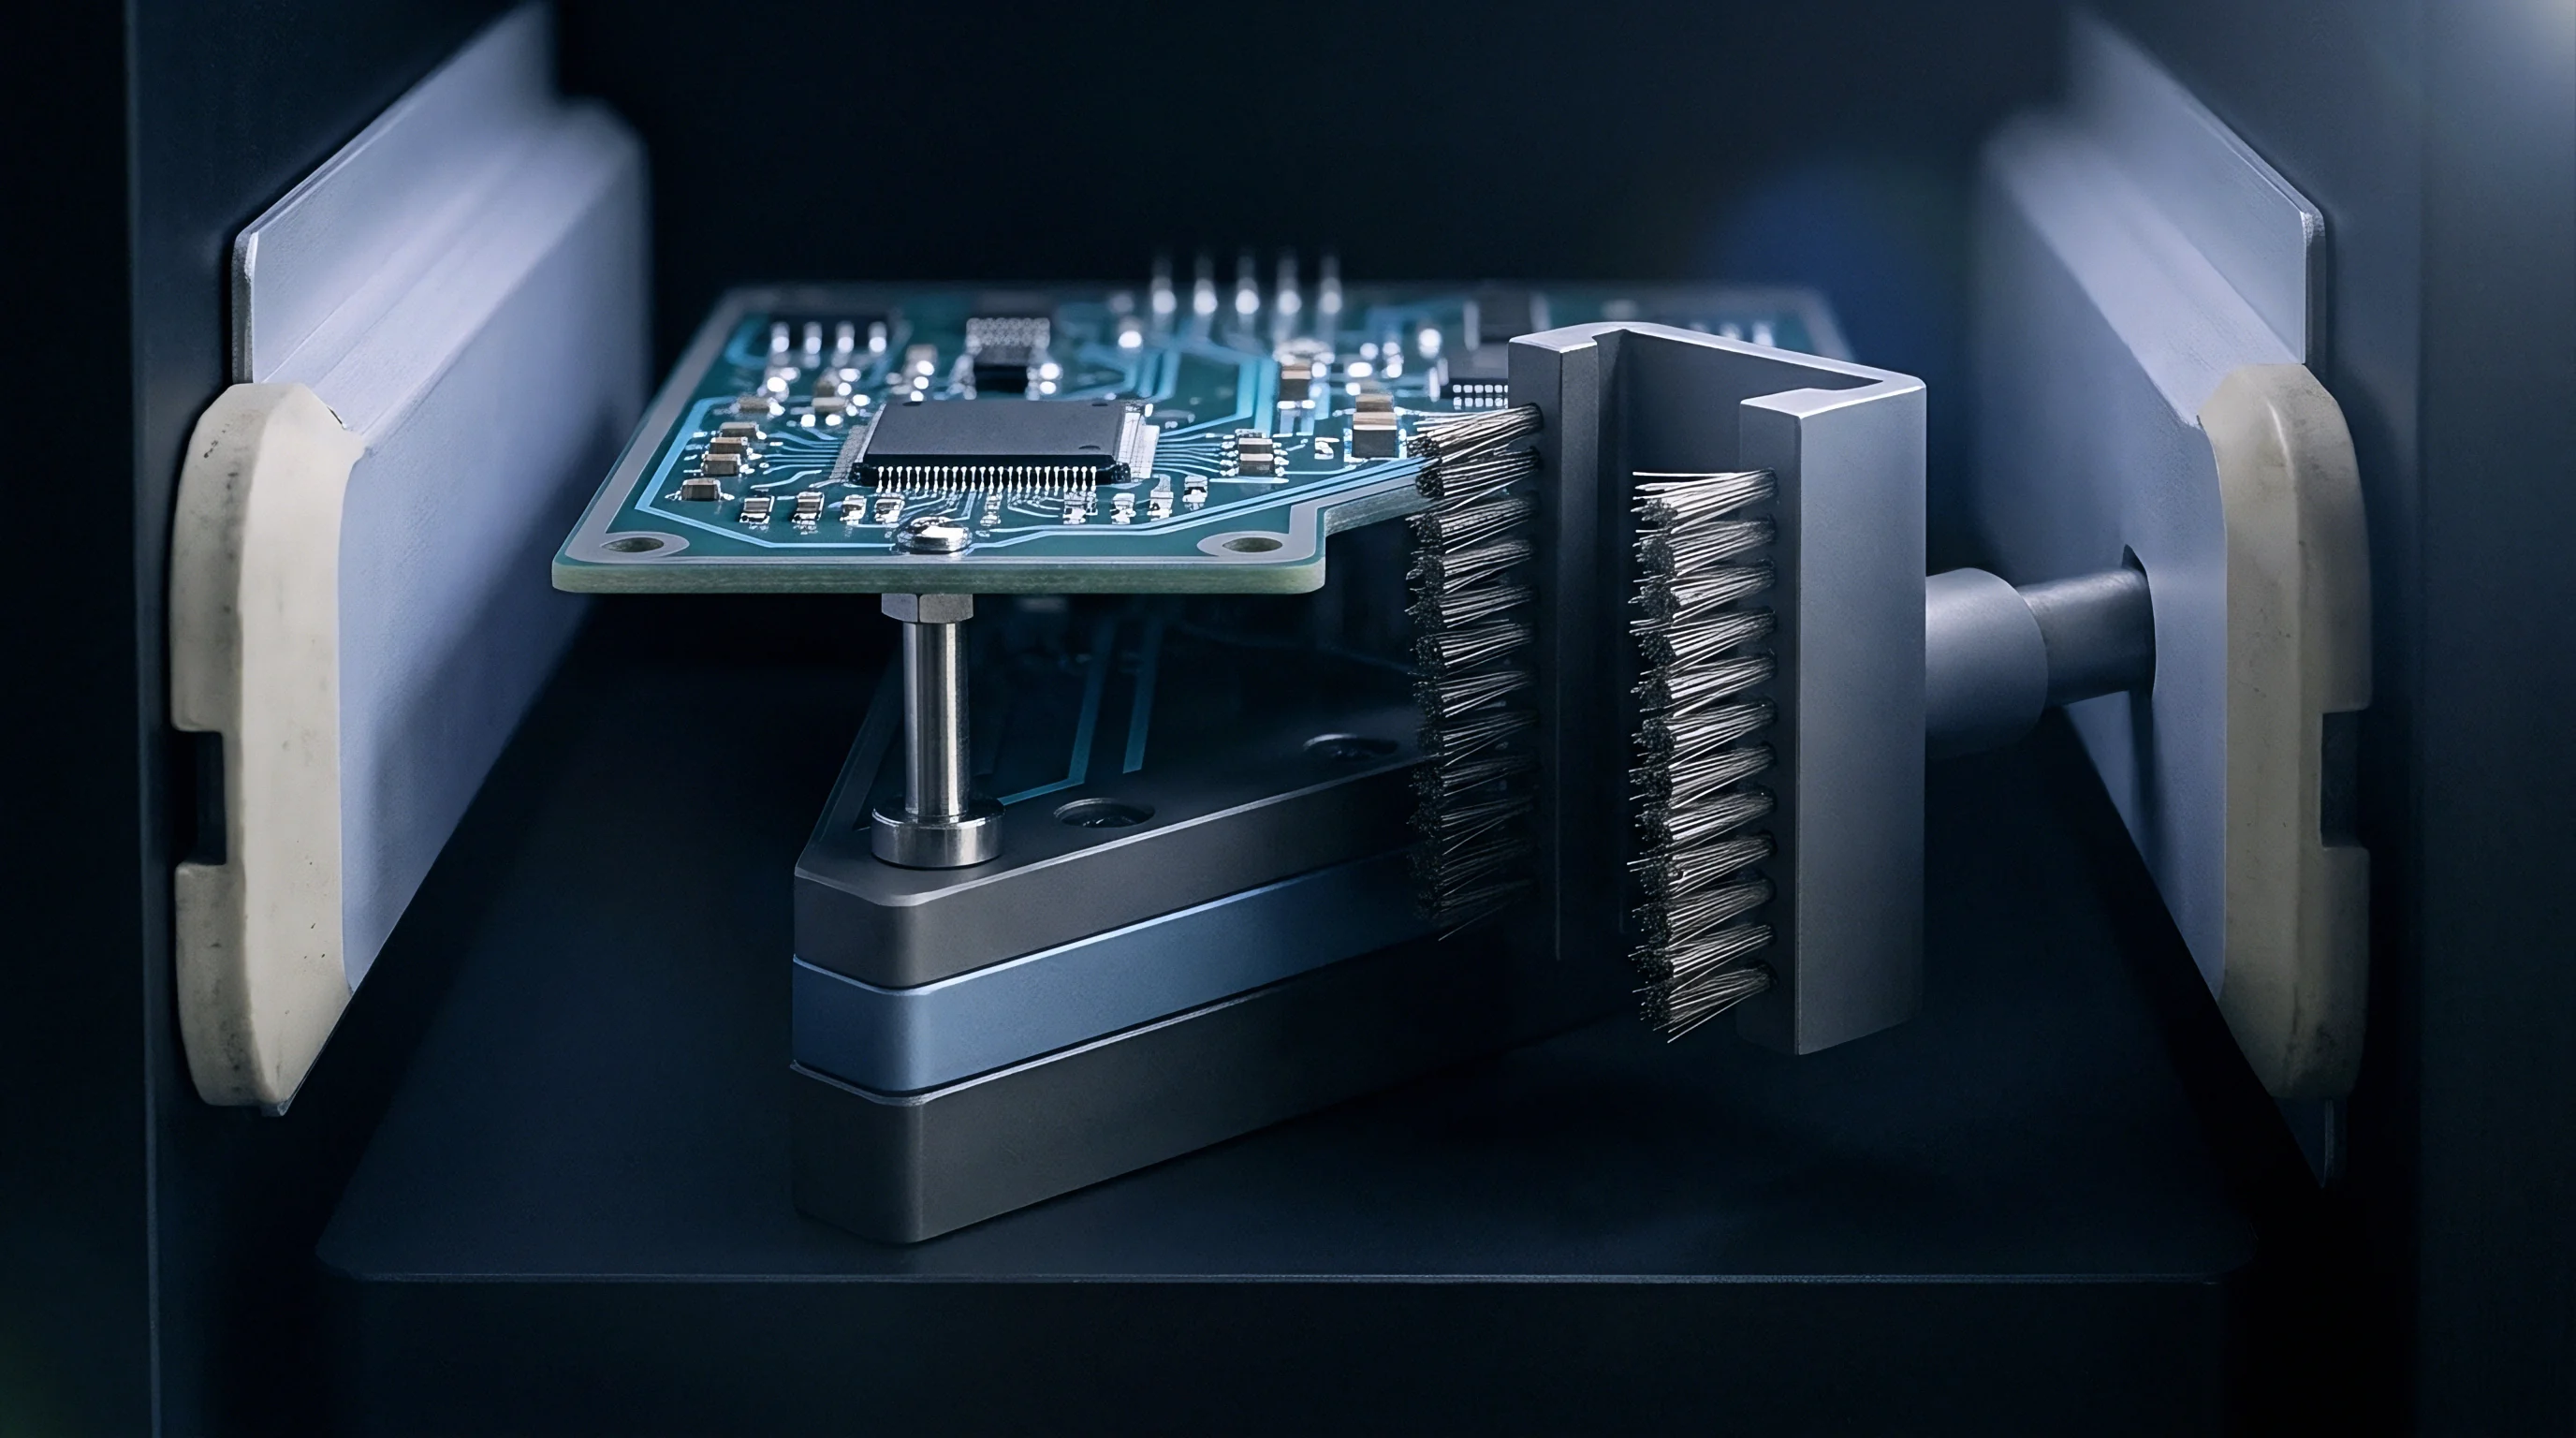
Pin-edge mesh conveyors feed loaded boards directly from placement into multi-zone forced convection reflow ovens. Variable-speed blower fans force high-velocity hot air or nitrogen streams onto substrates and components to transfer heat uniformly. Ovens run eight to twelve top and bottom heating zones followed by two or three cooling zones, allowing tight profile control along the tunnel.
Thermal profiling tracks board temperature shifts through each zone. Test runs use multi-channel loggers wired to K-type thermocouples fixed to critical areas with high-temp solder or conductive adhesive. Mounting points target low-mass passives, heavy BGA bodies, inner ground planes, and heat-sensitive connectors to chart the operating window.
Lead-free alloys demand higher processing temperatures than legacy tin-lead blends. Standard SAC305 (96.5% tin, 3.0% silver, 0.5% copper) melts between 217 and 220 degrees Celsius, requiring peak board temperatures held between 235 and 245 degrees Celsius. Exceeding 250 degrees risks blistering internal copper, delaminating FR-4 substrates, or damaging moisture-sensitive packages.
Dropping below 230 degrees risks cold joints and thin intermetallic growth.
Convection Heating and Zone Delta Management
Reflow profiles break into four distinct steps: preheat, thermal soak, peak liquidus, and cooling. Preheat ramps assembly temperature from ambient up to around 150 degrees Celsius at 1.0 to 3.0 degrees Celsius per second. Ramping faster induces thermal stress that cracks ceramic chip capacitors, while ramping slower needlessly lengthens the oven tunnel and consumes extra power.
Thermal soak holds temperatures between 150 and 200 degrees Celsius for 60 to 120 seconds to narrow the delta between heavy BGAs and small passives. This dwell lets thermal mass equalize while activating paste flux to strip oxides off copper pads and lead platings as volatile solvents burn off.
A twelve-layer power distribution board can develop a 14-degree thermal gradient during peak liquidus dwell. Managing thermal deltas over mixed copper weights takes fine-tuning of individual zone fan speeds. Higher convection rates improve heat transfer efficiency, shrinking the delta T between light and heavy components across the board.
| Solder Alloy System | Melting Point / Range (°C) | Preheat Ramp Rate (°C/sec) | Soak Window (150-200°C) | Peak Temperature Range (°C) | Time Above Liquidus (sec) | Cooling Ramp Rate (°C/sec) |
|---|---|---|---|---|---|---|
| SAC305 (Sn96.5Ag3.0Cu0.5) | 217 – 220 | 1.0 – 2.5 | 60 – 100 sec | 235 – 245 | 45 – 75 | -2.0 to -4.0 |
| SAC105 (Sn98.5Ag1.0Cu0.5) | 217 – 227 | 1.0 – 2.0 | 70 – 110 sec | 238 – 248 | 50 – 80 | -2.0 to -4.0 |
| Sn-Bi-Ag (Low-Temp Lead-Free) | 138 – 140 | 1.0 – 2.0 | 40 – 75 sec (at 100-130°C) | 165 – 180 | 40 – 70 | -1.5 to -3.0 |
| Sn63Pb37 (Leaded Legacy) | 183 Eutectic | 1.0 – 3.0 | 45 – 90 sec (at 120-150°C) | 210 – 225 | 45 – 75 | -2.0 to -5.0 |
Liquidus Dwell and Intermetallic Layer Growth
Time Above Liquidus tracks how long the alloy sits fully molten above its melting point ~ for SAC305, anything over 217 degrees Celsius. Target dwell runs between 45 and 75 seconds. Staying molten past 90 seconds accelerates intermetallic growth, forming coarse, brittle compound layers at the solder-to-copper interface.
Molten solder dissolves surface copper to bond through tin-copper intermetallic layers. The main layer forms as Cu6Sn5 eta-phase intermetallic next to the solder, backed by a thin Cu3Sn epsilon-phase layer against the copper substrate. Ideal intermetallic thickness runs between 1.0 and 3.0 micrometers; pushed past 5.0 micrometers, the joint turns brittle and risks cracking under shock or vibration.
Excessive time above liquidus promotes thick, brittle intermetallic growth that degrades joint reliability under cyclic mechanical fatigue.
Pumping nitrogen into reflow zones cuts oxygen levels below 50 parts per million. Dropping oxygen reduces surface tension in molten solder, improving wetting on tarnished or oxidized leads. Nitrogen cover also reduces micro-solder balls, widens profile windows, and helps build cleaner fillet heights on fine-pitch leads.
- Thermocouple Verification checks sensor placement across high- and low-mass locations on the panel.
- Preheat Slope Rate Validation keeps thermal rise under 2.5 degrees Celsius per second to protect sensitive ceramic parts from cracking.
- Soak Window Duration Balancing allows full flux activation and thermal stabilization without burning through flux prematurely.
- Time Above Liquidus Duration Control caps molten dwell between 45 and 75 seconds to restrict intermetallic growth.
- Cooling Gradient Limits hold down-ramp cooling between 2.0 and 4.0 degrees Celsius per second to refine alloy grain structure.
IPC-J-STD-001 outlines baseline requirements for soldered electrical assemblies. Section 4.5 specifies that reflow profiles must melt solder alloy completely across every joint without exceeding maximum temperature limits on any component.
Cooling Rates and Grain Structure Stress
Cooling rates dictate final joint microstructure during solidification. Cooling at 2.0 to 4.0 degrees Celsius per second refines the tin matrix, locking small beta-tin dendrites alongside fine Ag3Sn and Cu6Sn5 intermetallic particles. That fast ramp yields higher tensile strength, better fatigue resistance, and smooth, reflective joint surfaces.
Cooling slower than 1.0 degree per second leads to coarse grains. Large silver-tin plates precipitate inside the solder, creating stress risers that crack under thermal cycling. On the other hand, cooling faster than 6.0 degrees per second builds residual internal stress inside ceramic components, risking internal layer delamination in multi-layer capacitors.
Poorly tuned profiles trigger direct assembly failures. Tombstoning happens when a passive component pulls up onto one end during reflow because uneven wetting forces pull asymmetric leverage across pads. Equalizing thermal mass, balancing pad footprints, and maintaining uniform paste printing keeps components flat.
A cooling blower failure created a temperature lag across three heating zones, forcing the plant to scrap forty populated motor-driver boards after they failed post-reflow inspection.
Acceptance
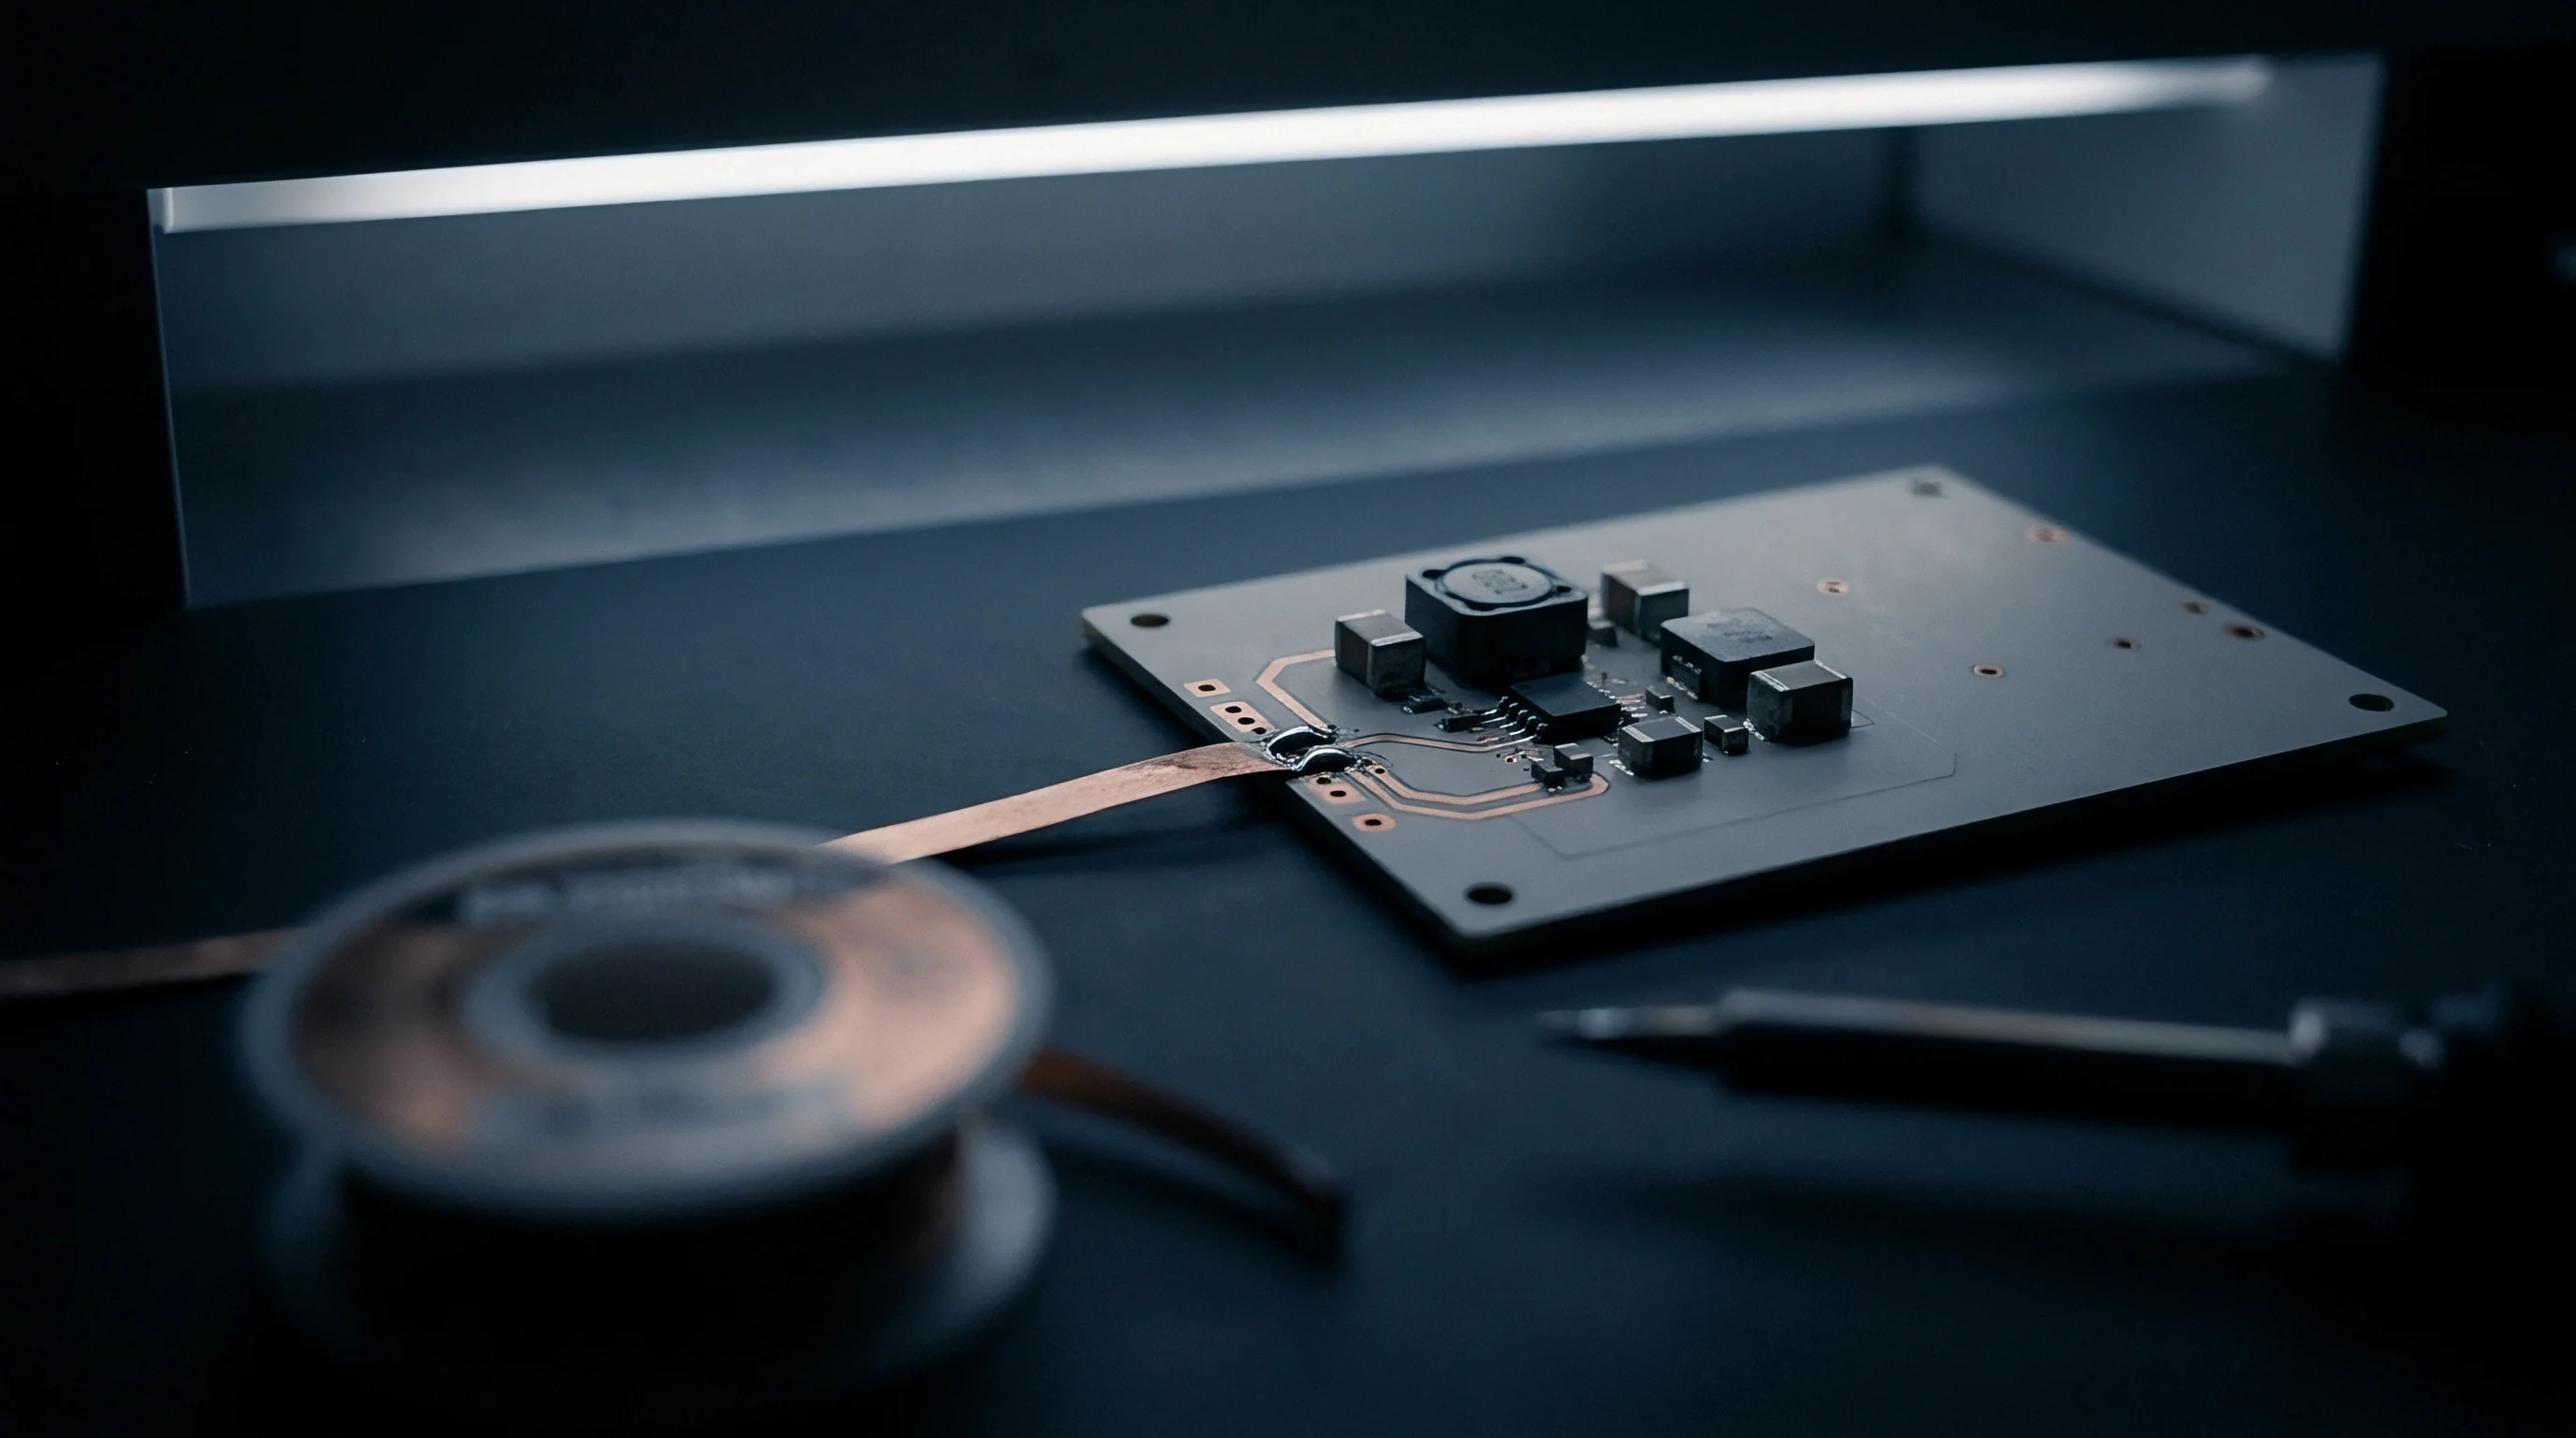
Assembled panels move straight from cooling into automated inspection. Systems check physical joint geometry, component alignment, cosmetic features, and internal structures against IPC-A-610 criteria. Boards must pass every threshold before moving to depaneling, functional testing, or final packaging.
Automated Optical Inspection uses high-speed camera arrays with color-angle LED ring lights. Top-down cameras handle 2D checks for missing parts, polarity, orientation, laser markings, and bridging. Angled side-view cameras capture 3D profile data, measuring fillet height, heel distance, toe height, and lateral overhang.
Verification software compares joint measurements against IPC acceptance models. IPC-A-610 Class 2 applies to general industrial electronics, allowing minor cosmetic defects while requiring reliable structural joints. Class 3 covers high-reliability aerospace, automotive, and medical assemblies, enforcing tighter limits on misalignment, voiding, and wetting angles.
Automated Optical Inspection Thresholds
Tuning AOI sensitivity is a balance between catch rates and false alarms. Tight thresholds trigger false calls that stall lines for manual review; loose thresholds let actual defects slip out to customers and risk premature field failures.
Lead wetting geometry sits at the center of 3D optical checks. On gull-wing leads like those on Quad Flat Packages, IPC-A-610 Class 3 demands a heel fillet height equal to solder thickness plus 50 percent of lead thickness at the heel radius. Side overhang is capped at 25 percent of lead width, while toe overhang is allowed as long as the toe fillet wets properly to the pad edge.
Rectangular chip passives have their own end-fillet rules. Class 3 requires end fillets to reach at least 50 percent of component height, with solder under the body exceeding 50 micrometers. Side overhang cannot pass 25 percent of part width, and wetting angles against the pad must stay under 90 degrees to prove clean wetting.
X Ray Profiling for Hidden Connections
Solder joints under Ball Grid Arrays, QFNs, and Bottom-Terminated Components block optical lines of sight. Automated X-ray Inspection uses high-voltage tubes and flat-panel detectors to shoot through package structures, building grayscale images based on material density. Dense tin and lead alloys absorb X-rays heavily, showing up dark gray or black against lighter silicon dies and laminate substrates.
3D computed tomography slices BGA arrays into horizontal planes to inspect individual solder balls. Algorithms measure ball diameter, roundness, bridging, and internal voiding percentages. Class 3 caps total void area at 25 percent of the ball’s image area and restricts any single void to 15 percent.
Head-in-Pillow flaws happen when package warping lifts a BGA ball off its paste deposit early in reflow. Oxides form over the separate molten surfaces, so they refuse to fuse when the package settles back down during cooling. Transmission X-ray flags these defects by spotting subtle density variations and distorted shadow boundaries.
First Article Qualification Procedure
First Article Inspection checks setup parameters, feeder loading, paste selection, and programming before starting volume runs. The initial panel off the line gets full optical, dimensional, and electrical testing. Automated flying-probe testers read passive values, verify semiconductor polarity, and check continuity to catch misloaded reels before high-speed placement starts.
Automated inspection logs are reviewed alongside physical microsections before clearing full-rate production. Microsectioning cuts through critical joints and polishes them down to a 0.05 micrometer alumina slurry for optical examination, checking intermetallic thickness, grain structures, interfacial cracks, copper dissolution, and substrate micro-cracks.
Line qualification means building SPC charts for paste volume, placement offsets, and peak reflow temperatures. Over a continuous 30-panel run, Cpk capability indices must clear 1.33 on standard dimensions and 1.67 on critical-to-quality package parameters.
This qualification paperwork forms the permanent quality release dossier for the line.
Complete automated optical and X-ray inspection logs provide traceable verification that every hidden array joint satisfies IPC Class 3 volumetric void standards.
Yield metrics drive assembly economics. First Pass Yield measures how many boards clear optical, X-ray, and functional tests without touch-up or rework ~ typically running between 98.5 and 99.7 percent on modern SMT lines. Off-the-books touch-up distorts these metrics and hides root-cause process flaws.
Manufacturing contracts set clear scrap allowances and rework liabilities. Turnkey agreements usually include a 0.5 percent scrap allowance for reel setups and pick failures, but high-value silicon or non-standard fine-pitch parts call for custom scrap terms to protect against unallocated losses.
Changeover costs come down to setup speed. Converting an SMT line for a different complex assembly takes one to four hours, depending on feeder counts, stencil changes, conveyor widths, and vision program reloads. With contract assemblers billing setup time at $150 to $300 an hour, larger batch runs help amortize fixed changeover expenses across higher unit volumes.
IPC-A-610 Section 1.4 requires nonconforming assemblies to follow documented disposition procedures, and undocumented manual rework voids initial production qualification sign-offs.