IPC JEDEC 9704a Test Fixture Deflection Commissioning Verification Procedure
IPC JEDEC 9704A fixture commissioning mandates high-speed triaxial strain gauge verification to prevent transient flexure damage to BGAs and capacitors.
Flex
Board flexure during assembly testing can instantly damage solder interconnects, traces, and brittle component packages. When an in-circuit test press plate forces engagement pins onto a populated board, localized bending moments develop within milliseconds. Strain spreads through the laminate, creating tension and shear across surface-mount solder joints.
Ball grid arrays, chip-scale packages, and multi-layer ceramic capacitors suffer shear failure whenever local bending exceeds strain limits. Catching these transient deflections requires high-frequency strain measurements at vulnerable points on the board while the fixture actuates.
Strain testing under IPC/JEDEC 9704A outlines the protocols needed to commission, verify, and audit test fixtures before production release. Unmonitored fixtures often cause micro-flexure that slips past visual and automated optical inspections. Micro-cracks created during in-circuit testing expand under field thermal cycling, driving up returns.
Setting physical strain limits across assembly and testing is fundamental to line qualification. Driven by concentrated pin forces, unbalanced pneumatic press profiles, and uneven backing support, test fixtures remain a severe mechanical hazard on the factory floor.
Mechanical strain destroys microvias.
Flexure-induced damage during test engagement mostly comes from unbalanced probe spring forces and mechanical push-fingers. Standard spring probes exert loads between 1.5 and 3.0 Newtons per contact point at full travel. On a high-density board with 2,000 test points, total downward force reaches 3,000 to 6,000 Newtons.
If backing pins do not support this load directly opposite the probes, the laminate bows into local saddle shapes. The curvature radius sharpens underneath large ball grid arrays, where rigid silicon dies resist bending while the underlying substrate flexes away. That mismatch converts axial probe force into high peel stress at outer corner solder balls.
Multi-layer ceramic capacitors are just as vulnerable to mechanical flexure. Ceramic dielectrics offer high compressive strength but poor tensile resistance. Board bending creates tensile surface strain that drives micro-cracks through the termination solder fillet into the ceramic body.
These cracks cross internal palladium-silver or nickel electrode layers, creating latent low-resistance shorts. The defects remain silent during immediate electrical testing, passing functional gates on the line. Later, under operating voltage, moisture entering the crack leads to metal migration and thermal runaway.
Preventing capacitor flex-cracking requires strict strain limits when commissioning fixtures.
Solder joints fracture without warning.
Surface mount components respond differently to stress depending on terminal architecture, alloy composition, and substrate stiffness. Compliant designs like gull-wing quad flat packs absorb board deflection through lead bending. Leadless components like quad-flat no-lead devices and wafer-level chip-scale packages pass bending stress directly into solder joints.
Lead-free solder alloys have a higher shear modulus and yield strength than traditional tin-lead formulations. This extra rigidity reduces energy dissipation within the solder volume, shifting failures straight to the intermetallic compound layer. Because intermetallic layers are brittle, they snap abruptly under high strain rates during mechanical shock or rapid clamping.
| Package Topology | Substrate Thickness | Maximum Microstrain Limit | Maximum Strain Rate Limit | Primary Failure Mode |
|---|---|---|---|---|
| Wafer-Level Chip-Scale Package | 0.8 mm | 500 microstrain | 10,000 microstrain per second | Silicon die cracking and corner bump shear |
| Wafer-Level Chip-Scale Package | 1.6 mm | 350 microstrain | 10,000 microstrain per second | Intermetallic fracture at pad interface |
| Plastic Ball Grid Array (>35 mm) | 1.6 mm | 500 microstrain | 15,000 microstrain per second | Substrate trace cratering and corner ball detachment |
| Plastic Ball Grid Array (>35 mm) | 2.4 mm | 380 microstrain | 15,000 microstrain per second | Pad cratering beneath corner bumps |
| Multi-Layer Ceramic Capacitor (0805) | 1.6 mm | 700 microstrain | 20,000 microstrain per second | Flex cracking across end terminations |
| Multi-Layer Ceramic Capacitor (1206) | 1.6 mm | 500 microstrain | 20,000 microstrain per second | Internal electrode shorting across ceramic core |
Capturing transient deformation accurately requires triaxial strain gauge rosettes bonded directly to the board assembly. Single-element gauges report elongation along only one axis, missing off-axis principal strain vectors. Triaxial rosettes stack or align three separate foil gauge elements at 0-degree, 45-degree, and 90-degree orientations.
Stacking elements over a shared footprint ensures all three grid structures sample the same spot. High spatial resolution is essential when measuring steep strain gradients near the corners of fine-pitch ball grid arrays.
Grid resistance and backing substrate choices dictate thermal stability and signal-to-noise ratio during commissioning. Polyimide backing film with constantan alloy grid elements maintains stable gauge factors across normal electronics operating temperatures. At a given excitation voltage, 350 Ohm gauge resistance reduces self-heating compared to 120 Ohm gauges.
Lower current density through the delicate foil prevents thermal expansion in the adhesive layer, avoiding measurement drift. The gauge length must remain small relative to the strain gradient; active grid lengths between 0.8 mm and 1.5 mm balance spatial resolution, noise floor immunity, and practical bonding constraints.
Cyanoacrylate glues cure rapidly.
Adhesive selection and surface preparation determine measurement accuracy during installation. Standard circuit assemblies carry soldermask, silkscreen, and conformal coatings that block direct bonding to fiberglass or copper. Technicians abrade the surface with fine silicon carbide paper to strip non-structural coatings without damaging underlying traces.
Degreasing with isopropyl alcohol removes residual oils and particles. Methyl cyanoacrylate adhesive cures quickly into a rigid, brittle interface that transfers shear strain to the gauge grid with minimal hysteresis. Polyurethane or epoxy adhesives require long cure cycles and suffer from creep, degrading dynamic strain measurements.
A strain gauge rosette installed with an adhesive layer thicker than fifteen micrometers introduces mechanical damping, underreporting peak transient strain rates by up to eighteen percent.
Triaxial rosettes require precise positioning relative to high-risk surface mount components. The outer corners of square and rectangular ball grid arrays experience peak stress during flexure. Gauges are placed adjacent to these corners with the rosette centerline parallel to the package edges.
The edge of the active grid must stay at least 1.0 mm from the package body edge to avoid solder fillets while remaining in the high-stress zone. Placing gauges more than 3.0 mm from the corner causes severe signal attenuation, masking flexure directly beneath the component footprint.
Strain testing demands high-speed data acquisition systems capable of continuous multi-channel sampling. Transient shocks from pneumatic actuation, push-pin impact, or automated board drops create high-frequency strain spikes. Data acquisition hardware must sample each gauge channel at a minimum of 10,000 samples per second simultaneously across all channels.
Multiplexed architectures introduce inter-channel phase delays that skew the temporal alignment of 0-degree, 45-degree, and 90-degree rosette signals, corrupting principal strain calculations. Signal conditioning hardware uses Wheatstone bridge completion circuitry set up for quarter-bridge Type I or Type II operation, relying on precision internal reference resistors with low thermal drift.
Dynamic flexure originates from specific mechanics within test fixtures and assembly processes. Isolating these sources requires tracing force paths through the fixture structure.
- Pneumatic press stroke acceleration deforms boards rapidly when down-stroking top plates hit the board without pre-actuation damping.
- Asymmetric push-finger positioning creates local shear zones across component rows when backing pins are offset from top-side actuation points.
- Vacuum plate differential pressure pulls thin laminate down into connector cutouts or dense probe windows that lack bottom support.
- Manual hold-down latch closure applies severe twisting along diagonal axes when operators force misaligned latches into place.
- Probe field spring force imbalances push dense component areas upward while adjacent unprobed regions drop, forming sharp bending lines.
- Board edge guide binding traps assemblies during conveyor rail clamping, preventing axial expansion and causing buckling under thermal or mechanical press strokes.
Analog front-end design dictates low-noise performance in high-speed strain hardware. Excitation voltages supplied to the Wheatstone bridge must remain stable, typically between 1.5 Volts and 2.5 Volts. Higher voltages boost output signal amplitude but risk thermal expansion errors from current heating inside small rosettes.
Anti-aliasing filters ahead of analog-to-digital conversion remove high-frequency electromagnetic noise from surrounding factory equipment, linear motors, and switching power supplies. Continuous high-speed sampling captures peak strain rate vectors occurring within five milliseconds of push-finger contact.
Amplifier drift corrupts measurements when baseline calibration drifts out of alignment. Auto-zeroing protocols set a static zero-strain reference before every engagement cycle. For a true static zero-strain state, the board must sit unconstrained in the fixture, resting freely on support pins before press engagement or vacuum pull-down.
Any residual mounting or clamp force present during zeroing masks static pre-loads, producing artificially low strain readings during dynamic press testing. Verifying baseline stability is necessary to validate signal conditioning performance before recording official commissioning data.
If an assembly run proceeds without valid IPC/JEDEC 9704A strain commissioning documentation, the buyer has the right to reject the batch at the supplier border, forcing the contract manufacturer to conduct a full structural re-qualification at their own expense under Clause 5.2 of the quality agreement.
Strain
Commissioning turns theoretical strain limits into physical verification protocols on the factory floor. Validating a test fixture requires measuring strain across its full mechanical stroke. Engineers install instrumented strain boards, run operational cycles, and convert raw voltage data into principal strain vectors.
Evaluating performance during initial sign-off, routine preventive maintenance, and post-repair checks ensures board deflection stays within safe limits over the fixture’s operational lifespan.
Installing gauges on verification boards follows a strict workflow. The test board used for commissioning must match the production assembly in layup, laminate material, copper weight, board profile, and component population. Substituting a bare board invalidates strain data because surface-mount components add significant local stiffness to the substrate.
Populated components shift the board’s neutral flexural axis, altering how local strain distributes during bending.
Strain rates dictate joint survival.
The commissioning workflow tests every stress state the board encounters throughout testing. Steps cover manual loading, edge clamping, vacuum pull-down, pneumatic press actuation, probe engagement, top-plate latching, unlatching, and automated ejection. Skipping transient phase capture misses peak strain events, since maximum deflection often occurs during transitional movements rather than during steady static press states.
- Select high-vulnerability component locations, including outer package corners of ball grid arrays, fine-pitch quad flat packs, wafer-level chip-scale devices, and large multi-layer ceramic capacitors.
- Prepare perimeter surfaces around components by stripping soldermask and silkscreen markings using mild mechanical abrasion and isopropyl alcohol wipes.
- Apply methyl cyanoacrylate adhesive to the backing of triaxial strain gauge rosettes, pressing each gauge onto its target location with silicone release film.
- Solder multi-strand flexible lead wires to the gauge pads, taping the wires to the substrate with polyimide tape to prevent strain transfer to the solder pads.
- Connect gauge wiring to Wheatstone bridge completion modules and calibrate channel excitation voltages to within zero point zero one percent of target levels.
- Place the instrumented assembly loosely in the test fixture, letting it rest unconstrained on support pins without mechanical clamping.
- Run hardware channel auto-zeroing routines to clear ambient thermal and mounting offsets, establishing the zero-strain baseline.
- Run fixture mechanical actuation cycles at maximum operational pressure and speed, sampling all rosette channels continuously at ten kilohertz.
- Process collected voltage datasets through principal strain transformation equations to plot time-domain principal strain and strain rate waveforms.
- Map computed peak principal strain vectors against IPC/JEDEC 9704A package threshold curves to flag non-compliant deflection across the assembly.
Calculating principal strains from raw triaxial rosette channels requires processing three concurrent measurements (ea, eb, and ec) from the 0-degree, 45-degree, and 90-degree grid elements. Tensile strains register as positive values, while compressive strains register as negative values. Normal strain components along orthogonal axes (ex and ey) and shear strain (gxy) follow standard strain transformation relationships.
Normal strain along the x-axis (ex) equals the 0-degree gauge reading (ea). Normal strain along the y-axis (ey) equals the 90-degree gauge reading (ec). Shear strain (gxy) uses the intermediate 45-degree gauge reading (eb) combined with ea and ec:
Shear strain gxy = 2 · eb – ea – ec
Principal strains (e1 and e2) represent the maximum and minimum normal strains acting on orthogonal planes through the measurement point, where shear stress drops to zero. Maximum principal strain (e1) indicates peak tensile strain in the board laminate, while minimum principal strain (e2) represents peak compressive strain. The calculation proceeds as follows:
Center strain eavg = (ex + ey) / 2 = (ea + ec) / 2
Mohr circle strain radius R = sqrt((ea – ec)/2)2 + ((2 · eb – ea – ec)/2)2
Maximum principal strain e1 = eavg + R
Minimum principal strain e2 = eavg – R
Diagonal strain (ediag) is particularly sensitive to corner cracking on square packages. It measures normal strain oriented at 45 degrees to the package edges, capturing shear-driven micro-cracking that standard orthogonal calculations can miss under complex torsional loads. Diagonal strain calculates directly from the rosette channels:
Diagonal strain ediag = |eb – eavg|
Strain rate (de/dt) is the continuous time derivative of principal strain magnitude. High strain rates make brittle intermetallic layers far more susceptible to catastrophic fracture. Fixture design must manage both overall microstrain and the speed at which strain accumulates.
Analysis software applies a digital sliding-window derivative to the raw high-speed principal strain dataset:
Strain rate de/dt = (e1(t2) – e1(t1)) / (t2 – t1)
Where t2 – t1 represents the time interval between sequential high-speed data samples ~ equal to 100 microseconds at a 10 kHz sampling frequency.
| Fixture Test Location | Channel A Gauge Reading | Channel B Gauge Reading | Channel C Gauge Reading | Max Principal Strain | Peak Strain Rate | Compliance Status |
|---|---|---|---|---|---|---|
| BGA1 Corner Top Left | +240 microstrain | +410 microstrain | +180 microstrain | +438 microstrain | 8,200 microstrain/sec | PASS |
| BGA1 Corner Bottom Right | +380 microstrain | +620 microstrain | +290 microstrain | +654 microstrain | 18,500 microstrain/sec | FAIL |
| WLCSP1 Package Center | +110 microstrain | +290 microstrain | +150 microstrain | +302 microstrain | 4,100 microstrain/sec | PASS |
| MLCC102 Pad Interface | +450 microstrain | +780 microstrain | +520 microstrain | +825 microstrain | 22,100 microstrain/sec | FAIL |
| QFN48 Lead Perimeter | +180 microstrain | +220 microstrain | +140 microstrain | +236 microstrain | 3,900 microstrain/sec | PASS |
Vacuum forces bend thin laminates.
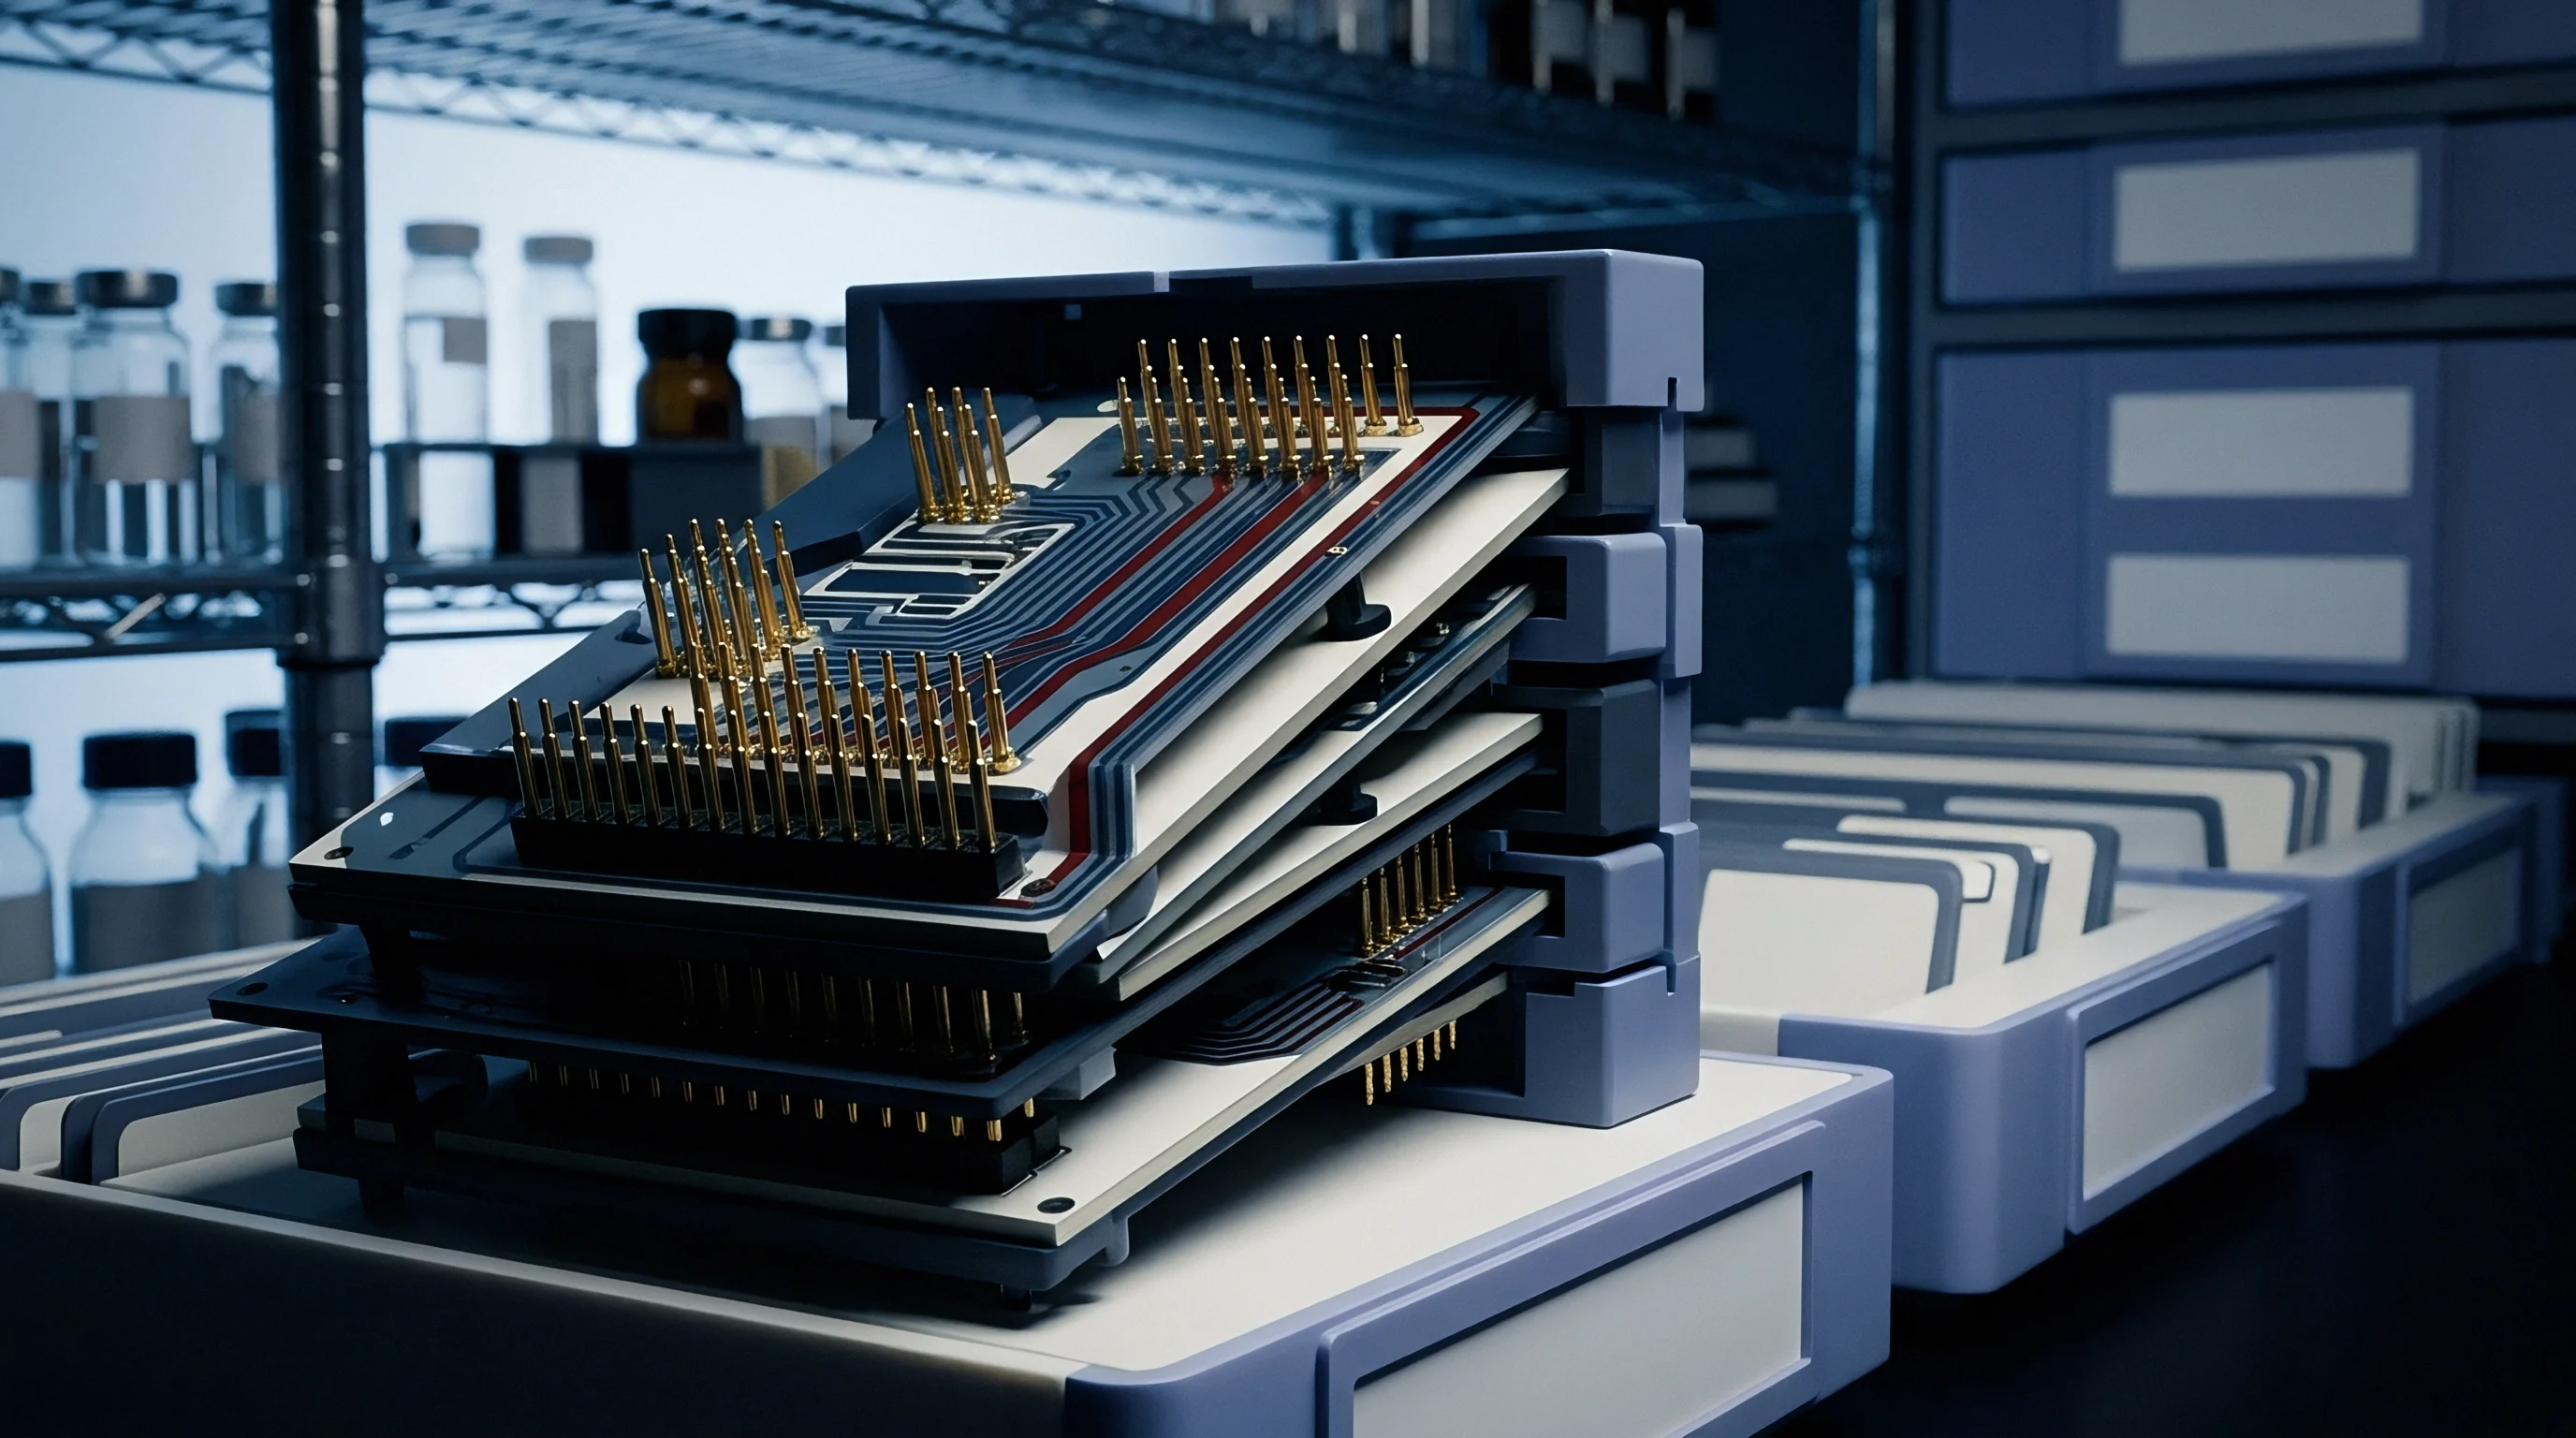
How Does Board Thickness Alter Allowable Strain Limits?
Substrate thickness directly controls the flexural rigidity of circuit board assemblies, reshaping allowable strain limits defined in IPC/JEDEC 9704A. Rigidity scales with the cube of board thickness. A 0.8 mm thick board exhibits only one-eighth the bending stiffness of a 1.6 mm board made from the same epoxy-glass laminate.
Under identical bending moments, thinner boards undergo sharper curvature and higher surface elongation. However, thicker boards produce higher internal shear stresses at solder joint interfaces for a given amount of surface deflection, because their outer surfaces lie farther from the neutral axis.
Allowable strain limits under IPC/JEDEC 9704A drop as board thickness increases for sensitive surface-mount components. For a plastic ball grid array larger than 35 mm, a 1.6 mm board permits up to 500 microstrain at low strain rates. Increasing board thickness to 2.4 mm lowers the threshold to 380 microstrain.
Thicker boards concentrate tensile forces straight into the brittle intermetallic layers of corner solder balls instead of flexing under load. Commissioning routines must adjust pass/fail thresholds based on exact physical stackup specifications.
When evaluating multi-layer ceramic capacitors mounted on assemblies thicker than two millimeters, maximum allowable principal strain drops to four hundred microstrain to prevent latent dielectric flex-cracking.
Resolving non-compliant strain readings during commissioning requires systematic tuning of the fixture structure. Adjusting force paths reduces local flexure without sacrificing probe contact integrity.
- Adding backing support pins directly behind high-density spring probe clusters neutralizes opposing actuation forces and flattens local deformation.
- Adjusting push-finger height balances down-stroke pressure across asymmetric component topologies, eliminating torsional twisting.
- Softening pneumatic stroke speed with flow-control valves lowers mechanical shock and keeps peak strain rates within limits.
- Relocating hold-down gates away from unsupported package perimeters reduces bending moments across high-density ball grid arrays.
- Milling vacuum plate clearance pockets prevents interference with tall surface mount components, eliminating point-load contacts.
- Redistributing spring probe forces with lower-force probes reduces total down-stroke tonnage while maintaining necessary electrical contact resistance.
Push pins cause local bending.
Modifications made during fixture tuning require full re-verification with the instrumented strain board. Adding even a single support pin alters force distribution across nearby areas, potentially creating new flexure hotspots where conditions were previously fine. Fixture qualification demands complete data logging across all rosette locations after any physical alteration to push pins, support structures, or pneumatic drives.
Iterative strain testing continues until every rosette reports principal strains and strain rates below IPC/JEDEC 9704A limit curves.
A fixture showing elevated strain at a single component corner will consistently compromise solder joint integrity across every batch run through that line.
Proof
Thorough fixture commissioning documentation provides the technical evidence needed to release test tooling for high-volume manufacturing. A clear strain audit dossier protects both board buyers and contract manufacturers from costly disputes over latent field failures. Technical files must detail measurement setup configurations, physical gauge location maps, raw telemetry channels, processed principal strain calculations, and explicit pass/fail declarations referenced against standard limits.
Maintaining detailed verification records creates a solid audit trail that backs product quality claims.
The verification dossier must include complete metadata covering hardware and physical conditions during commissioning runs. Missing calibration certificates, unspecified gauge factors, or undefined baseline zeroing protocols invalidate test findings. These dossiers serve as engineering evidence that can withstand third-party technical reviews or legal liability investigations following product recalls.
Diagonal strain predicts corner cracking.
Building a complete IPC/JEDEC 9704A commissioning dossier requires compiling technical records generated during testing. The documentation package must retain structured records covering every variable that affects strain measurement accuracy.
- Circuit board trace stackup drawings detailing dielectric thickness, copper weight, glass transition temperature, and overall substrate thickness.
- Strain gauge manufacturer datasheets documenting lot numbers, nominal gauge resistance, active grid dimensions, thermal expansion coefficients, and certified gauge factors.
- Physical rosette location maps showing exact spatial coordinates, alignment angles, and high-resolution photos of installed gauges relative to components.
- Adhesive curing logs recording adhesive chemistry, ambient curing temperature, humidity, applied thickness, and curing duration.
- Data acquisition hardware calibration certificates proving NIST-traceable analog input accuracy, excitation voltage stability, and filter cutoff frequencies.
- Raw high-speed continuous voltage telemetry files storing time-stamped quarter-bridge strain responses sampled at a minimum of ten kilohertz across all channels.
- Processed strain computation spreadsheets detailing formula execution for principal strains, diagonal strains, Mohr circle parameters, and sliding-window strain rates.
- Superimposed IPC/JEDEC 9704A threshold curves plotting peak principal strain magnitudes against measured strain rates for each instrumented location.
Uncertainty analysis is a vital part of strain measurement verification that standard lab reports often omit. Measurement uncertainty stems from electrical noise, gauge factor tolerances, transverse sensitivity, thermal drift, and gauge alignment errors. Precision foil strain gauges carry nominal gauge factor tolerances of plus or minus one percent.
Misaligning a triaxial rosette by just five degrees relative to the principal stress axis can introduce up to a seven percent calculation error, depending on local strain field biaxiality.
Thermal expansion in test fixtures and circuit boards during extended production runs causes noticeable baseline drift. Running fixtures under elevated factory ambient temperatures produces thermal expansion mismatches between backing supports and circuit laminates. Quarter-bridge strain gauge setups without active temperature compensation interpret thermal strain as mechanical strain.
Running software bridge auto-zeroing routines immediately before fixture engagement cancels ambient thermal shifts, isolating true mechanical flexure.
| Audit Activity | Execution Frequency | Trigger Event | Action Limit Threshold | Corrective Procedure | |
|---|---|---|---|---|---|
| Routine Strain Verification | Every 50,000 cycles | Shift change or batch restart | 80% allowable strain limit | Re-align push pins and check spring forces | |
| Full Fixture Re-Commissioning | Every 250,000 cycles | Annual preventive maintenance | Any non-compliant rosette channel | Replace worn probe field and rebuild backing pins | |
| Immediate Event Audit | Unscheduled | Push pin replacement or mechanical repair | 90% allowable strain limit | Execute complete ten-step strain measurement procedure | |
| Probe Field Force Audit | Every 100,000 cycles | High contact resistance rate | Spring force drop >15% from spec | Replace degraded spring probe pins |
Unbalanced fixture force warps boards.
Physical wear on fixture components gradually degrades strain performance over long production runs. Spring probes lose nominal force as internal springs fatigue, altering spring load distribution across dense test fields. Backing support pins wear down, shortening their effective height and creating local support gaps.
Pneumatic guide bushings develop play, allowing press plates to tilt during actuation down-strokes. This asymmetric tilt introduces severe torsional strain across assemblies that passed initial commissioning when the fixture was new.
Preventive maintenance protocols mandate periodic re-commissioning of test fixtures to track strain drift. Re-commissioning routines use dedicated master strain boards stored specifically for calibration audits. Comparing current strain telemetry against initial baseline datasets reveals mechanical wear before structural failures show up on active production lines.
When peak principal strain on any channel creeps upward by more than fifteen percent over baseline, maintenance teams halt the line to replace worn support pins, realign guide shafts, or swap out degraded spring probes.
A test fixture operating with five worn backing support pins generates localized strain increases of up to thirty-two percent compared to its initial commissioning baseline.
Commercial liability for flex-cracked circuit assemblies hinges on having valid IPC/JEDEC 9704A strain commissioning records. When field returns show ball grid array solder joint micro-cracking or capacitor dielectric failure, failure analysis uses micro-sectioning, scanning electron microscopy, and dye-and-pry testing to identify fracture morphology. Solder fractures displaying brittle intermetallic cleavage point directly to high-strain mechanical flexure during assembly or testing.
If the contract manufacturer maintains compliant, audited IPC/JEDEC 9704A commissioning dossiers for the specific fixture and line used for the batch, financial liability shifts toward assembly handling, transit vibration, or end-use system assembly stresses. Conversely, if the manufacturer cannot produce valid strain verification documentation run within designated calibration windows, the buyer has clear grounds to hold them financially responsible for scrap, rework, warranty reserves, and recall costs under standard master service agreements.
Audit logs protect circuit buyers.
Verification testing provides tangible proof of process control on the factory floor. Integrating strain auditing into test fixture commissioning turns subjective mechanical setup into a repeatable, verified engineering process. Circuit buyers who mandate IPC/JEDEC 9704A strain sign-offs in production contracts secure measurable protection against latent flexure defects, helping ensure structural integrity from initial fixture engagement through full field deployment.
When strain gauge telemetry shows localized microstrain hovering precisely at ninety-nine percent of allowable IPC/JEDEC 9704A thresholds during initial qualification runs, does long-term mechanical wear on pneumatic guide bushings inevitably push routine production flexure into active solder joint cracking territory before scheduled preventive maintenance intervals occur?