In Circuit Fixture Spring Probe Force Balancing on Ultra Fine Pitch Assemblies
Balancing micro-probe forces with precision push-fingers prevents substrate strain over 500 microstrain, protecting fine-pitch BGAs and MLCCs from fixture damage.
Deflection
Aggregate Probe Force Dynamics
Dense circuit boards packed with fine-pitch BGAs, wafer-level chip-scale packages, and 0201 or 01005 passives present severe contact challenges during in-circuit testing. Once test point density exceeds 50 test points per square centimeter, the combined resistance of thousands of tiny spring contact probes applies heavy mechanical loading to the substrate. A single-sided fixture populated with 4,000 spring probes operating at a nominal force of 1.5 Newtons per probe imparts a 6,000-Newton vertical load onto the board at full test stroke.
Concentrated forces of this scale press against unsupported board areas, bending thin substrates and straining fragile component solder joints.
Substrate displacement during engagement depends directly on total probe count, individual probe force ratings, and pad layout. Standard in-circuit testing historically relied on 100-mil (2.54 mm) or 75-mil (1.91 mm) pitch probes delivering 2.0 to 3.0 Newtons to punch through surface oxides and flux residues. Ultra-fine-pitch assemblies with pads at 39-mil (1.0 mm), 20-mil (0.5 mm), or 15-mil (0.38 mm) center spacing require miniature micro-probes instead.
These small probes run at much lower individual spring forces, typically 0.15 to 0.60 Newtons at working stroke. Even so, lower force per pin does not eliminate substrate deflection, because pad density grows faster than probe force drops, increasing aggregate force per unit area.
Strain Dynamics and Substrate Fracture Limits
Uneven probe force distribution bows the board, creating complex strain fields inside dielectric layers and surface copper traces. Testing mechanics follow IPC/JEDEC-9704, which defines microstrain measurement methods using triaxial strain gauge rosettes. Ceramic multilayer chip capacitors and fine-pitch BGA solder joints tolerate very little tensile strain.
When a test fixture presses micro-probes against one side of a board without matching support directly opposite, the substrate flexes downward, pulling the top surface into tension and squeezing the bottom into compression.
Microstrain levels above 500 microstrain along principal axes routinely micro-crack brittle surface-mount ceramic capacitors. Cracks propagating through internal ceramic dielectric layers cause latent electrical shorts that pass initial factory tests only to fail in the field. Micro-BGA solder joints subjected to localized strain above 750 microstrain suffer pad cratering, where the copper land tears away from the underlying resin-glass matrix.
Balancing the push-finger array across a high-density processor region during fixture sign-off cuts board strain by 14 percent. The risk of pad cratering is higher on thin HDI substrates using high-density microvia layers, where the dielectric beneath the primary test land consists of unreinforced epoxy or thin prepreg under 50 micrometers thick.
| Probe Pitch Center (mil / mm) | Working Travel (mm) | Nominal Spring Force (N) | Recommended Tip Style | Contact Resistance (mΩ) | Minimum Target Pad Diameter (mm) |
|---|---|---|---|---|---|
| 50 / 1.27 | 2.54 | 1.20 to 2.00 | 4-Point Crown / Spear | 25 | 0.50 |
| 39 / 1.00 | 2.00 | 0.70 to 1.30 | Micro-Star / Needle | 35 | 0.35 |
| 20 / 0.50 | 1.35 | 0.30 to 0.60 | Chisel / Spear Point | 60 | 0.25 |
| 15 / 0.38 | 1.00 | 0.15 to 0.40 | Single Needle Point | 90 | 0.18 |
Surface Metallurgies and Tip Energy Transfer
Target pad metallurgy dictates the minimum spring force required for reliable low-resistance contact. Electroless Nickel Immersion Gold provides a flat surface protected by thin gold over nickel, allowing micro-probes pushing with as little as 0.25 Newtons to break through light residues. Organic Solderability Preservatives leave a thin film over bare copper that requires sharp tip profiles, like micro-needles or multi-point chisels, to pierce cleanly.
Higher contact force is mandatory on OSP finishes to prevent false opens during test runs.
Immersion tin coatings suffer lateral metal displacement under micro-probe impact, forming localized oxide debris that raises contact resistance after repeated fixture actuations.
Plunger tip geometry focuses spring force onto a tiny contact area. A sharp needle point with a 0.025 mm tip radius pressing at 0.40 Newtons produces contact pressure above 200 Megapascals. That pressure pierces surface oxides easily, but indents soft solder or immersion tin finishes.
Deep penetration deforms thin copper test pads and risks fracturing microvia barrels positioned directly underneath test points. Balancing probe spring forces across an ultra-fine-pitch layout requires matching tip geometry to the underlying PCB finish and stack-up.
Unbalanced fixture forces cause cracked ceramic capacitors, lifted BGA pads, intermittent contact, and rapid wear on fine-pitch micro-probes.
Spring
Micro-Probe Internal Mechanics and Fatigue
Internal mechanical components of fine-pitch spring probes operate close to the yield stress limits of high-performance alloys. A standard micro-probe uses an outer barrel, an internal helical spring, and a sliding plunger. In 20-mil and 15-mil pitch probes, barrel wall thickness drops below 0.05 mm, limiting internal spring wire diameter to less than 0.08 mm.
Manufacturers select heat-treated Beryllium Copper or stainless steel music wire to maintain predictable spring rates within these compact dimensions. Plungers are machined from hardened steel or Beryllium Copper and plated with hard gold over nickel to limit sliding friction and preserve low contact resistance.
Standard micro-probe internal springs experience force relaxation exceeding 12 percent when held at full working stroke across 100,000 thermal test cycles.
Mechanical fatigue inside miniature helical springs shortens service life and alters force profiles over production runs. After hundreds of thousands of cycles, internal spring wire undergoes micro-structural relaxation, reducing effective force at working travel. Lower force leaves insufficient tip energy to pierce pad contaminants, leading to intermittent open-circuit false failures.
Plunger side-loading accelerates internal barrel wear. When a push-plate has lateral play, the plunger rubs against the inner barrel wall, adding friction that changes effective probe force and sheds conductive metallic particles inside the probe assembly.
Force Balance Math and Support Pin Positioning
Calculating overall force on an in-circuit test fixture requires summing individual probe force vectors and pairing them with mechanical support. Each probe functions as a linear spring governed by its spring constant, working travel, and pre-load value. Pre-load force keeps the plunger extended against the barrel crimp before making contact with the board.
Total vertical force exerted by a single probe at working travel follows a linear relationship based on pre-load and spring rate.
Forcetotal = Forcepreload + (k × Δ x)
Here, k is the probe spring rate in Newtons per millimeter, and Δ x is linear compression displacement beyond pre-load at working stroke height. Summing this force across all test locations defines the total fixture load profile across the board.
vecFaggregate = sumi=1N left( Fpreload, i + ki · Δ xi right) hatz
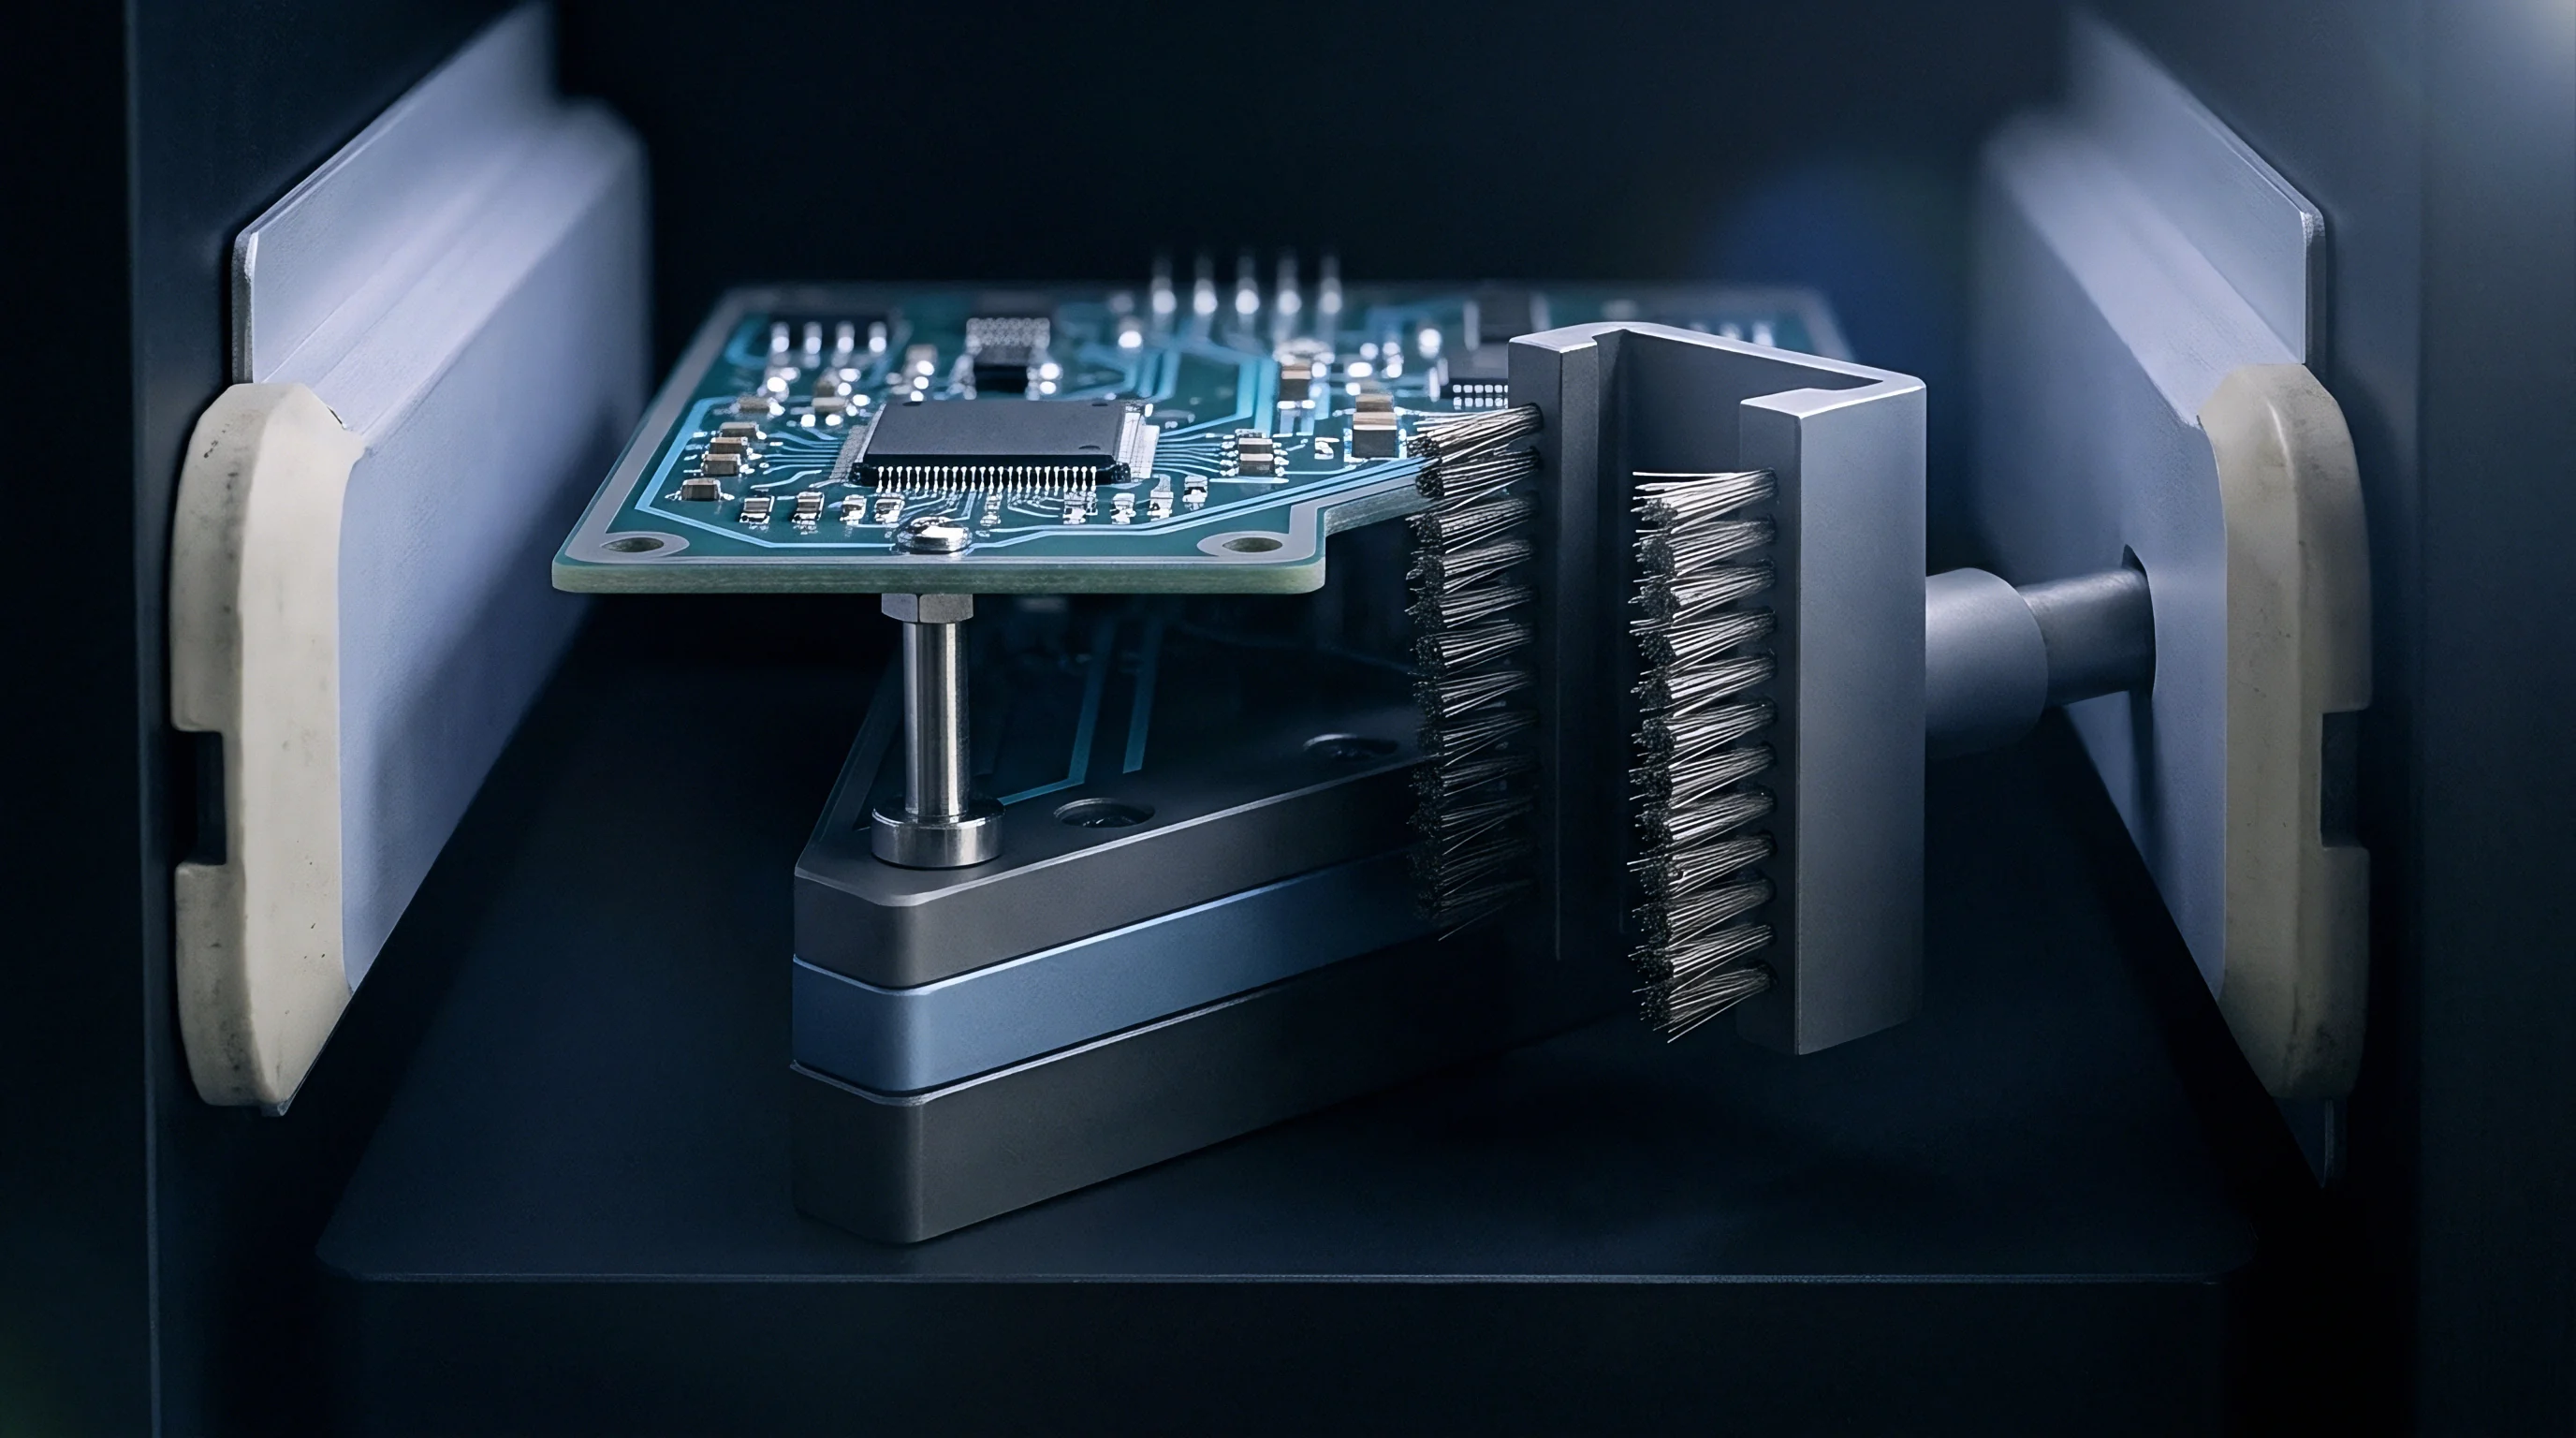
Balancing this force distribution on an ultra-fine-pitch assembly requires positioning rigid push-fingers and support pins directly opposite the probe array. Calculations group probe coordinates into discrete spatial zones to locate the center of force for each cluster. Placing a rigid push-finger directly behind a dense cluster of test pads transfers probe reaction forces into the top plate, preventing board flexure.
Support pins placed too far from high-density probe clusters permit localized bending, causing uneven probe compression across the test area.
Micro-Probe Failure Modes
Fine-pitch probes on sub-0.5 mm grids exhibit failure modes distinct from standard 100-mil fixture probes. Identifying these mechanical and electrical degradation patterns during routine fixture maintenance helps preserve test coverage.
- Pre-load spring relaxation causes early loss of initial contact force, leading to intermittent opens on dirty test pads during prolonged production runs.
- Plunger side-loading friction arises from lateral fixture alignment play, causing internal binding and preventing the probe tip from achieving full working stroke length.
- Barrel oxide buildup occurs when atmospheric contaminants enter the miniature barrel, increasing internal sliding electrical resistance between plunger and barrel inner walls.
- Wand deflection under stroke manifests in ultra-thin micro-probes, where the long slender plunger flexes laterally under compression instead of moving linearly along the axis.
- Tip contamination transfer involves lead-free solder or flux residues sticking to microscopic tip facets, gradually insulating the probe tip from target pads.
Electrical Path Optimization and Contact Resistance
Managing internal current paths in miniature spring probes governs measurement accuracy during low-resistance testing. Current traveling through a micro-probe splits between two parallel paths: through the helical spring wire and across the sliding interface between plunger and outer barrel. High inductive reactance and electrical resistance in fine spring wire make the plunger-to-barrel interface the primary path for high-frequency and low-voltage signals.
Hard gold plating on mating surfaces maintains contact resistance below 50 milliohms under clean operating conditions.
Biased spring designs use an angled plunger base cut that forces the inner plunger end sideways against the barrel wall during compression. This mechanical bias ensures direct metal-to-metal contact between plunger shank and gold-lined barrel, bypassing the spring electrically. On ultra-miniature probes below 20-mil pitch, space constraints prevent biased plunger geometries, forcing the use of single-piece unbiased plungers.
Unbiased micro-probes exhibit higher contact resistance fluctuations during stroke execution, requiring fixture designers to specify dual-probe kelvin sensing setups on critical low-resistance nodes.
Probe force variance can remain within normal catalog limits even as severe localized board flexing develops under high test point density.
Kinematics
Actuation Fixture Systems and Press Parallelism
Mechanical closure dynamics of in-circuit test fixtures determine how force builds across fine-pitch probes as the board moves from rest to final test stroke. Vacuum fixtures draw the circuit board downward against probes using atmospheric pressure differential. While vacuum actuation offers fast cycle times, atmospheric pressure applies a uniform downward force of roughly 10 Newtons per square centimeter across the board.
In regions with dense probe clusters, localized probe reaction forces easily exceed available vacuum force, bowing the board upward in dense probe zones while sealing properly at the perimeter.
Pneumatic press fixtures and mechanical servo-driven top plates supply positive downward force capable of overriding high probe resistance. A stiff press plate driven by synchronized pneumatic cylinders maintains rigid control over top-plate positioning during compression. Coplanarity errors between upper push-plates and lower probe plates must remain below 0.05 mm across the entire working area.
Any angular tilt during press engagement causes probes on one side of the assembly to reach solid compression before probes on the opposite side make electrical contact with target pads.
Dual-Stage Fixture Kinematics and Stroke Synchronization
Dual-stage testing uses two distinct probe travel heights to run unpowered component tests and powered functional or boundary-scan tests within a single fixture setup. Long-travel probes land on primary test pads during the first actuation stage, enabling open and short circuit measurements across passive components. Secondary short-travel probes engage target pads only when the fixture compresses fully during the second stage, connecting powered functional nodes without overloading unpowered nets during preliminary screening steps.
Synchronizing stroke travel across mixed-length probe arrays requires calculating total force curves at both test heights. During stage-one compression, long-travel probes compress by 3.0 mm, generating their initial contact force. As the fixture transitions to stage two, long-travel probes compress further toward their solid height limit while short-travel probes make contact.
Incorrect spring force ratios between stage-one and stage-two probe sets create a sudden force step-up during stage two that can stall pneumatic actuators or warp the top plate mid-stroke.
Do Fine Pitch Test Pads Risk Board Warpage?
Placing dense arrays of fine-pitch test points on thin printed circuit boards risks permanent board warpage if fixture support is inadequate. Substrates measuring 0.8 mm or 1.0 mm thick lack flexural rigidity compared to standard 1.6 mm boards. When compressed under thousands of spring probes, thin boards undergo elastic deformation that shifts to permanent plastic deformation if localized stress exceeds the glass transition temperature (Tg) yield strength during elevated-temperature testing.
Proper fixture design incorporates rigid support pillars, localized top-plate push-fingers, and stiffened backing plates to hold the substrate flat throughout testing.
| Fixture Actuation Type | Maximum Aggregate Probe Load (N) | Planarity Control Accuracy (mm) | Typical Board Strain Level (µε) | Deflection Mitigation Strategy |
|---|---|---|---|---|
| Single-Stage Vacuum | 3,500 | ±0.12 | 800 to 1,400 | Perimeter Vacuum Seals & Backup Pins |
| Pneumatic Press Plate | 15,000 | ±0.04 | 300 to 600 | Rigid Push-Finger Matrix & Guide Pins |
| Servo-Electric Mechanical | 25,000 | ±0.02 | 150 to 350 | Precision Linear Bearings & Stiffeners |
| Dual-Stage Hybrid Press | 18,000 | ±0.03 | 250 to 450 | Dynamic Counter-Balance Spring Arrays |
Finite Element Modeling of Fixture Mechanical Loads
Modern fixture design uses Finite Element Analysis (FEA) to model mechanical interactions between probe arrays, push-fingers, and printed circuit assemblies prior to physical fabrication. CAD layout data defining component coordinates, board layer thicknesses, material properties, and test pad locations feed into static stress simulation solvers. Simulation tools model each probe as a discrete force vector acting on the bottom surface of the board while push-fingers act as point or area constraints on the top surface.
FEA displacement maps reveal localized deflection contours across the layout, highlighting high-strain areas near vulnerable BGA packages and ceramic capacitors. Fixture engineers adjust push-finger coordinates and add rigid back-stop pins in simulation software until predicted substrate deflection drops below 0.10 mm across all board sectors. Optimizing push-finger placement through FEA modeling prevents trial-and-error fixture modification on the shop floor, protecting sensitive prototype assemblies from destructive strain during initial fixture integration.
Keep push-finger contact points aligned directly over rigid, component-free substrate areas on the top surface, matching every major probe cluster with an opposing support element on the top plate.
Planarity
Z-Axis Tolerance Stack-up Analysis
Achieving reliable electrical contact across thousands of sub-0.5 mm pitch test pads requires strict control over vertical dimension variations. Z-axis tolerance stack-up represents the accumulated dimensional variance of every mechanical component in the assembly chain between the upper press platen and lower probe plate. Components contributing to vertical position uncertainty include fixture plate thickness tolerances, probe receptacle press-fit seating depth variance, probe overall length tolerance, PCB thickness variations, and structural deflection of the fixture plates under load.
Calculating worst-case tolerance stack-up establishes whether micro-probes operate within their safe mechanical travel range. If accumulated dimensional tolerances exceed the probe working travel window, probes at the short extreme of the tolerance band suffer intermittent electrical contact, while probes at the long extreme bottom out completely. Solid height bottoming occurs when the internal spring compresses fully, turning the probe into a rigid metal rod that transfers direct press force into the test pad, cratering the copper land and damaging internal probe components.
Worked Z-Axis Tolerance Budget Calculation
Consider an ultra-fine-pitch test setup utilizing 20-mil pitch spring probes with a nominal overall length of 12.50 mm, a working travel of 1.35 mm, and a maximum total travel limit of 1.80 mm before bottoming out. The circuit board has a nominal thickness of 1.20 mm. Dimensional variations across the system components are established by physical measurement and manufacturer datasheets:
VarianceFixture Plate Deflection = ± 0.08 mm
VarianceProbe Receptacle Height = ± 0.05 mm
VarianceProbe Maνfacturing Length = ± 0.04 mm
VariancePCB Thickness Fluctuation = ± 0.10 mm
VariancePress Platen Coplanarity = ± 0.06 mm
Summing these individual variance limits using worst-case arithmetic yields the total worst-case Z-axis height uncertainty:
ToleranceWorst-Case = sum |Variancei| = 0.08 + 0.05 + 0.04 + 0.10 + 0.06 = ± 0.33 mm
Applying Root-Sum-Square statistical combination provides a realistic operational tolerance band for volume manufacturing environment evaluations:
ToleranceRSS = sqrt0.082 + 0.052 + 0.042 + 0.102 + 0.062 = sqrt0.0197 ≈ ± 0.140 mm
At nominal setup height, probes compress to their exact 1.35 mm working stroke. Adding the worst-case positive variation of 0.33 mm pushes total probe compression to 1.68 mm. Because 1.68 mm remains below the 1.80 mm maximum travel limit, probe bottoming is avoided.
Subtracting the worst-case negative variation of 0.33 mm reduces compression to 1.02 mm, where probe force drops from a nominal 0.40 Newtons down to 0.28 Newtons. This reduced force remains sufficient to penetrate ENIG finishes but risks contact failure on heavy OSP coatings, proving that fixture planarity must be held tighter than standard commercial tolerances.
Fixture Verification Procedure
Verifying fixture planarity and force distribution requires systematic execution before releasing a new fixture to the assembly line floor. The following verification sequence identifies mechanical alignment defects and prevents product damage.
- Mount the un-populated test fixture onto the press frame and verify primary guide pin alignment using precision gauge blocks.
- Install a flat ground-steel calibration plate equipped with load cell transducers into the fixture housing.
- Actuate the press to working stroke height and record total downward force readings across all press corners to verify platen parallelism.
- Insert a pressure-sensitive indicator film sheet between a blank PCB substrate and the probe plate to map localized contact impressions.
- Compress the fixture fully and remove the indicator film to inspect color intensity patterns across fine-pitch probe zones.
- Measure localized strain levels using a calibrated strain gauge rosette board logged into a high-speed data acquisition system.
- Confirm that recorded microstrain values fall below 500 microstrain across all functional test zones during full press compression.
Probe Pointing Accuracy and X-Y Alignment Precision
Targeting test pads measuring 0.25 mm or 0.18 mm in diameter demands high transverse positioning accuracy from spring contact probes. Pointing accuracy defines the maximum lateral deviation of a probe tip from its true theoretical centerline position at full working stroke extension. Slender micro-probes exhibit pointing accuracy errors ranging from 0.03 mm to 0.08 mm, caused by internal manufacturing clearances between the sliding plunger and outer barrel wall.
Fixtures targeting ultra-fine-pitch pads use guided probe plates to constrain lateral tip movement. A guide plate consists of a high-precision FR4 or G10 composite sheet drilled with micro-holes positioned just above the circuit board surface. Probe tips pass through these guide holes, which hold the tip within 0.015 mm of true position regardless of internal probe play.
Guide plate holes must be free of burrs and dust to prevent plunger sticking, and plates must be registered to the board using hardened steel tooling pins fitted to tight-tolerance alignment holes.
The purchase contract specified that fixture planarity variance across the entire target area shall not exceed plus or minus 0.03 millimeters under maximum operating load, voiding vendor acceptance upon any indication of un-supported board flexing during buy-off testing.
Tolerance
Strain Gauge Rosette Calibration Regimes
Routine verification of in-circuit test fixtures relies on experimental stress analysis conducted in accordance with IPC/JEDEC-9704A standards. Test engineers bond triaxial strain gauge rosettes directly to high-risk locations on an un-populated printed circuit board coupon. Key locations include substrate regions immediately adjacent to large BGA packages, corners of rigid shield cans, and dense clusters of micro-probes.
Each rosette contains three independent strain measuring elements arranged at 0-degree, 45-degree, and 90-degree orientations, allowing precise determination of principal strain magnitudes and principal directions.
Strain measurements logged during fixture press engagement must capture high-speed transient events occurring within the first 50 milliseconds of mechanical contact.
Data acquisition systems recording fixture strain must sample channels at frequencies of 10 Kilohertz or higher to capture transient mechanical shocks during rapid pneumatic press closure. Maximum principal strain (ε1) and minimum principal strain (ε2) are calculated from raw directional strain readings (εa, εb, εc) using standard elasticity equations:
ε1,2 = fracεa + εc2 ± frac1sqrt2 sqrt(εa – εb)2 + (εb – εc)2
Calculated principal strain values and calculated strain rate values (fracdεdt) are plotted against the IPC/JEDEC allowable strain limit curve for the specific component packaging and substrate thickness under evaluation. If recorded strain exceeds allowable limits during press engagement or press release, fixture engineers adjust push-finger locations or reduce spring forces on non-critical probes to bring substrate stress back into specification compliance.
Pre-Production Audit Checklist
Releasing ultra-fine-pitch in-circuit test fixtures for high-volume manufacturing requires passing a rigorous technical audit. The following audit criteria must be verified against physical evidence prior to production release.
- Strain Gauge Certification confirms that peak strain levels across all monitored BGA locations remain below 500 microstrain during full fixture stroke.
- Push-Finger Spatial Audit verifies that every support element aligns directly opposite dense probe arrays without overlapping surface components.
- Probe Force Balancing Review validates that calculated center of probe force matches the mechanical actuation axis within 0.50 mm.
- Contact Resistance Mapping establishes baseline contact resistance readings below 50 milliohms across all 20-mil and 15-mil pitch nodes.
- Z-Axis Travel Verification proves that micro-probes maintain at least 0.20 mm of remaining travel clearance before reaching solid compression height.
- Tooling Pin Registration Check measures tooling pin location accuracy to ensure target pad alignment within 0.025 mm lateral clearance.
| Defect Class | Probe Dynamics Contributor | Verification Methodology | Acceptance Threshold |
|---|---|---|---|
| MLCC Ceramic Capacitor Micro-Cracking | Unbalanced local probe force causing local bending | Triaxial Strain Gauge Rosette (IPC-9704A) | < 500 microstrain principal strain |
| BGA Pad Cratering & Solder Tear | Excessive tensile stress under component corners | High-Speed Transient Strain Acquisition | < 750 microstrain at 1.0 mm board thickness |
| Microvia Barrel Fracturing | Sharp tip over-penetration into thin prepreg | Cross-Sectional Microsectioning & Optical Scan | Zero dielectric layer cracking under test land |
| Intermittent False Open Failures | Spring force decay or plunger lateral binding | Multi-Node Kelvin Contact Resistance Sweep | < 50 mΩ contact resistance across 1,000 actuations |
Probe Lifespan Maintenance and Force Decay
Fine-pitch spring contact probes exhibit accelerated wear rates compared to standard 100-mil fixture probes. Micro-springs operating under continuous high stress suffer mechanical fatigue that degrades output force over time. Dirt, un-cured solder flux, and metallic oxides accumulate inside micro-barrels and on probe tips, raising electrical contact resistance and causing false open-circuit calls on automated production lines.
Test facilities must implement scheduled preventative maintenance routines based on total fixture stroke counts recorded by automated cycle counters mounted on press frames.
Preventative maintenance schedules for sub-0.5 mm pitch probes mandate tip cleaning every 25,000 cycles using specialized brushes or high-purity solvent sprays to remove organic residues without dulling sharp tip points. Micro-probes must undergo complete replacement upon reaching 100,000 to 250,000 actuation cycles, depending on operating environmental conditions and target pad surface finishes. Tracking probe replacement intervals and force calibration metrics prevents subtle contact degradation from compromising overall fault coverage rates during volume manufacturing runs.
How far can micro-probe spring rates be reduced to protect ultra-thin HDI substrates before electrical contact reliability on un-cleaned OSP surface finishes falls below acceptable manufacturing yields?