Triaxial Strain Rosette Signal Analysis for In-Circuit Test Fixture Qualification
Triaxial strain rosette signal analysis qualifies ICT fixtures by resolving multi-axis strain rates against IPC/JEDEC-9704 limits to prevent solder cracking.
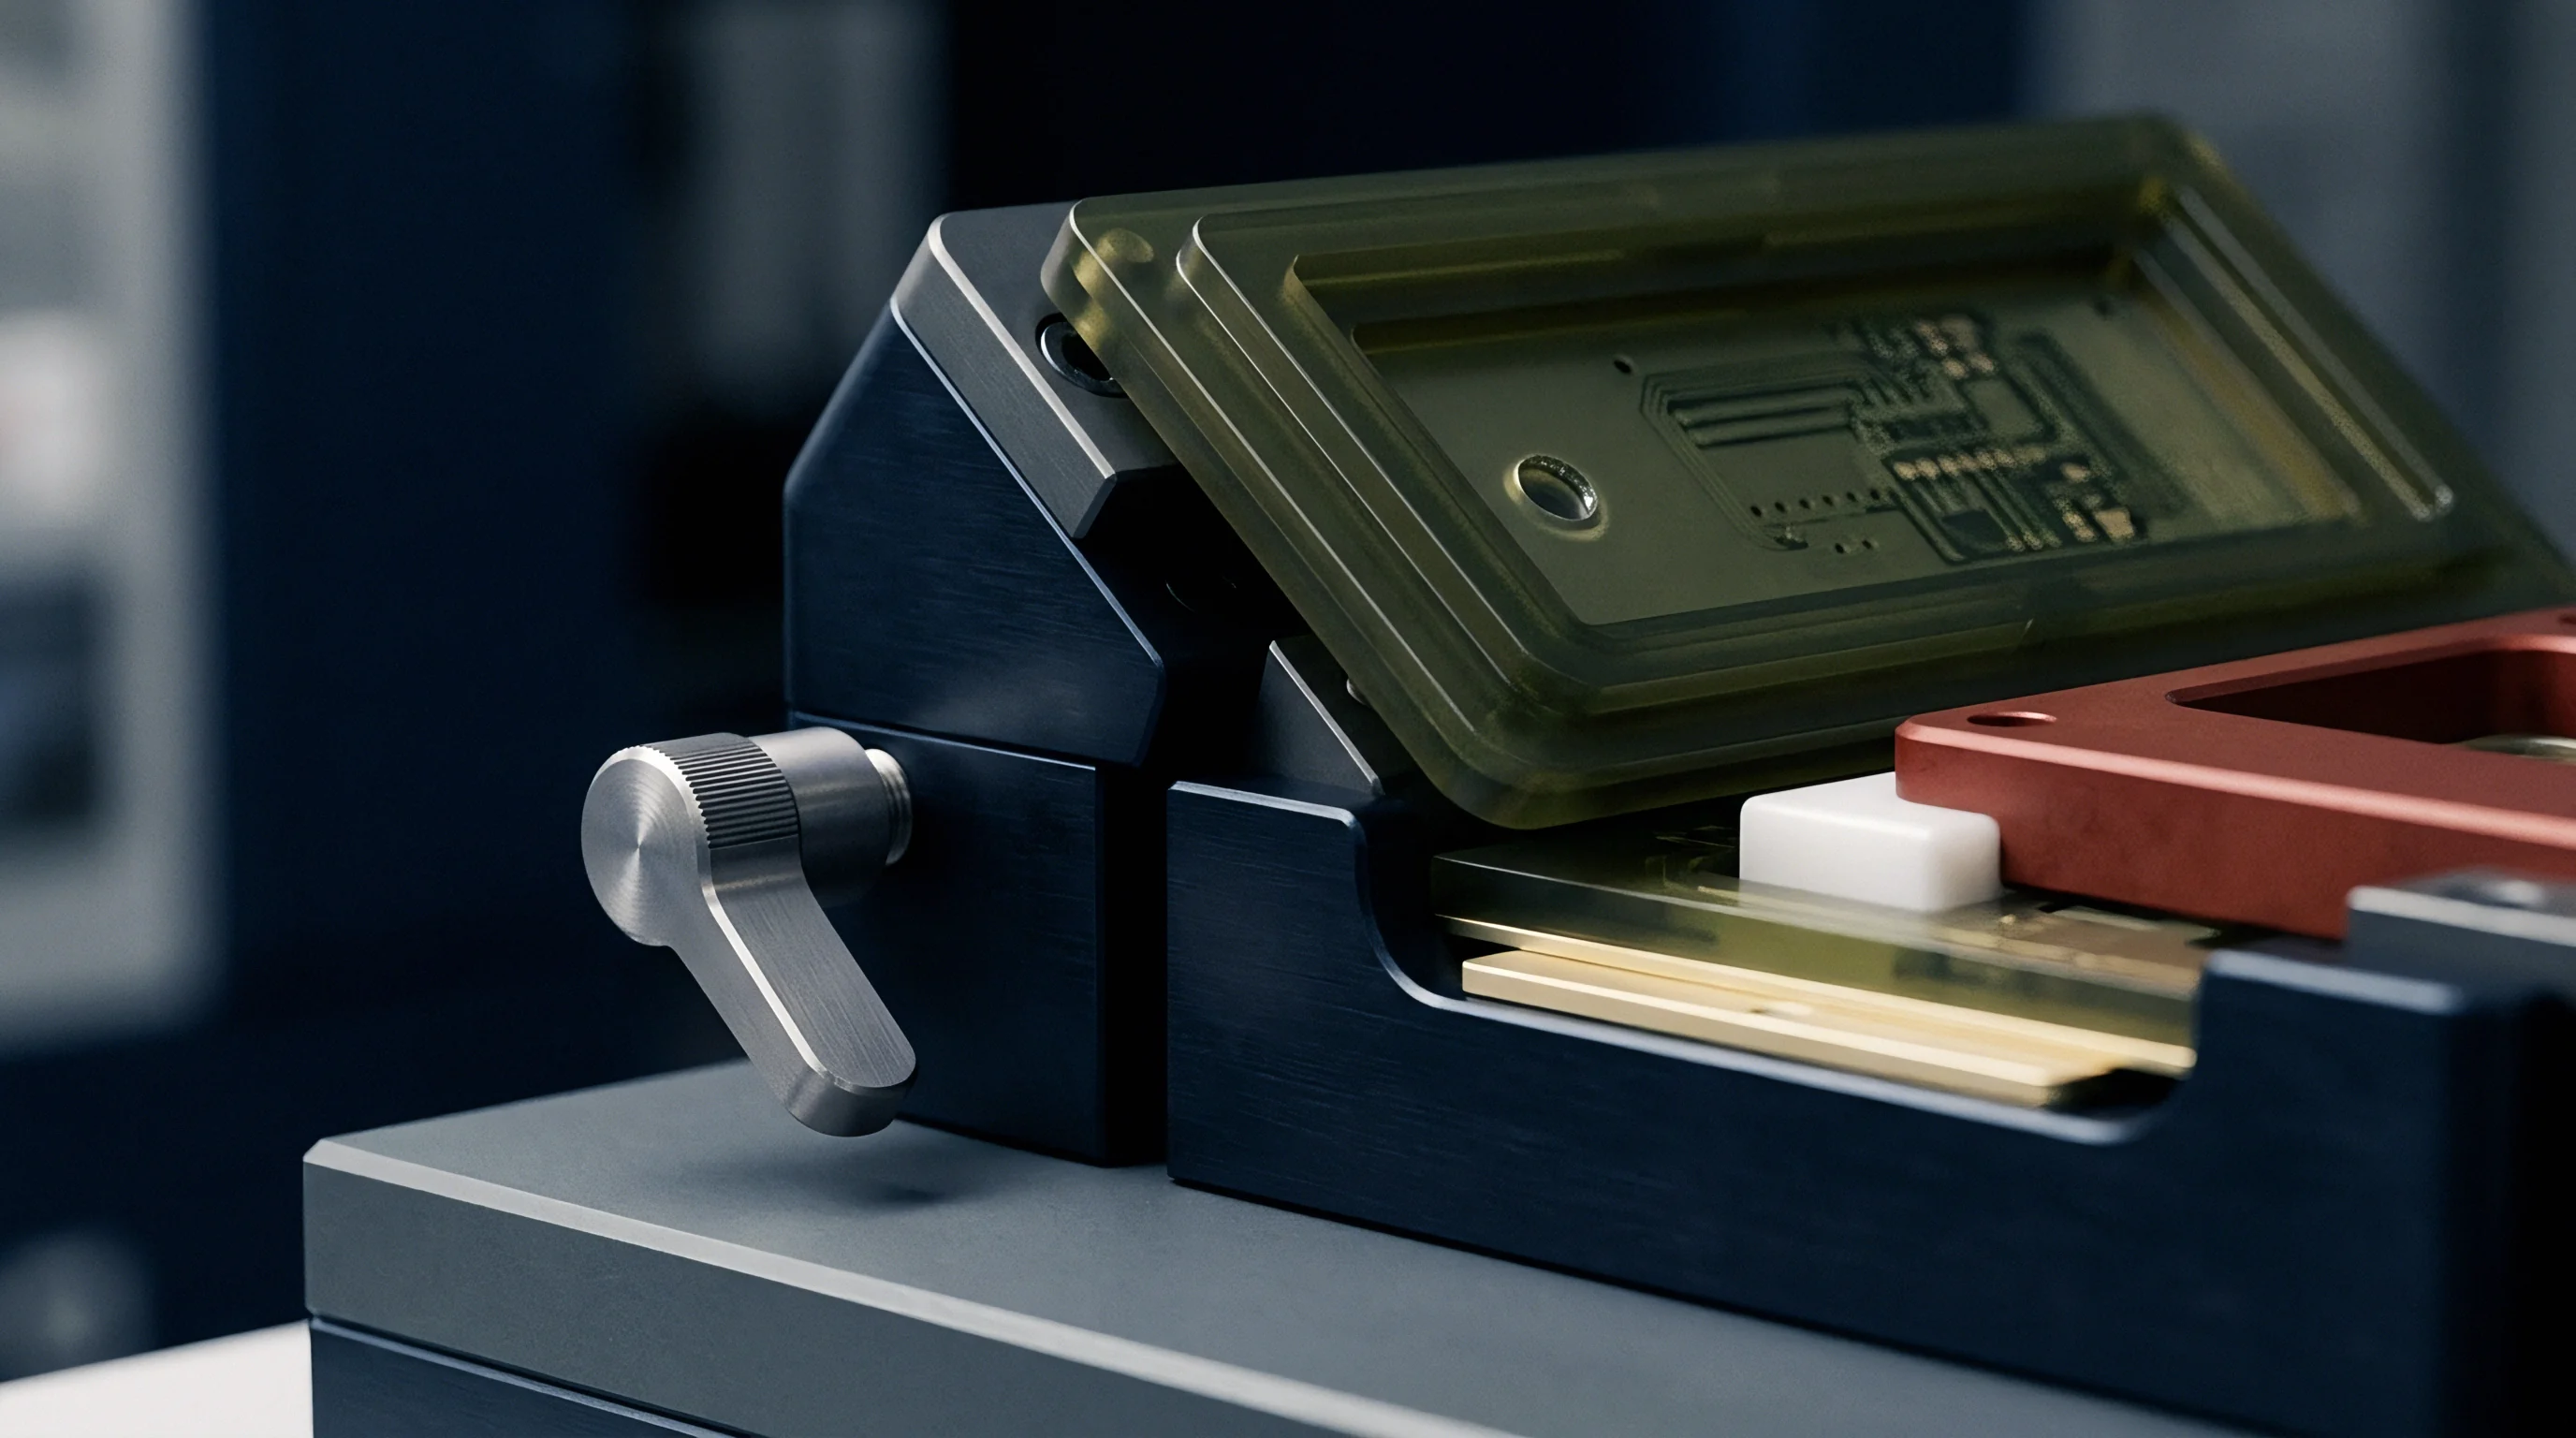

Topology
Printed circuit board assemblies flex under in-circuit testing loads. Spring-loaded test probes generate cumulative localized forces reaching hundreds of Newtons across a dense bed-of-nails fixture. As these contact pins press against opposing push gates or hold-down fingers, the substrate undergoes complex out-of-plane bending and localized curvature.
Surface-mount solder joints ~ especially under ball grid array packages ~ contain brittle intermetallic layers that can fracture under microscopic displacement. Properly qualifying an in-circuit test fixture requires empirical measurement of transient strain fields during pneumatic actuation, probe engagement, board contact, and fixture release.
Solder joint fracture during fixture actuation is a major cause of field failures in high-reliability assemblies. Monolithic ceramic capacitors, fine-pitch surface-mount interconnects, and package-to-board solder balls suffer tensile strain concentrations along their edges. Single-axis strain gauges fail to capture these multidirectional stress states because principal deformation axes seldom align with orthogonal board edges.
Triaxial strain rosettes resolve the full planar strain tensor at critical points, giving engineers the data needed to avoid pad cratering, trace shearing, and solder ball interfacial separation.

Gauge Placement and Proximity Criteria
Rosette placement determines whether measured strain captures peak mechanical risk. The highest strain occurs directly beneath the package perimeter, right at the outermost corner solder joints where shear and peeling stresses peak. Because physical constraints prevent mounting sensors directly under soldered parts, test engineers place triaxial rosettes on the secondary side beneath component corners, or on the primary side within tight lateral distances from the package edge.
IPC/JEDEC-9704 sets strict rules for rosette placement during test process qualification. The distance between the gauge center and the edge of the package solder pad dictates the magnitude of post-processing correction factors. Finite element models and empirical testing both confirm that mechanical strain drops off exponentially as distance from a rigid component boundary increases.
A gauge placed outside the primary strain gradient registers compliant substrate deflection rather than component stress.
Placing sensors more than three millimeters from the corner ball pad causes measured strain values to underestimate actual interface strain by thirty to sixty percent. Qualification sensor layouts are established using detailed copper routing overlays and fixture drill maps. Rosettes need to cover locations adjacent to high-force spring pins, pneumatic pushers, board stops, and heavy rigid parts.
Choosing between rectangular rosettes and delta configurations comes down to available clearance and measurement preferences. A few operational trade-offs shape sensor selection across typical layouts:
- Stacked Rectangular Rosettes occupy minimal surface area by layering three sensing grids with zero, forty-five, and ninety-degree orientations over a single footprint, making them ideal for tight board margins between zero-four-zero-two passives and fine-pitch area-array devices.
- Planar Rectangular Rosettes spread the three measurement grids across a single foil plane, maintaining uniform thermal dissipation and zero height offset between channels, though they demand a larger clear area free of exposed vias and component lands.
- Delta Rosette Configurations arrange grids at zero, sixty, and one-hundred-twenty-degree angles, distributing measurement vectors symmetrically across isotropic substrates ~ a distinct advantage when tracking omnidirectional flexure around asymmetric hold-down clamps.
Surface preparation prior to gauge installation directly dictates signal fidelity. Technicians strip conformal coatings, remove soldermask residue using precision abrasives, and degrease the epoxy-glass laminate with reagent-grade isopropyl alcohol. Cyanoacrylate adhesives create thin, rigid bond lines suitable for room-temperature qualification runs, whereas heat-cured epoxies suit long-term continuous monitoring.
Misaligned gauge axes or thick adhesive layers dampen peak strain transfer from the laminate to the constantan foil grid, yielding invalid test data.
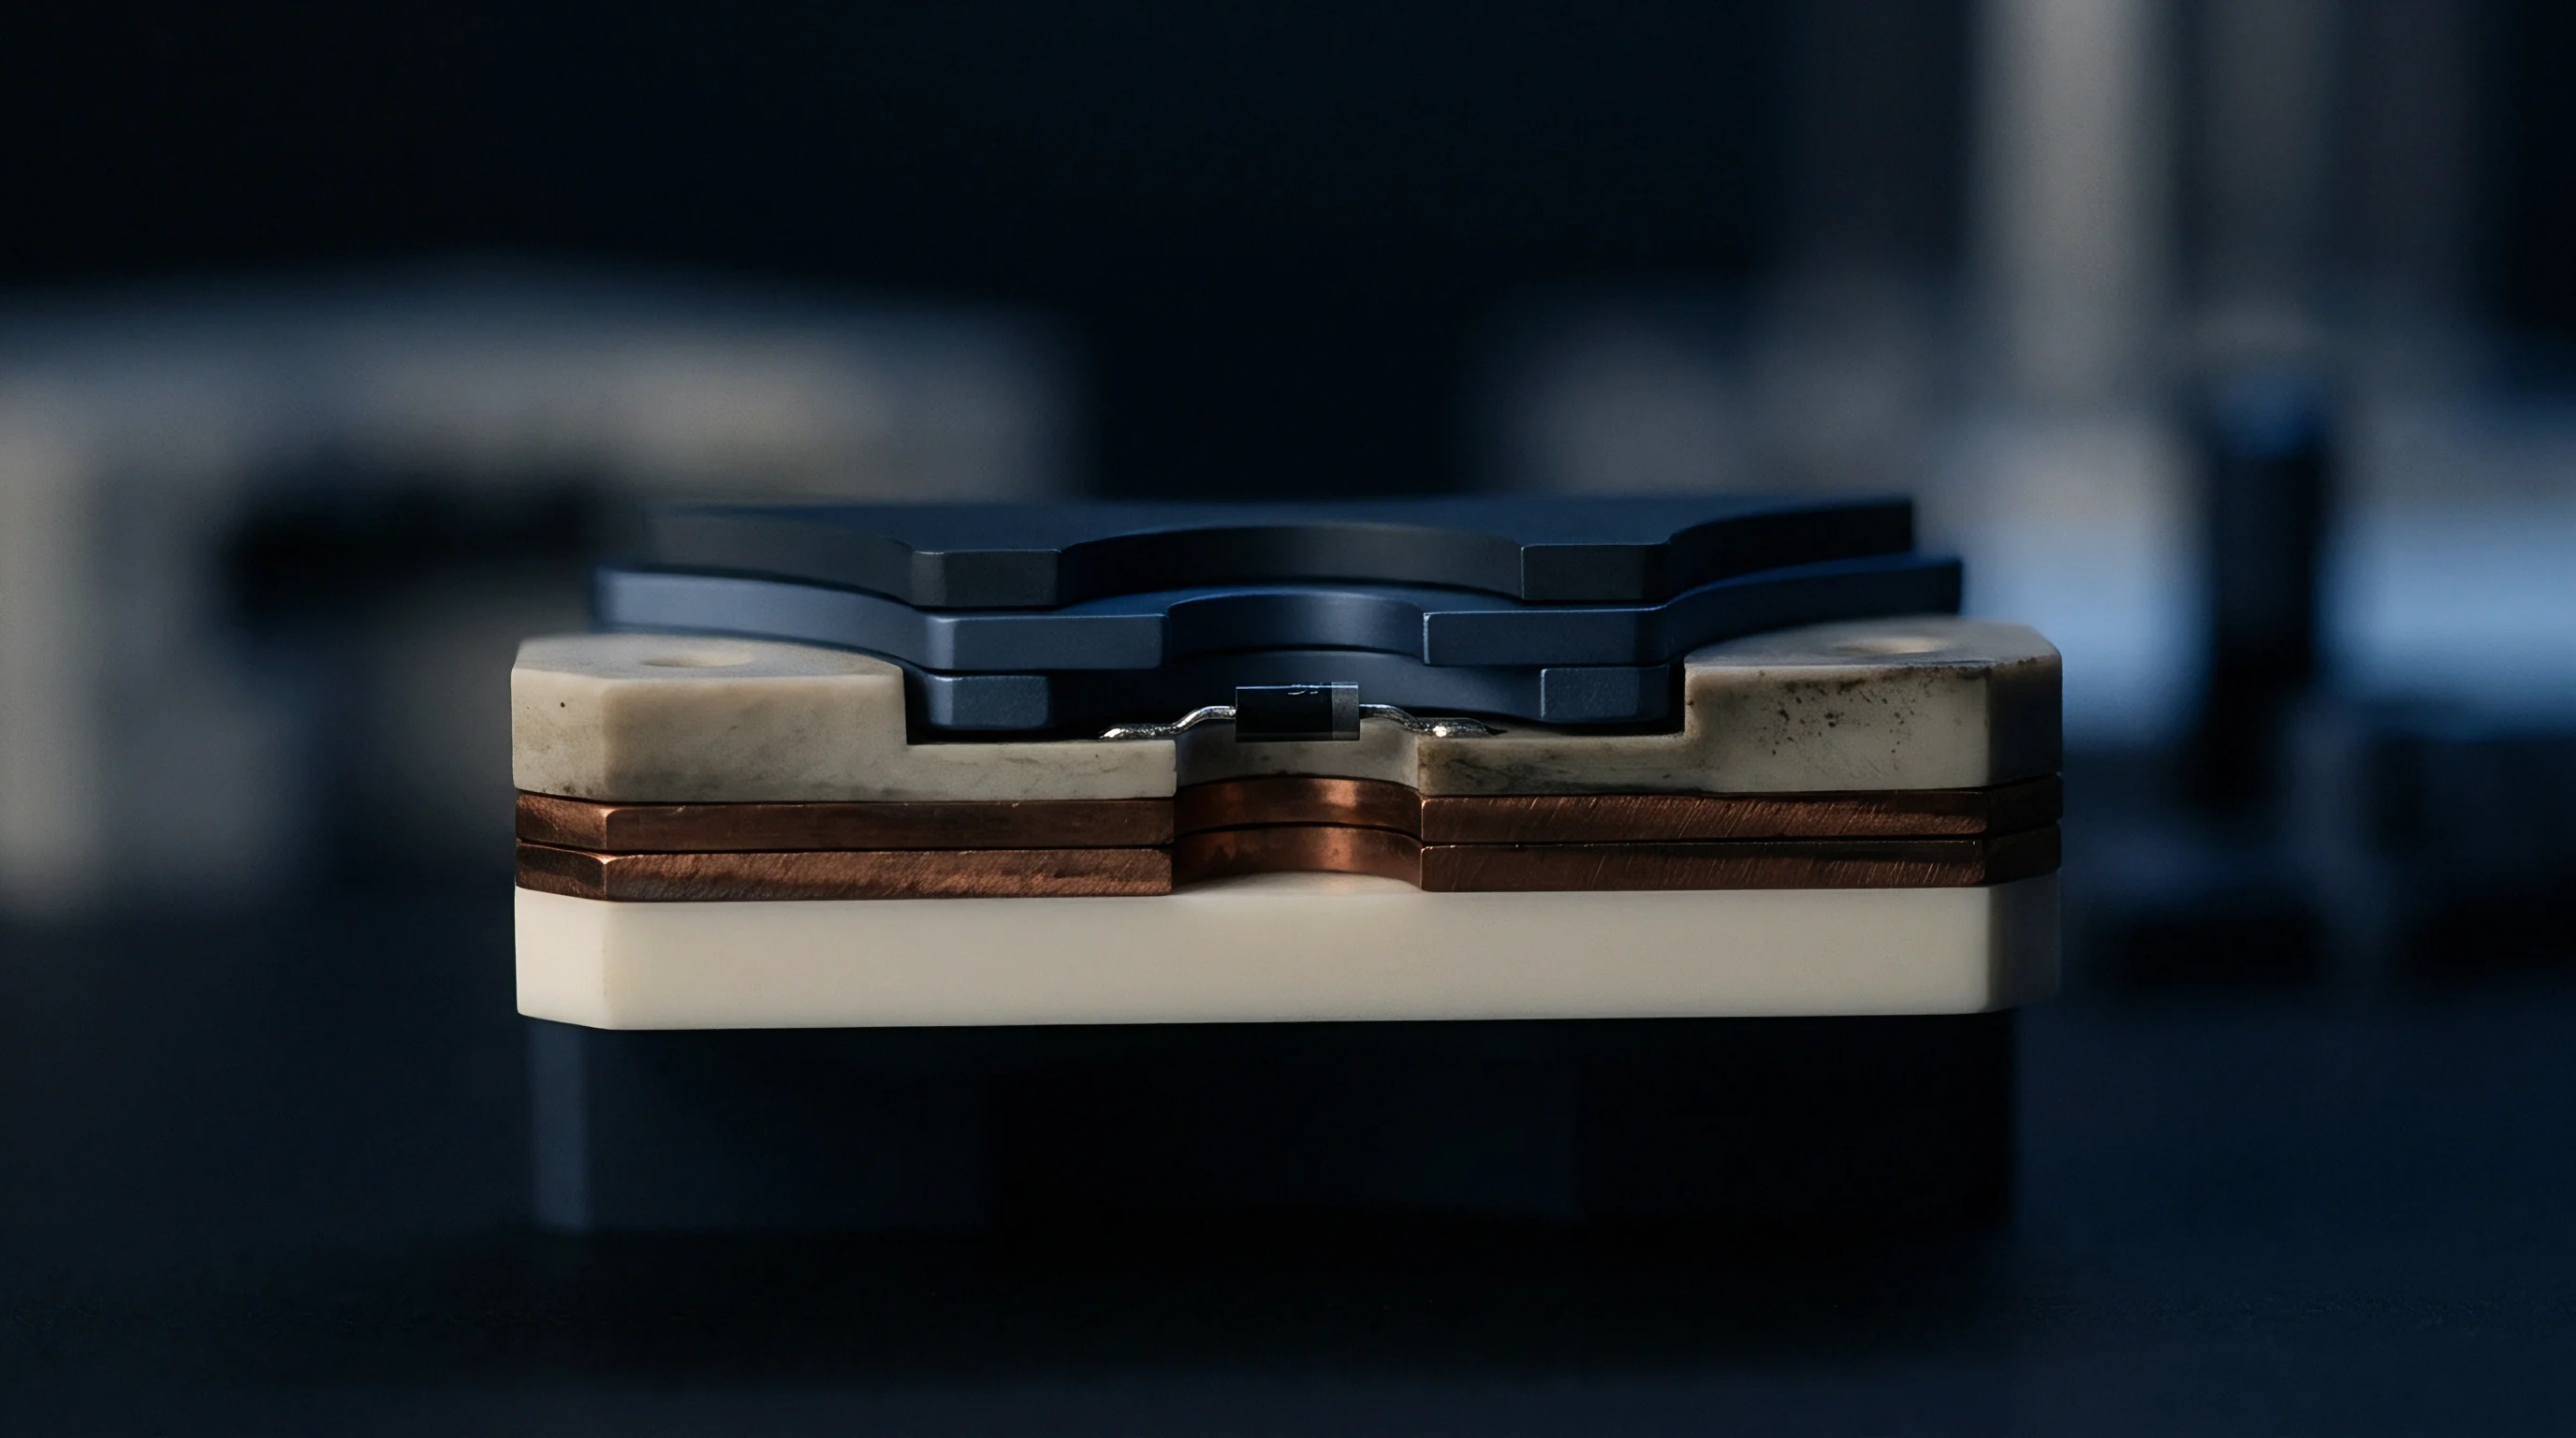
Are Primary Package Boundaries Fully Monitored?
Assessing mechanical risk requires full visibility across structural discontinuities on the board. Large ball grid arrays, package-on-package stacks, edge connectors, and surface-mount power modules act as rigid inclusions within a flexible board frame. During fixture closure, the assembly flexes over support anvils, driving flexural moments directly into rigid component boundaries.
Peak strain gradients gather at the outer diagonal corners of large area-array packages. Standard qualification plans schedule rosettes on at least two diagonally opposing corners of every package exceeding twenty-one millimeters on a side. High-insertion-force connectors also need dedicated rosette channels positioned between mounting posts and adjacent sensitive passives.
Signal wires running from the rosettes must terminate without applying mechanical loads or interfering with moving push plates. Shielded twisted-pair lead wires run along designated fixture channels, taped down with polyimide to keep movement from injecting triboelectric noise into low-level microstrain signals. A loose wire harness will easily corrupt transient measurements.
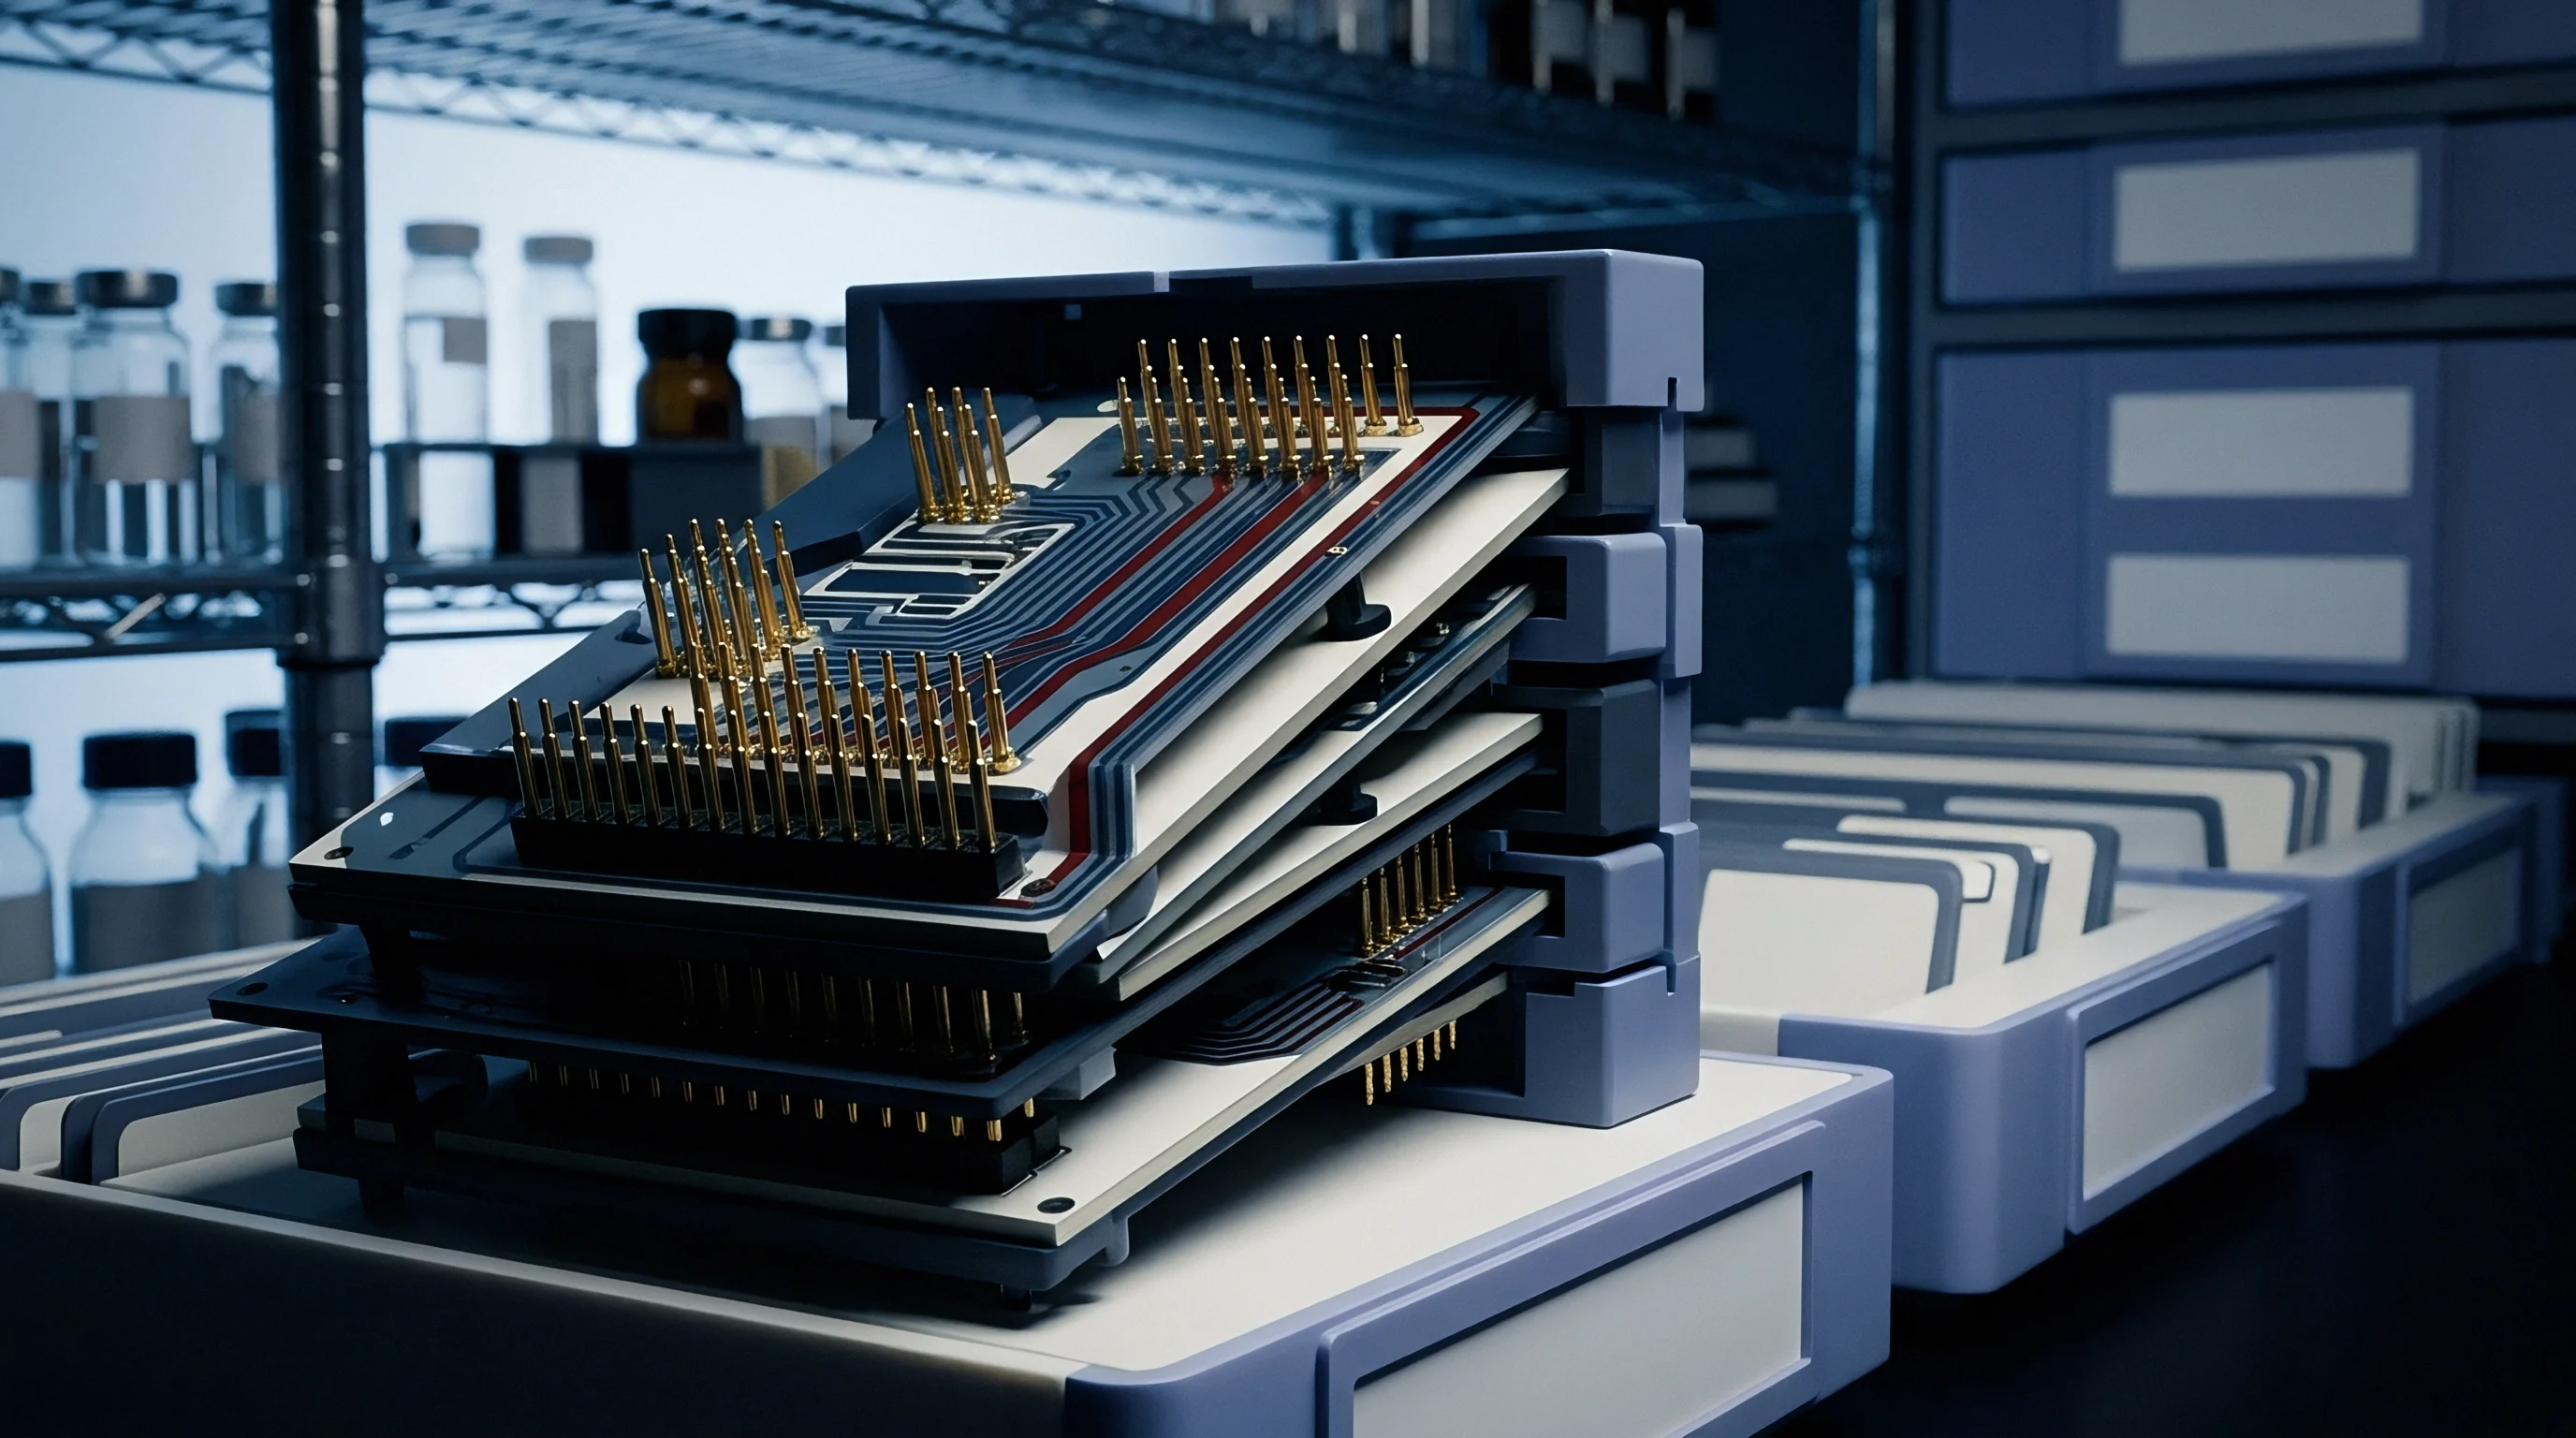
Tensor
Strain gauges convert dimensional changes into electrical resistance variations through the piezoresistive effect. The gauge factor ties fractional resistance changes to mechanical strain along the grid axis. Triaxial rosettes measure three distinct normal strains at set angular offsets ~ labeled channel A, channel B, and channel C. Because board deformation acts as a two-dimensional plane stress state on the surface, these three independent scalar readings allow exact calculation of the full planar strain tensor.
Signal acquisition setups use Wheatstone bridges, typically configured as quarter-bridge circuits with internal completion resistors and three-wire lead compensation. The three-wire layout cancels out resistance shifts in the leads caused by temperature changes over long test runs. Signal conditioning hardware combines high-impedance instrumentation amplifiers, low-pass anti-aliasing filters, and precision ADCs running at a minimum of two thousand samples per second per channel.
Transforming the three raw strain readings into principal strains relies on standard mechanics. For a rectangular rosette aligned at zero degrees (channel A), forty-five degrees (channel B), and ninety degrees (channel C), normal strains translate into maximum and minimum principal strains through straightforward algebraic reduction.
Normal strain along the X-axis matches channel A, while normal strain along the Y-axis matches channel C. Engineering shear strain across the XY plane stems from the intermediate forty-five-degree reading on channel B.
Shear strain equals twice channel B minus the sum of channels A and C. With these three components established, Mohr’s circle transformations yield the maximum principal strain (epsilon one) and minimum principal strain (epsilon two):
Epsilon one and two equal the average of epsilon A and epsilon C, plus or minus the square root of the quantity epsilon A minus epsilon B squared, plus the quantity epsilon B minus epsilon C squared, all multiplied by the square root of two divided by two. This formulation reveals the peak tensile and compressive strains on the laminate regardless of how the gauge aligns with the primary bending axis.
The angle of maximum principal strain relative to the zero-degree reference axis indicates the direction of dominant tensile stress:
Theta equals one half of the arc tangent of the quantity two times epsilon B minus epsilon A minus epsilon C, divided by the quantity epsilon A minus epsilon C. Tracking this angle across the actuation cycle reveals shifts in mechanical loading vectors, including torsional warping from misaligned push rods or uneven vacuum seals.
Delta rosettes use grids set at zero, sixty, and one-hundred-twenty degrees, requiring a different transformation matrix. Mean strain equals one third the sum of all three channels, while maximum and minimum principal strains derive from the square root of squared differences between channel readings.
| Rosette Configuration | Grid Orientation | Principal Strain Formulation | Shear Strain Formulation | Angular Resolution Limit |
|---|---|---|---|---|
| Rectangular Triaxial | 0, 45, 90 degrees | 0.5 (eA + eC) +/- 0.5 sqrt(2 (eA – eB)^2 + 2 (eB – eC)^2) | 2 eB – (eA + eC) | 0.1 degrees |
| Delta Triaxial | 0, 60, 120 degrees | (eA + eB + eC)/3 +/- (sqrt(2)/3) sqrt((eA – eB)^2 + (eB – eC)^2 + (eC – eA)^2) | (2/sqrt(3)) (eC – eB) | 0.1 degrees |
| Biaxial Orthogonal | 0, 90 degrees | Direct axial reading only; assumes shear strain equals zero | Unresolvable | Indeterminate |
| Stacked Rectangular | 0, 45, 90 degrees layered | Identical to planar rectangular with z-axis height compensation | 2 eB – (eA + eC) | 0.2 degrees |
Sampling frequency directly affects whether transient peaks are caught. Test fixtures use fast pneumatic or mechanical clamping. Push gates shut within tens of milliseconds, while vacuum pull-down fixtures engage in under two hundred milliseconds.
Low sampling rates smooth over high-frequency spikes, hiding destructive mechanical transients.
Qualification runs require data capture rates between five kilohertz and ten kilohertz. High-speed acquisition resolves microsecond-scale oscillations from pogo pin spring releases or latch engagement. Digital anti-aliasing filters remove fifty-hertz and sixty-hertz line noise without adding group delay distortion to transient strain rate calculations.
Rosette calibration relies on precision resistance shunt calibration across each bridge arm. Placing a known precision resistor across the active arm induces a predictable microstrain deflection. The signal conditioner measures the resulting voltage step to derive the empirical channel gain.
Lead wire resistance, interface block contact resistance, and temperature shifts all create gain errors that shunt calibration cleans up before recording starts.
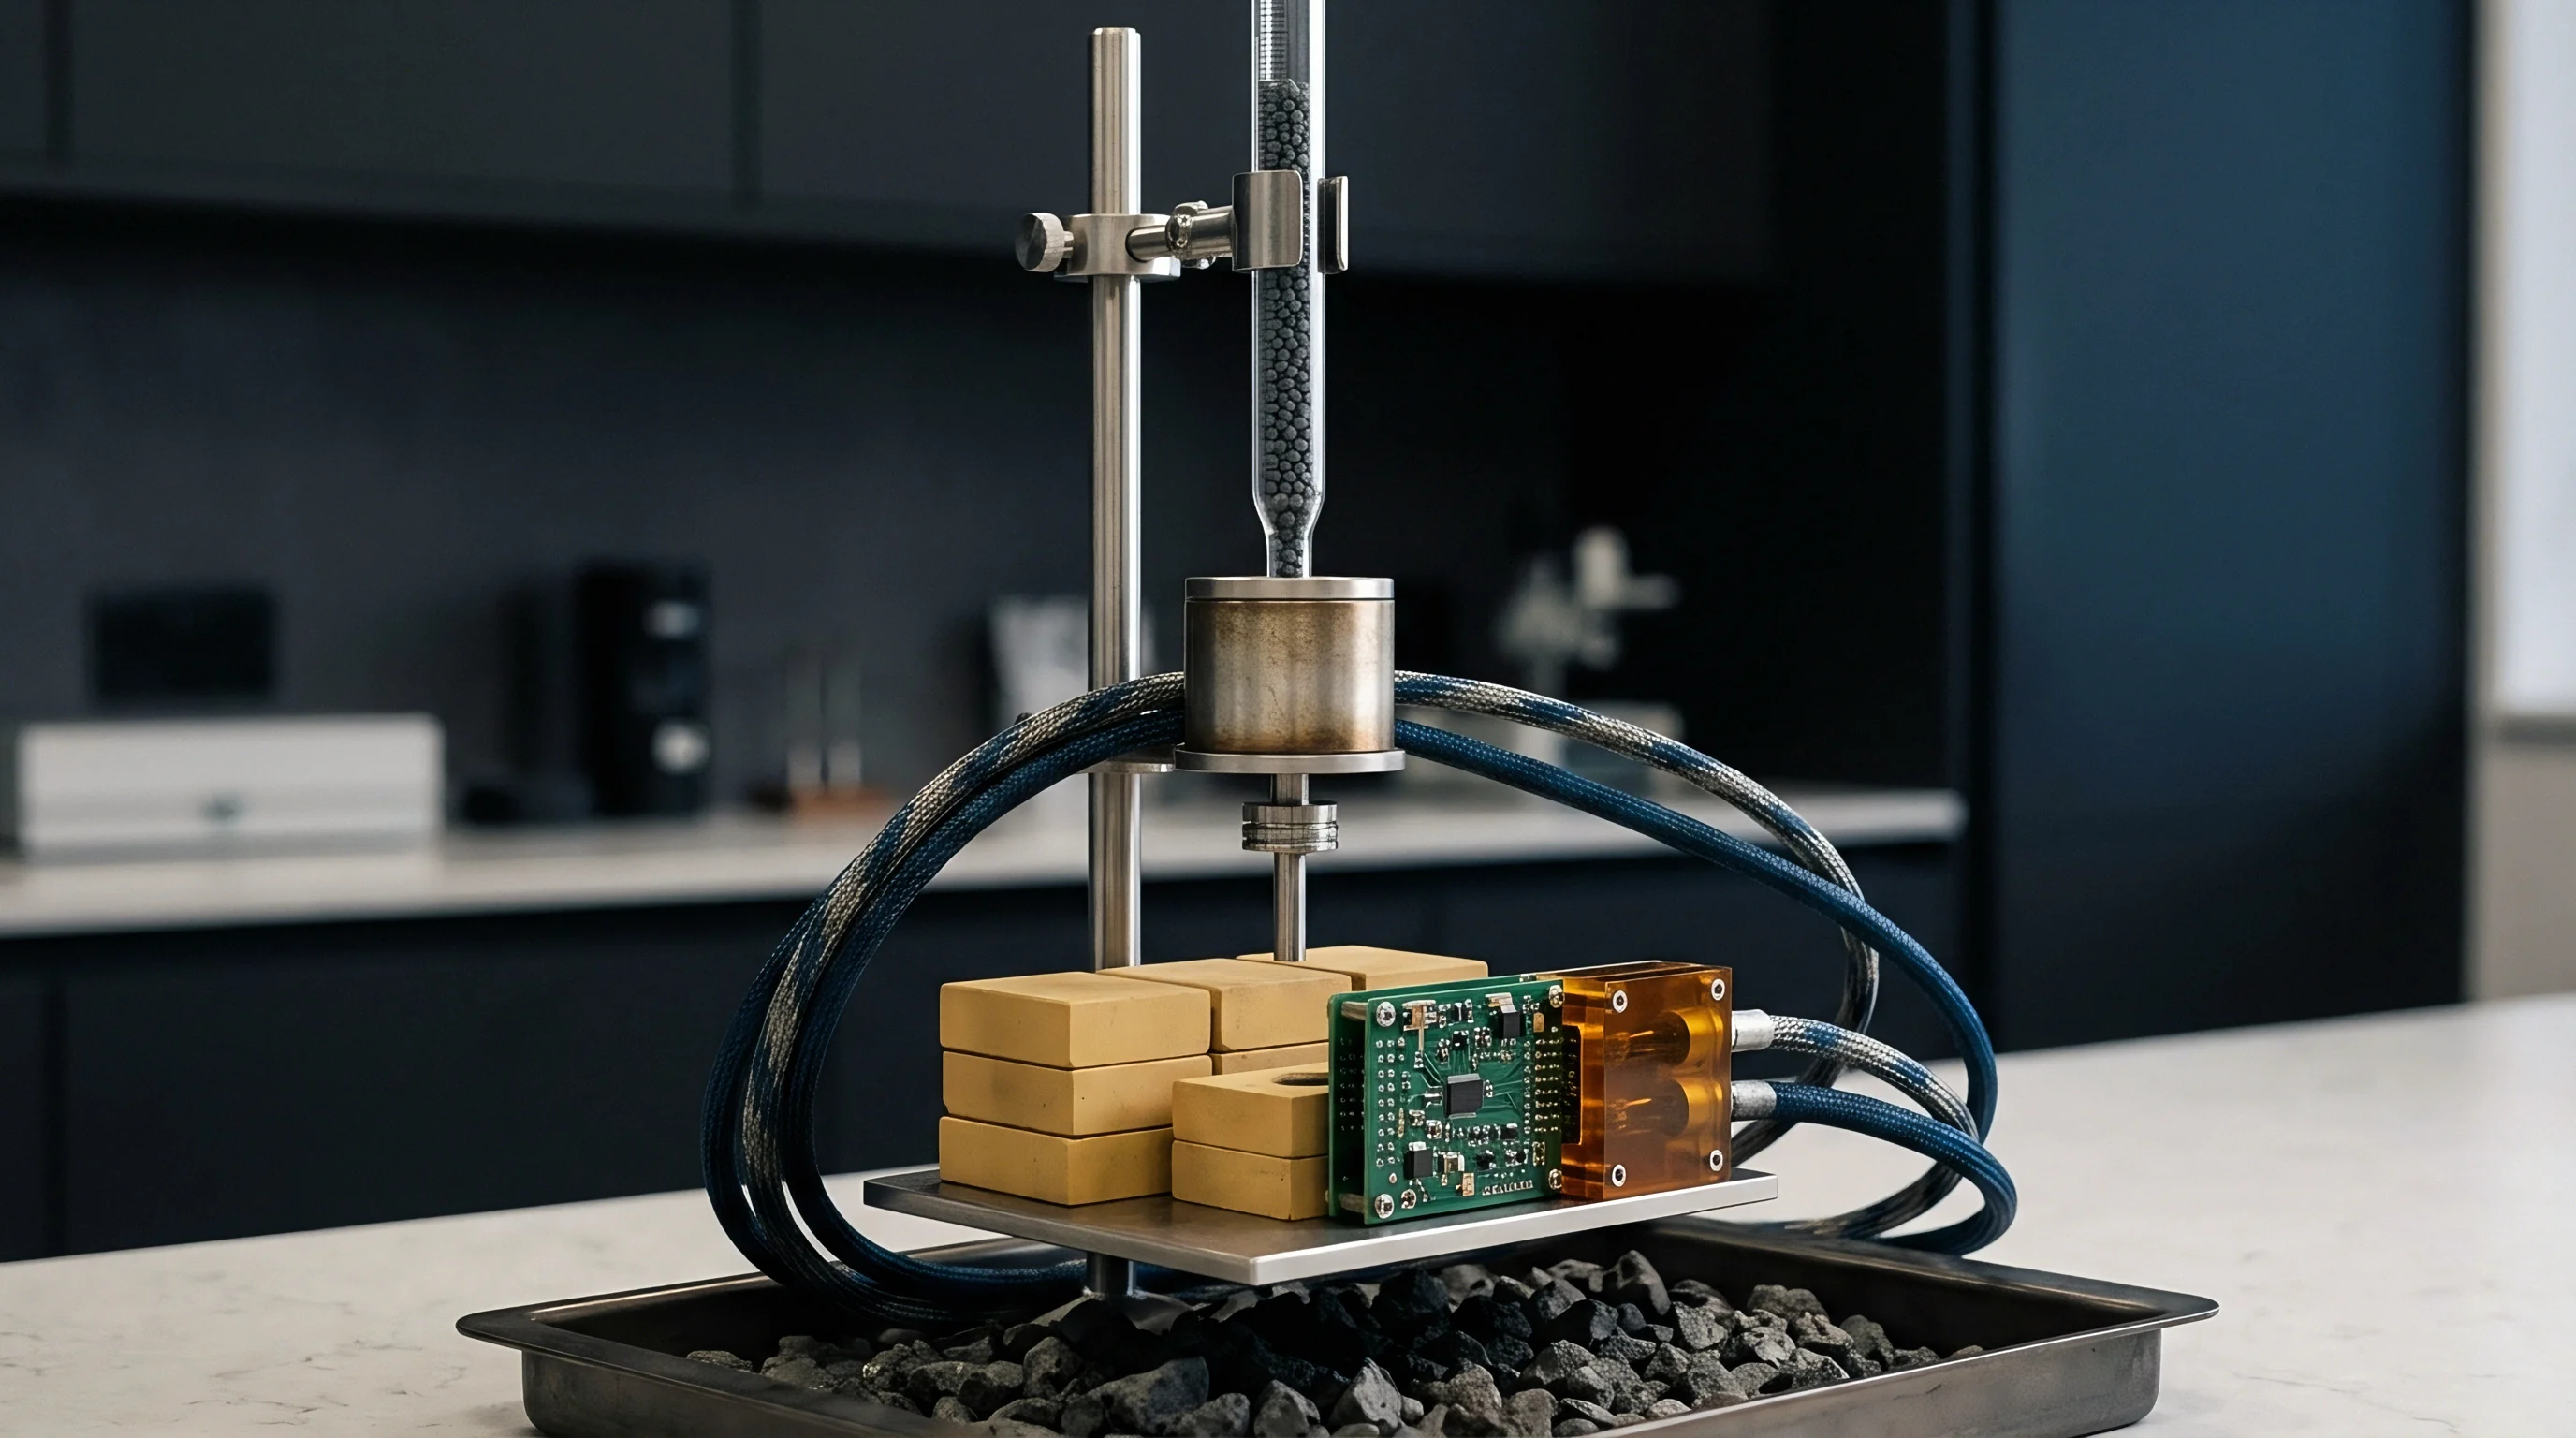
Limit
Raw strain magnitude alone doesn’t set component damage limits. The deformation rate dictates the viscoelastic response of the resin and the fracture toughness of intermetallic solder joints. Rapid mechanical displacement concentrates stress along solder interfaces, forcing brittle cleavage along intermetallic boundaries.
Slower movement allows creep relaxation within the bulk solder alloy, absorbing strain without initiating cracks.
IPC/JEDEC-9704 plots allowable strain limits directly against strain rate. The standard defines principal strain envelopes spanning static loading up to dynamic impacts exceeding one hundred thousand microstrain per second. On standard FR-4 laminates with lead-free SAC305 solder joints, allowable peak principal tensile strain drops logarithmically as strain rate rises.
A strain level acceptable at ten microstrain per second induces interfacial fractures when applied at fifty thousand microstrain per second.
Calculating strain rate requires taking the first time derivative of the principal strain signal. Because discrete numerical differentiation on raw data creates harsh high-frequency noise spikes, qualification software runs polynomial smoothing or Savitzky-Golay filtering across a sliding window before calculating d(epsilon)/dt.
The instantaneous strain rate matches the highest rate of change across all three gauge channels, or the direct time derivative of maximum principal strain epsilon one. At each point in the actuation record, the combination of maximum principal strain and instantaneous strain rate is plotted against the boundary limit in the qualification envelope.
| Strain Rate (ue/s) | Substrate Thickness 0.8 mm | Substrate Thickness 1.6 mm | Substrate Thickness 2.4 mm | Failure Mode Risk |
|---|---|---|---|---|
| 1 to 10 | 950 ue | 700 ue | 520 ue | Bulk solder creep deformation |
| 100 | 800 ue | 580 ue | 430 ue | Solder grain boundary cavitation |
| 1,000 | 680 ue | 490 ue | 360 ue | IMC micro-void coalescence |
| 10,000 | 570 ue | 410 ue | 300 ue | Brittle IMC interfacial fracture |
| 100,000 | 480 ue | 340 ue | 250 ue | Resin pad cratering and trace tear |
Substrate thickness shifts these thresholds. Thicker boards have higher flexural rigidity, creating greater bending moments and interfacial shear stress for the same surface microstrain reading. A two-point-four millimeter board requires lower allowable strain limits than a flexible zero-point-eight millimeter board.
Package size and solder alloy composition require further adjustments. Packages larger than thirty-five millimeters on an edge concentrate heavy peeling stresses at their edges due to thermal expansion mismatch and long lever arms when the board warps. Solder alloys with nickel, antimony, or bismuth alter intermetallic structure, shifting failure modes from ductile bulk shear to sudden brittle cleavage.
Pad cratering is the most insidious failure mode picked up during strain testing. Under tensile bending, the copper pad pulls away from the dielectric laminate. Micro-cracks start in the epoxy resin right under the foil and propagate during thermal or vibrational cycling.
Because electrical contact stays continuous at first, the defect escapes initial factory testing. Later in the field, thermal expansion pulls the pad entirely off the laminate, breaking the circuit and causing catastrophic failure.
Evaluating signal data against IPC-A-610 Class 3 acceptance criteria requires verifying that neither maximum principal strain nor minimum compressive strain exceeds allowable limits during any part of the test cycle. A single excursion past the critical boundary fails fixture qualification. Averaging across multiple cycles to hide individual spikes is explicitly forbidden.
Contracts for mission-critical hardware require that every fixture qualification report includes full time-domain strain and strain-rate records for all monitored channels, complete with explicit pass-fail evaluations based on IPC/JEDEC-9704 Section 6.
Pusher
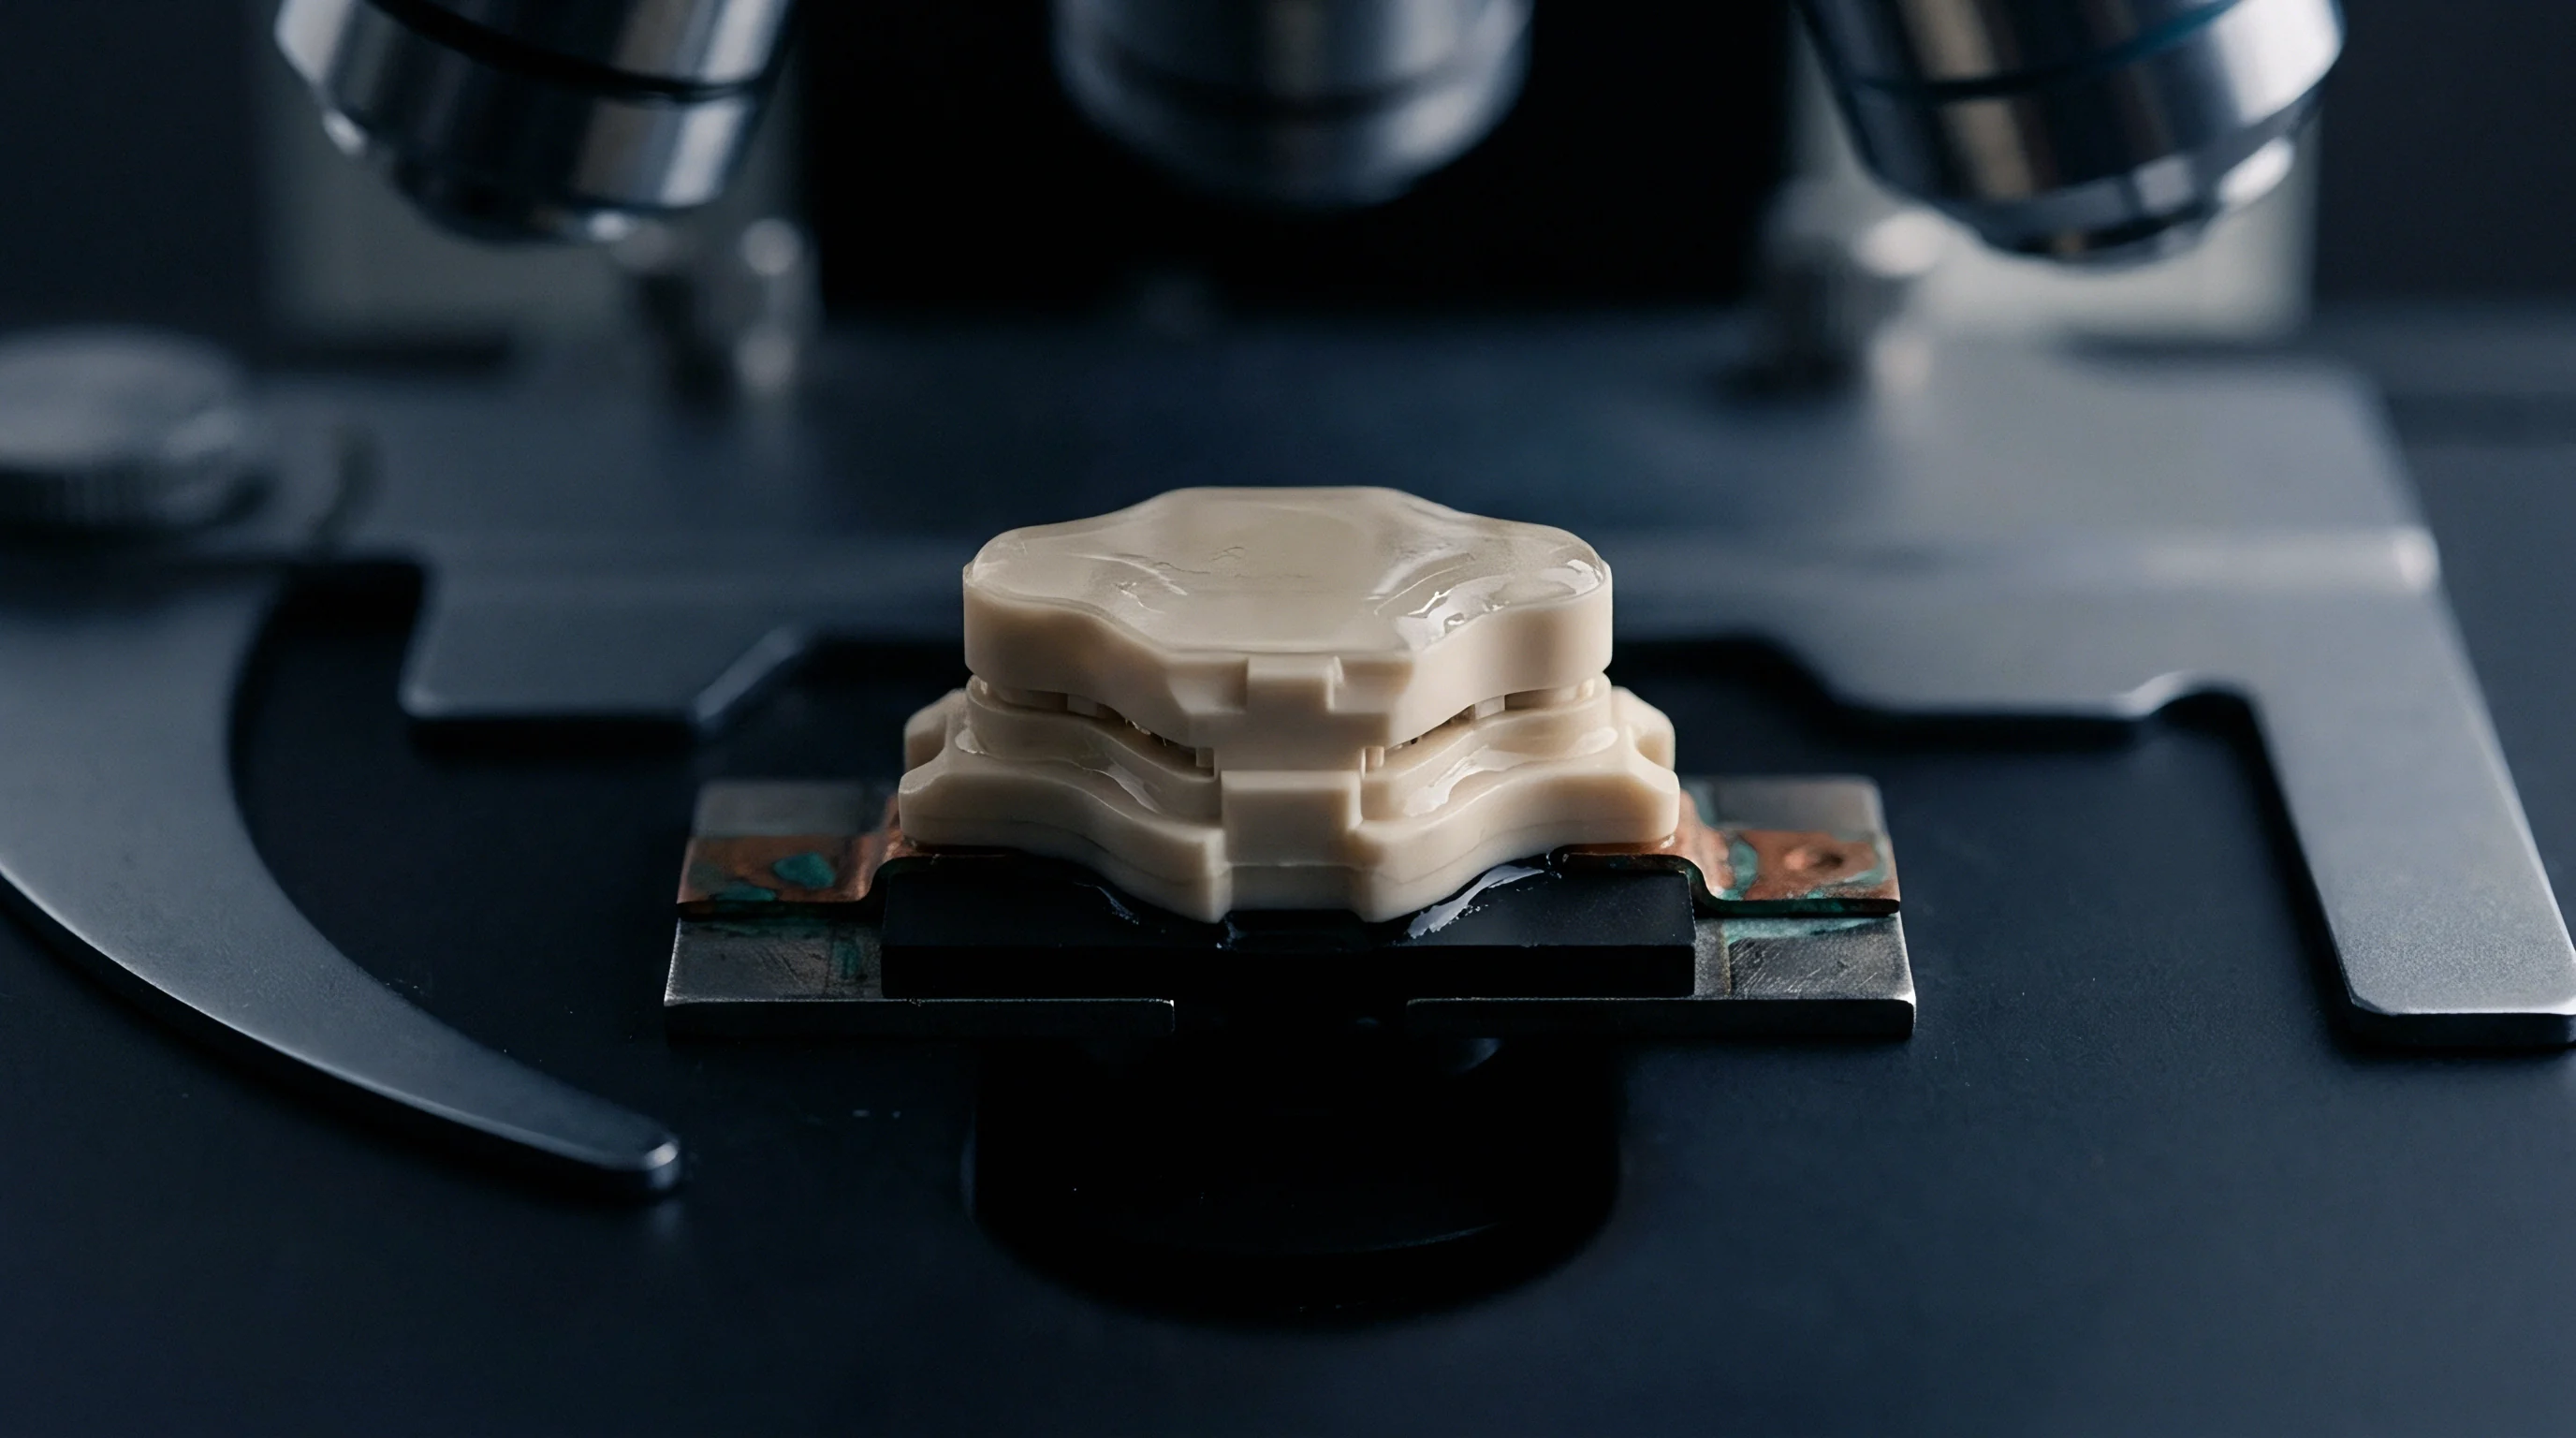
In-circuit test fixtures rely on mechanical sub-assemblies to hold the board against spring contact probes. Mechanical push gates, pneumatic cylinders, vacuum seals, and manual clamps push downward against the bed of pogo pins. When pushers don’t align with probe density, or when their timing is off, severe bending moments develop across the laminate.
Pogo pins exert substantial cumulative force. Standard spring-loaded probes deliver between one-point-five and three Newtons each at nominal travel. An eight-hundred-pad board takes an upward force exceeding one thousand six hundred Newtons at full engagement.
Push gates must distribute counter-forces across non-critical regions without turning points near sensitive components into localized fulcrums.
Pneumatic actuation creates sharp strain peaks. High-pressure air cylinders drive push plates down quickly. If upper pushers hit the board before lower support anvils make contact, the substrate flexes downward into open fixture cavities.
Once pogo pins hit their travel limits, the board snaps back upward, generating high-amplitude strain rate reversals.
Vacuum fixtures introduce different stress mechanics. As pumps evacuate the chamber, atmospheric pressure forces the board down onto the perimeter rubber gasket. If support anvils beneath the center sit lower than the seal frame, the board sags, putting top-side solder joints under high tensile strain.
Asymmetric vacuum port placement causes uneven draw-down speeds, twisting the assembly diagonally during initial evacuation.
A misaligned push rod placed fifty mils from a BGA corner turns the component boundary into a structural hinge.
Quantifying the full mechanical profile requires capturing strain across every phase of the fixture cycle. Test protocols break the acquisition record into four intervals: initial board placement, clamping and vacuum draw, steady-state probe dwell during testing, and final clamp release with board ejection. Peak strain transients consistently occur during clamping actuation and release.
Fixture design flaws causing excessive strain usually come down to poor support placement. Several mechanical conditions trigger qualification failures:
- Cantilevered Board Edges happen when support anvils end more than fifteen millimeters inside the board edge, allowing connector insertion forces or outer pushers to bend unsupported laminate downward.
- Pusher Placement Directly Above Solder Joints concentrates point loads on package bodies, driving components downward while adjacent pogo pins push nearby laminate upward, causing immediate solder ball shear.
- Asymmetric Spring Pin Grouping creates concentrated forces where high-density ball grid array test lands lack opposing top-side push fingers, causing the board to bow upward.
- Uneven Push-Plate Guide Bushings bind during pneumatic strokes, releasing stored energy in sudden dynamic shocks that exceed one hundred thousand microstrain per second when the plate snaps free.
Fixing fixture mechanics requires iterative, sensor-driven adjustments. Pusher heights are adjusted using precision micro-shims to distribute contact forces evenly. Adding bottom-side support anvils directly under dense pogo pin clusters neutralizes upward spring force, eliminating board bowing.
Replacing rigid push rods with elastomeric tips softens initial contact, dampening high-frequency strain rate transients during pneumatic closure.
Pneumatic control circuits use precision flow valves and two-stage pressure regulators. Restricting exhaust airflow cushions cylinder descent, cutting closure speed from several hundred millimeters per second down to controlled rates below twenty millimeters per second. This speed reduction drops peak strain rates by over seventy percent without dragging cycle times past production targets.
Uncontrolled force from fixture push gates lets assemblies leave the factory with micro-cracked solder joints. These defects pass initial continuity checks only to fail in the field, triggering recalls and warranty claims that dwarf the cost of proper fixture design.

Remedy
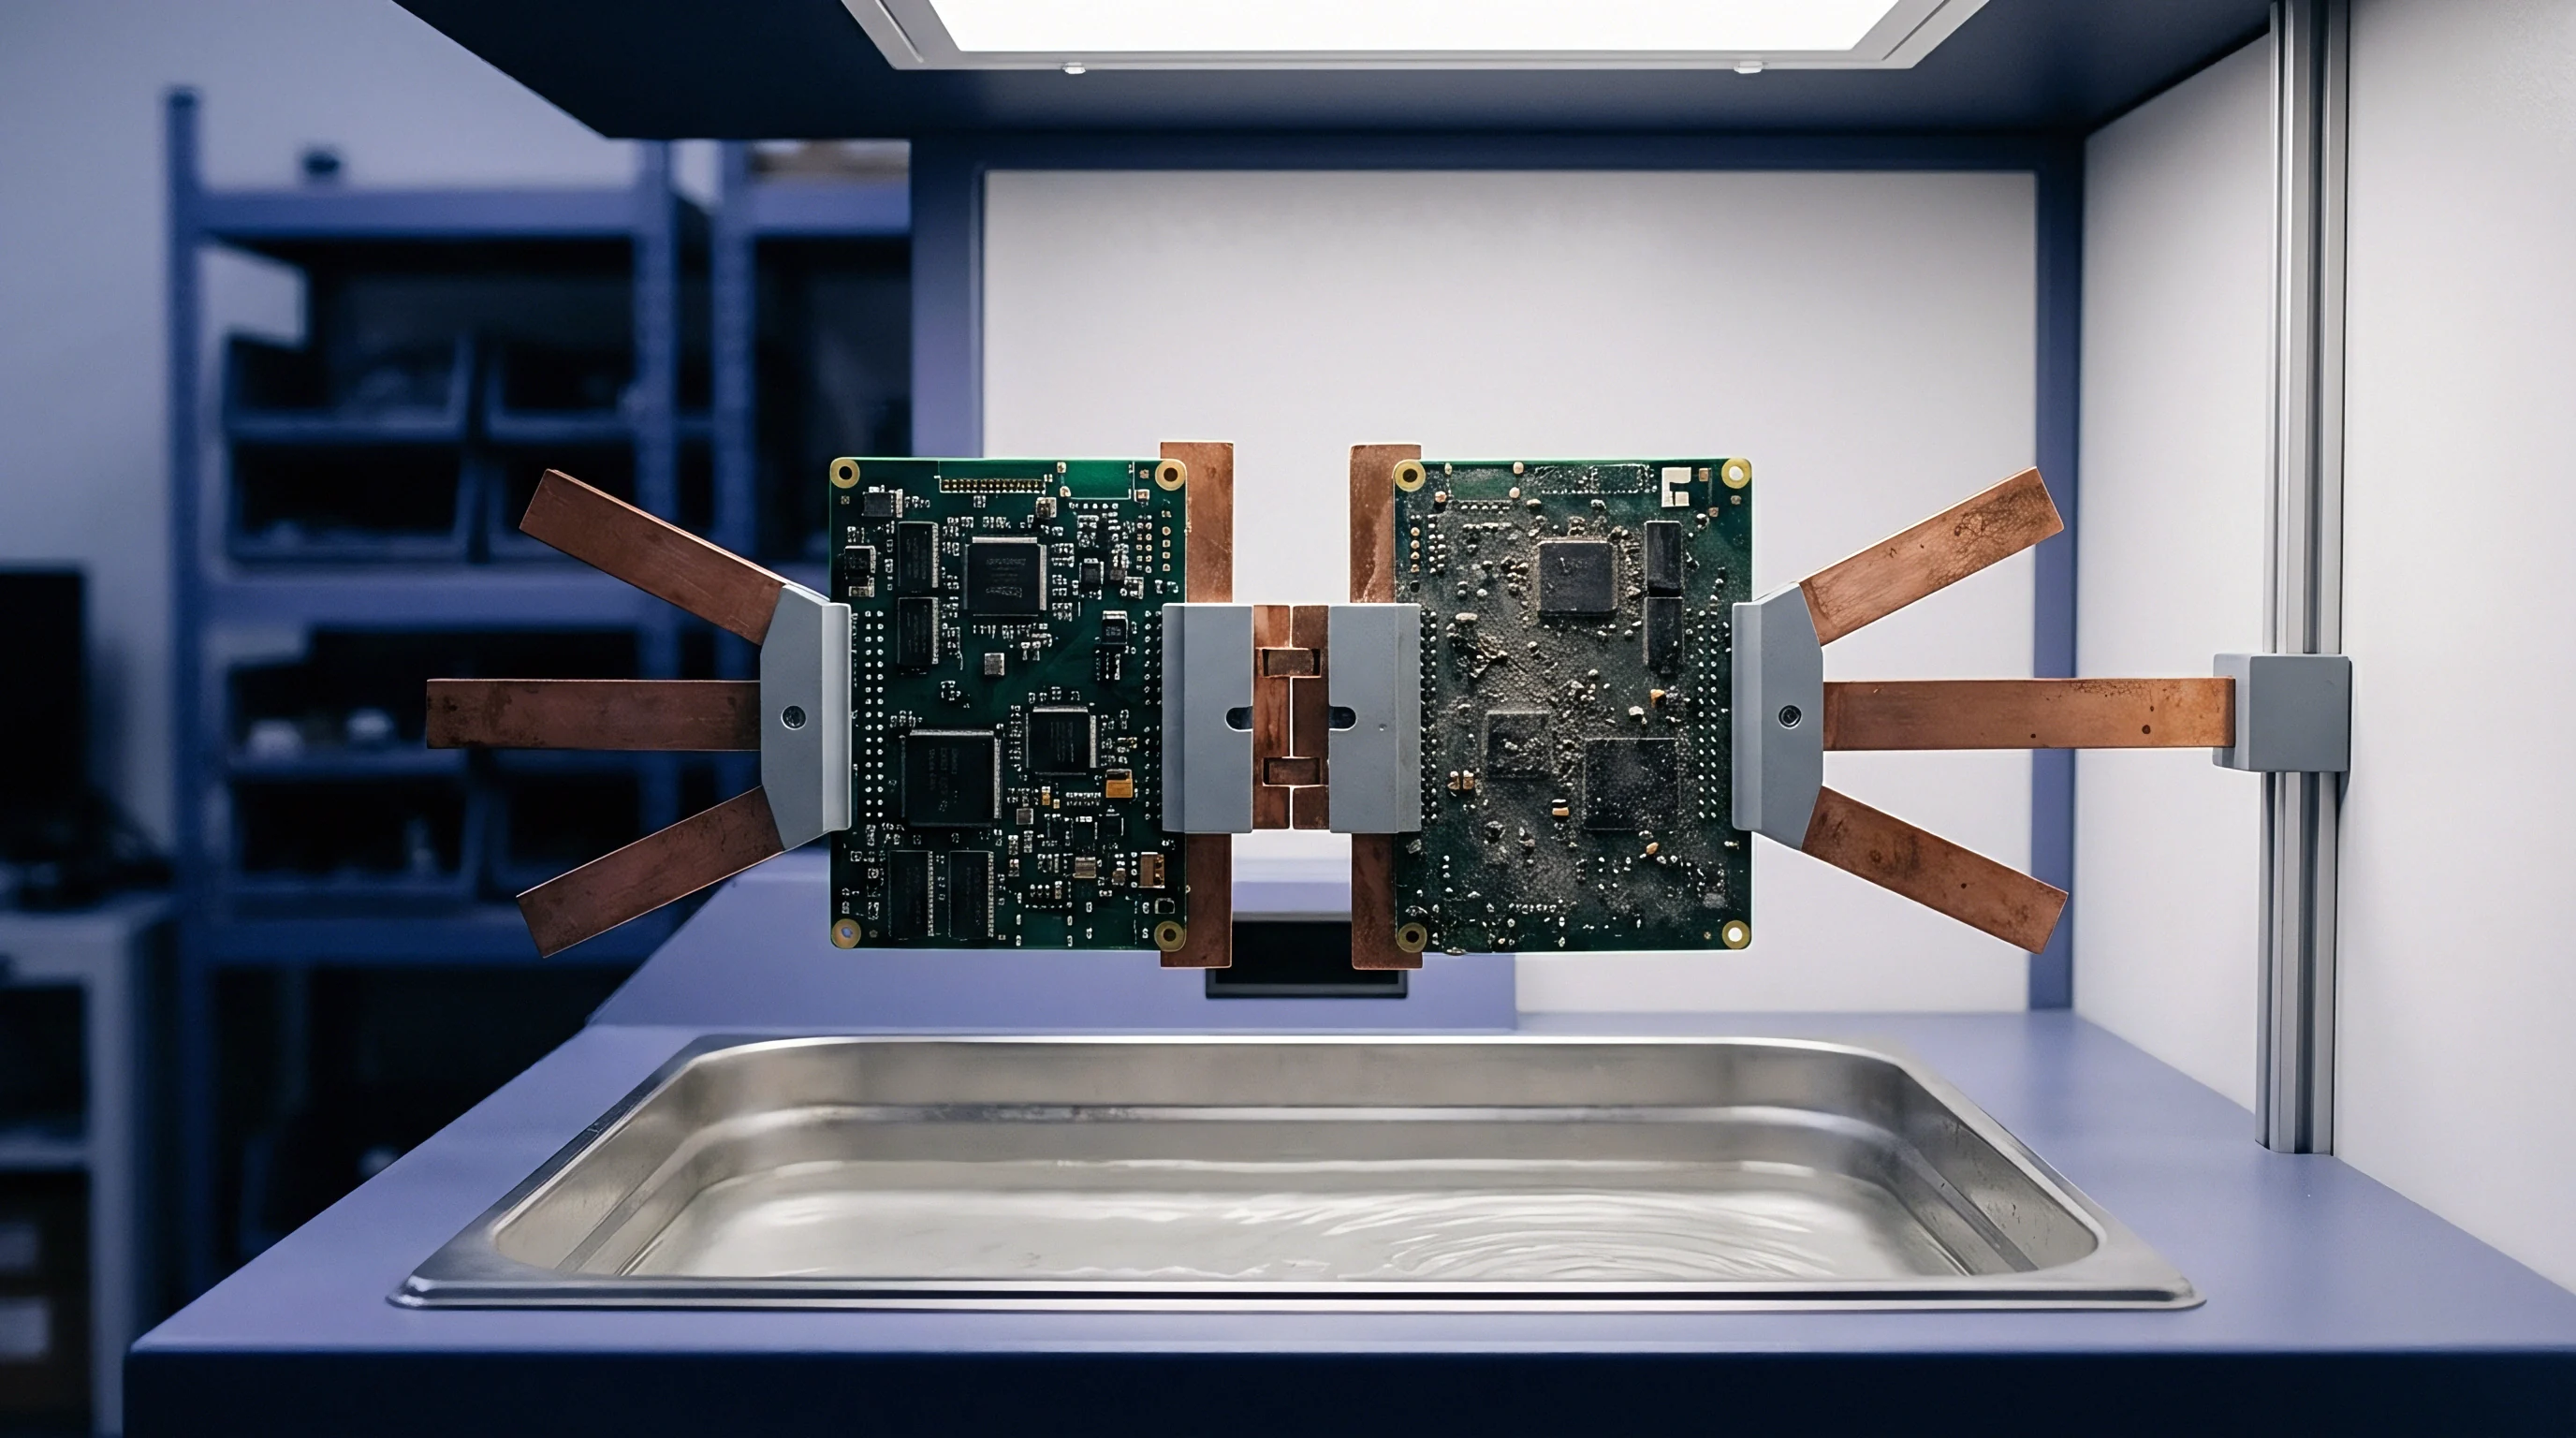
Qualifying a fixture requires systematic proof that every monitored spot meets strain limits. When initial testing reveals limit excursions, engineering alters fixture mechanics, modifies process parameters, or reworks the holding structure. Production batches cannot be released until an accredited qualification report confirms compliance across all fixtures.
Qualification demands empirical validation using fully assembled, non-operational golden boards that match production units in laminate construction, layer count, copper balance, and component mass. Bare, unpopulated boards are far less rigid and lack the localized stiffening that soldered packages provide. Testing bare laminates yields invalid strain data that misrepresents actual production stresses.
A complete qualification dossier contains raw time-series data, Mohr circle transformation logs, peak principal strain and strain-rate scatter plots mapped against IPC/JEDEC-9704 boundary lines, gauge location photos, and calibration certificates. Each monitored location must keep a safety margin ~ typically twenty percent below the standard envelope ~ to absorb mechanical wear and spring degradation over long production runs.
Do Fixture Push Gates Exceed Allowable Strain Rates?
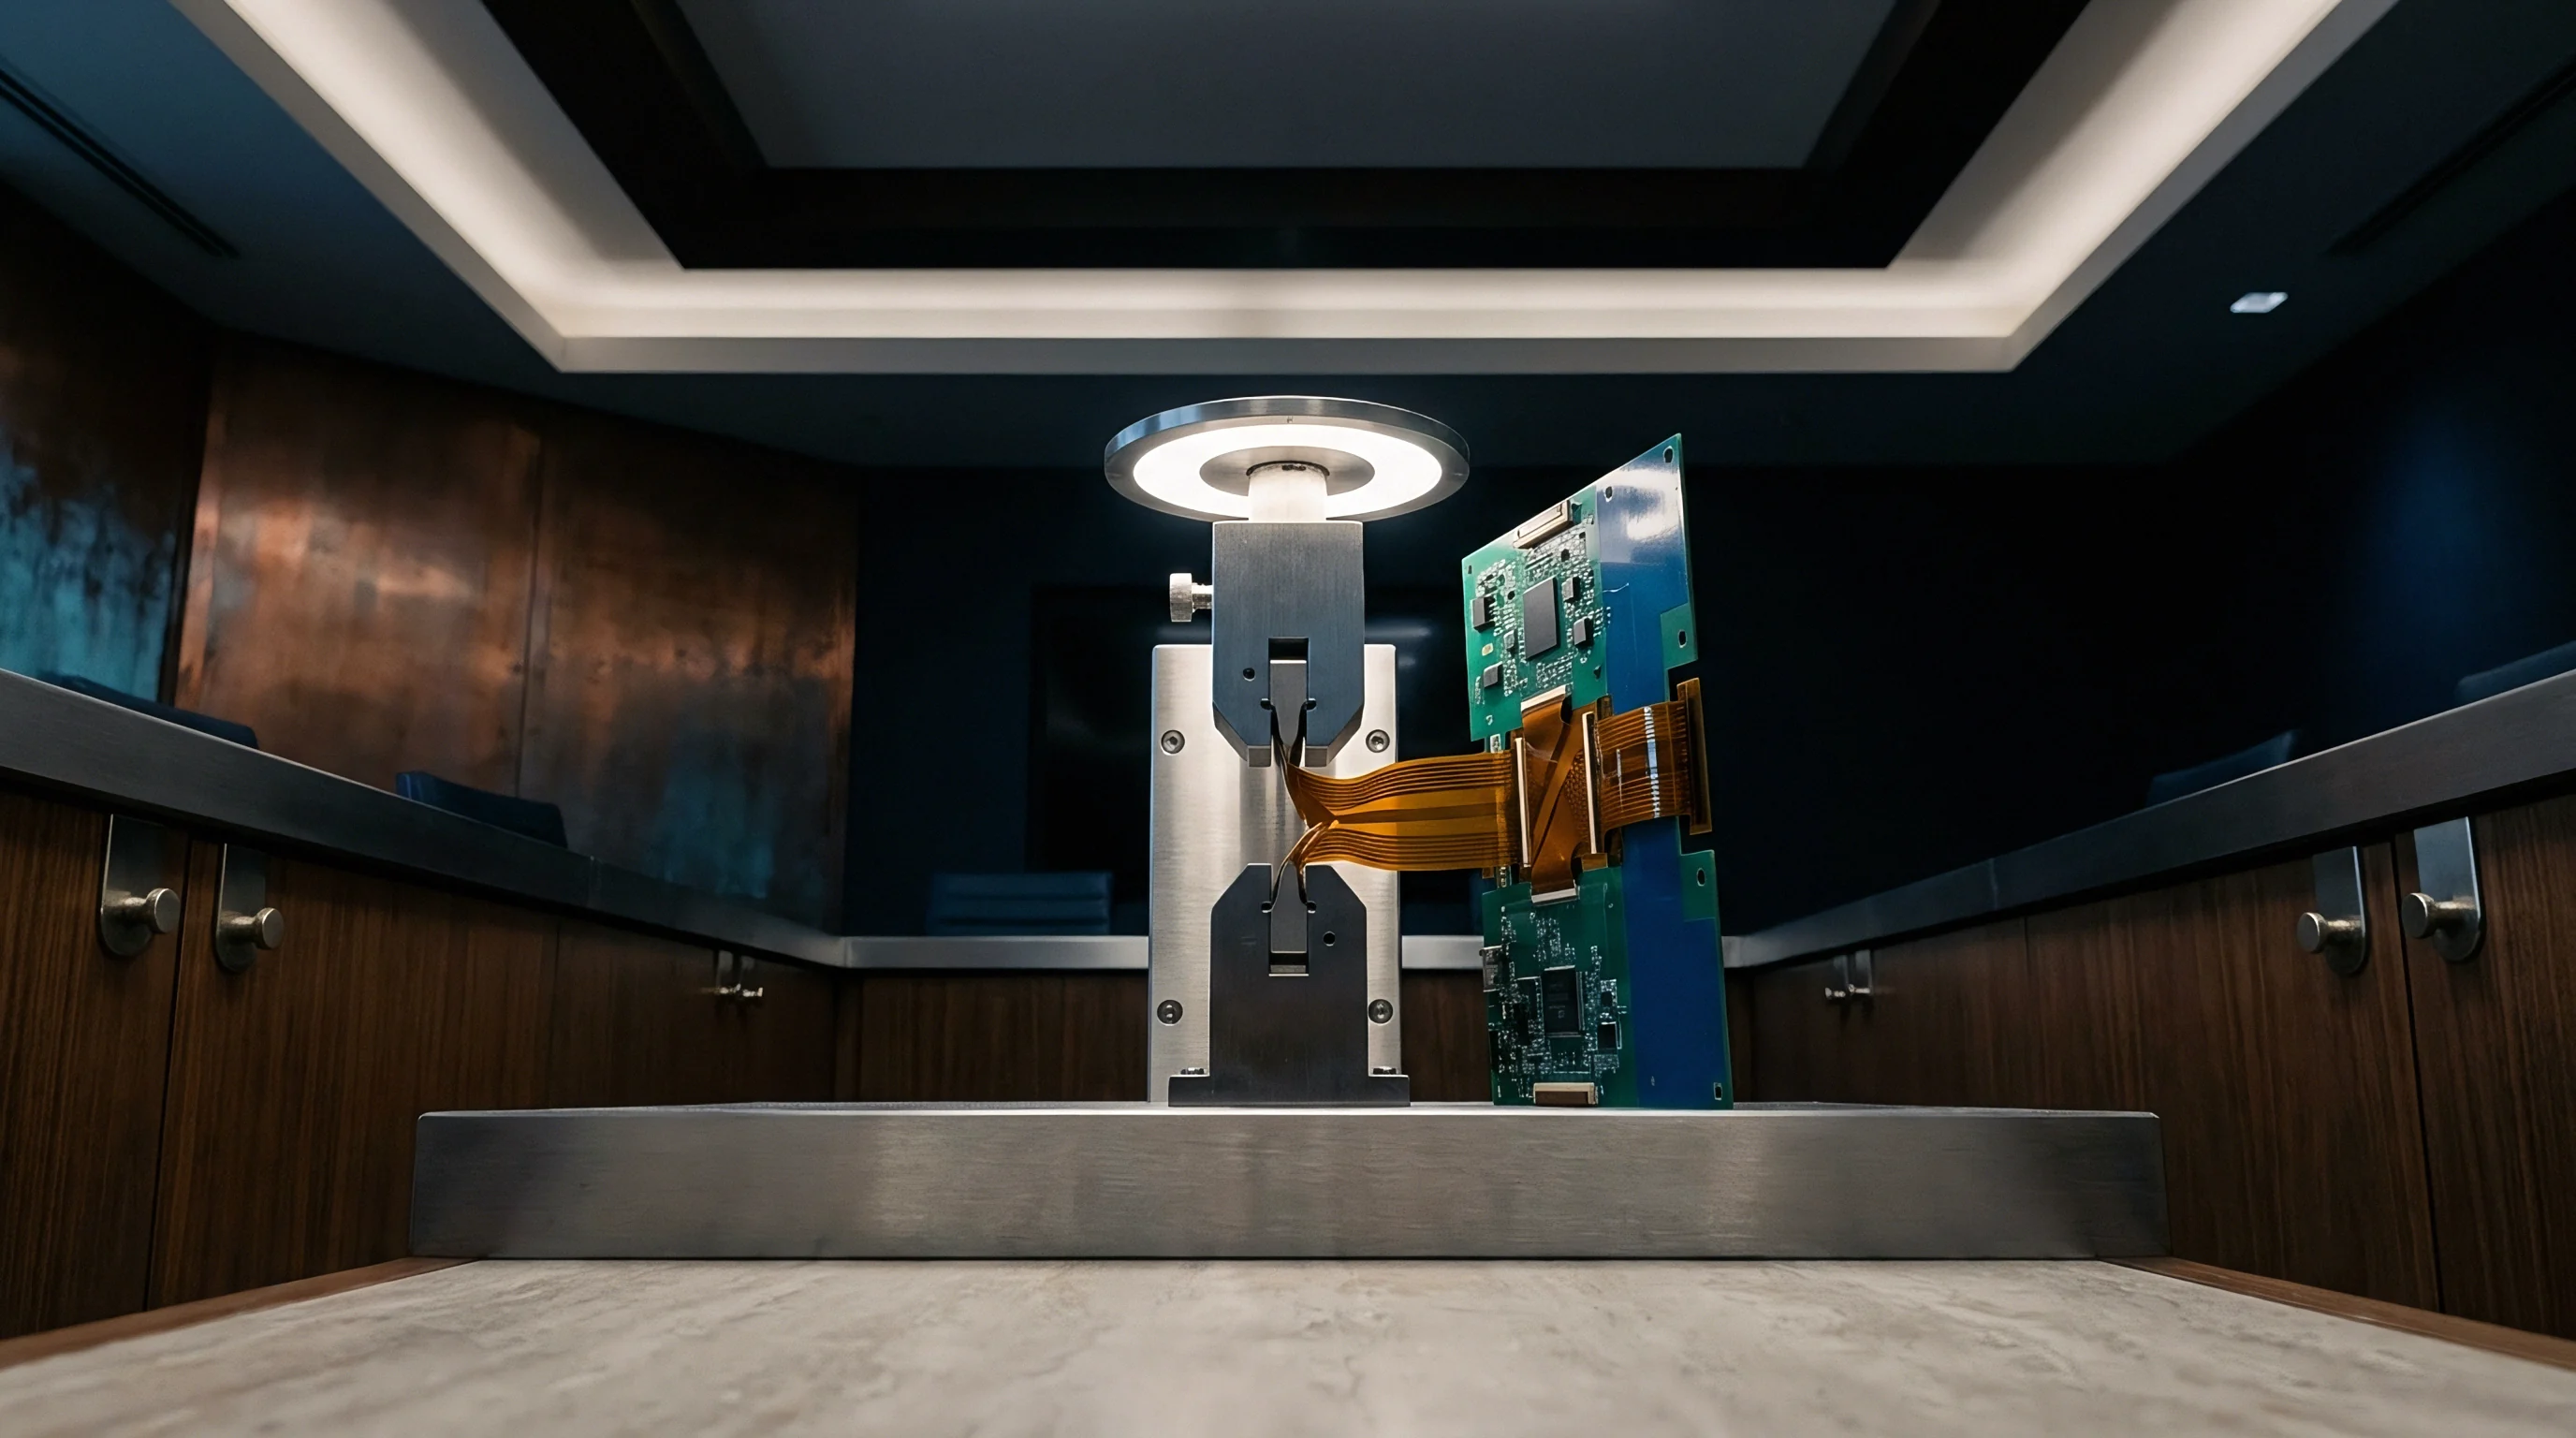
Evaluating push gate velocity requires extracting the steepest slope from the principal strain curve. In a qualification test on a one-point-six millimeter thick automotive engine controller, initial baseline measurements recorded peak tensile strain of eight hundred twenty microstrain at a strain rate of sixty-five thousand microstrain per second during rapid pneumatic closure. This result fell far outside the IPC-9704 limit of three hundred eighty microstrain for that rate, highlighting a severe risk of solder ball fracture under a central microcontroller.
Corrective action involved three physical changes. First, two bottom-side support anvils were added directly beneath the central BGA footprint to counteract upward force from forty-eight pogo pins. Second, the fixture builder relocated two upper push fingers outward by eight millimeters, moving contact points off package edges onto clear laminate.
Third, dual flow-control restrictors were fitted to the main pneumatic cylinder to lower stroke speed.
Subsequent verification runs using newly installed triaxial rosettes showed dramatic improvement. Peak principal tensile strain dropped to two hundred ten microstrain, while maximum strain rate fell to four thousand two hundred microstrain per second. This brought the fixture operating point well inside the safe envelope, leaving a sixty-percent margin below the boundary line.
| Initial Failure Signature | Root Cause Mechanism | Mechanical Fixture Remedy | Peak Strain Reduction | Strain Rate Attenuation |
|---|---|---|---|---|
| High dynamic tensile spike during gate closure | Pneumatic cylinder impact shock | Install dual-stage flow restrictors and elastomeric push tips | 45 to 60 percent | 70 to 85 percent |
| Steady-state tensile strain on BGA corners | Dense pogo pin cluster without opposing support | Add dedicated bottom-side support anvils under pin field | 50 to 70 percent | 10 to 20 percent |
| Torsional warping during vacuum draw | Asymmetrical seal compression and vacuum port offset | Rebalance seal shore hardness and add dual symmetric vacuum ports | 30 to 45 percent | 40 to 55 percent |
| High tensile rebound during release stroke | Spring-loaded board ejector pins unbuffered | Dampen ejector pin return springs and regulate venting rate | 40 to 55 percent | 60 to 75 percent |
Periodic requalification ensures fixtures remain compliant throughout their service life. Pogo springs degrade, hold-down rubbers wear, guide bushings develop play, and support anvils loosen over thousands of cycles. Sourcing specifications typically require formal requalification after fifty thousand cycles, following major fixture maintenance, or whenever a board revision alters secondary-side test targets.
Sourcing contracts should tie payment milestones to verifiable strain qualification dossiers. For high-density electronic assemblies, purchase orders ought to require signed strain rosette analysis reports before releasing production lots. Boards tested on unverified fixtures pose latent reliability risks that escape factory quality checks, leading to severe field warranty exposure later on.
Standard push-rod arrangements may appear adequate, but physical measurement across triaxial rosettes consistently proves that unverified fixtures generate destructive mechanical stress concentrations during high-volume production testing.