In Circuit Test Fixture Strain Gauge Commissioning and Deflection Verification
Commissioning in-circuit test fixtures with triaxial strain gauge rosettes per IPC/JEDEC-9704A prevents test-induced solder joint and pad cratering failures.

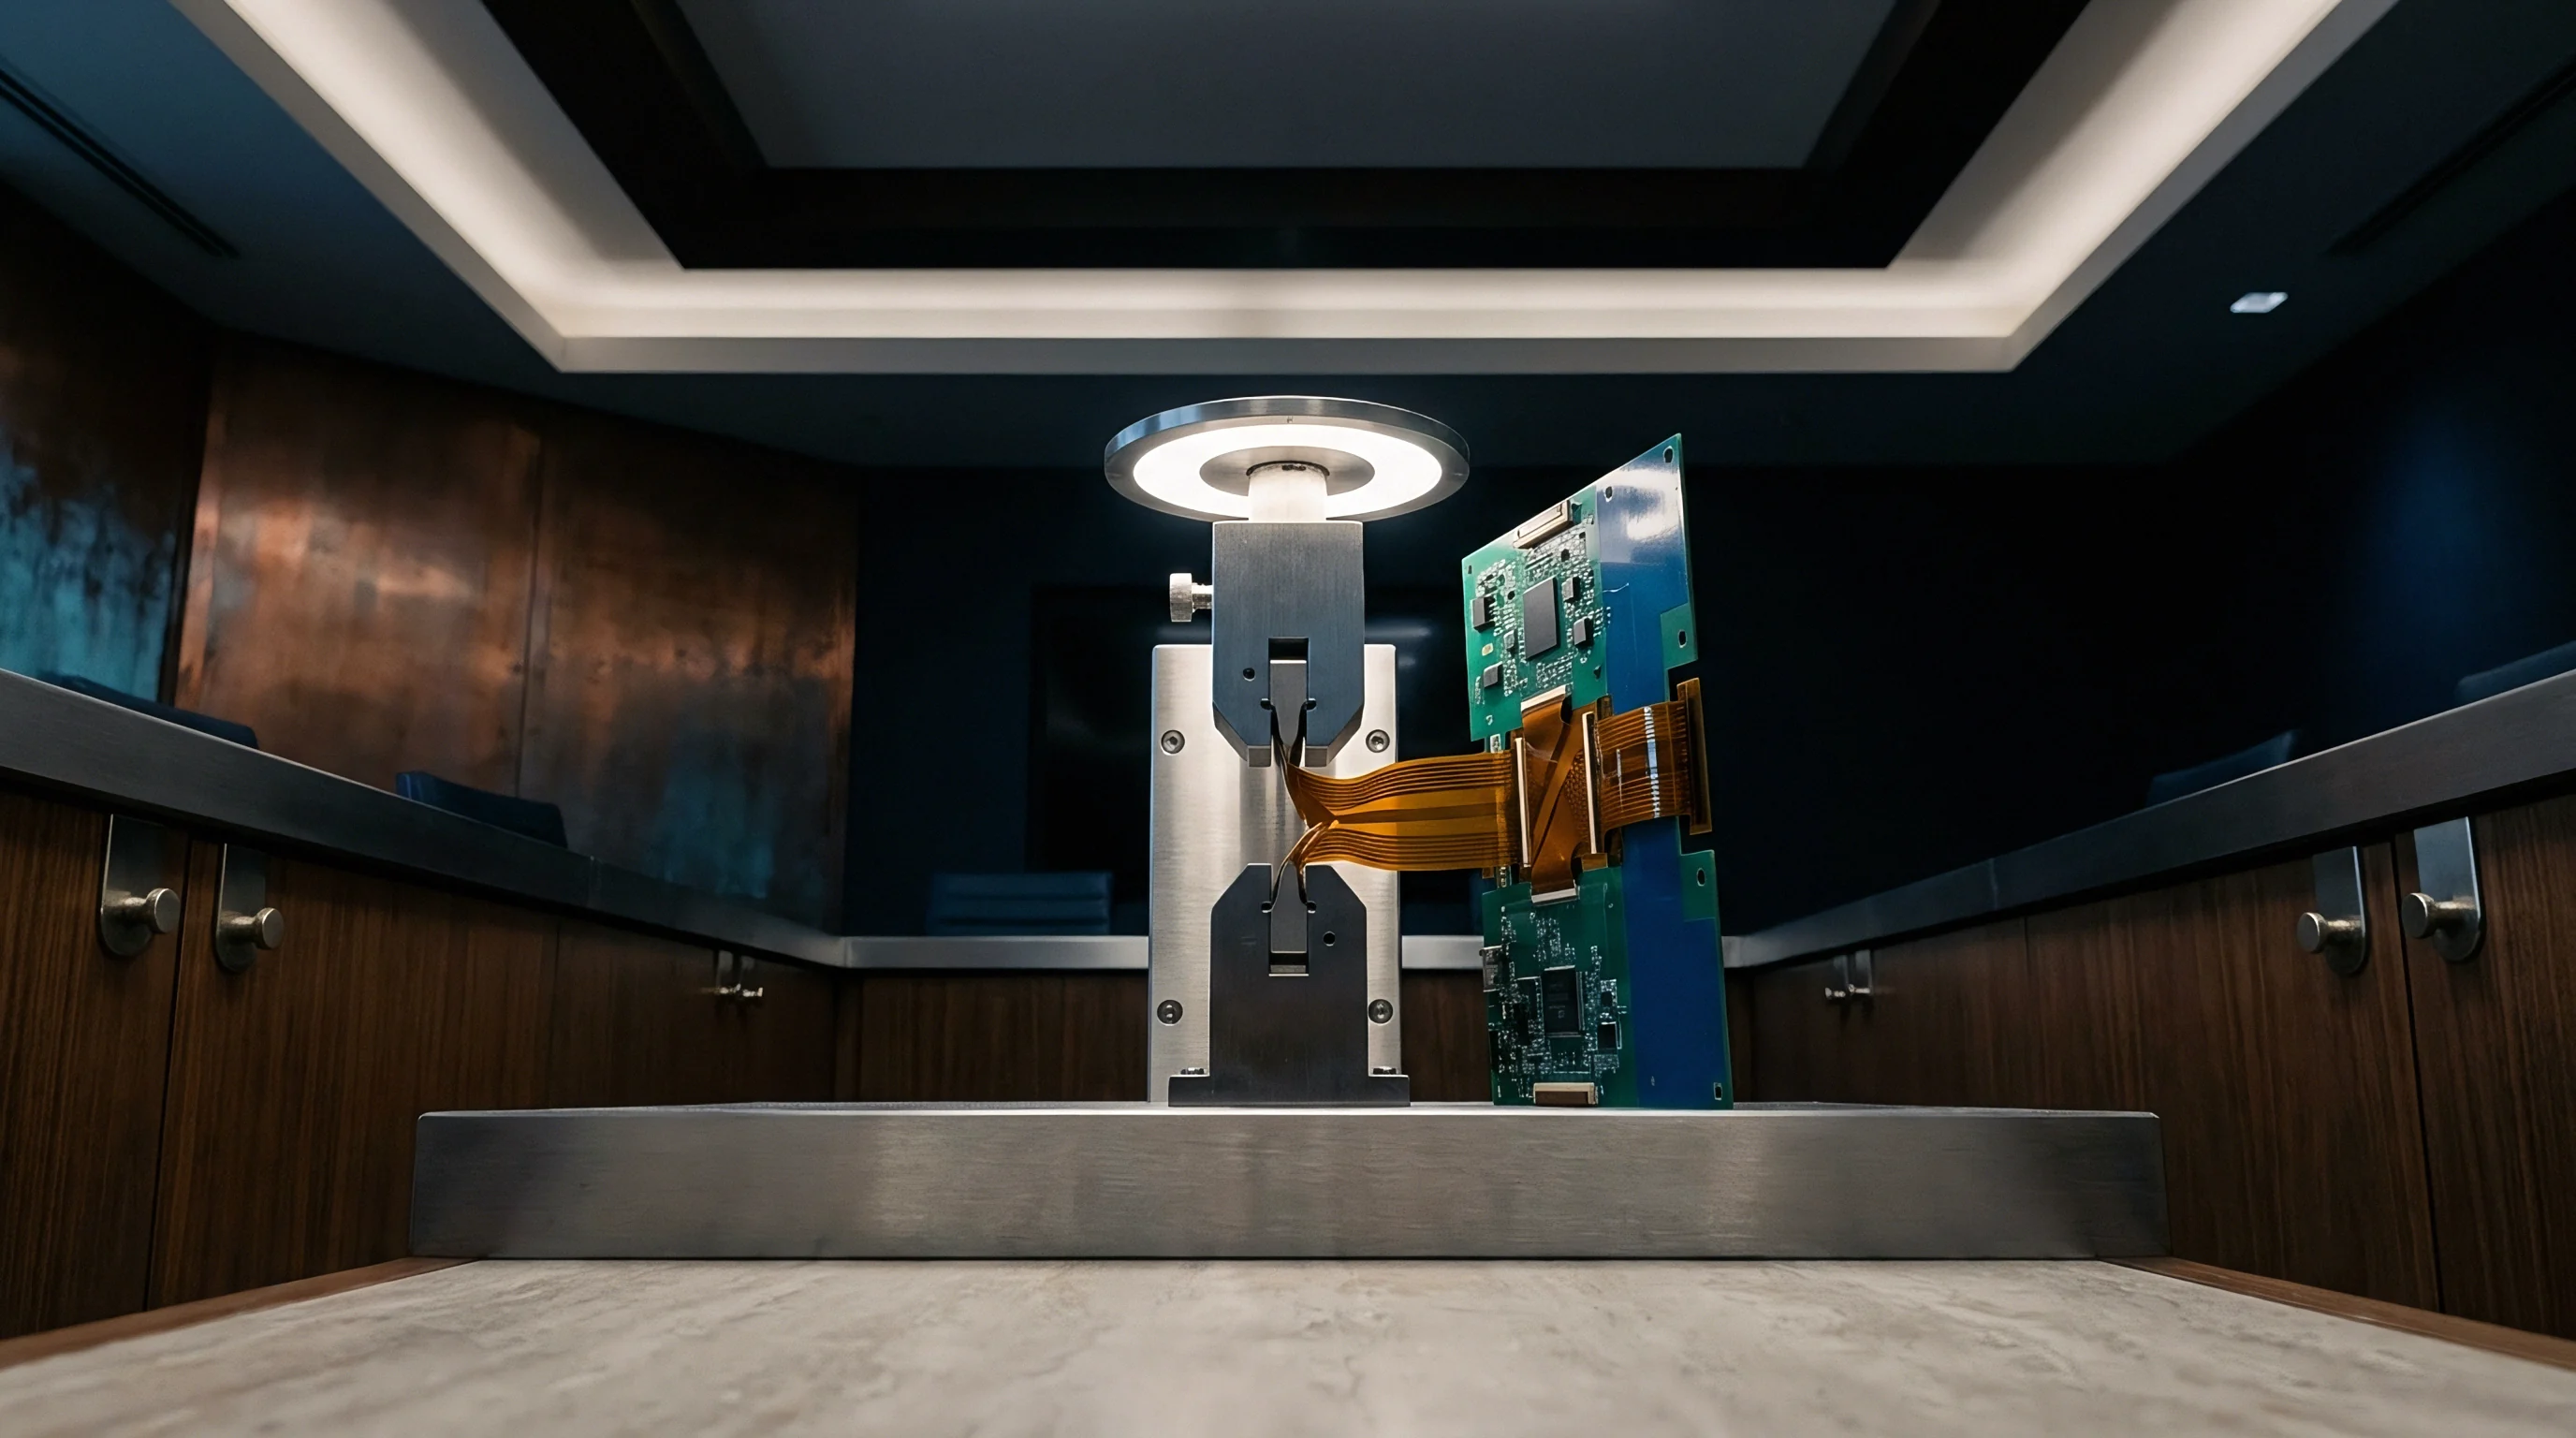
Load
In-circuit test vacuum seals pull down with three hundred kilograms of downward mechanical force within two hundred milliseconds. Dense spring-loaded probe pins concentrate this actuation energy into tiny contact points directly beneath sensitive surface-mount components. When an unsupported area of a printed circuit assembly flexes under probe force, copper traces, solder balls, and ceramic chip structures displace unevenly.
Tensile stress concentrates at the interface between solder ball and component substrate pad, starting micro-cracks inside the intermetallic compound layer before the assembly ever sees electrical bias.
Mechanical stress during circuit test operations is a common source of latent field failures. Continuity checks run right after mechanical probe contact often pass because fixture pressure temporarily holds fractured solder joints together. Once the board releases from the bed of nails, the laminate relaxes, opening the crack and leaving an intermittent fault that slips past factory screening.
Measuring the exact magnitude and vector of laminate flexure across the board surface during fixture engagement is the primary defense against test-induced mechanical damage.
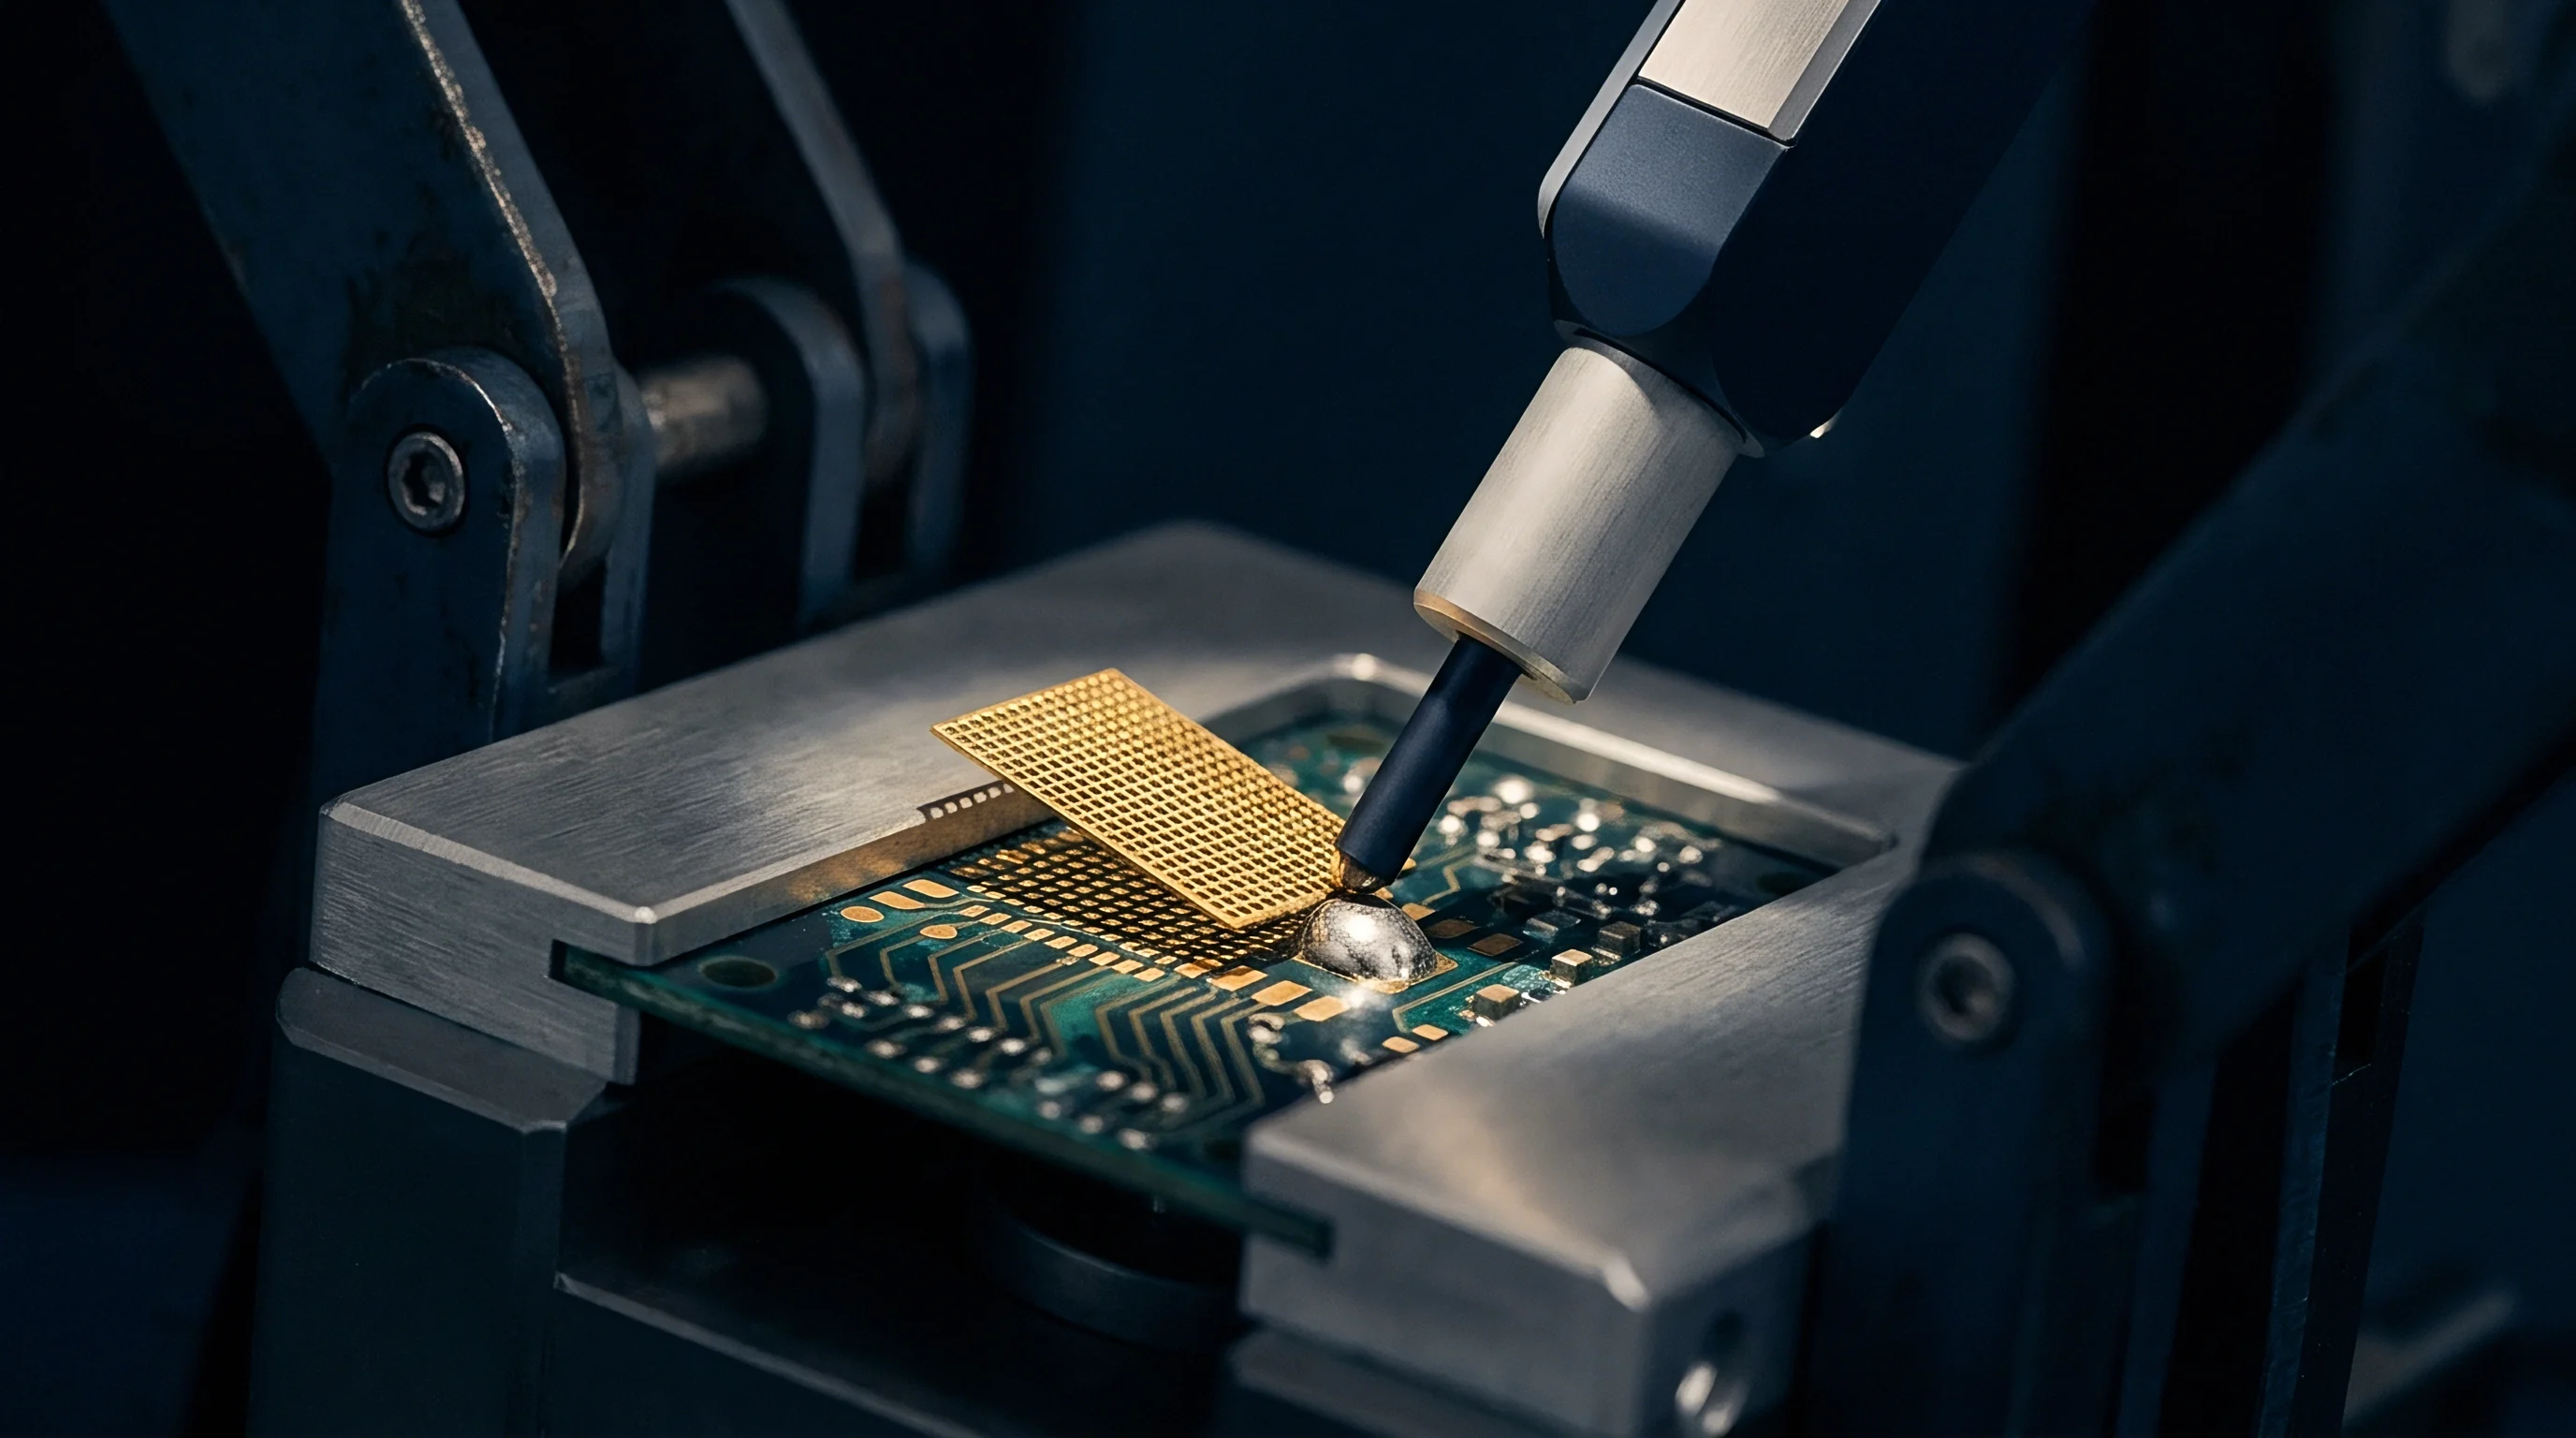
Mechanical Actuation and Board Flexure Mechanics
Press-down and vacuum test beds store elastic energy in the glass-reinforced epoxy laminate on every contact cycle. As top-plate push rods force the printed circuit assembly against spring-loaded test pins, the board behaves like a non-uniform flat plate supported by point loads. Areas with dense test point arrays resist upward force strongly, while adjacent spots without pins take uncompensated downward thrust from the top push fingers.
SAC105 has lower creep resistance than traditional tin-lead alloys, leaving modern lead-free intermetallics vulnerable to fast strain rate fractures during fixture latching.
Substrate flexure creates three stress modes in surface-mounted components: direct tension, shear across the plane, and torsional bending. Direct tension pulls component terminations off copper landing pads, stripping foil or severing end-caps. Shear displaces the top edge of a package relative to its base, tearing solder balls along the intermetallic interface where brittle copper-tin compounds form during reflow.
Torsional strain warps the package substrate itself, delaminating internal silicon die bonds and cracking fragile low-dielectric-constant insulation inside high-density ICs.
Fixture rigidness depends entirely on balancing top push pins directly against bottom probe clusters to prevent uncompensated moment arms.
The mechanical stiffness of standard FR4 varies considerably with temperature, glass weave style, resin content, and layer count. A twelve-layer backplane panel is dramatically stiffer than a six-layer mobile phone board of the exact same thickness. Fixture designers cannot rely on static finite element calculations alone to predict board deflection; tolerances in hold-down gates, push-pin length variations, gasket durometer shifts, and probe spring force spreads introduce dynamic variations that simple mechanical models fail to capture.
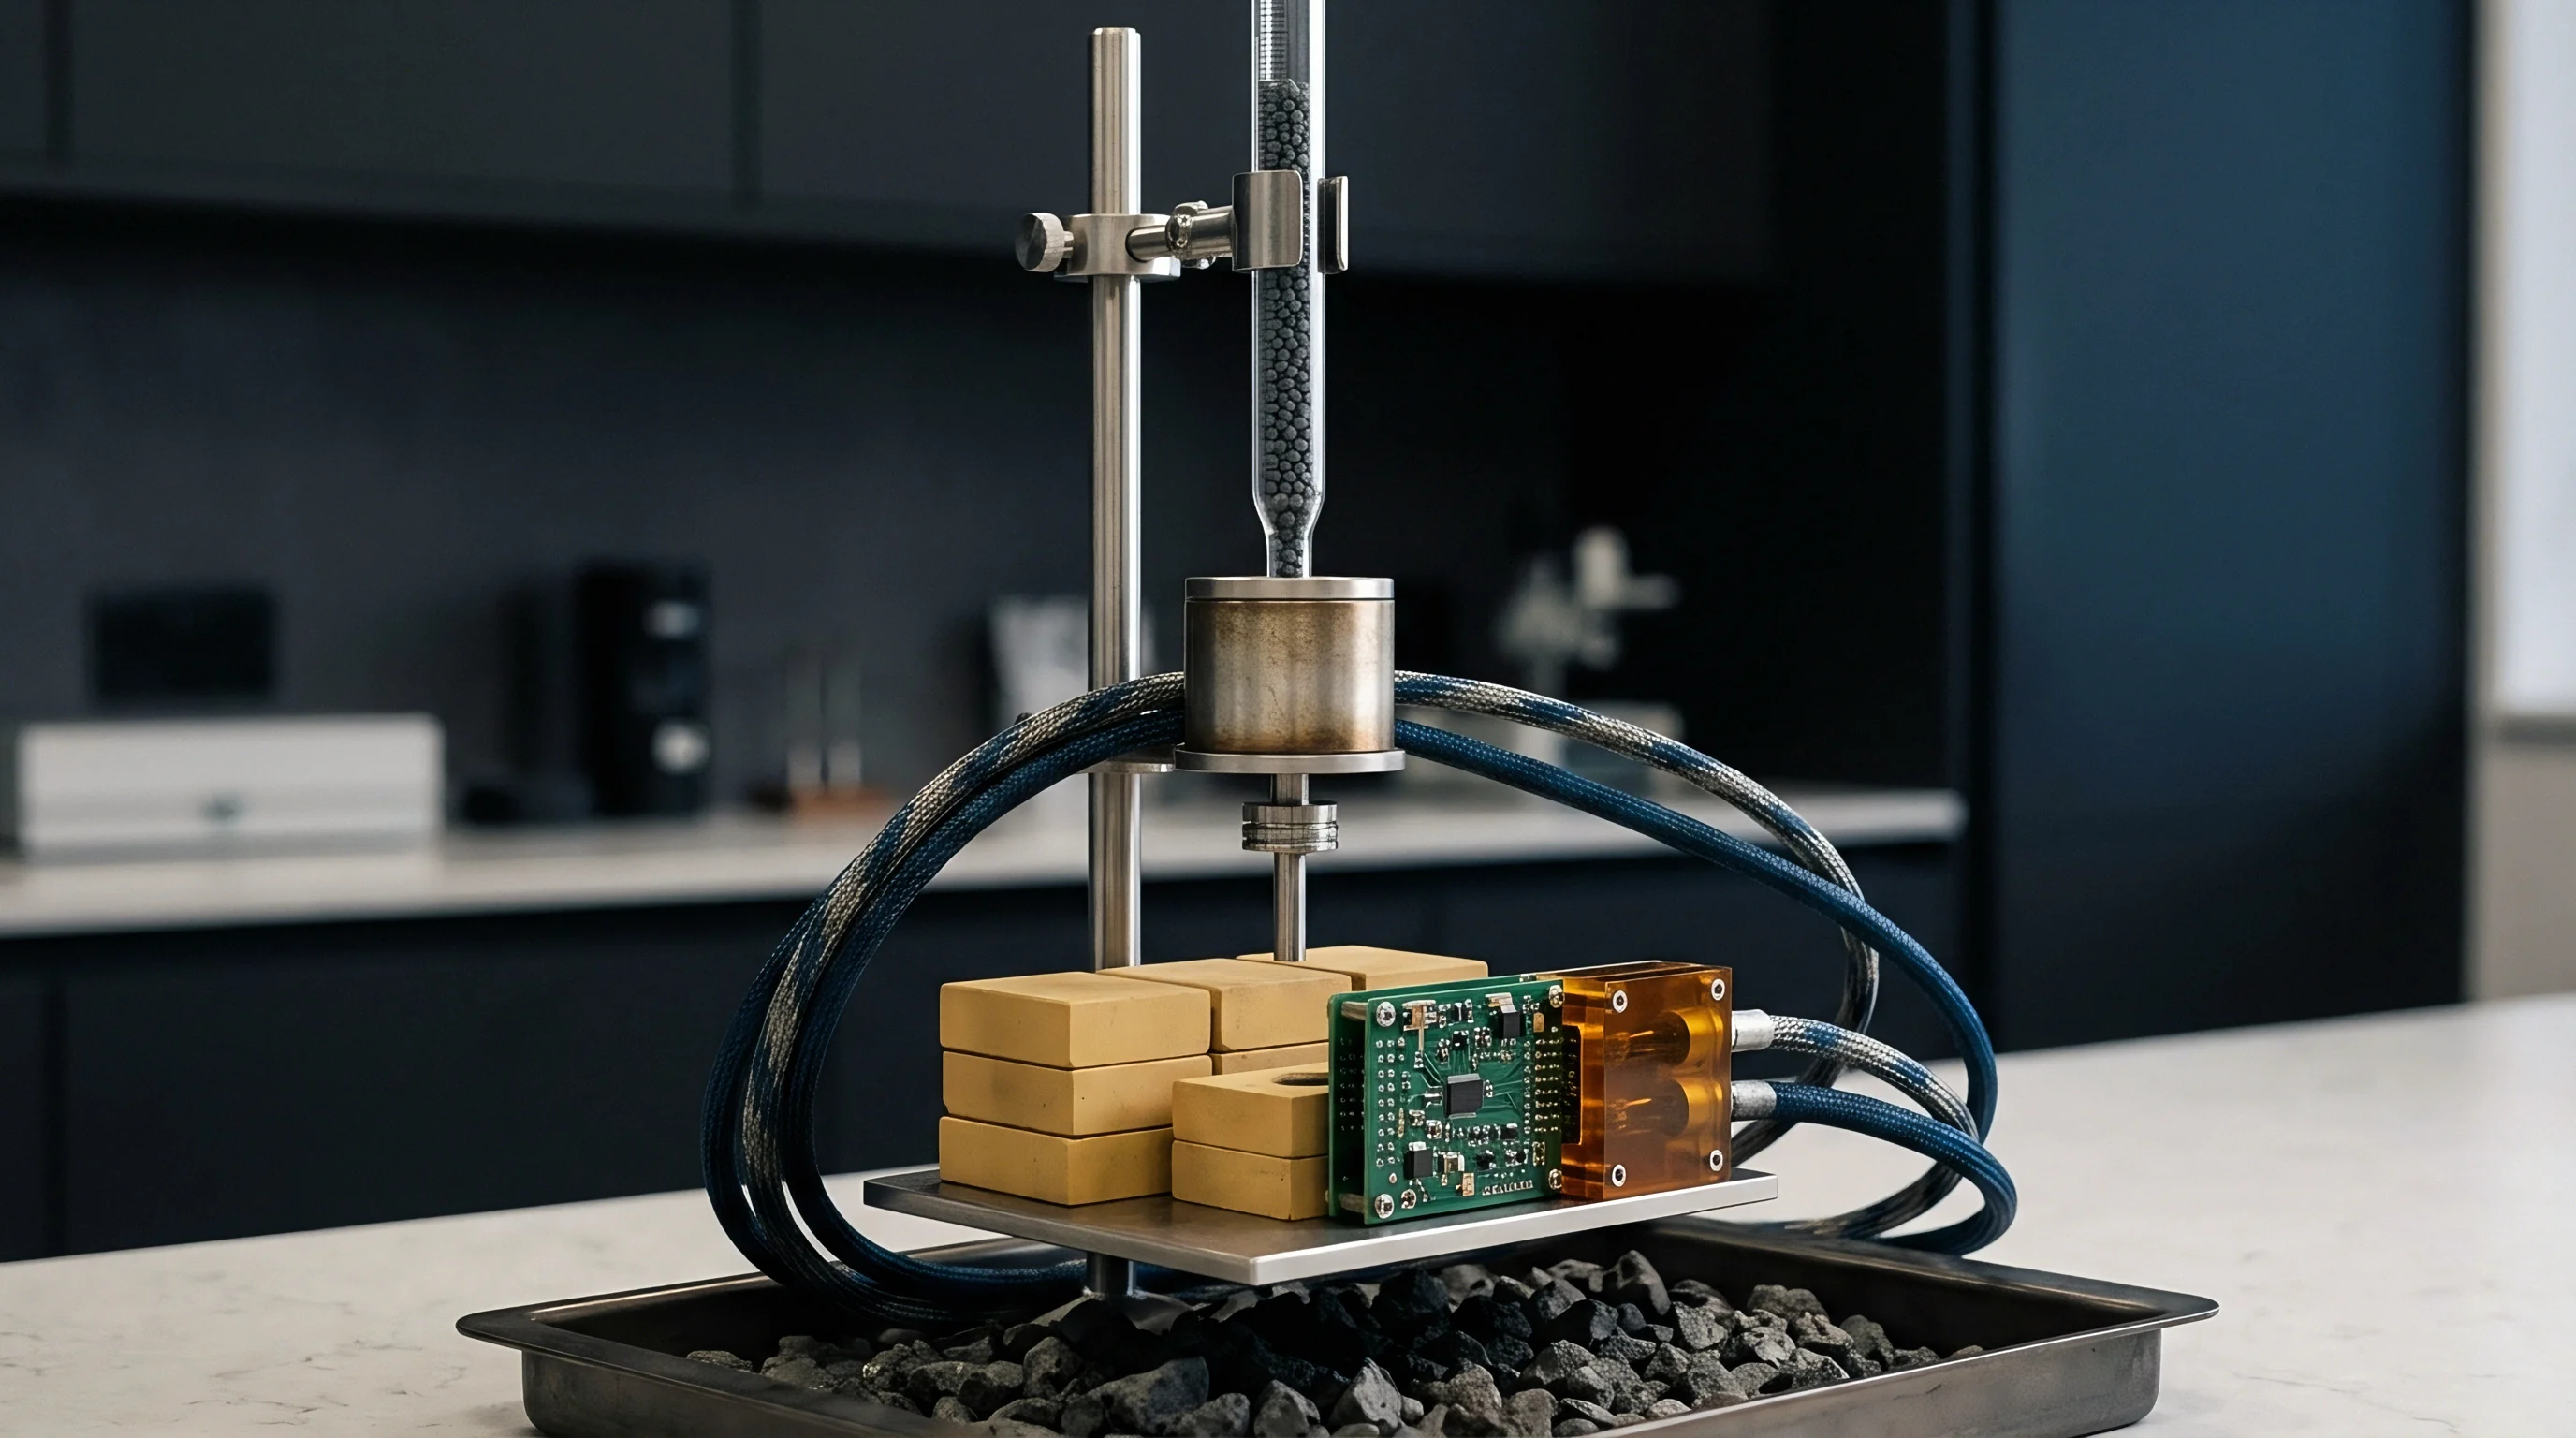
Package Vulnerability Profiles under Probe Pressure
Surface mount components show widely varying tolerance to laminate flexure based on physical dimensions, termination geometry, and material composition. Large ball grid arrays, multi-chip modules, and surface-mount connectors cover broad surface areas, leaving them vulnerable to slight angular deflections across their footprint. Multi-layer ceramic capacitors are especially fragile along their bodies; flexure strain over five hundred microstrain causes diagonal cleavage cracks through internal palladium-silver electrode plates, creating low-resistance leakage paths that show up weeks after deployment.
| Component Package Type | Substrate Thickness 1.0 mm | Substrate Thickness 1.6 mm | Substrate Thickness 2.4 mm | Critical Failure Mode |
|---|---|---|---|---|
| Multi-Layer Ceramic Capacitor (1206 and larger) | 300 microstrain | 500 microstrain | 700 microstrain | Ceramic dielectric cleavage, internal shorts |
| Fine-Pitch Ball Grid Array (pitch under 0.8 mm) | 450 microstrain | 600 microstrain | 800 microstrain | Corner solder ball tear-off, pad cratering |
| Standard Pitch Ball Grid Array (pitch 1.0 mm and up) | 500 microstrain | 750 microstrain | 1000 microstrain | Intermetallic compound layer cracking |
| Quad Flat No-Lead (QFN) Package | 400 microstrain | 550 microstrain | 750 microstrain | Fillet crack initiation, corner lead lifting |
| Small Outline Integrated Circuit (SOIC) | 600 microstrain | 900 microstrain | 1200 microstrain | Gull-wing lead deformation, epoxy package cracking |
Pad cratering is among the most severe mechanical failure modes caused by test fixture deflection. Under high localized tensile strain, the copper pad pulls straight out of the underlying resin-glass matrix, taking a chunk of epoxy glass with it. Because this happens beneath the solder joint without severing the visible fillet, non-destructive optical inspection cannot detect it.
Electrical testing often misses pad cratering at first because the fractured laminate stays wedged in place until thermal cycling or vibration in the field opens the circuit.

Strain Gauge Selection and Bond Chemistry
Accurate deflection verification requires specialized strain sensors capable of resolving multi-axial surface strain fields within tight component footprints. Triaxial stacked rosette gauges stack three independent measurement elements concentrically, capturing microstrain along three angular axes within a total sensor area under three square millimeters. Single-element linear gauges fail near complex components because the principal strain direction around a flexing board panel shifts non-linearly across the surface.
Selecting strain gauge resistance comes down to balancing signal-to-noise ratios against self-heating. Three hundred fifty ohm gauges draw less current and dissipate less heat than standard one hundred twenty ohm alternatives, preventing localized thermal expansion of the laminate during baseline readings. Temperature-compensated gauges matched to the expansion coefficient of FR4 keep ambient room temperature shifts from distorting absolute deflection numbers during long commissioning runs.
Cyanoacrylate adhesives cure in seconds, offering quick mounting for standard validation checks. However, thin methyl-cyanoacrylate bonds absorb moisture and creep under sustained mechanical loads, making them unsuited for multi-day repeatability trials. Commissioning aimed at long-term fixture monitoring uses two-component filled epoxy cured under controlled heat.
The adhesive layer cannot exceed ten micrometers in thickness; overly thick bond lines act as strain attenuators, absorbing flexural energy and yielding deceptively low microstrain values on the test bridge amplifier.
- Pad Cratering Shear starts at the glass-resin boundary underneath outer ball positions during rapid vacuum seal depressurization.
- Corner Ball De-lamination occurs on package boundaries when uncompensated push fingers apply asymmetric downward pressure opposite probe clusters.
- Ceramic Dielectric Cleavage propagates diagonally through capacitor bodies when localized bending moments force planar surface distortion.
- Intermetallic Layer Splitting severs the tin-copper compound zone under high strain rate dynamic transients exceeding five thousand microstrain per second.
Scraped bare-die assemblies cost twenty-four thousand dollars before standardizing pre-commissioning deflection passes on every double-sided test bed.


Gauge
Signal acquisition hardware converts minute mechanical dimensional changes into calibrated electrical voltage signals through precise sensor networks. As a strain gauge element elongates or compresses along its grid lines, its thin metallic foil conductors change electrical resistance proportional to applied mechanical strain. This relationship, defined by the gauge factor, requires precision amplification circuits to isolate microvolt-level signal changes from background electromagnetic noise generated by fixture solenoids and power supplies.
Wheatstone bridge circuits form the baseline instrumentation standard for strain gauge deflection analysis. A quarter-bridge Type II configuration uses a three-wire lead system to compensate for temperature-induced resistance changes along excitation wiring. High-density in-circuit test fixtures generate substantial noise from switching relays and pneumatic valves; proper shielding, twisted-pair cabling, and differential amplification are mandatory to keep the baseline noise floor below ten microstrain peak-to-peak.
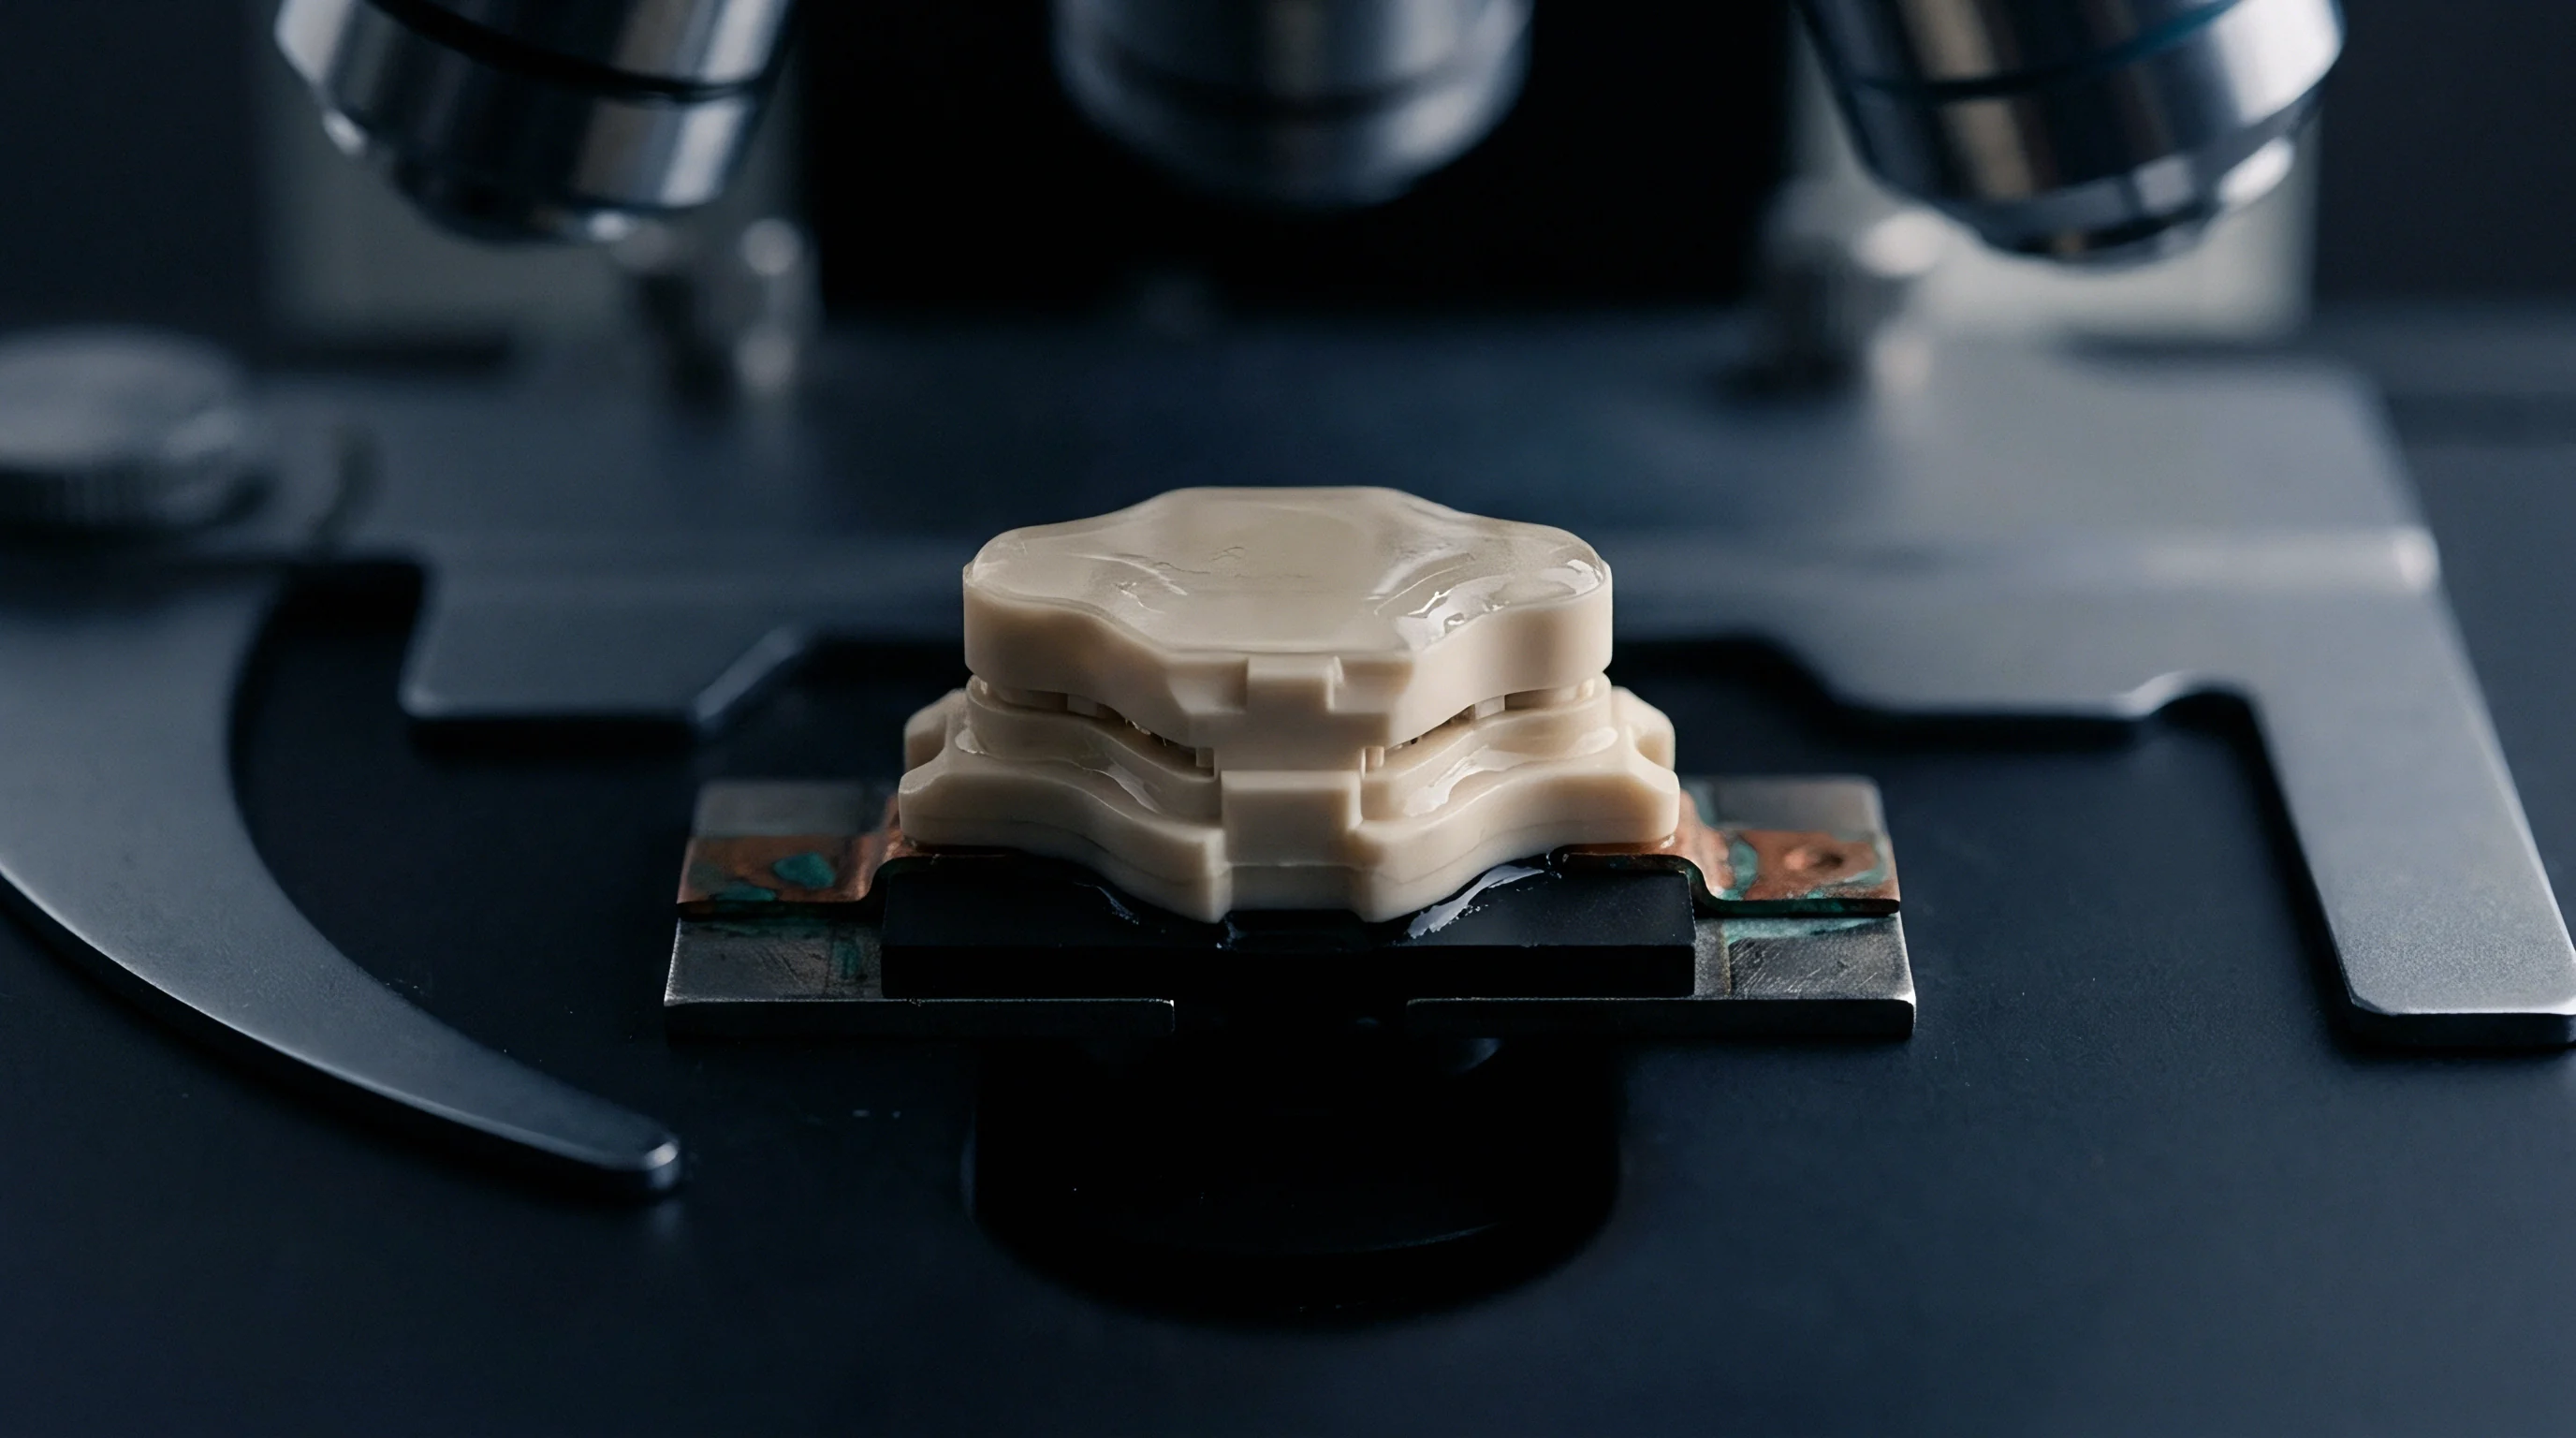
Wheatstone Bridge Signal Conditioning and Acquisition
Signal conditioning hardware must process high-frequency dynamic events alongside static offset levels. When a vacuum test fixture actuates, the initial board drop occurs within tens of milliseconds, generating strain transients with frequency components reaching several hundred Hertz. Setting low-pass analog filtering too low dampens these dynamic peaks, hiding dangerous short-duration strain spikes behind artificially smooth average curves.
| Measurement Parameter | Target Range / Setting | Calibration Standard Limit | System Impact of Non-Conformity |
|---|---|---|---|
| Bridge Excitation Voltage | 2.0 V to 2.5 V DC | ±0.05% stability | Excessive voltage induces self-heating errors; low voltage degrades signal-to-noise ratio |
| Sampling Acquisition Rate | 10 kHz per channel minimum | IPC-9704A Clause 4.2 | Under-sampling aliasing misses high-frequency dynamic strain spikes during vacuum snap |
| Analog Filter Cutoff (Low Pass) | 1 kHz Butterworth (4-pole) | -3 dB attenuation point | Over-filtering dampens mechanical shock peaks; under-filtering admits solenoid noise |
| Gauge Factor Accuracy | 2.0 to 2.15 (vendor verified) | ±0.5% tolerance | Linear gain errors skew absolute calculated principal microstrain values |
| System Baseline Noise Floor | Under 10 microstrain peak-to-peak | Zero-load reference sweep | High noise masks true mechanical deflection near component strain limits |
Dynamic strain acquisition systems capture continuous time-domain waveforms across all rosette channels simultaneously. Synchronized multi-channel acquisition ensures that computed strain tensor values reflect true spatial stress states across the component footprint rather than phase-lagged readings caused by sequential channel scanning.
Principal Microstrain and Strain Rate Calculations
Raw strain readings collected from triaxial gauge rosettes yield three distinct strain vectors along zero-degree, forty-five-degree, and ninety-degree grid axes. These directional values do not represent the absolute maximum tensile or compressive forces on the substrate. Converting raw directional values into principal strains requires calculating the mathematical transformation matrix derived from Mohr’s circle for plane strain.
Calculating maximum and minimum principal strains, designated as epsilon one and epsilon two, identifies peak tensile and compressive forces at the sensor site regardless of sensor orientation. The formula for principal strain calculation follows standard strain tensor transformations:
epsilon_1, epsilon_2 = (epsilon_0 + epsilon_90) / 2 ± (1 / sqrt(2)) sqrt((epsilon_0 – epsilon_45)^2 + (epsilon_45 – epsilon_90)^2)
Microstrain measures local material stretch. The magnitude of principal strain epsilon one defines the primary acceptance threshold under IPC/JEDEC-9704A guidelines. When epsilon one is positive, the substrate is under tensile stretch; a negative sign indicates mechanical compression.
Surface mount solder joints handle compressive force well but resist tensile separation poorly, making positive epsilon one magnitude the critical parameter during fixture commissioning.
IPC/JEDEC-9704A records a maximum allowable principal strain limit of five hundred microstrain for standard fine-pitch BGA packages at a strain rate below one thousand microstrain per second.
Strain rate calculations evaluate how fast mechanical deflection accumulates over time during fixture actuation. High strain rates drastically lower the ductile deformation capacity of lead-free solder alloys, causing brittle fractures at much lower strain thresholds than static bending tests suggest. The strain rate, expressed as d-epsilon over d-t, represents the numerical derivative of the principal strain waveform over time:
d_epsilon / d_t = (epsilon_1(t2) – epsilon_1(t1)) / (t2 – t1)
Transient Dynamic Events during Vacuum Seal Engagement
Vacuum-actuated test beds produce sharp, non-linear force transients during initial atmospheric evacuation. As the chamber seal compresses, the top plate accelerates downward until top push pins make high-velocity contact with the printed circuit assembly. This initial mechanical shock creates a high-amplitude strain spike lasting less than fifteen milliseconds before settling into a static load state.
Dynamic strain rate drives crack initiation. Standard static deflection verification fails to detect these transient mechanical spikes entirely. A fixture that exhibits an acceptable static strain level of three hundred microstrain under fully latched conditions might generate a dynamic strain transient of twelve hundred microstrain at a strain rate of fifteen thousand microstrain per second during the first ten milliseconds of vacuum pull-down.
Measuring dynamic events requires continuous sample recording through the entire fixture closure sequence.
- Mount the triaxial strain gauge rosette adjacent to the target component corner using low-shrinkage adhesive.
- Connect gauge leads to the calibrated signal conditioning amplifier using shielded twisted-pair wiring.
- Zero the bridge amplifiers while the printed circuit assembly rests in an un-actuated, stress-free state on the fixture guide pins.
- Initiate high-speed data acquisition at a minimum sampling frequency of ten kilohertz across all rosette channels.
- Actuate the test fixture through ten consecutive complete cycles, capturing raw strain time-series data during vacuum engagement, dwell, and release.
- Compute instantaneous principal strains epsilon one and epsilon two across the complete acquired time window.
- Differentiate the principal strain curve to extract peak dynamic strain rate d-epsilon over d-t values.
- Compare calculated peak principal microstrain and strain rate metrics against IPC/JEDEC-9704A limit curves.

Is Dynamic Strain Rate More Critical than Peak Flexure?
When evaluating high-density printed circuit assemblies, the acquisition rate determines whether micro-cracking risks remain visible. A static microstrain figure tells only half the structural story. Mechanical failure in lead-free solder intermetallics depends heavily on the rate of force application; high-speed displacement prevents solder from relaxing stress through plastic flow, shifting the failure mode from ductile yield to instantaneous cleavage along intermetallic boundaries.
A fixture operating at moderate total flexure can easily destroy component joints if its mechanical latching mechanism slams down rapidly, generating strain rates above ten thousand microstrain per second.
Fast actuation dynamic transients regularly trigger pad cratering without reaching nominal static strain limits. Mechanical spring forces, air cylinder acceleration, and vacuum gasket collapse speeds combine to dictate the dynamic profile. Restricting peak strain rate requires physical dampening of the fixture actuation mechanism, adjusting pneumatic speed controllers, or altering vacuum valve pull-down profiles to smooth out force transfer curves.
Commissioning checks that measure only final static deflection miss the precise dynamic window where mechanical damage occurs. Fixture acceptance documentation showing only single-point static strain readings provides false confidence while exposing complex assembly runs to unmonitored dynamic shock.
Dynamic forces dictate joint survival during fast actuation sequences.

Clamp
Mechanical force distribution across a test fixture requires continuous tuning to eliminate asymmetrical bending moments. Push pins installed on the fixture top plate must press directly opposite support anvils or dense probe clusters on the lower platen. When a top push pin hits an unsupported region of the board, the board acts as a beam under bending load, generating localized convex curvature that stretches surface-mount solder joints on the top layer and compresses components on the bottom layer.
Gasket compression introduces secondary flexure around the perimeter of vacuum-actuated test beds. As air pressure drops inside the lower chamber, atmospheric pressure forces the seal gasket down onto the board edges. If the central region of the assembly has dense spring probes providing upward resistance while the perimeter lacks support pins, the whole board bows upward like a dome, keeping the central component matrix under tensile strain throughout the test dwell cycle.
Push Pin Distribution and Counter Force Balancing
Balancing mechanical probe forces requires mapping the exact upward spring force generated by every test pin in the fixture. Standard test probes supply spring resistance ranging from two to eight ounces per pin at nominal working travel. A fixture containing two thousand test probes creates a total upward mechanical force between two hundred twenty and four hundred fifty kilograms concentrated within the active probe field.
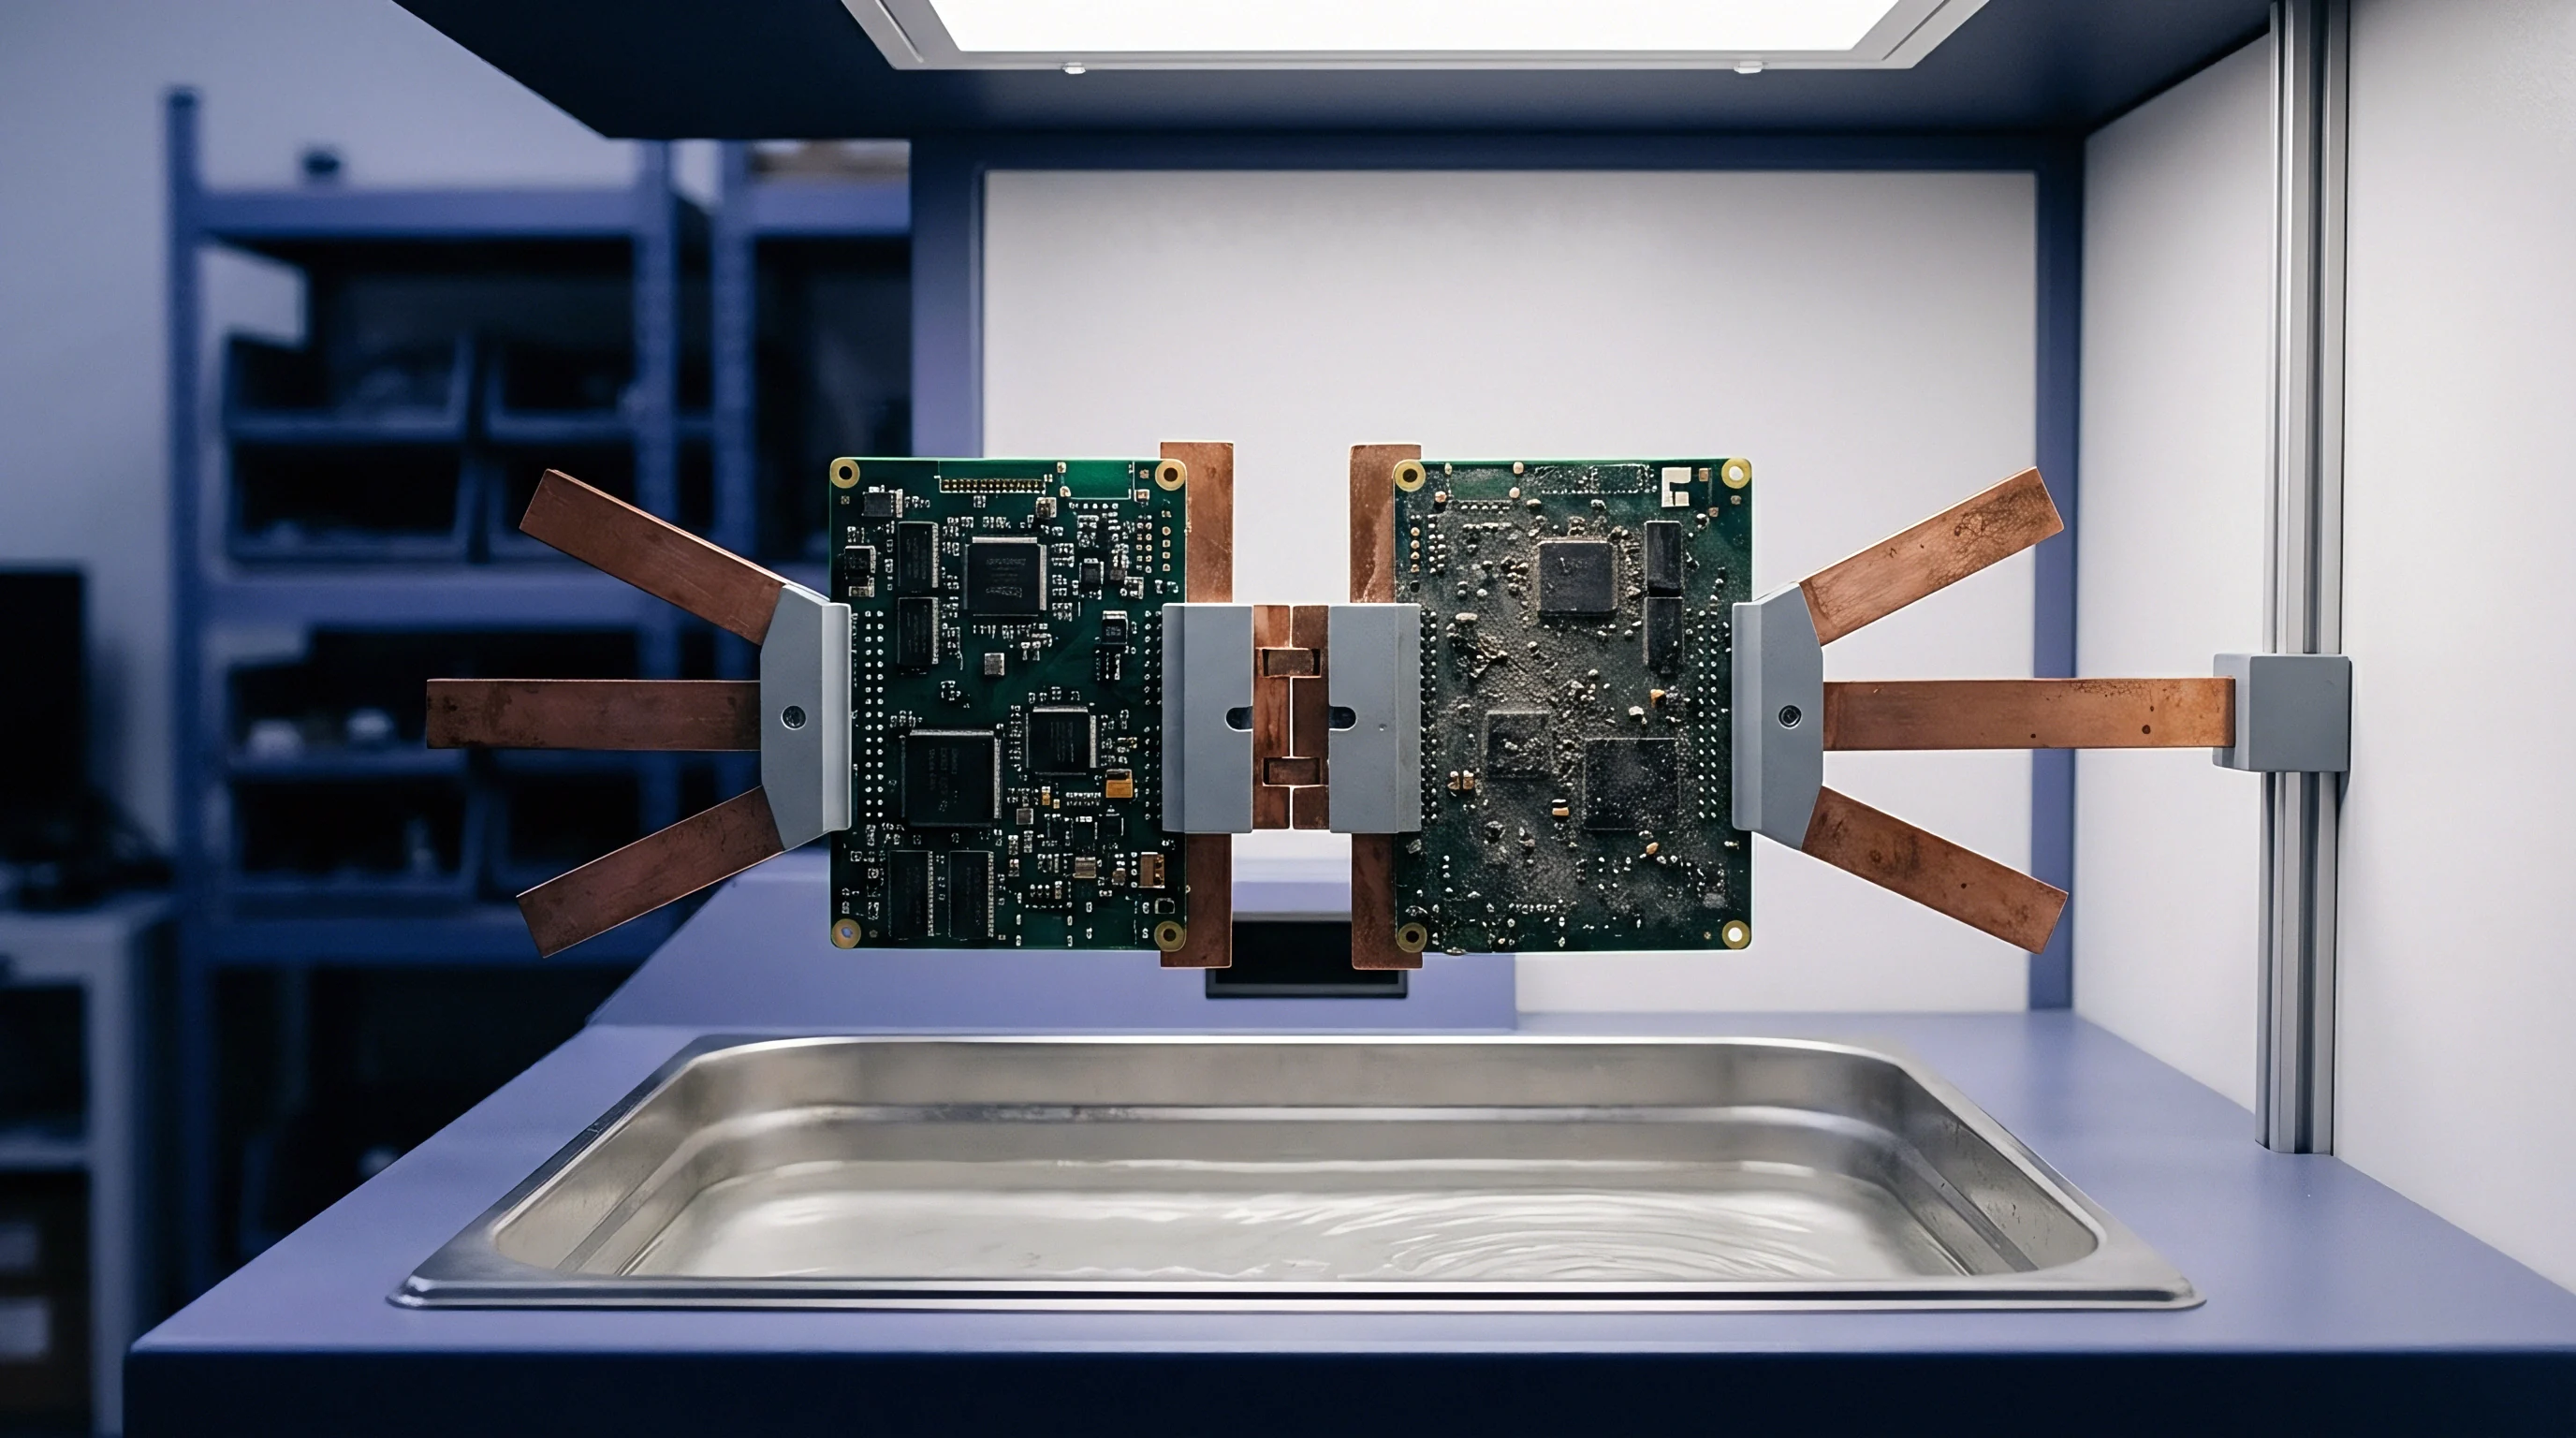
Push fingers mounted on the top cover plate must replicate this exact force pattern in reverse. Placing push fingers randomly across open spaces on the board layout causes severe local shear strain. Top push pins must target bare laminate areas, structural ground pours, or mounting hole rims directly opposite heavy bottom probe concentrations, maintaining a zero-net-moment vector across every square centimeter of substrate.
Mechanical Support Anvil Placement Protocols
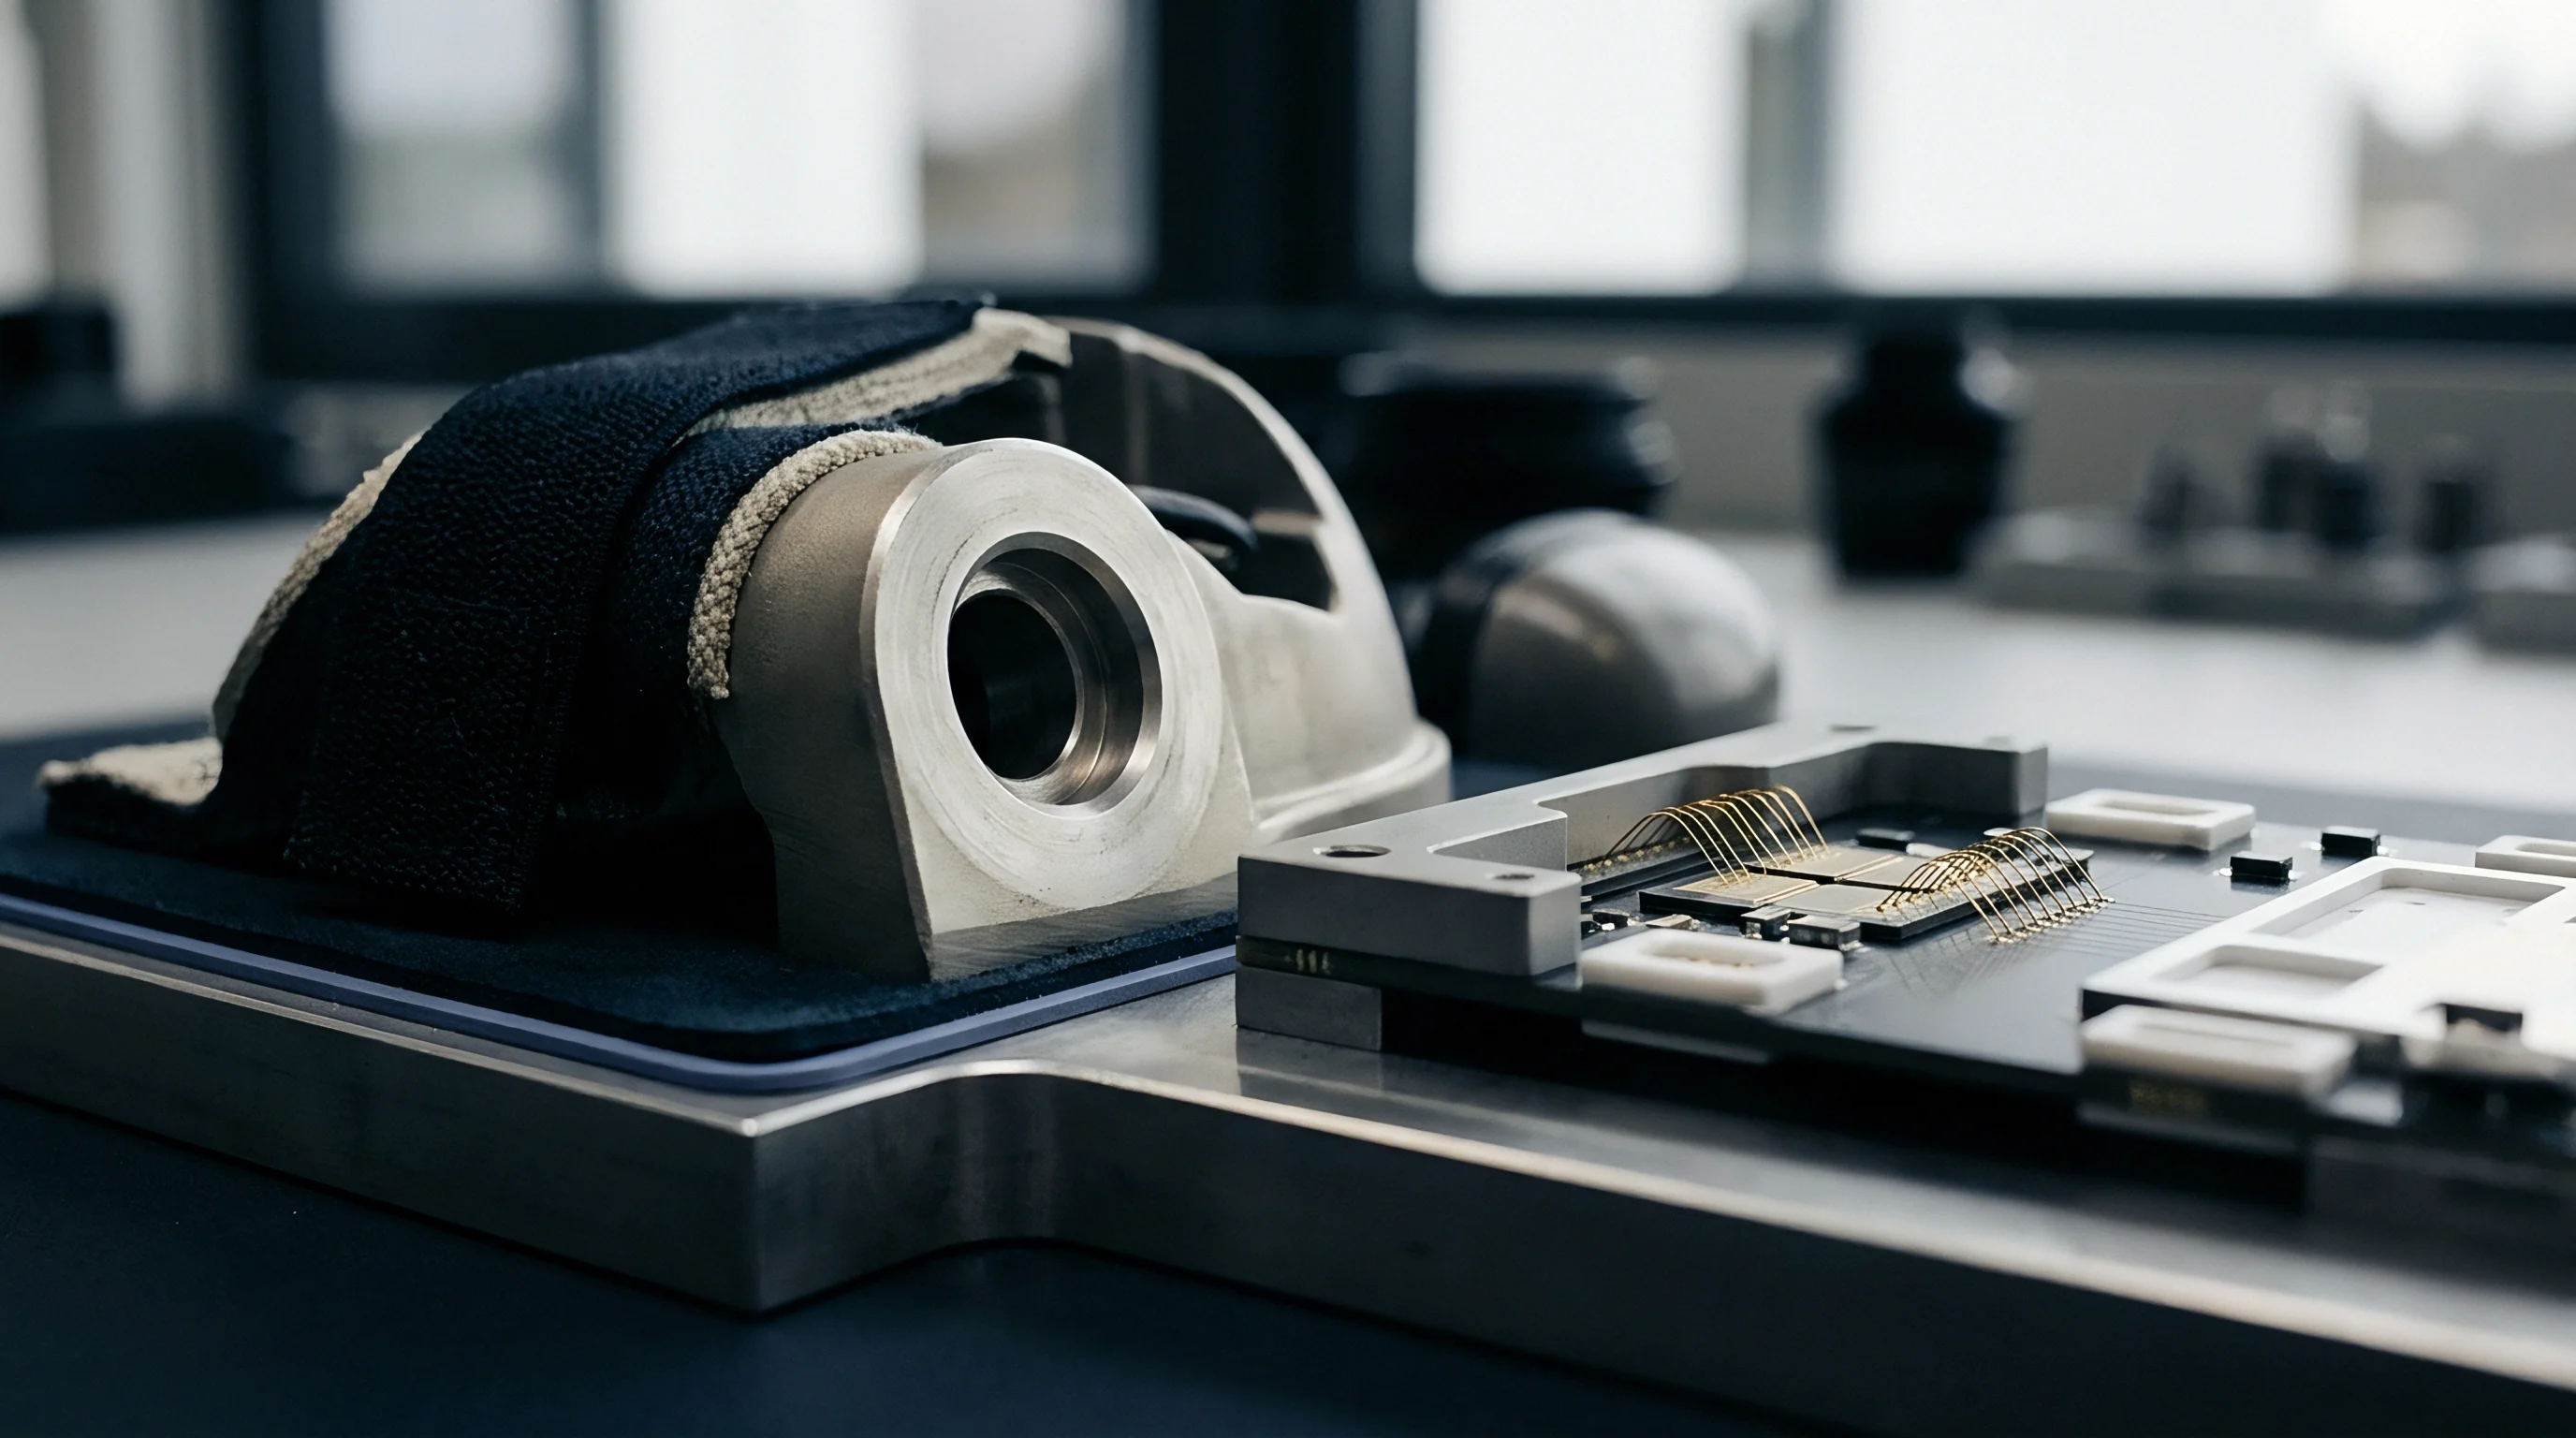
Rigid support anvils, or bottom push stops, prevent localized board sagging and warping from unbalanced push pins under concentrated top-plate pressure. Support anvils must be made from non-conductive, dimensionally stable materials such as ESD-safe Delrin or high-density glass-filled epoxy laminate. Placing anvils directly beneath heavy surface-mount packages like BGAs or shields provides structural backup, shielding fragile solder arrays from vertical displacement when nearby test pins compress.
Support anvil heights require precise adjustment relative to probe socket press-fit planes. An anvil set too high creates a fixed pivot point that concentrates bending strain directly over its contact area; an anvil set too low permits excessive initial sag before making contact, exposing surface components to rapid dynamic flexure during early actuation.
| Initial Strain Condition | Root Cause Identification | Corrective Fixture Mechanical Adjustment | Post-Adjustment Microstrain | Strain Rate Delta |
|---|---|---|---|---|
| 850 microstrain @ 12,000 u-strain/sec | Unsupported BGA center zone during vacuum drop | Installed three 6 mm ESD Delrin support anvils beneath central BGA footprint | 280 microstrain | -65% reduction |
| 620 microstrain @ 8,500 u-strain/sec | Asymmetric top push finger loading on perimeter | Re-aligned four top push pins directly over dense bottom probe clusters | 210 microstrain | -72% reduction |
| 910 microstrain @ 18,000 u-strain/sec | Rapid vacuum seal snap-down shock transient | Added flow-control restrictor valves to lower vacuum actuation speed | 340 microstrain | -81% reduction |
| 540 microstrain @ 4,000 u-strain/sec | Board edge bowing from perimeter gasket pressure | Adjusted perimeter hold-down stop block heights by 0.3 mm | 190 microstrain | -64% reduction |

Real-Time Deflection Mapping across High-Density Interconnects
Evaluating stress distribution across complex surface-mount layouts requires multi-point strain gauge arrays installed across vulnerable component zones simultaneously. Position gauge rosettes at all four corners of large ball grid array devices, adjacent to fragile ceramic capacitor arrays, near heavy surface-mount connectors, and next to rigid mechanical stiffeners or board cutouts where stress concentration factors peak.
On high-volume manufacturing lines, fixture gaskets degrade after twenty thousand operations, altering the absolute height at which vacuum sealing occurs and shifting the force distribution profile. Continuous deflection mapping during initial fixture commissioning creates a baseline strain topography map. Comparing subsequent maintenance measurements against this initial map reveals mechanical wear, bent push pins, or warped structural platens before fixture distortion destroys production assemblies.
- Verify Push Pin Alignment using pressure-sensitive film placed between the top cover plate and a dummy printed circuit assembly to reveal localized force points.
- Inspect Support Anvil Heights using dial indicators to confirm that all solid backing pins sit within fifty micrometers of the nominal board contact plane.
- Check Gasket Durometer Uniformity to prevent asymmetrical perimeter drop forces caused by localized seal hardening or permanent compression set.
- Audit Probe Spring Resistance across aged pin fields to catch fatigued springs that cause uneven upward support vectors under dense packages.
A twelve-hundred microstrain transient is sometimes dismissed as acceptable because test duration lasts only two seconds, ignoring the reality that intermetallic micro-cracks form within two milliseconds of impact.

Audit
Commissioning an in-circuit test fixture requires formal documentation confirming that mechanical strain levels across all critical component positions stay strictly within acceptable operational limits. A fixture cannot enter volume production based on visual inspections or basic electrical self-tests alone. Physical strain measurement reporting is the only valid engineering evidence proving that a fixture executes contact cycles without inflicting latent mechanical damage on customer hardware.
The commissioning dossier forms a permanent part of the manufacturing record for every high-reliability product line. Sourcing teams and contract assembly clients demand fully executed strain gauge verification reports prior to approving production sign-off. This dossier protects both contract manufacturer and client, establishing clear liability boundaries if field returns exhibit mechanical failures like pad cratering or solder joint fatigue.
Fixture Acceptance Qualification Dossier Requirements
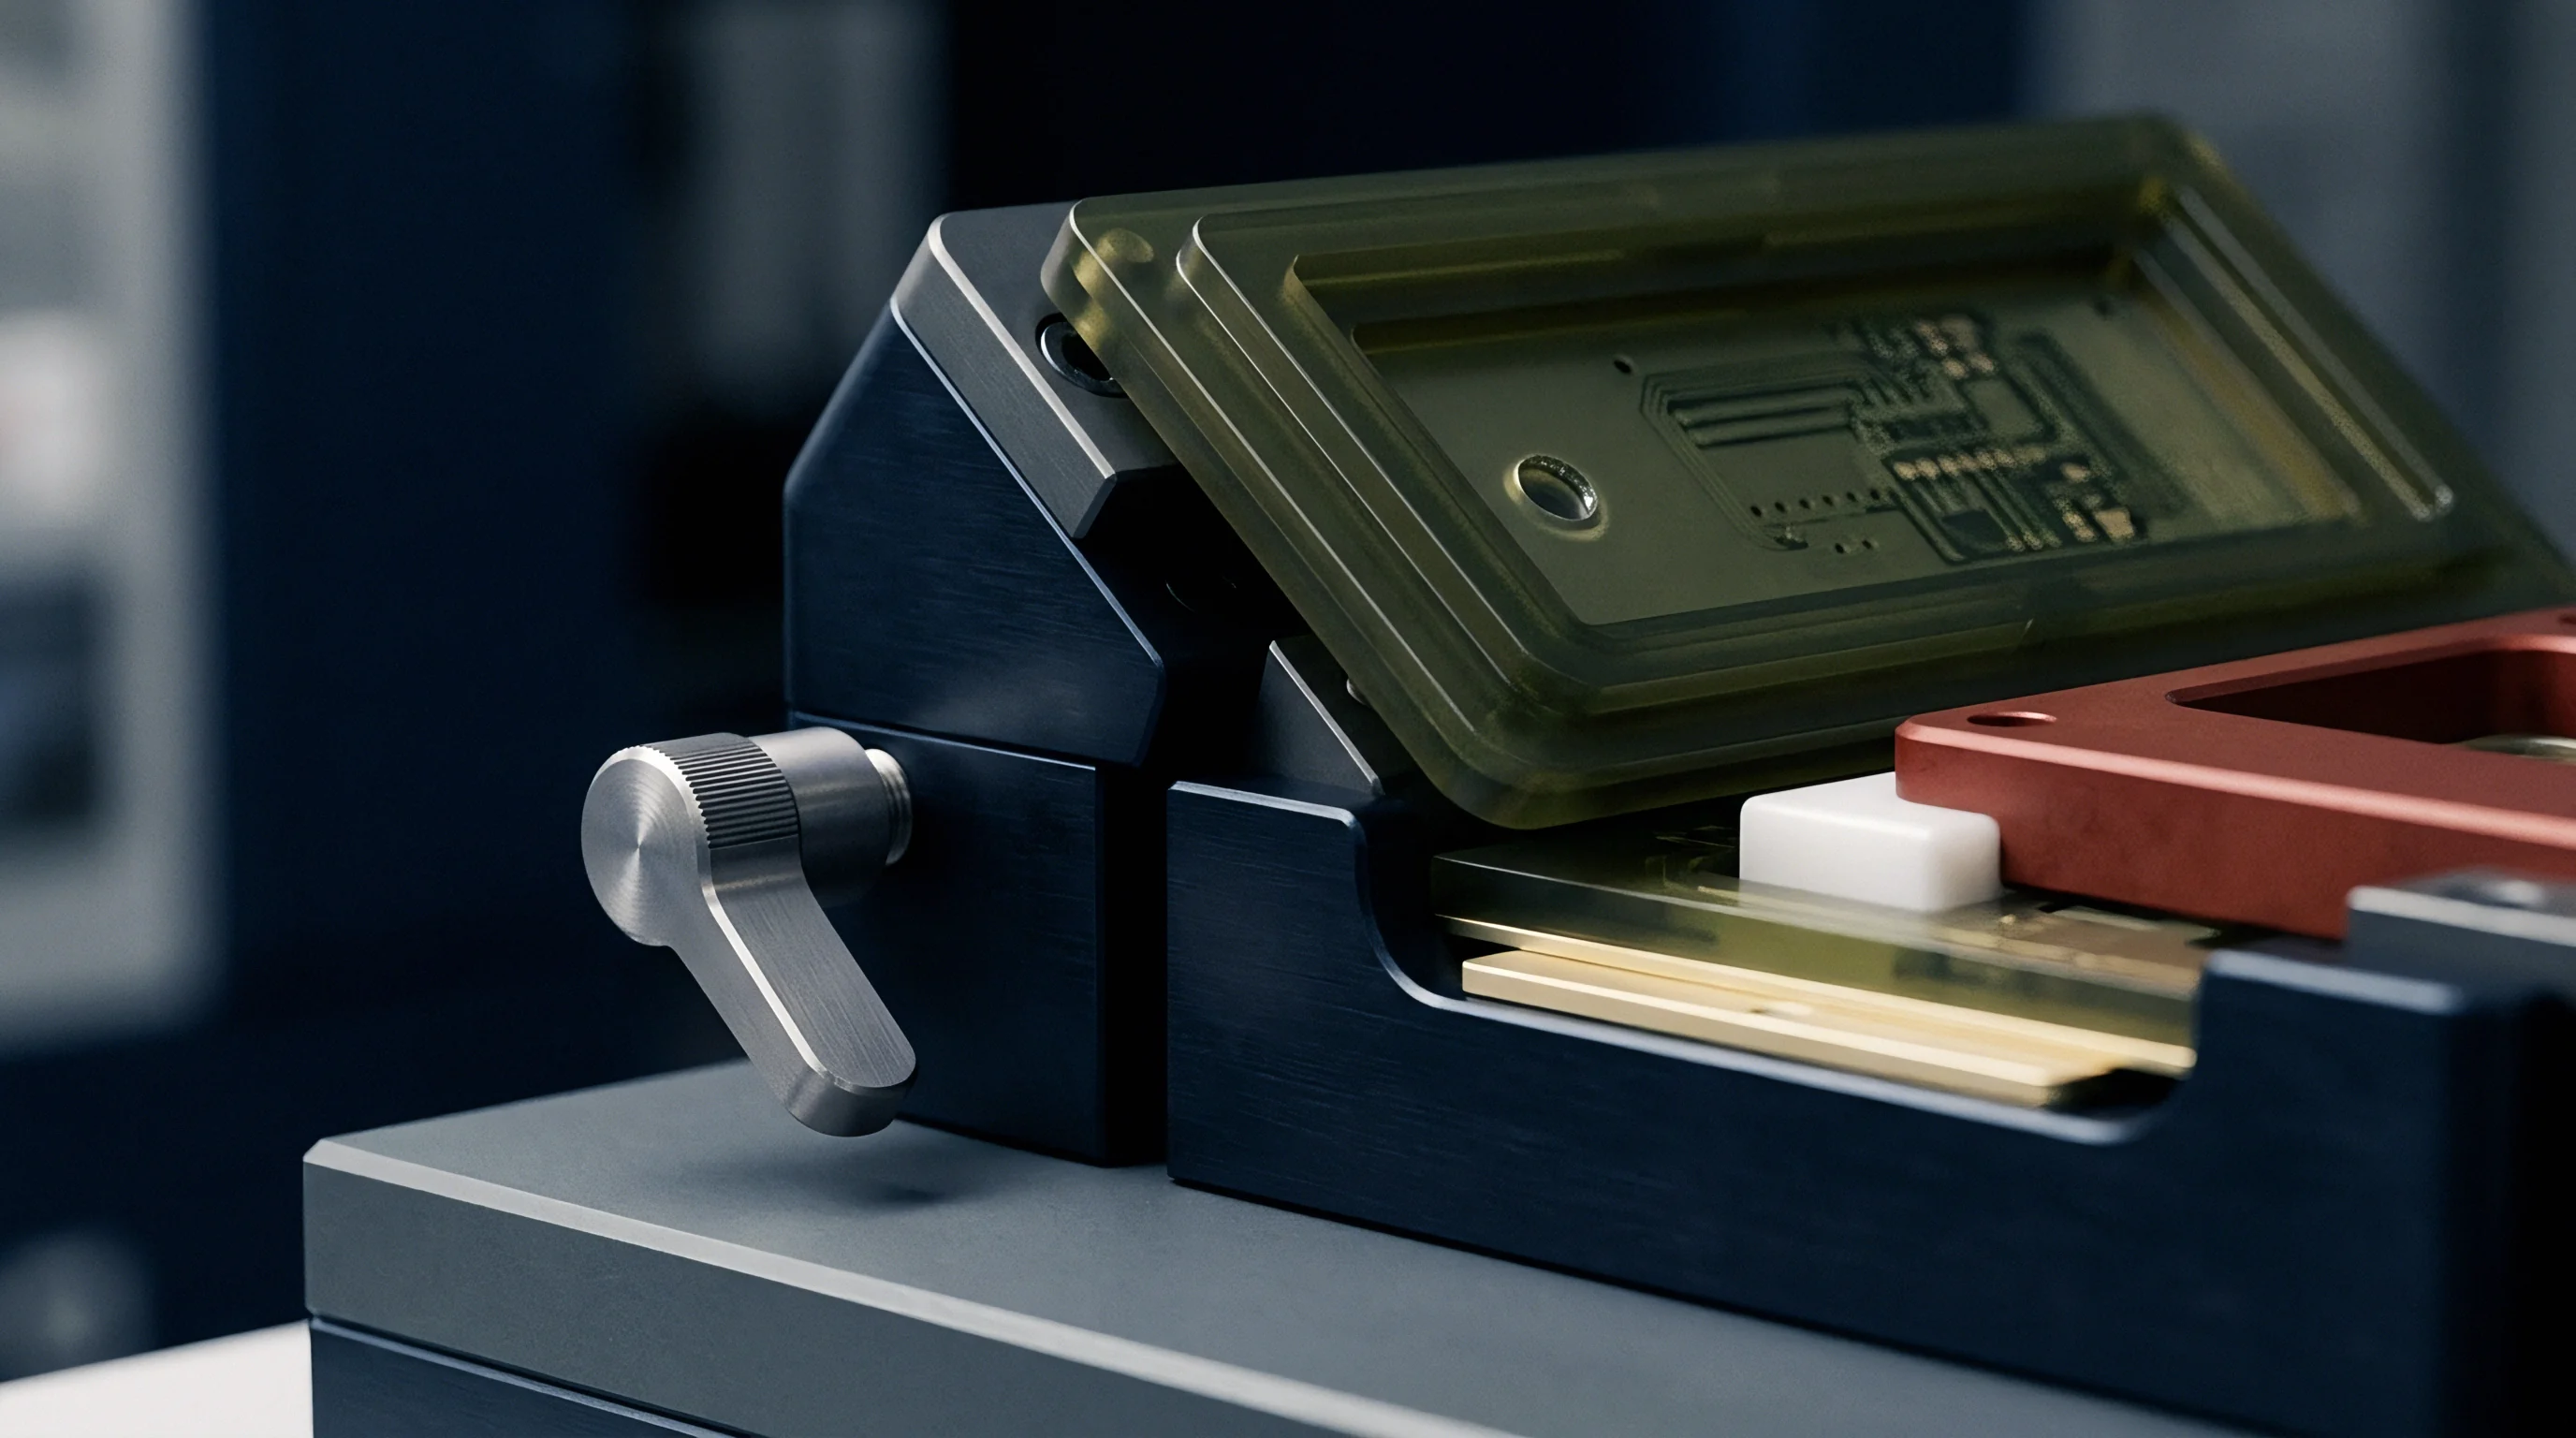
A complete fixture strain qualification report compiles sensor location maps, raw signal acquisition plots, calculated principal microstrain values, and strain rate metrics across every test channel. The documentation captures the exact physical state of the test system, including probe part numbers, spring forces, push finger positions, vacuum supply pressure settings, and ambient test cell conditions during data collection.
Commissioning logs require three consecutive strain gauge sweeps using a fully populated sample board before releasing a fixture to the manufacturing floor. The qualification dossier must contain complete raw time-series dataset recordings for every channel rather than simple summary tables listing minimum and maximum values. Retaining continuous time-domain records allows post-process auditing if component package design changes or solder alloy substitutions alter strain tolerance thresholds later in production.

Maintenance Intervals and Strain Drift Monitoring
Mechanical test fixtures undergo continuous physical degradation over their operational lifespans. Guide pins wear out, introducing lateral play that causes top push fingers to hit component edges out of alignment. Internal seal gaskets lose elasticity, changing vacuum pull-down dynamics and increasing mechanical shock velocity.
Dirt, solder flux residue, and broken probe tips collect inside the lower chamber, altering pin heights and creating uncompensated point loads beneath circuit panels.
Preventive maintenance regimes enforce periodic strain gauge re-verification based on fixture actuation counters. Standard high-volume lines require complete strain re-commissioning every fifty thousand cycles or every six months, whichever comes first. Any major fixture alteration ~ such as replacing probe clusters, moving top push fingers, repairing mechanical latch assemblies, or replacing structural gaskets ~ voids the existing strain dossier and mandates immediate re-verification before production resumes.
- Sensor Installation Layout Diagram showing exact rosette placement coordinates, channel assignments, and component reference designators.
- Calibration System Certificates establishing NIST-traceable measurement accuracy for all Wheatstone bridge amplifiers and data acquisition modules.
- Raw Strain Time-Domain Waveforms capturing continuous microstrain profiles across the entire actuation, test dwell, and release cycle.
- Calculated Principal Strain Curves displaying instantaneous epsilon one, epsilon two, and strain rate d-epsilon over d-t values for all channels.
- Component Acceptance Matrix mapping measured peak values directly against IPC/JEDEC-9704A maximum allowable limits for each specific package.
- Fixture Mechanical Sign-Off Sheet signed by the lead test engineer, quality assurance manager, and client manufacturing representative.

Commercial Liability and Batch Protection Mechanisms
Financial liability for latent field failures hinges on having rigorous fixture verification evidence. When a customer experiences field returns from cracked capacitors or pad cratering, the investigation turns immediately to assembly and test history. If the contract manufacturer lacks a signed, methodology-compliant strain commissioning dossier for the specific test fixture used during production, the manufacturer absorbs full financial exposure for recalled batches, scrap costs, and warranty replacements.
Implementing strict deflection verification protocols changes the commercial relationship between assembly suppliers and procurement teams. Clear physical evidence eliminates costly disputes over whether component degradation resulted from poor reflow profiles, incoming material defects, or fixture abuse. Unambiguous test evidence protects production margins and defends product reliability across international supply chains.
IPC/JEDEC-9704A Clause 5.3 stipulates that any test fixture exceeding maximum allowable strain thresholds during commissioning must be immediately locked out from production until mechanical modifications demonstrate full compliance with component strain limits upon re-test.