Printed Circuit Assembly Test Point Access Guidelines
Test point geometry and access density directly dictate structural fault coverage, fixture expense, signal integrity, and field escape liabilities across production batches.
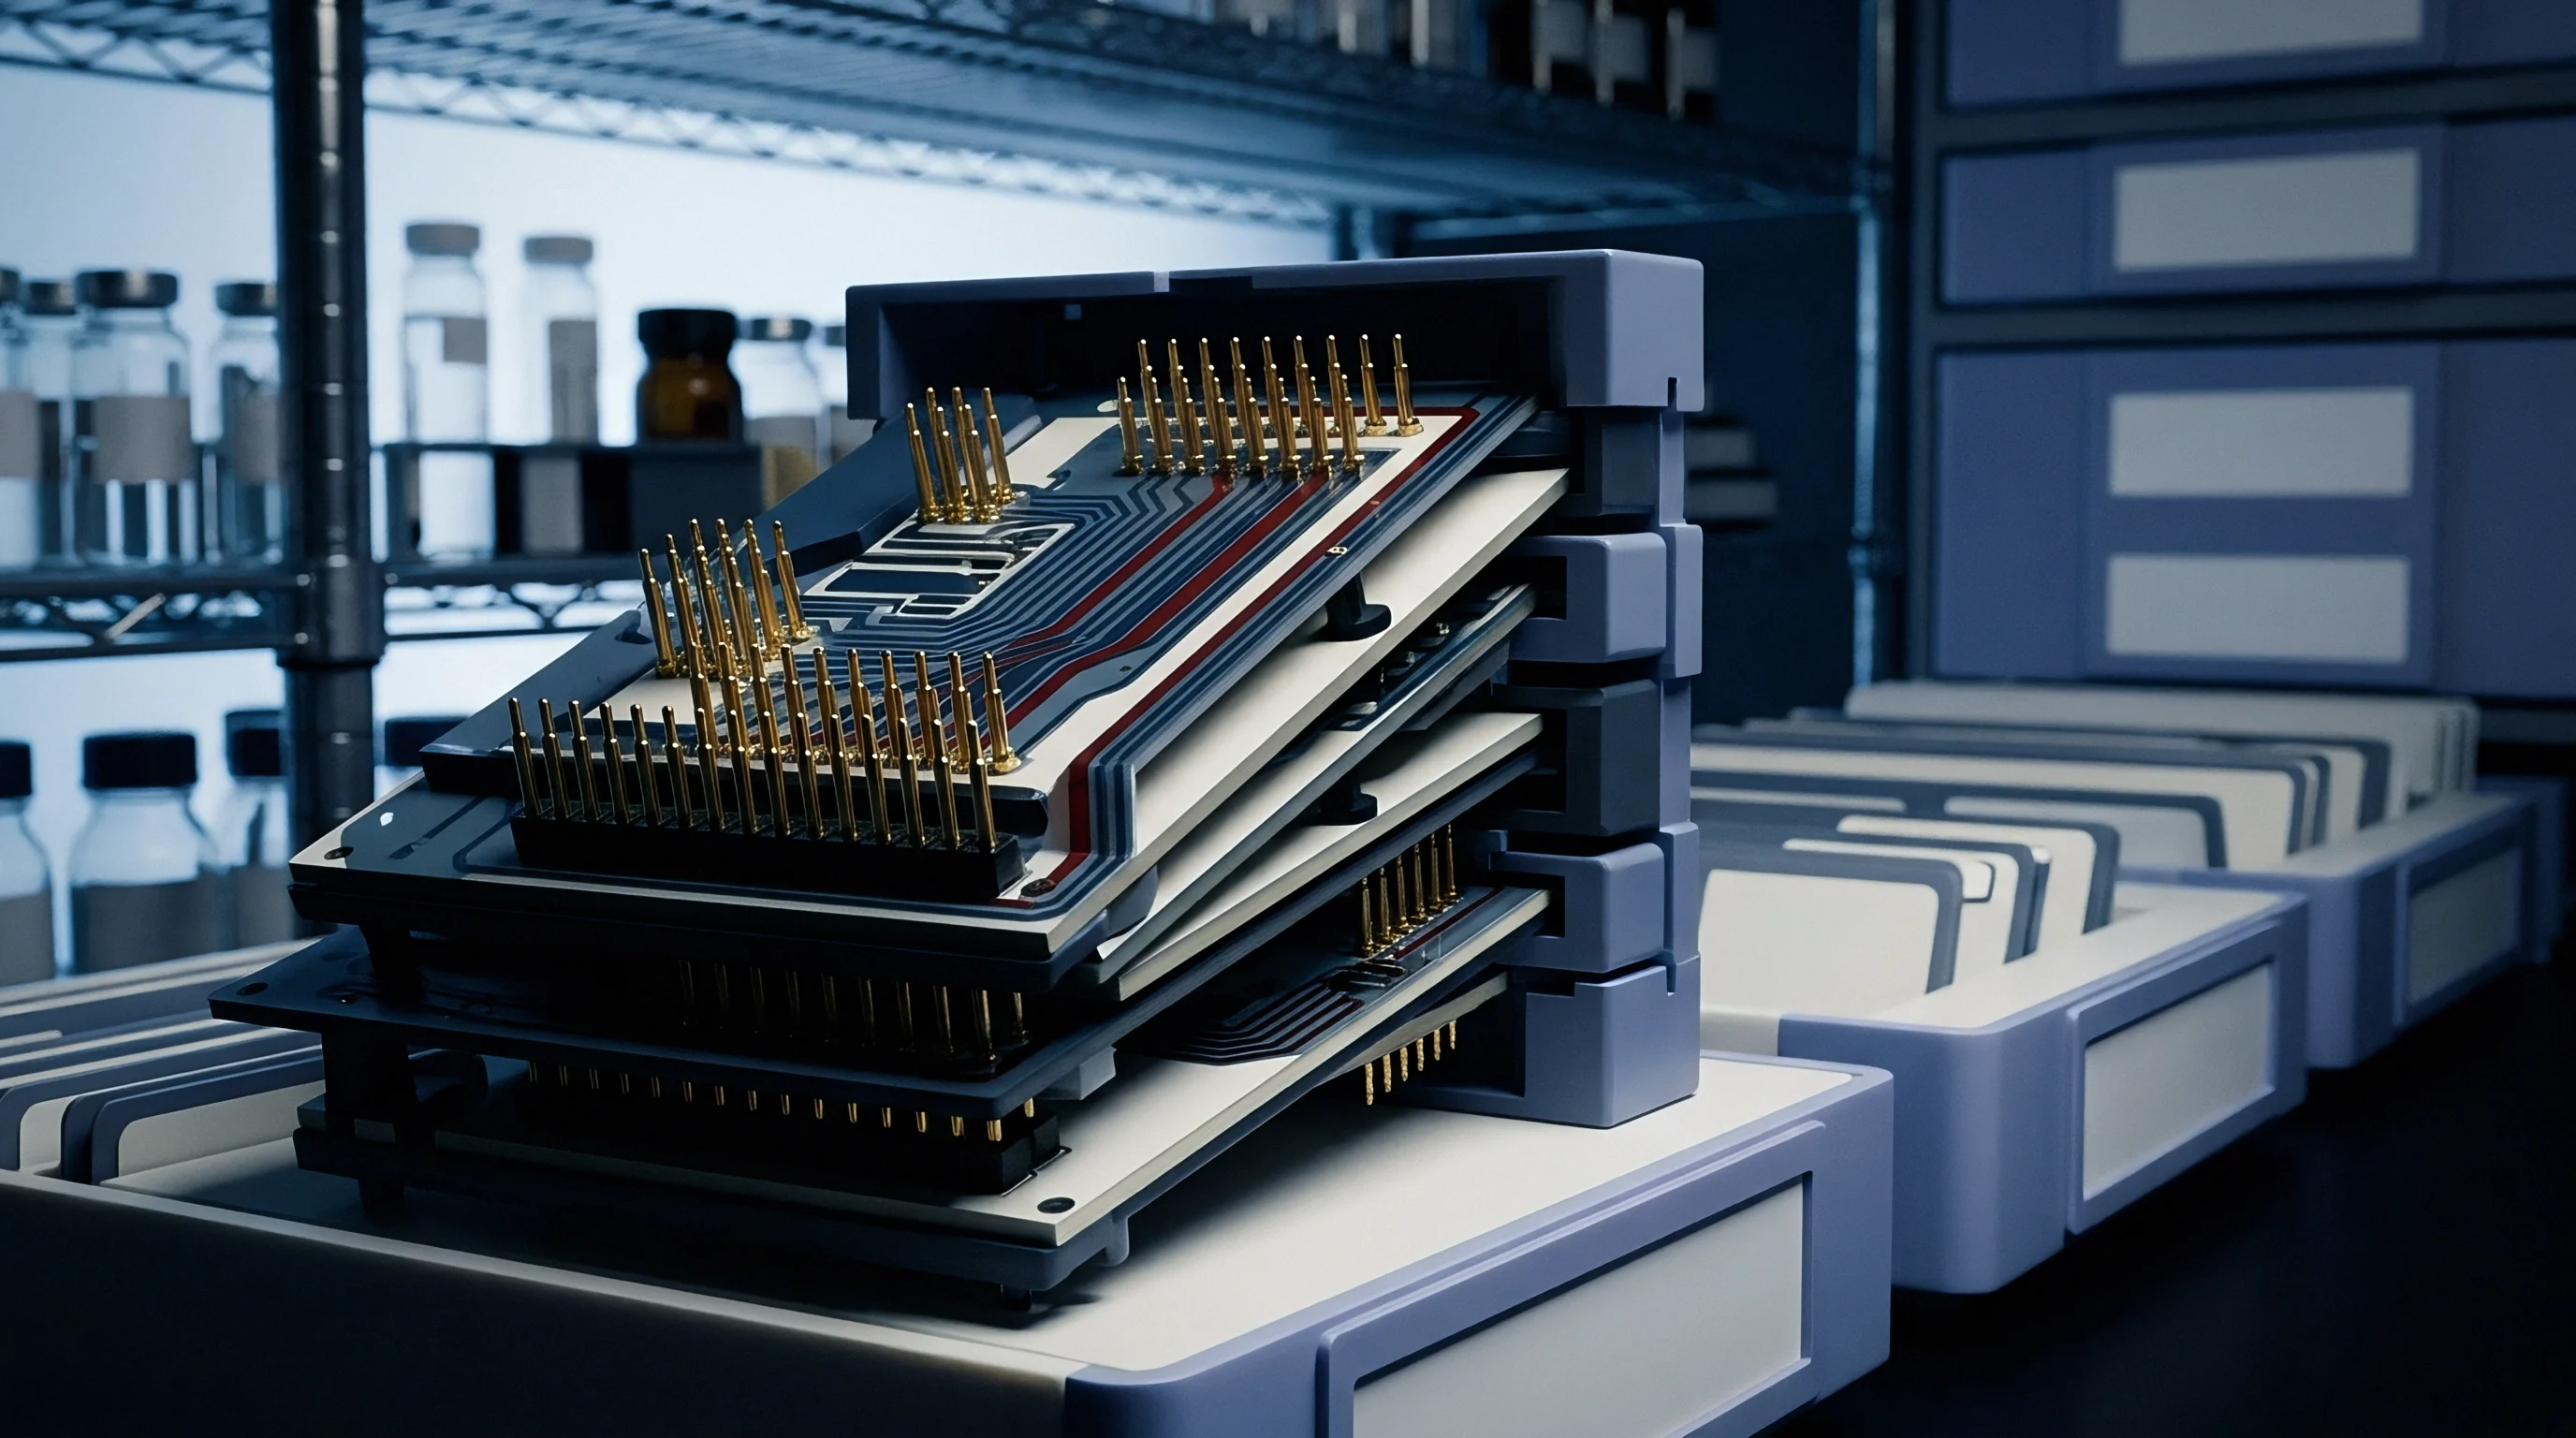

Pitch
Bed-of-nails test fixtures depend on precise mechanical placement of landing pads across a printed circuit board. As spring-loaded probes descend during automated in-circuit or flying probe testing, positional accuracy determines whether pins hit copper clean or slip off the edge. Targeting tolerances are hard physical constraints set by board manufacturing variations, fixture machining limits, and thermal expansion.
A probe that misses can chew up adjacent solder mask, crush sensitive surface-mount leads, or report false opens that waste bench diagnostic time.
Target geometry sets the baseline for fixture design. With traditional bed-of-nails tooling at 2.54 mm (100 mil) or 1.91 mm (75 mil) center-to-center pitch, landing targets are usually round copper pads 1.0 mm (40 mils) across. When layout density increases, test access shrinks to 1.27 mm (50 mil) or 1.0 mm (40 mil) spacing, pushing pad diameters down to 0.80 mm (31 mils) or 0.60 mm (24 mils).
Below 0.50 mm (20 mil) centers, standard spring pins reach their limit, forcing a switch to fine-pitch micro-probes or guided flex interfaces that wear out much faster and cost more to maintain.
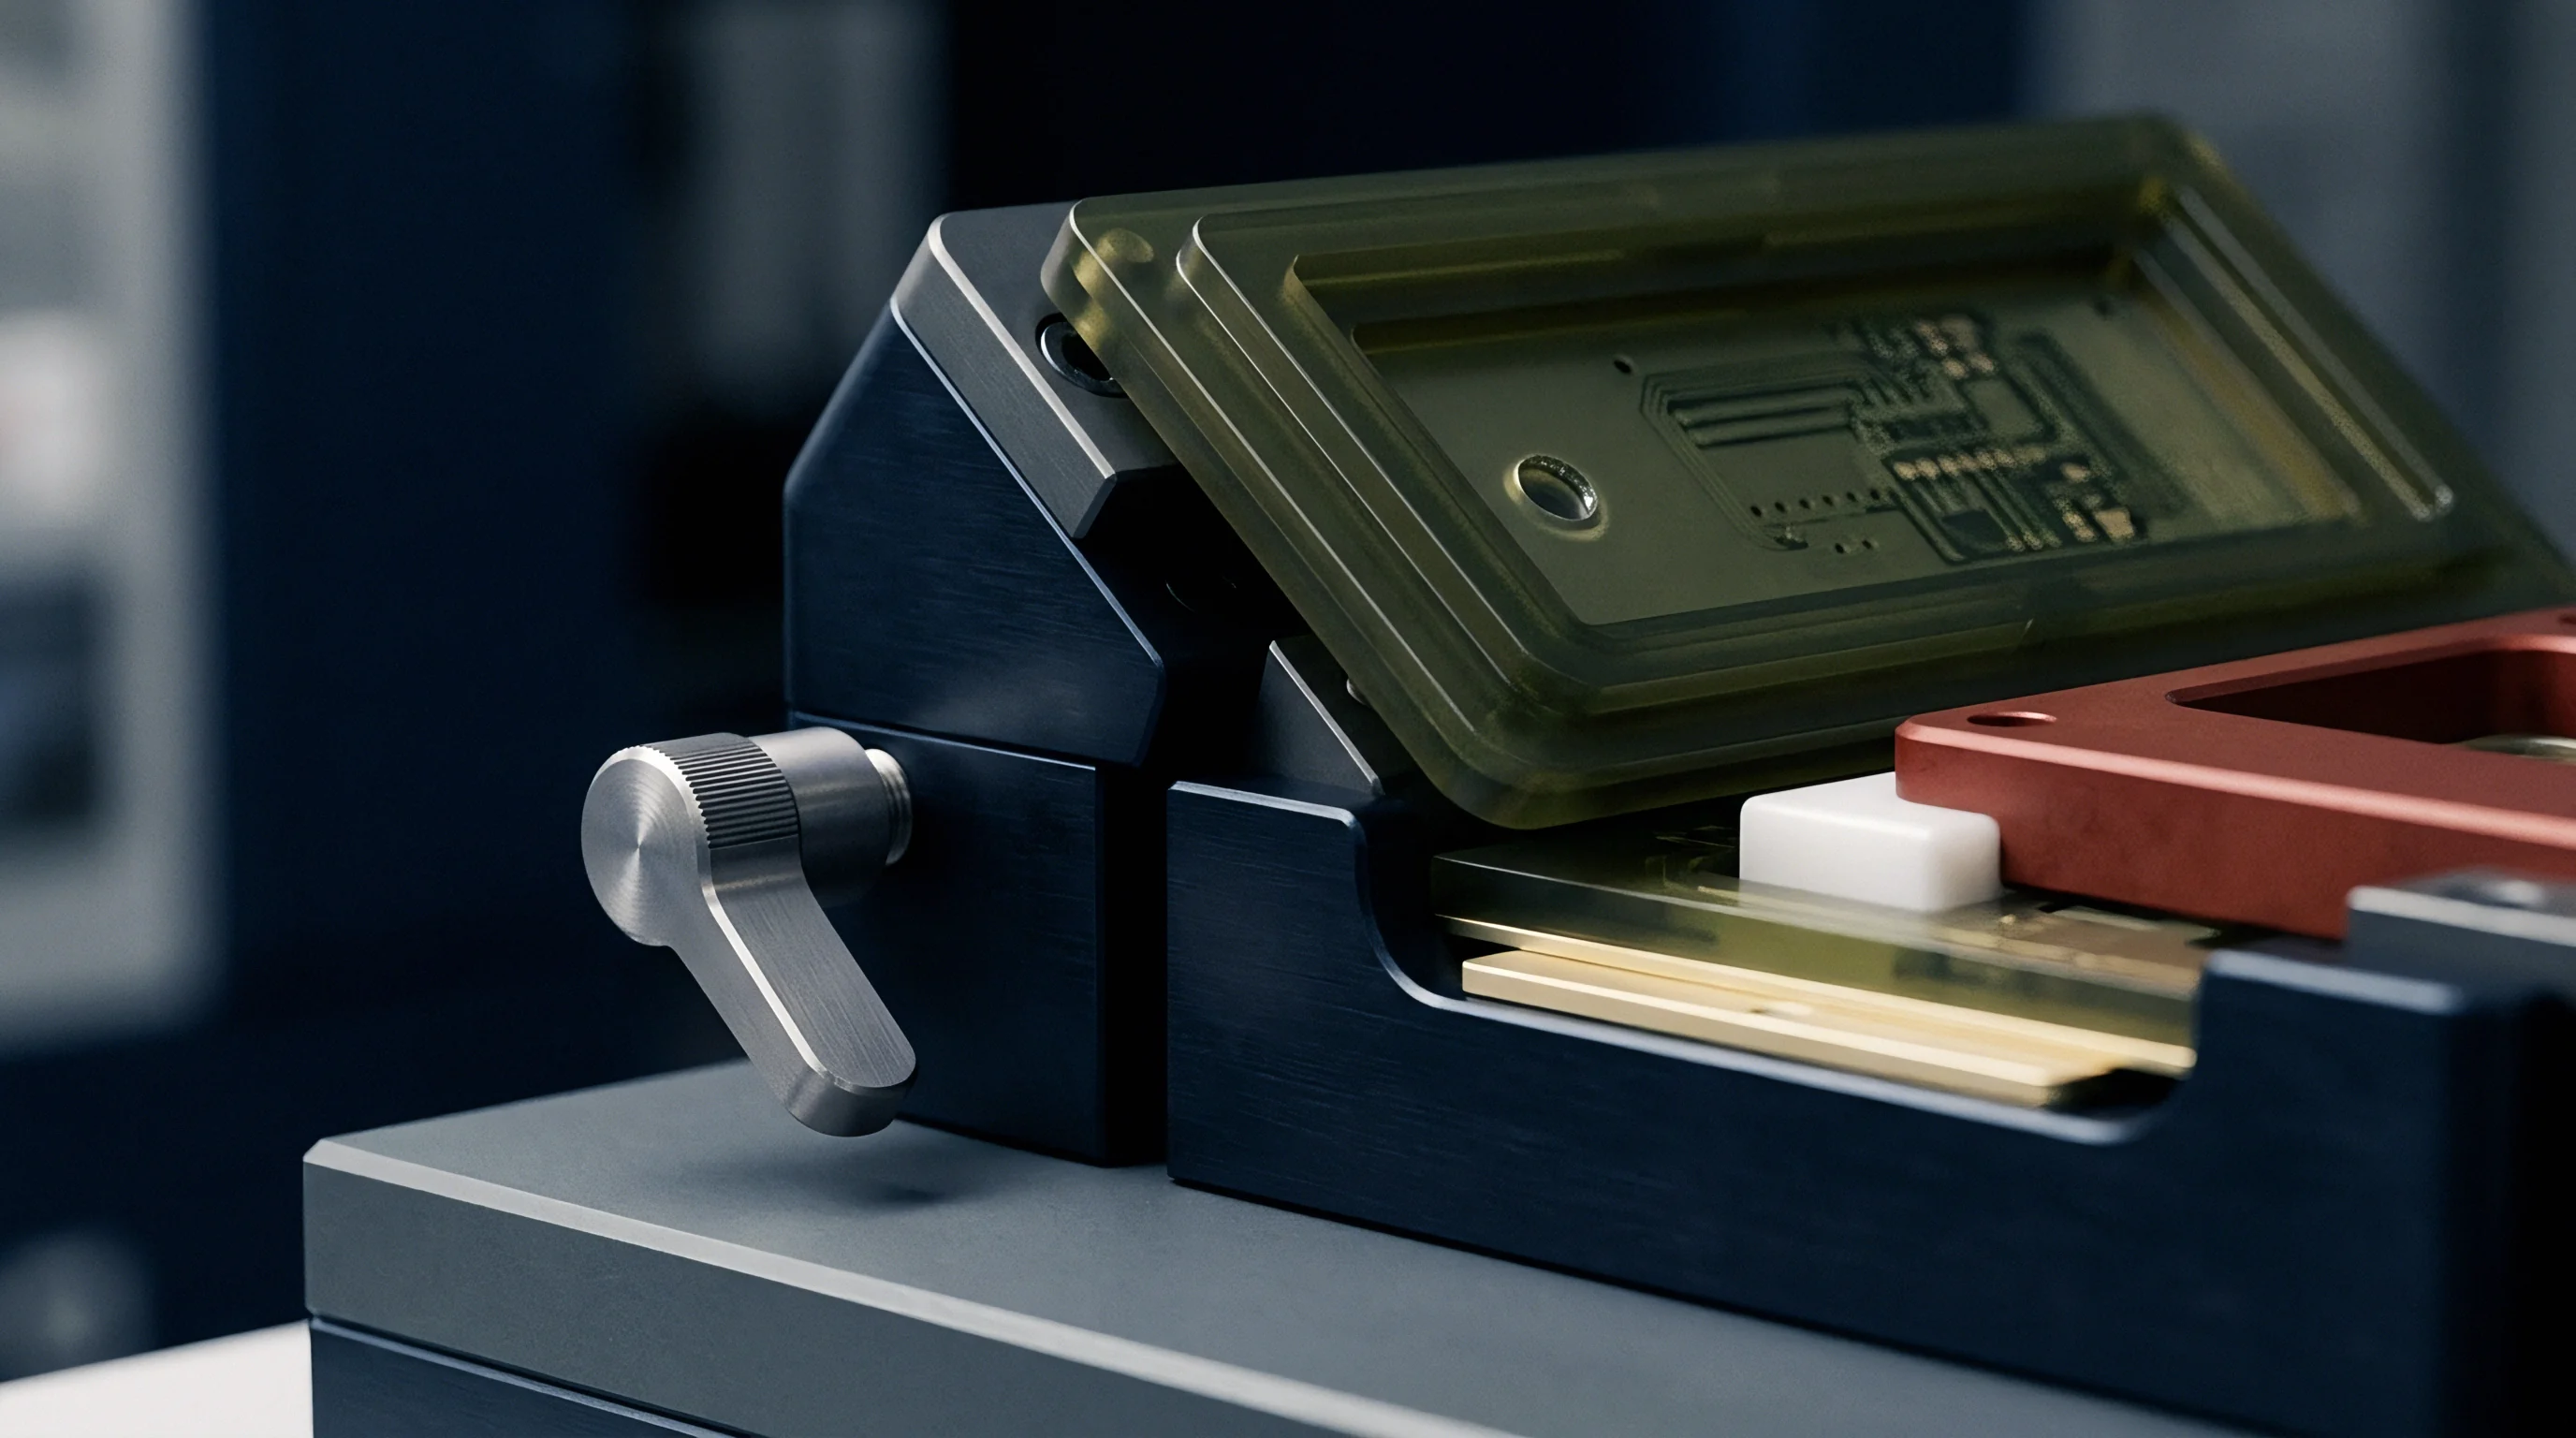
Probe Target Dimensions and Center Distances
Spring-loaded steel pins need enough copper surface area to absorb mechanical positioning tolerances. Total positional uncertainty accumulates from board drill wander, outer-layer image registration, tooling hole tolerances, fixture plate drilling accuracy, and pin deflection under spring load. On a double-sided fixture, this tolerance stack-up easily reaches plus or minus 0.10 mm (4 mils) from nominal pad centers.
Target pads must extend beyond this stack-up radius so every pin lands squarely on bare copper across production runs.
Solder mask clearance around target pads directly affects contact reliability. Mask overlapping the copper keeps sharp crown or spear tips from seating fully against metal. Standard layout practice calls for a solder mask relief extending at least 0.075 mm (3 mils) past the edge of the copper pad.
Near surface-mount passives, keeping at least 0.40 mm (16 mils) between the target center and the component land prevents probe tips from shorting against terminations or cracking brittle ceramic bodies when the fixture clamps down.
| Nominal Pitch (mm / mil) | Target Pad Diameter (mm / mil) | Solder Mask Clearance (mm / mil) | Tolerance Stack-Up Window (mm / mil) | First-Pass Hit Reliability (%) |
|---|---|---|---|---|
| 2.54 / 100 | 1.00 / 40 | 1.15 / 46 | ±0.12 / 4.7 | 99.995 |
| 1.91 / 75 | 0.80 / 31 | 0.95 / 37 | ±0.09 / 3.5 | 99.980 |
| 1.27 / 50 | 0.60 / 24 | 0.75 / 30 | ±0.06 / 2.4 | 99.850 |
| 1.00 / 40 | 0.50 / 20 | 0.65 / 26 | ±0.04 / 1.6 | 99.300 |
| 0.80 / 31 | 0.35 / 14 | 0.50 / 20 | ±0.025 / 1.0 | 97.100 |
| Data recorded across 50,000 fixture actuations using FR-4 panels held by dual tooling pins per IPC-9252 Class 2 guidelines. | ||||
Probe tip geometry controls force distribution and electrical contact quality. Spear and chisel tips bite through oxides and flux residue on bare copper or OSP finishes. Crown and waffle tips suit HASL or tin-lead targets better, distributing force across multiple contact points to reduce pad cratering as the tip slides.
Probes with high spring force ~ between 2.0 and 3.0 Newtons per pin ~ improve continuity on dirty boards, though they increase the risk of pushing copper lands into glass-epoxy fibers and fracturing underlying traces.
Tooling Alignment Marks and Board Expansion Limits
Primary board registration relies on unplated tooling holes set near opposite corners of the panel. Fixture pins drop into these holes before any test probes hit copper. These tooling holes need tight tolerances ~ plus 0.075 mm, minus 0.000 mm (+3 mils, -0 mils) ~ to prevent rotational play across the assembly.
Spacing tooling holes as far apart as possible along the longest diagonal axis minimizes rotational alignment errors across dense target clusters near the center of the board.
A 0.80 millimeter pad diameter yields a 99.98 percent hit rate when targeted with standard spring probes on tooling pins held within 50 micrometers.
Board dimensional stability degrades during high-temperature SMT reflow. Thermal expansion and internal laminate strain relief alter panel dimensions unevenly, shifting target locations relative to rigid fixture pins. Multi-layer FR-4 panels often shrink by up to 0.05 percent after multiple lead-free reflow passes.
On a 400 mm panel, that 0.05 percent shift moves outer target pads by 0.20 mm relative to the tooling holes ~ enough to miss 0.50 mm pads completely and trigger widespread contact failures.
False opens often stem from bare-board shrinkage after reflow, even when fixture plates match CAD files perfectly, making post-reflow pin adjustments necessary for distorted panels.

Node
Test fixtures can only catch assembly faults on nets they can touch. Any electrical net lacking a dedicated target pad or accessible lead goes entirely unverified during in-circuit or flying probe routines. Full structural coverage requires at least one accessible probe point on every node.
When dense layouts leave no room for dedicated pads, designers sometimes resort to probing component lands or leads directly, which introduces severe mechanical risks and contact variability.
Dedicated test pads placed on traces or vias provide vastly superior contact reliability compared to probing component leads directly. Pressing probes onto surface-mount lands can crush solder fillets, bend fine-pitch QFP pins, or create temporary mechanical contact that masks cold solder joints during test execution. Probing end-terminations on ceramic chip capacitors or resistors drives mechanical loads directly into brittle dielectric material, creating microcracks.
Under thermal cycling in the field, those cracks expand into low-impedance shorts long after testing concludes.
Uncluttered Bottom Surface Probe Access Strategies
Putting all electrical test targets on the non-component side simplifies fixture design. Single-sided bed-of-nails tooling costs far less to build, align, and maintain than double-sided clam-shell setups. Dual-sided fixtures double pin alignment tolerances, block visual inspection during debugging, and require heavy compression force to actuate the test setup.
Standard guidelines strongly favor routing signals through vias to bottom-side test pads whenever dense top-side layout leaves no room for test points.
Surface vias routed to bottom-side target pads can serve as test points if properly filled, capped, or formatted. Probing open, unplugged vias directly with sharp contact pins traps solder mask flakes or shop debris inside the barrel, leading to intermittent probe contact. Through-hole leads represent potential probe targets, but variable solder fillet heights and excess lead lengths introduce vertical mechanical offsets that deflect probe tips.
Smooth, flat, dedicated copper targets finished with ENIG or OSP remain the gold standard for keeping contact resistance below 50 milliohms.
Class 3 designs defined under IPC-2221 require dedicated test targets rather than probing exposed component termination lands directly.
High-density interconnect (HDI) boards using blind and buried vias present distinct access challenges. Microvias located in surface component lands ~ known as via-in-pad structures ~ cannot serve as probe targets unless fully planarized and copper-plated flush. Probing non-planarized via-in-pad structures creates mechanical dimpling, damages underlying dielectric thin-films, and causes rapid probe tip wear.
Dedicated test targets on HDI layers require careful fan-out routing, adding trace length and increasing signal layer count.
Mechanical Compression Loading and Substrate Strain Metrics
Compressing hundreds of spring pins simultaneously exerts substantial mechanical force against the substrate. Each individual spring probe delivers between 1.5 and 2.5 Newtons of compressive force at full working stroke. A circuit assembly containing 1,200 test nodes sees a total downward compressive force exceeding 2,400 Newtons (roughly 245 kilograms-force) during fixture closure.
If this force is distributed unevenly, localized substrate flexing creates immense flexural strain in adjacent rigid surface-mount components.
Substrate deformation during fixture engagement triggers mechanical failures inside delicate component packages. Multilayer ceramic chip capacitors, ball grid array solder joints, and fine-pitch QFP leads are especially vulnerable to strain-induced fracturing. Measuring substrate deflection with strain gages placed adjacent to large ceramic packages during fixture qualification verifies that peak mechanical strain remains below 500 microstrain under all operating conditions.
Exceeding 500 microstrain risks shearing solder joints or cracking brittle silicon die interfaces, introducing latent defects into passed assemblies.
Mechanical risks associated with high-density probe fixture compression are governed by specific structural interactions across the board assembly:
- Substrate Flexure under Unbalanced Pin Distributions concentration of probe pins in dense digital zones causes asymmetrical bending moments across thin printed circuit laminates.
- Multilayer Ceramic Capacitor Microcracking excessive localized strain induces tensile stress in surface-mounted ceramic packages, cracking internal electrode layers.
- Ball Grid Array Solder Joint Sinking probe pins contacting targets situated directly beneath ball grid array footprints apply localized force that deforms reflowed solder spheres.
- Pad Cratering in Thin Core Laminates high-force spring probes drive surface copper targets downward, fracturing the resin-glass interface in fine-pitch outer layers.
- Tooling Pin Hole Deformation repeated mechanical alignment loads against un-reinforced substrate holes enlarge registration openings, degrading alignment over high-volume production runs.
Preventing flexural damage requires rigid fixture support blocks positioned directly opposite concentrated probe pin clusters. These support blocks press firmly against unpopulated areas on the component side of the board to balance localized downward pin forces. Support blocks must be positioned carefully to avoid contacting component bodies, tall electrolytic capacitors, or delicate surface-mount leads.
Vacuum-actuated fixtures distribute holding force across the entire board surface, but mechanical push-rod fixtures provide superior force control on large panels with mixed component heights.
Over-constraining the board fixture during high-volume testing can deform complex assemblies, risking up to $18,000 worth of damaged ceramic capacitors across a single production shift.
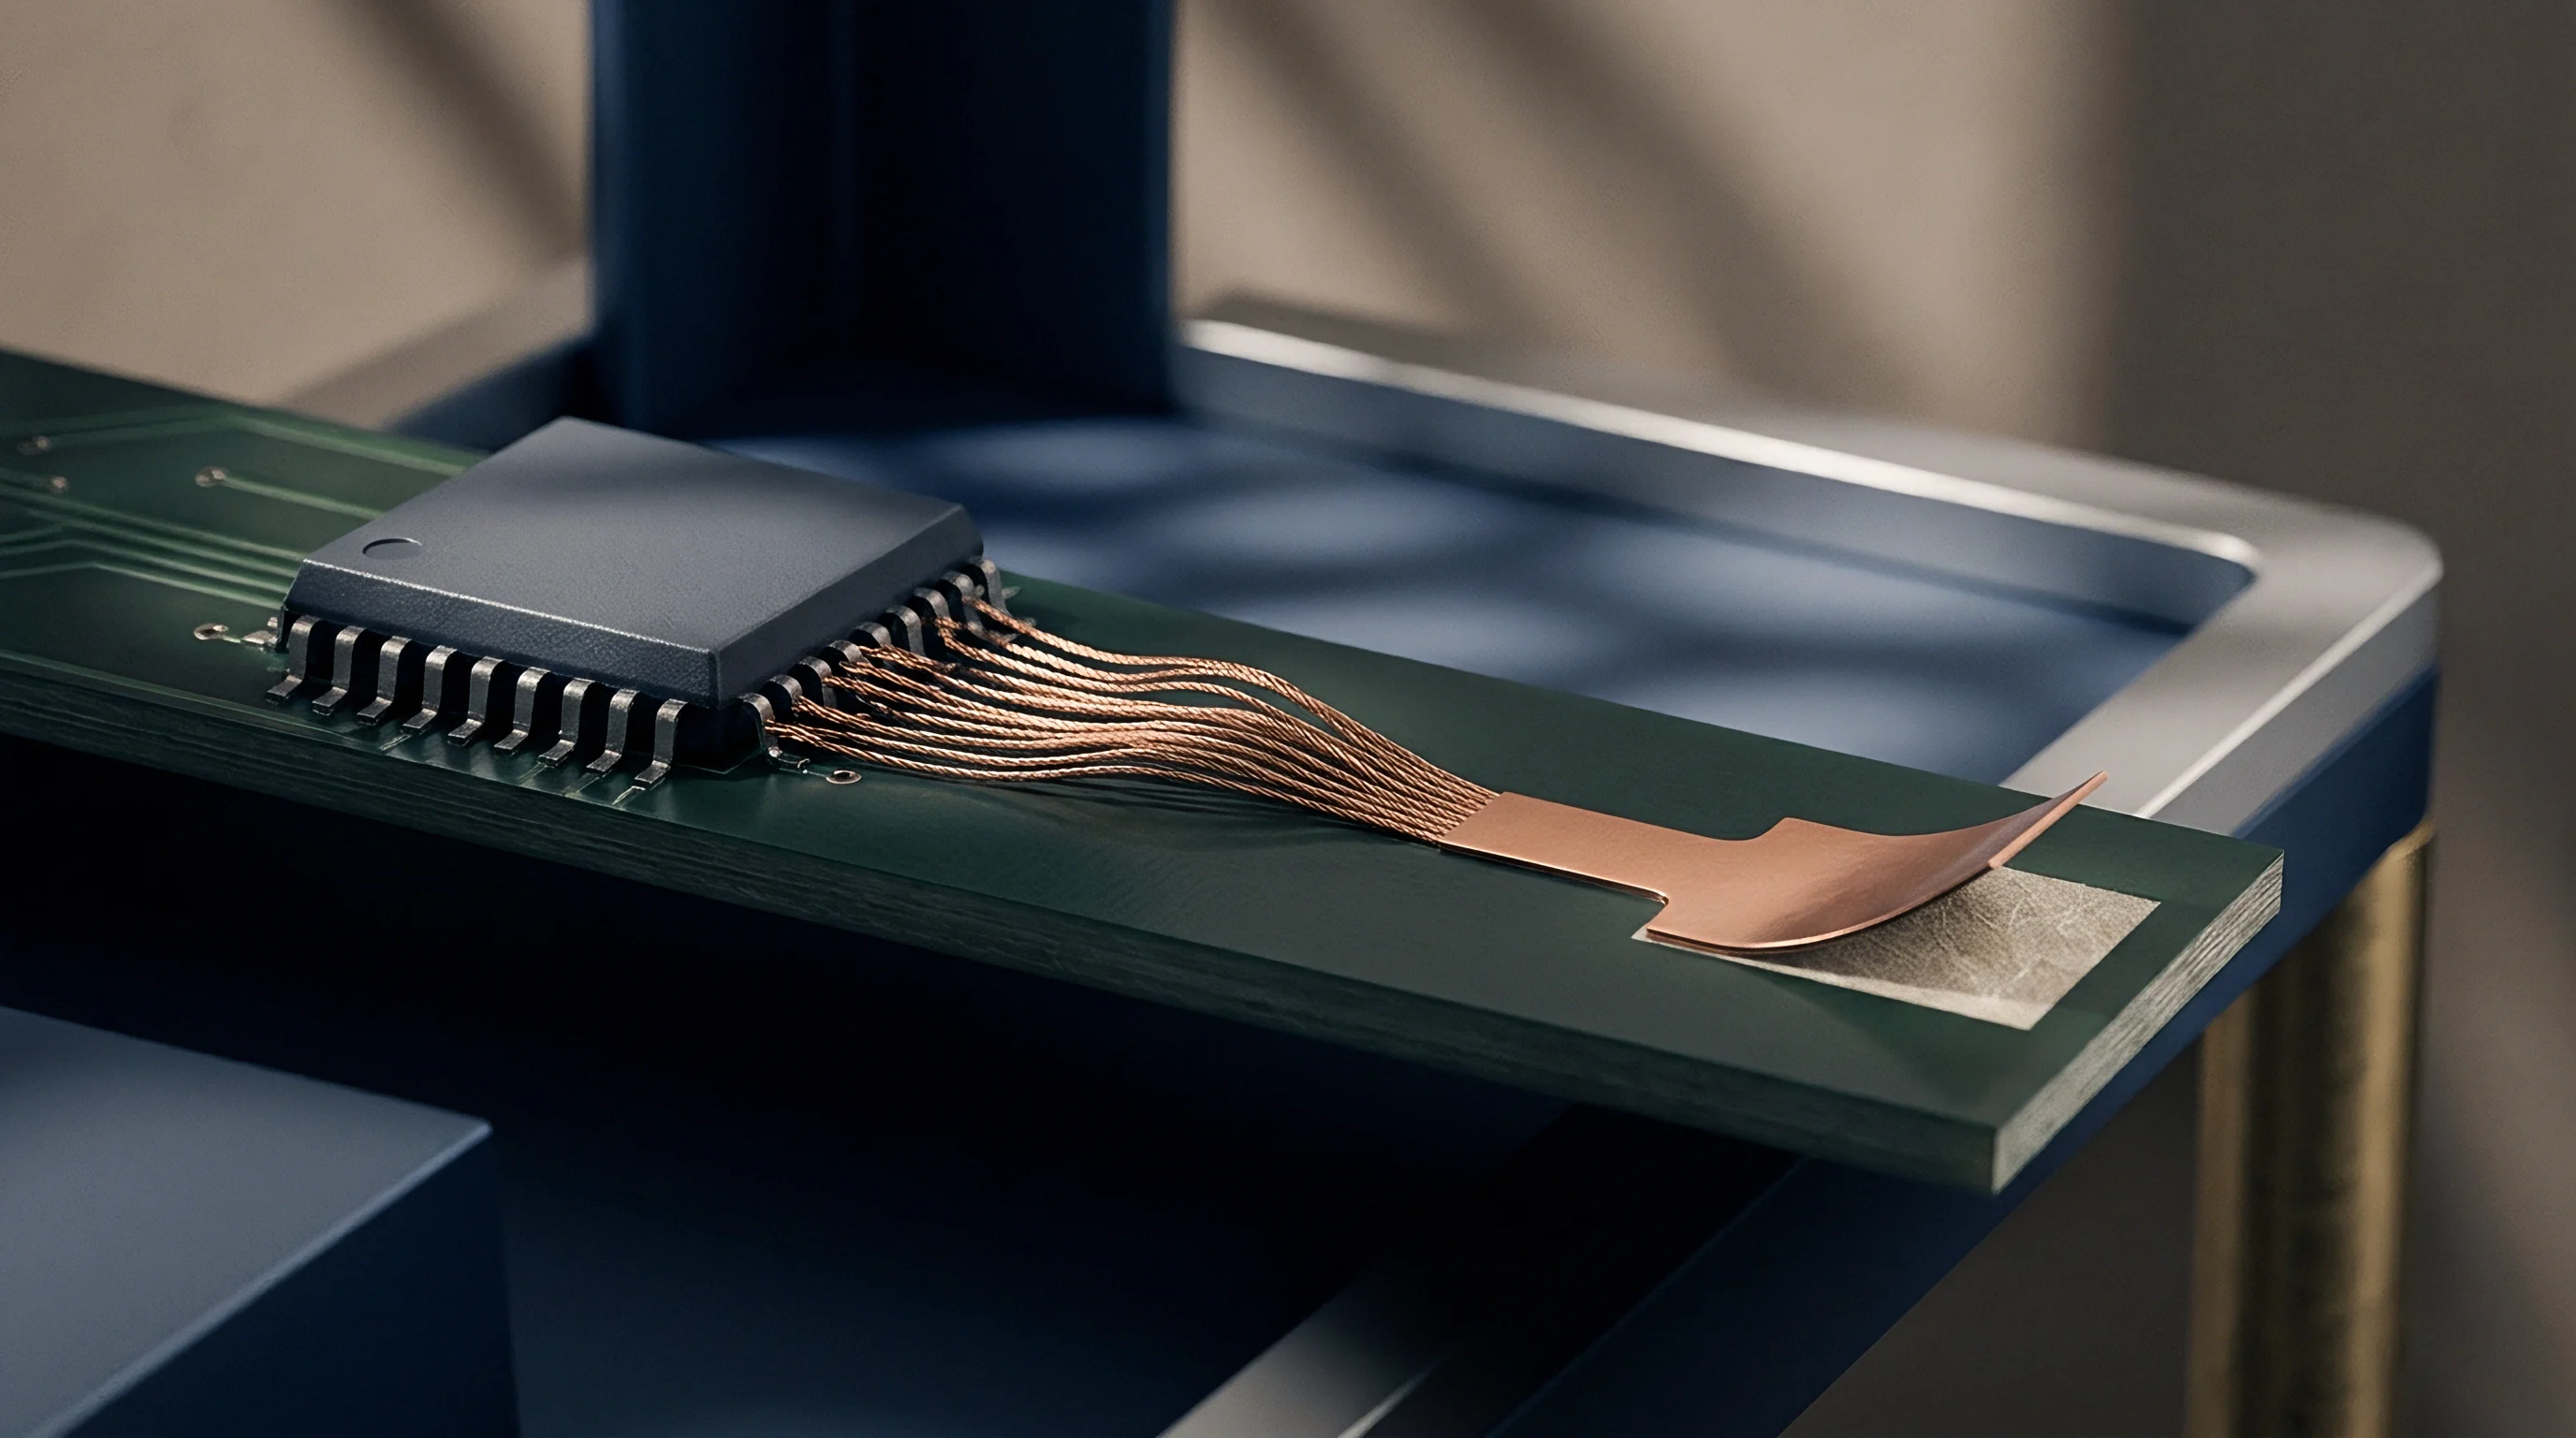
Stub
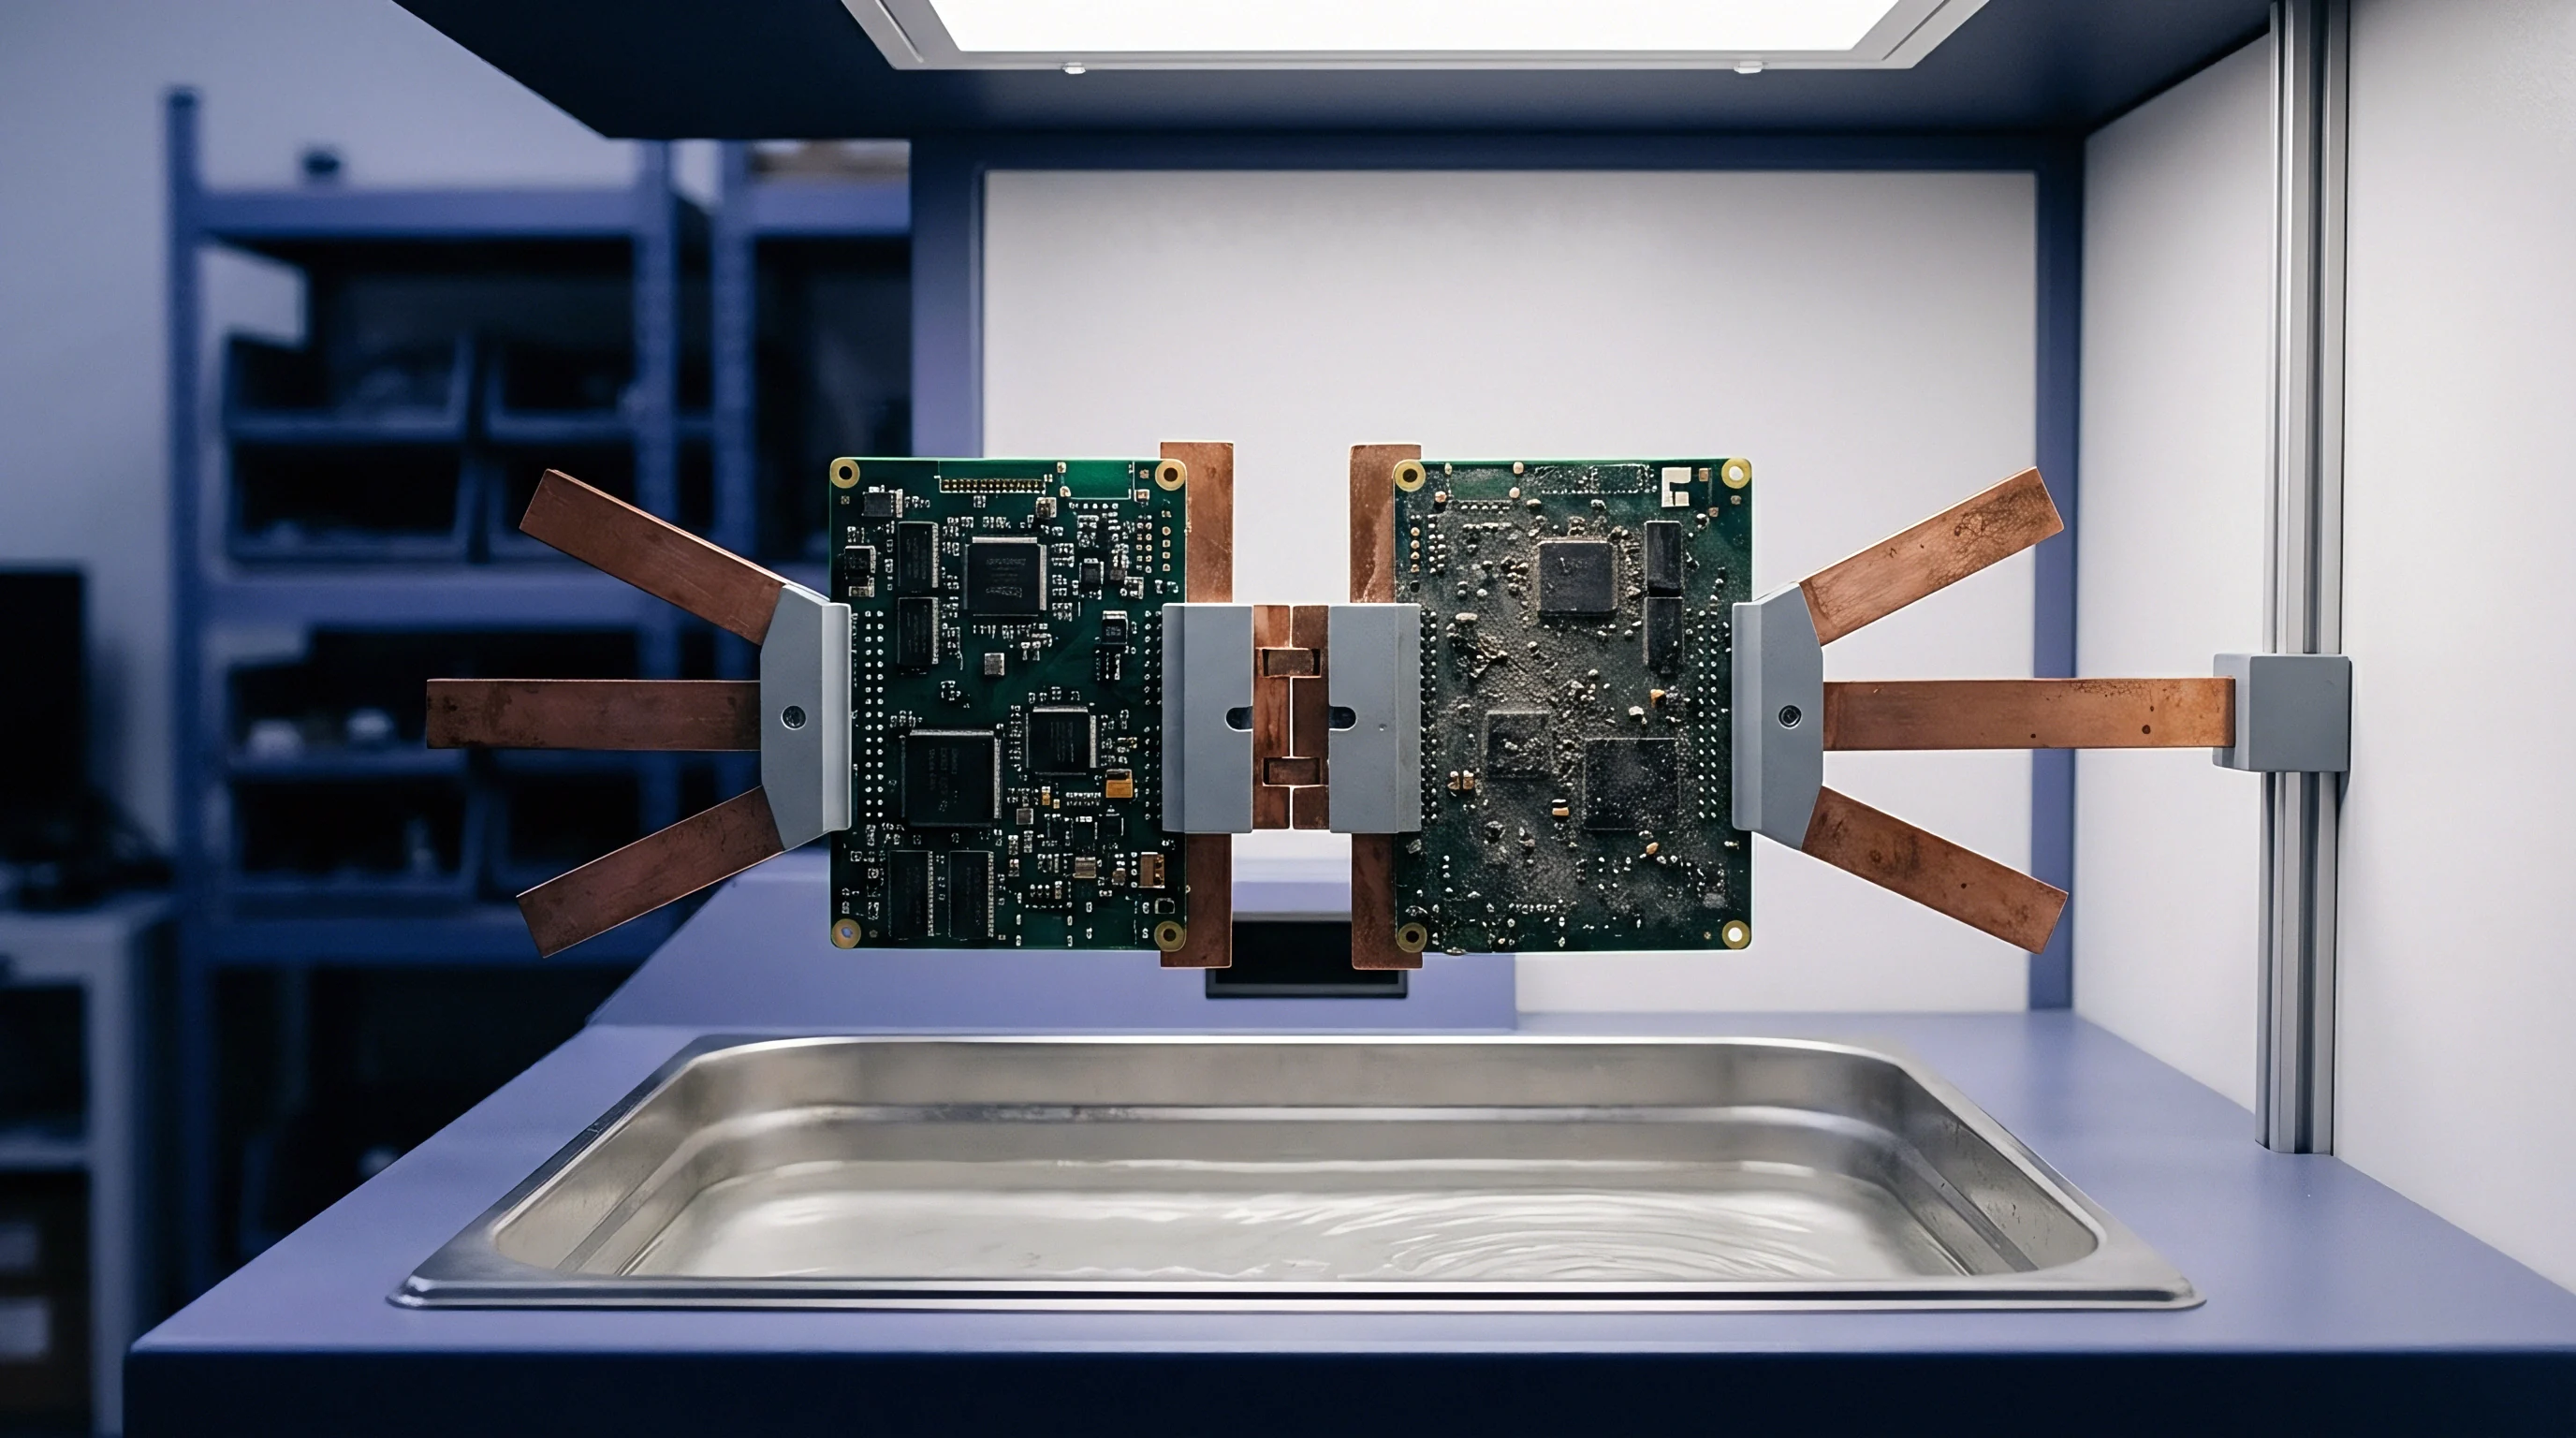
Adding dedicated copper pads to high-frequency conductor traces introduces parasitic elements into signal paths. A test target pad acts as a localized capacitive drop, increasing net capacitance to ground by 0.2 to 0.8 picofarads depending on pad area, dielectric thickness, and underlying reference plane geometry. On high-speed digital buses operating at multi-gigabit data rates, this parasitic capacitance creates impedance discontinuities that degrade rise times, induce signal reflection, and reduce eye diagram height.
High-speed differential trace pairs, such as PCIe, USB4, and Ethernet, demand tight impedance matching within a tolerance band of plus or minus 10 percent around a nominal 85-ohm or 100-ohm differential target. Introducing an un-isolated test target pad onto a 100-ohm differential pair causes a localized drop in characteristic impedance, pulling local line impedance down to 80 ohms or lower over the physical length of the pad. This impedance dip reflects forward-propagating signal energy back toward the transmitter, generating high-frequency jitter and degrading receiver signal-to-noise margins.
Transmission Line Discontinuities and Parasitic Load Metrics
Trace branch extensions created by testing access features alter the characteristic impedance of differential traces. When a target pad connects to a high-speed line through a short lateral trace stub, that stub behaves as an open-circuited transmission line section. At frequencies where stub length approaches a quarter wavelength of the signal harmonic, the stub presents a virtual short circuit to the main signal path, attenuating specific frequency bands and completely collapsing signal eye openings.
At clock frequencies exceeding 5 Gigahertz, even a 1.0-millimeter trace stub introduces measurable phase delay and insertion loss. Time Domain Reflectometry measurement clearly reveals impedance dips caused by test target geometry. To mitigate signal degradation on high-speed lines, engineers position target pads directly on the signal path as inline pad extensions rather than lateral tee-branches, eliminating stub lengths entirely.
Alternatively, low-value series dampening resistors (0-ohm to 10-ohm) placed between the main trace and the test target isolate the target parasitic capacitance from the primary transmission path during high-frequency operation.
| Configuration Topology | Stub Length (mm / mil) | Parasitic Capacitance (pF) | Local Impedance Dip (Ohms) | Eye Height Reduction (%) | Added Random Jitter (ps) |
|---|---|---|---|---|---|
| Lateral Tee Branch Pad | 2.50 / 100 | 0.72 | 76.2 | 24.5 | 3.80 |
| Lateral Tee Branch Pad | 1.00 / 40 | 0.45 | 84.1 | 12.2 | 1.95 |
| Inline On-Trace Pad | 0.00 / 0 | 0.28 | 91.5 | 4.8 | 0.65 |
| Series Resistor Isolated Pad | 0.50 / 20 | 0.08 (isolated) | 97.8 | 1.1 | 0.15 |
| Unprobed Native Line | 0.00 / 0 | 0.00 | 100.2 (nominal) | 0.0 | 0.00 |
Capacitive loading alters rise times, and differential phase skew emerges when test pads are added non-symmetrical to differential pairs. If a target pad is attached to the positive signal leg without a matching pad on the negative leg, the resulting capacitive mismatch converts differential-mode signal energy into common-mode noise. Common-mode noise increases electromagnetic radiation from the board, threatening compliance with radiative emissions limits defined under CISPR 32 and EN 55032 standard regimes.
When Do Test Pads Ruin Signal Integrity?
Data channels running above five gigabits per second experience eye closure when exposed copper pads act as open-ended capacitive drops. At data rates reaching 16 to 32 Gigabits per second, such as those used in PCIe Gen 5 and Gen 6 interfaces, physical test pads cannot be attached directly to high-speed differential signals without completely destroying channel compliance. On these high-frequency networks, traditional physical probe testing must be abandoned in favor of non-intrusive silicon-level test methodologies.
High-speed differential pairs operating above 5 gigabits per second require series isolation resistors if test access points sit directly on the primary signal path.
High-frequency signal routing dictates removing reference plane copper directly beneath large test target pads. Selective reference plane cutout, known as ground relief, reduces the capacitive coupling between the pad metal and the adjacent ground layer. Removing ground copper on the layer directly beneath the target pad restores local line impedance closer to nominal values, but creates localized return current path discontinuities that require careful 3D electromagnetic field solver analysis to validate.
This trade-off highlights an ongoing problem: as signal rates climb, physical probe testing on commercial high-volume lines eventually becomes impractical.


Boundary
Silicon-level shift registers embedded within modern integrated circuits enable internal structural testing without physical probe contact. Standardized under IEEE 1149.1, boundary scan architecture places test cells between internal device logic and external package pins. Connecting these boundary cells into a continuous serial shift register allows test equipment to control and observe signal levels across chip pins using a four-wire or five-wire serial interface known as the Test Access Port.
Boundary scan eliminates physical access requirements for digital nets interconnecting compatible integrated circuits. By driving logic high or low states from one boundary scan output cell and reading the state at a receiving input cell, software vectors detect open circuits, solder bridges, and dead silicon without requiring a single physical test target pad on interconnecting traces. This capability is vital for testing fine-pitch ball grid array devices where routing individual test pads out from interior ball array rows is physically impossible.
Test Access Port Architecture and Signal Wiring Rules
Dedicated controller interfaces require clock, mode select, and data routing laid out with noise immunity in mind. The Test Access Port consists of standard signals: Test Clock (TCK), Test Mode Select (TMS), Test Data In (TDI), Test Data Out (TDO), and optional asynchronous Test Reset (TRST). Signal degradation on TCK or TMS clocks invalidates test execution across the entire scan chain, causing false device failures or corrupting boundary shift operations.
Layout guidelines for Test Access Port signal routing require dedicated target access for physical probe connection during board bring-up and fixture testing. TCK lines must be routed as controlled-impedance lines with clean ground return paths, free from long stub extensions or star-routed branching. On multi-card backplanes or complex assemblies containing multiple scan chains, placing low-skew buffer drivers near the primary interface connector prevents signal rounding and edge jitter from disrupting boundary register shift operations at scan speeds up to 50 Megahertz.
Verifying scan chain operational integrity during physical prototype bring-up follows a rigid execution sequence:
- Apply core and I/O supply voltages to all boundary scan capable integrated circuits while monitoring supply current draw.
- Drive the TRST line low or apply five consecutive TCK clock cycles with TMS held high to force state machines into the Test Logic Reset state.
- Shift the 32-bit IDCODE instruction register pattern out through TDO while driving TDI with deterministic header data.
- Compare captured IDCODE register bitstreams against vendor-supplied BSDL files to confirm silicon revision and chain continuity.
- Execute the EXTEST instruction routine to verify drive and receive capability across interconnecting inter-device trace networks.
- Log stuck-at-zero, stuck-at-one, and cross-coupling solder bridge faults identified across all boundary-accessible physical nets.
Boundary Scan Description Language (BSDL) files provided by component vendors define the precise pin mapping and register structure of compatible devices. BSDL files must accurately reflect hardware pinouts, including pin decoupling configurations and compliance settings. An inaccurate or outdated BSDL file generates false vector comparison errors during boundary scan execution, stalling production lines until vector translation files are manually edited and validated against physical silicon.
Hybrid Test Vector Integration for Dense Arrays
Merging boundary register scan routines with flying probe measurements bridges electrical coverage gaps on tightly packed assemblies. In a hybrid test architecture, boundary scan devices drive signal states onto unprobed net traces, while a flying probe or limited bed-of-nails fixture measures signal arrival at passive components, connectors, or non-boundary scan peripheral devices. This combined strategy dramatically raises overall fault coverage without requiring physical access to every single circuit node.
Combining boundary scan register access with flying probe measurements restores structural fault detection on dense dual-sided assemblies without requiring double-sided bed-of-nails tooling.
AC-coupled high-speed differential networks require specialized boundary scan architecture defined under the IEEE 1149.6 standard. Traditional IEEE 1149.1 boundary cells cannot pass static direct-current test levels through series DC-blocking capacitors placed on high-speed lines. IEEE 1149.6 boundary cells generate pulse-based and AC-patterned test signals capable of propagating through coupling capacitors, enabling comprehensive structural testing of high-speed differential interfaces like PCIe, SATA, and DisplayPort without physical bed-of-nails access points.
Acceptance conditions defined under IPC-A-610 Class 3 state that digital assemblies lacking full physical access must demonstrate alternative fault coverage verification through IEEE 1149.1 or IEEE 1149.6 boundary scan coverage reports prior to lot sign-off.

Escape
Undetected manufacturing defects that bypass factory electrical verification directly threaten field reliability numbers. Every structural failure mode that escapes test fixtures elevates field return rates, generates customer warranty claims, and increases brand damage costs. Fault escape analysis calculates the statistical probability that specific assembly defects ~ such as open solder joints, solder bridges, missing passive components, or incorrect component values ~ will pass through factory screening undetected.
Fault coverage percentage represents the proportion of total detectable assembly faults caught by a given test regime. Quoting a single fault coverage number without defining the fault universe behind it is meaningless. A test regime claiming 95 percent fault coverage may cover 99 percent of simple resistor and capacitor open circuits, but miss 80 percent of open solder joints under unprobed ball grid array packages.
Field reliability depends on targeting fault coverage specifically against high-risk failure modes inherent to modern high-density surface-mount packaging.
Correlating Electrical Test Coverage with Field Failures
Mathematical defect population models demonstrate a direct connection between unprobed circuit nets and customer warranty claims. Unprobed nets cannot be verified by in-circuit DC measurements or flying probe continuity checks. When a board contains 20 percent unprobed nets, assembly defects occurring on those nets must be detected by automated optical inspection, automated X-ray inspection, or final functional testing.
If optical and functional screens exhibit combined escape rates around 15 percent, the overall assembly escape rate escalates rapidly.
False failure calls increase costs. Optical inspection systems excel at detecting gross physical anomalies, such as component misplacement, missing devices, or reversed polarity on marked packages. Visual inspection platforms cannot verify component electrical values, internal IC function, or subtle solder joint metallurgical bonds.
Solder bridges hidden beneath low-profile passive devices or under large ball grid array packages remain completely invisible to top-down optical cameras, passing inspection easily and failing catastrophically during initial system power-up.
| Defect Classification Category | Automated Optical Inspection (%) | Automated X-Ray Inspection (%) | Bed-of-Nails In-Circuit Test (%) | Flying Probe Interface (%) | IEEE 1149.1 Boundary Scan (%) |
|---|---|---|---|---|---|
| Solder Bridge (Exposed Traces) | 92.0 | 95.0 | 99.9 | 99.5 | 98.0 |
| Solder Bridge (Under BGA Package) | 0.0 | 96.5 | 99.5 | 98.0 | 99.0 |
| Open Joint (BGA Corner Balls) | 0.0 | 88.0 | 99.0 | 97.5 | 98.5 |
| Open Joint (0402 Passive Device) | 85.0 | 75.0 | 99.9 | 99.0 | 0.0 |
| Wrong Value Passive Component | 0.0 | 0.0 | 99.5 | 99.0 | 0.0 |
| Internal IC Gate Damage | 0.0 | 0.0 | 45.0 | 10.0 | 85.0 |
X-ray inspection provides non-destructive visibility into hidden solder connections beneath ball grid array packages, quad flat no-lead packages, and surface-mount power modules. Transmission X-ray systems identify large solder voids, bridges, and missing solder balls. Dimensional X-ray slice inspection (3D AXI) accurately measures solder volume, barrel fill percentages in plated through-holes, and head-in-pillow defects.
X-ray inspection throughput is slow, high in capital equipment expense, and prone to false calls driven by component internal leadframe shadow variations.
Unchecked Joint Defect Types Bypassing Optical Scans
Automatic visual inspection platforms routinely fail to identify hairline solder fractures and voiding hidden underneath ball grid array components. Head-in-pillow defects occur during reflow when component package warp separates BGA balls from printed paste deposits, allowing solder spheres to melt without coalescing into a continuous metallic bond. Under static mechanical conditions, head-in-pillow joints maintain fragile mechanical contact that passes basic electrical continuity screens, but breaks under thermal expansion stress or mild operational vibration in the field.
Evaluating potential unprobed net escape risks requires systematic risk analysis before releasing layout files to panel production:
- High Voltage Bus Trace Access ensure high-voltage power rails contain dedicated test target clearance to prevent arc-over damage to adjacent low-voltage measurement pins during fixture operation.
- Analog Sensor Input Sensitivity verify that sensitive high-impedance analog feedback traces incorporate series isolation features to prevent target pad parasitic capacitance from altering control loop stability.
- Unprobed High Speed Digital Differential Nets confirm that high-speed traces lacking physical access pads are covered by IEEE 1149.6 boundary scan registers or dedicated silicon-level loopback diagnostics.
- Low Profile Surface Mount Component Clearance check that physical targets adjacent to 0201 or 01005 passive components retain sufficient mechanical keepout distance to prevent probe tips from chipping ceramic bodies.
- Crystal Oscillator Layout Keepout Integrity verify that sensitive crystal clock lines contain zero direct target pads to prevent probe capacitive loading from stalling oscillator start-up cycles.
Unprobed nets hide latent shorts. Reducing flying probe head speed to prevent pad cratering on soft outer copper increases test execution duration by twelve percent, showing that physical mechanical adjustments carry direct cost consequences.
A reliable rule of thumb dictates that every unprobed node on a high-density assembly doubles the statistical rate of field reliability escapes unless covered by functional loopback or boundary scan vector sets.


Outlay
Financial evaluation of assembly testing involves balancing custom fixture fabrication against ongoing execution labor. Bed-of-nails in-circuit testing demands significant non-recurring engineering expenses upfront to design and machine custom probe plates, select tailored spring-probe mixes, wiring interface harnesses, and program test vector software routines. Flying probe testing avoids custom fixture tooling completely, using software-driven robotic probe heads to contact board features directly, but carries drastically higher per-unit test execution time costs.
Total financial commitment for dual-sided in-circuit test fixtures ranges between $10,000 and $35,000 per assembly design, depending on physical panel dimensions, node count, and fixture complexity. High-density fixtures incorporating wireless internal interface layers, vacuum actuation, or push-rod top plates sit at the high end of this price spectrum. This initial capital expenditure must be amortized over the anticipated total production volume to establish true per-unit manufacturing costs.
Tooling Non Recurring Expenses against Production Batch Size
Custom bed-of-nails manufacturing costs demand upfront capital investment that must be amortized over total produced volume. On high-volume consumer products manufacturing 500,000 units annually, a $25,000 fixture expense adds just $0.05 per unit to manufacturing costs. Under these conditions, the rapid execution speed of bed-of-nails testing ~ typically taking 3 to 8 seconds per board ~ yields vast economic savings compared to flying probe testing.
Low-volume or prototype production runs present completely inverted economic parameters. A batch run of 200 industrial boards would absorb $125 per unit in amortized fixture tooling costs if tested on a custom bed-of-nails fixture. Flying probe testing, despite requiring 45 to 180 seconds of machine execution time per board, incurs zero fixture NRE costs, costing roughly $8 to $15 per unit in machine runtime fees.
Flying probe interfaces represent the clear economic choice for low-volume production batches, while bed-of-nails fixtures dominate high-volume manufacturing lines.
| Production Volume Batch (Units) | Bed-of-Nails Tooling NRE ($) | ICT Execution Time / Unit (Sec) | Flying Probe Execution / Unit (Sec) | Landed Test Cost ICT ($/Unit) | Landed Test Cost Flying Probe ($/Unit) |
|---|---|---|---|---|---|
| 100 | 15,000 | 5 | 90 | 150.83 | 11.25 |
| 1,000 | 15,000 | 5 | 90 | 15.83 | 11.25 |
| 2,500 | 15,000 | 5 | 90 | 6.83 | 11.25 |
| 10,000 | 15,000 | 5 | 90 | 2.33 | 11.25 |
| 100,000 | 15,000 | 5 | 90 | 0.98 | 11.25 |
Test execution time directly drives unit costs. Machine runtime on automated flying probe systems is billed at rates ranging from $120 to $220 per hour. Bypassing physical targets on non-critical nets reduces flying probe move cycles, dropping test execution duration and reducing per-unit test fees.
Cutting test points arbitrarily to reduce execution cost directly expands the unprobed net population, shifting costs into long-term field warranty liabilities.
Warranty Reserve Adjustments Based on Fault Coverage
Reserving capital for potential customer returns requires rigorous quantification of unverified assembly components. Commercial contracts generally mandate setting aside a financial warranty reserve based on predicted failure rates derived from factory structural test coverage numbers. A product demonstrating 98 percent structural fault coverage across all nodes carries a low estimated field escape rate, allowing finance teams to allocate a modest 0.5 percent warranty reserve against total batch shipment value.
When physical design constraints reduce structural test coverage down to 75 percent due to unprobed nets, financial risk rises sharply. Field defect probabilities double or triple, forcing buyers to increase warranty reserve allocations up to 3.0 or 5.0 percent of gross shipment value to cover anticipated field returns, warranty repair freight, and bench diagnostic labor. This capital lockup directly reduces product line profitability, negating any initial savings achieved by omitting test targets during board layout.
Probe wear introduces ongoing fixture maintenance expenses over long production runs. Standard spring probes exhibit a useful operating life of 50,000 to 100,000 mechanical actuations before contact resistance increases due to tip wear, plating erosion, or internal spring fatigue. Replacing worn probes, re-aligning fixture plates, and re-certifying contact reliability across a 2,000-pin fixture adds recurring operational expenses that must be accounted for in long-term supply agreement contracts signed with turnkey manufacturing partners.