In Circuit Test Layout Guidelines for Printed Circuit Assemblies
In-circuit test layout requires minimum 28-mil test pads spaced on 50-mil centers, clear of component envelopes and balanced to prevent board flexure cracks.
Pad
A bed-of-nails fixture registers false open circuits across forty percent of unprobed nets when surface landings drop below twenty-eight mils in diameter. Land geometry dictates whether contact probes seat cleanly or skid into soldermask dams during mechanical actuation. High-volume manufacturing lines suffer from undersized landings through frequent false calls, accelerated probe tip wear, and unverified circuit paths escaping into finished goods inventory.
To ensure reliable contact during production testing, circuit designers assign dedicated copper landings to every electrical net.
Bare copper targets oxidize rapidly in ambient storage, pushing probe contact resistance past two ohms. Immersion silver and organic solderability preservatives degrade over multiple thermal cycles, forming brittle or non-conductive surface films. Electroless nickel immersion gold provides a flat planar surface that survives repeated reflows while keeping contact resistance under fifty milliohms.
Electrolytic hard gold offers maximum mechanical durability for fixture lifespans beyond five hundred thousand cycles, though high deposition costs limit its use mostly to military and aerospace assemblies.
Without protective surface finishes, contact resistance quickly exceeds two ohms.
Soldermask apertures require precise expansion beyond the copper perimeter to prevent probe tips from bottoming out on cured polymer. If liquid photoimageable soldermask encroaches onto a test pad, probe crowns bridge between the copper and mask material, deflecting the spring and causing intermittent open readings. Generous solder mask clearance around target perimeters eliminates height steps that kick chiseled probe heads sideways.
Placing microvias directly within test lands pulls solder away during reflow, leaving concave depressions that crown-style probe points cannot reliably contact.
Electroless nickel immersion gold holds probe contact resistance under fifty milliohms through five consecutive reflow profiles.
Even slight soldermask encroachment insulates test pads from proper probe contact.
Tented vias are risky choices for test nodes. The cured mask skin over an open via barrel cracks unpredictably under sharp probe tips, driving resin fragments down into spring receptacles. Unsealed barrels also trap chemical residues from wash stations, creating corrosive pockets that ruin fixture needles over a few hundred insertions.
Designers avoid placing probe sites over unfilled through-hole barrels unless they are fully capped and plated flat per IPC-4761 Type VII specifications.
| Probe Centerline Pitch | Minimum Target Diameter | Optimal Target Diameter | Soldermask Relief Expansion | Target Positional Tolerance |
|---|---|---|---|---|
| 100 mil (2.54 mm) | 32 mil (0.81 mm) | 40 mil (1.02 mm) | 5 mil (0.13 mm) | ±2.0 mil (0.05 mm) |
| 75 mil (1.91 mm) | 28 mil (0.71 mm) | 35 mil (0.89 mm) | 4 mil (0.10 mm) | ±1.5 mil (0.04 mm) |
| 50 mil (1.27 mm) | 24 mil (0.61 mm) | 30 mil (0.76 mm) | 3 mil (0.08 mm) | ±1.0 mil (0.03 mm) |
| 39 mil (1.00 mm) | 18 mil (0.45 mm) | 22 mil (0.55 mm) | 2 mil (0.05 mm) | ±0.8 mil (0.02 mm) |
Standard mask clearance typically measures five mils around the target perimeter.
Fabrication shops run into severe registration errors when target diameters shrink below twenty mils. Multilayer lamination shrinkage causes non-linear dimensional shifts across production panels, pulling outer target sites away from nominal fixture coordinates. Probes then strike raw laminate or soldermask edges, stripping gold plating off receptacle barrels and letting undetected defects slip through to customers.

Clearance
Component heights dictate the clearance required between pogo receptacles and nearby packages. Tall electrolytic capacitors, inductive chokes, and board-mounted heatsinks create physical shadow zones where spring probes cannot descend vertically without colliding. When a test fixture closes under vacuum or mechanical cam drive, tight clearances cause probe guide plates to gouge component bodies, cracking ceramic packages and bending through-hole pins.
Should Fixture Pins Contact Component Leads Directly?
Direct spring probe force can easily fracture solder fillets on surface-mount terminations. Testing directly on component leads risks joint integrity, introducing latent micro-cracks that pass factory checkout only to fail later under thermal vibration in the field. Probing fine-pitch gull-wing leads or QFN side lands also distorts delicate leads, pushing them out of alignment and shorting adjacent traces.
Setting dedicated copper targets safely outside component boundaries keeps mechanical shock away from fragile intermetallic layers.
Over repeated cycles, copper creep alters baseline contact resistance.
Vertical component profiles set mandatory keep-out boundaries for fixture tooling. Tall parts require deep relief cavities inside the pressure plates. If a target falls within the shadow of a transformer or connector shield, the fixture builder has to mill away the supporting probe plate, leaving spring sockets unsupported through their travel.
Without backplate support, probe pins bend sideways during compression and miss test targets entirely.
- Tall Component Keep-Out rules require at least one hundred mils of lateral clearance between tall component bodies and target copper edges, keeping fixture relief pockets from cutting into probe socket guide sleeves.
- Low Profile Clearance boundaries keep test targets forty mils away from small discretes, diodes, and low-profile ICs, protecting fragile passives during mechanical clamping.
- Tooling Hole Margin zones isolate non-plated alignment holes by at least one hundred and twenty-five mils, protecting the laminate from shear stress caused by steel locating pins.
- Board Edge Setback rules enforce a strict one-hundred-and-fifty-mil perimeter free of test targets, leaving clear clearance for conveyor belts and hold-down clamp rails.
Minimum recommended edge clearance totals one hundred mils across standard layouts.
Tooling holes control board alignment inside the test nest. Two non-plated locating holes placed diagonally across the board align the panel onto hardened steel pins before probes touch any copper targets. Plated holes make poor primary alignment datums because internal solder buildup creates erratic hole tolerances that tilt the board during closure.
Locating pins run three millimeters or one-eighth inch in diameter with a tight tolerance of plus two tenths of a mil and minus zero mils.
Standard locating tooling pins take three-millimeter diameters.
Contract manufacturing plants face endless diagnostic delays when design teams ignore these geometric spacing rules. Placing test targets inside component shadow envelopes creates physical obstructions that prevent reliable probe engagement across dense board regions.
Bed
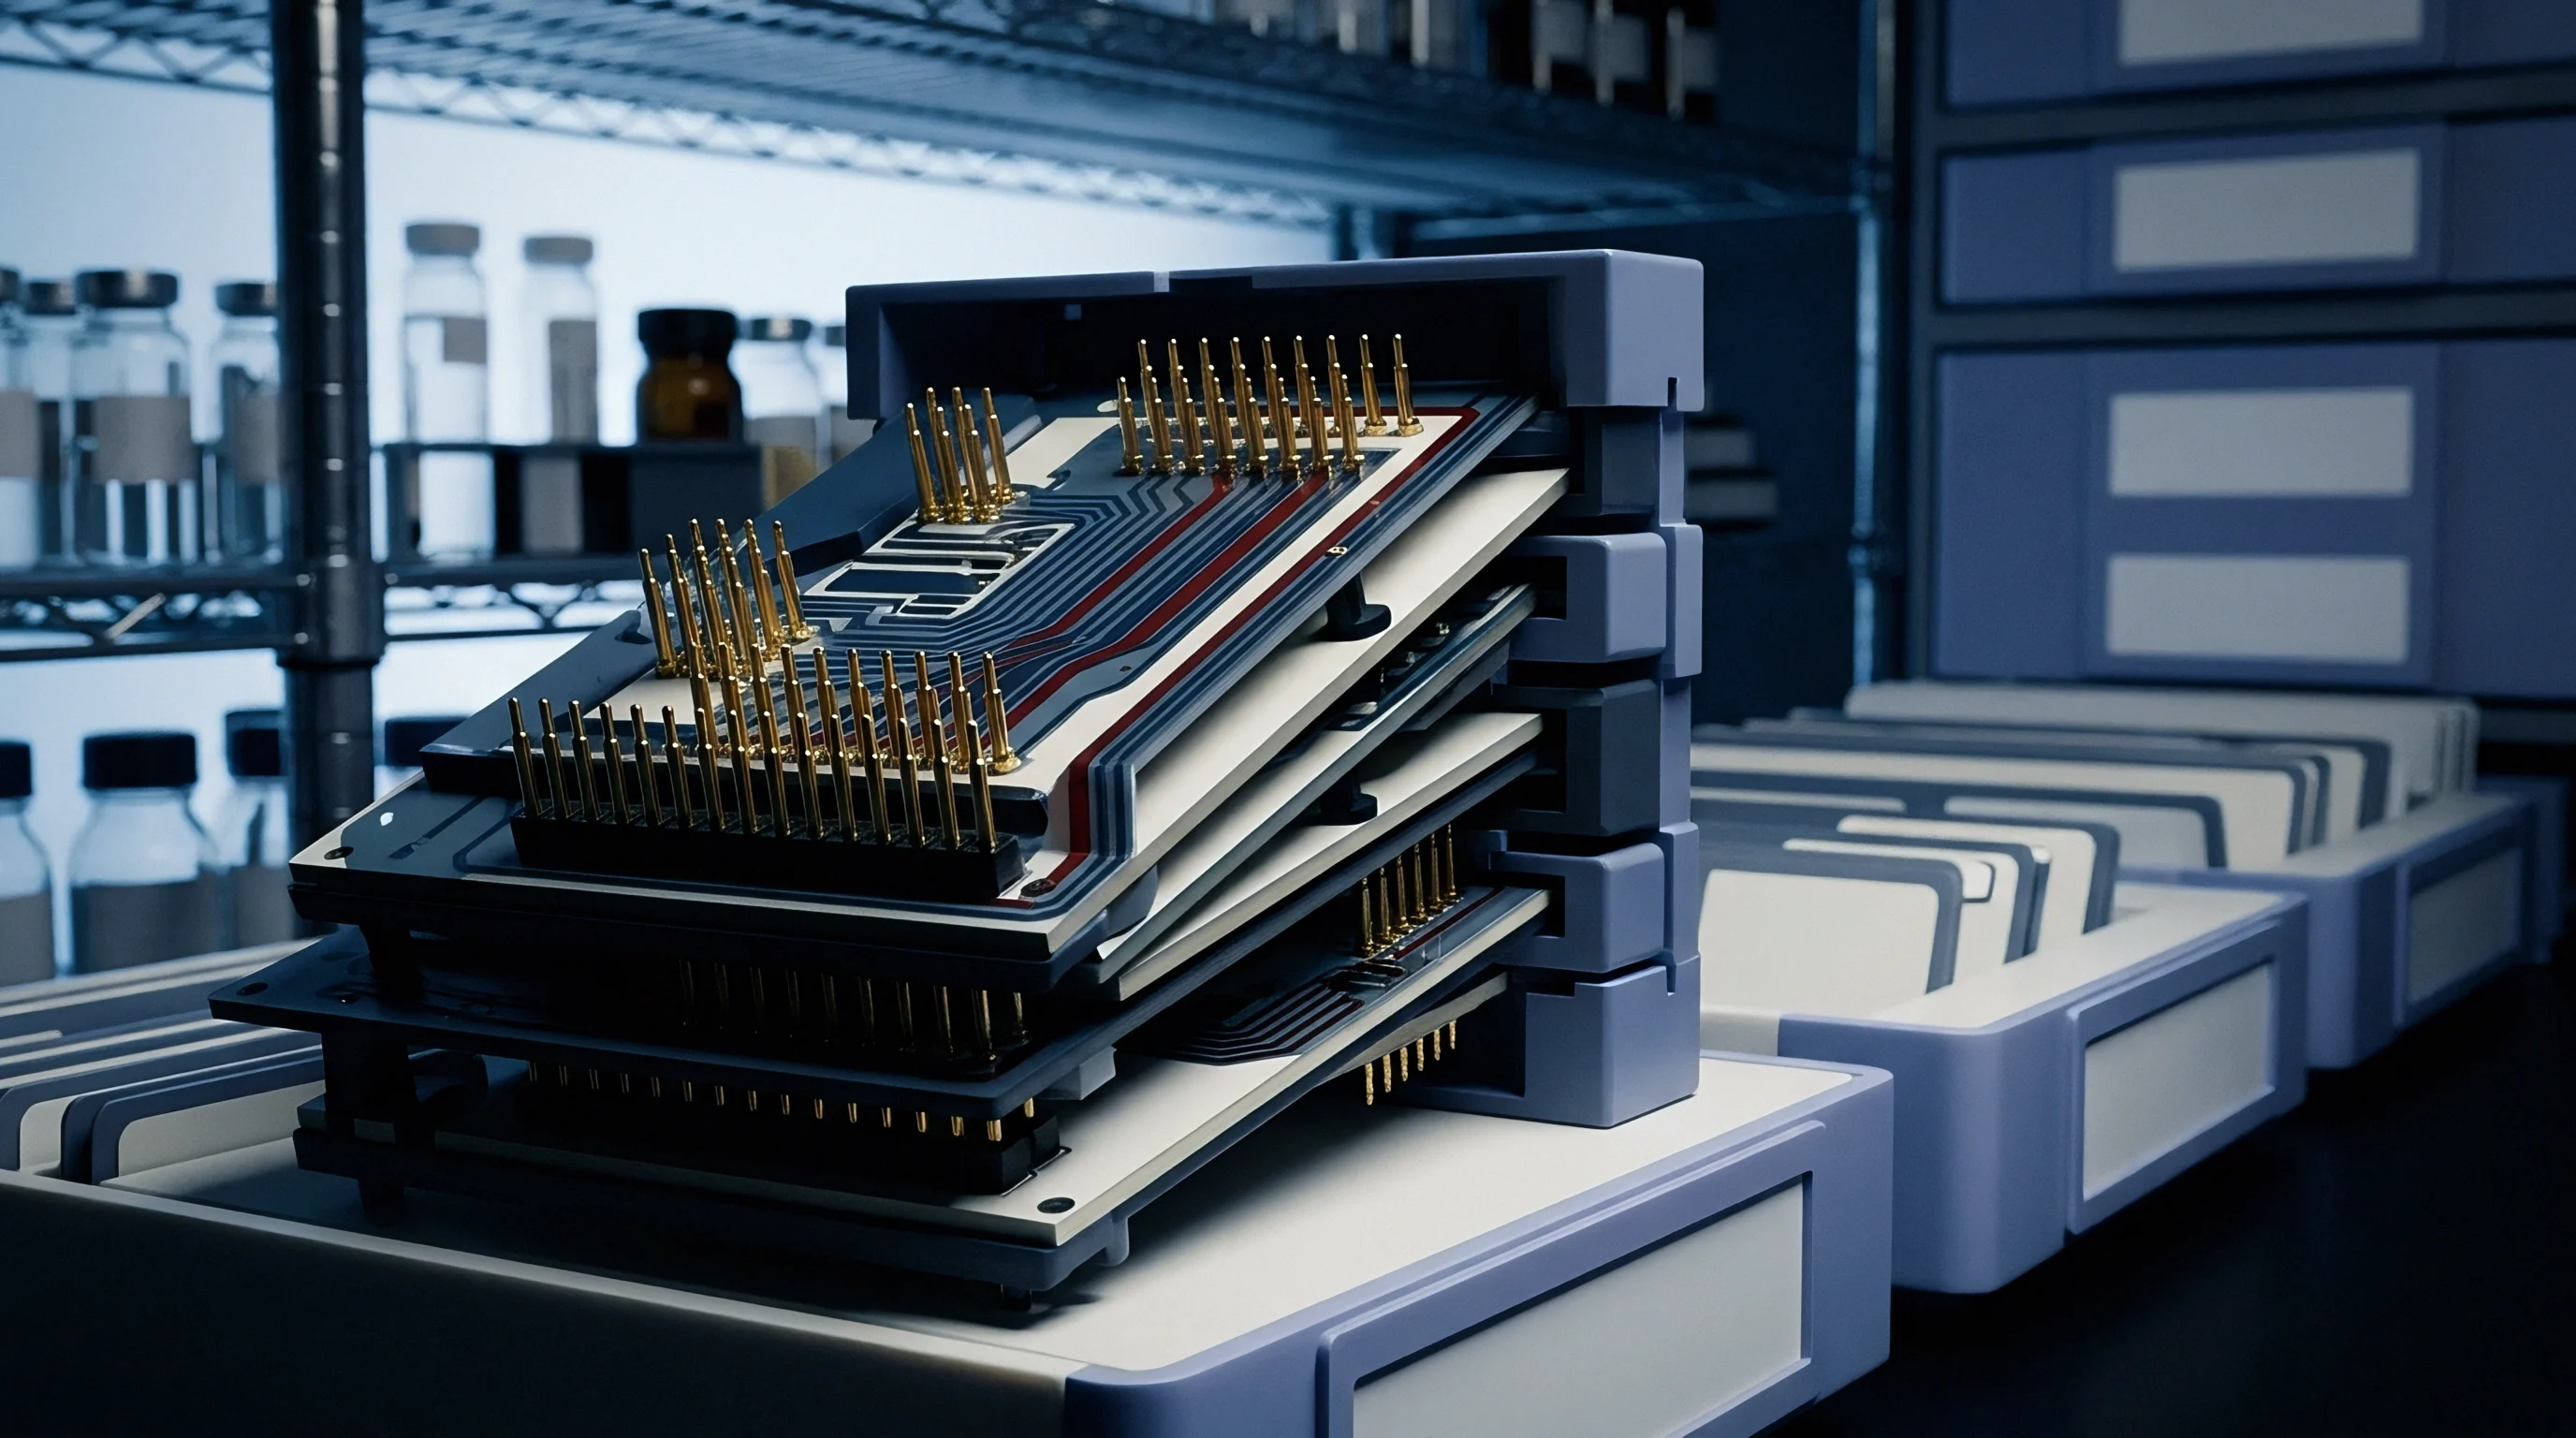
Mechanical actuation platens transmit vertical clamping forces between fifty and two hundred pounds across a board during testing. Each spring probe exerts four to ten ounces of return force at nominal working travel, meaning a board with six hundred test nodes resists downward closure with nearly two hundred and fifty pounds of spring force. Weak bottom tooling plates allow assemblies to sag in central open areas, causing center pins to drop contact while outer pins overcompress.
Unsupported board centers under heavy vacuum pull can generate twenty millistrain of localized bending.
Vacuum fixtures seal against an elastomeric perimeter gasket to pull atmospheric pressure down across the board. This approach works well on single-sided surface-mount assemblies with uniform topography. High-density boards with through-hole connectors and press-fit headers bleed vacuum through body seams, forcing pumps to run continuously at high displacement to maintain a seal.
Mechanical push-rod fixtures avoid vacuum leaks entirely by applying direct pressure through Delrin push fingers placed on bare laminate.
Mechanical push fingers hold unpopulated laminate zones directly opposite dense probe fields to counteract local pin arrays.
Loose or unsoldered probe sockets drift off-center during compression strokes.
Pogo pins come in distinct tip styles designed for specific pad finishes and metallurgy. Choosing the wrong tip profile leads to false open readings or damaged copper pads. Aggressive spear or chisel tips pierce thick surface oxides and OSP flux films easily, but they leave deep marks that disrupt high-frequency traces or puncture thin gold plating.
Crown and multi-point tips spread pressure across flat ENIG targets, minimizing surface damage while maintaining low contact resistance over thousands of cycles.
| Probe Size Specification | Centerline Pitch Spacing | Spring Pre-Load Force | Nominal Working Force | Recommended Tip Geometries |
|---|---|---|---|---|
| Standard Size 2 | 100 mil (2.54 mm) | 1.5 oz (0.42 N) | 7.0 to 10.0 oz (1.95 to 2.78 N) | Chisel, Spear, Fluted Crown, Tulip |
| Miniature Size 1 | 75 mil (1.91 mm) | 1.2 oz (0.33 N) | 4.0 to 7.0 oz (1.11 to 1.95 N) | Spear, 4-Point Crown, Serrated |
| Sub-Miniature Size 0 | 50 mil (1.27 mm) | 0.8 oz (0.22 N) | 2.5 to 4.0 oz (0.70 to 1.11 N) | Micro-Spear, Sharp Needle, Cup |
| Micro-Pitch Size 00 | 39 mil (1.00 mm) | 0.5 oz (0.14 N) | 1.5 to 2.5 oz (0.42 to 0.70 N) | Needle Point, Self-Cleaning Chisel |
| Working forces measured at two-thirds total stroke compression travel per probe manufacturer mechanical ratings. | ||||
Pointed probe tips reliably penetrate organic coatings to reach raw copper.
Wiring harnesses between probe receptacles and test instruments add parasitic capacitance and series inductance that corrupt sub-ohm resistance readings. Long, unshielded signal leads pick up factory electrical noise, ruining sensitive analog calibrations and millivolt drop measurements. Fixture builders minimize interference using twisted pairs and coaxial shielding on critical analog and high-speed channels.
Dual-stage fixtures use two-level pin travel, performing full nodal in-circuit testing at full stroke and functional interface checks at intermediate compression.
Because of complex dual-stroke cycling, dual-stage fixtures double mechanical wear on probe assemblies.
Contractual acceptance agreements set continuity requirements before fixtures go into production. Master supply contracts routinely enforce IPC-9252 Class three electrical test parameters, rejecting any fixture that shows continuity loop resistance above ten ohms prior to sign-off.
Flexure
Board strain under mechanical test loads can crack multilayer ceramic capacitors right along their end terminations. When pogo pin arrays press upward without matching push fingers above, the laminate flexes into open fixture voids. This bending action places heavy tensile stress on outer copper layers and surface components.
Solder balls under BGAs can pull away from substrate pads, creating hairline opens that pass ambient testing only to fail when temperatures climb during functional burn-in.
Are Strain Gauge Thresholds Exceeded during Actuation?
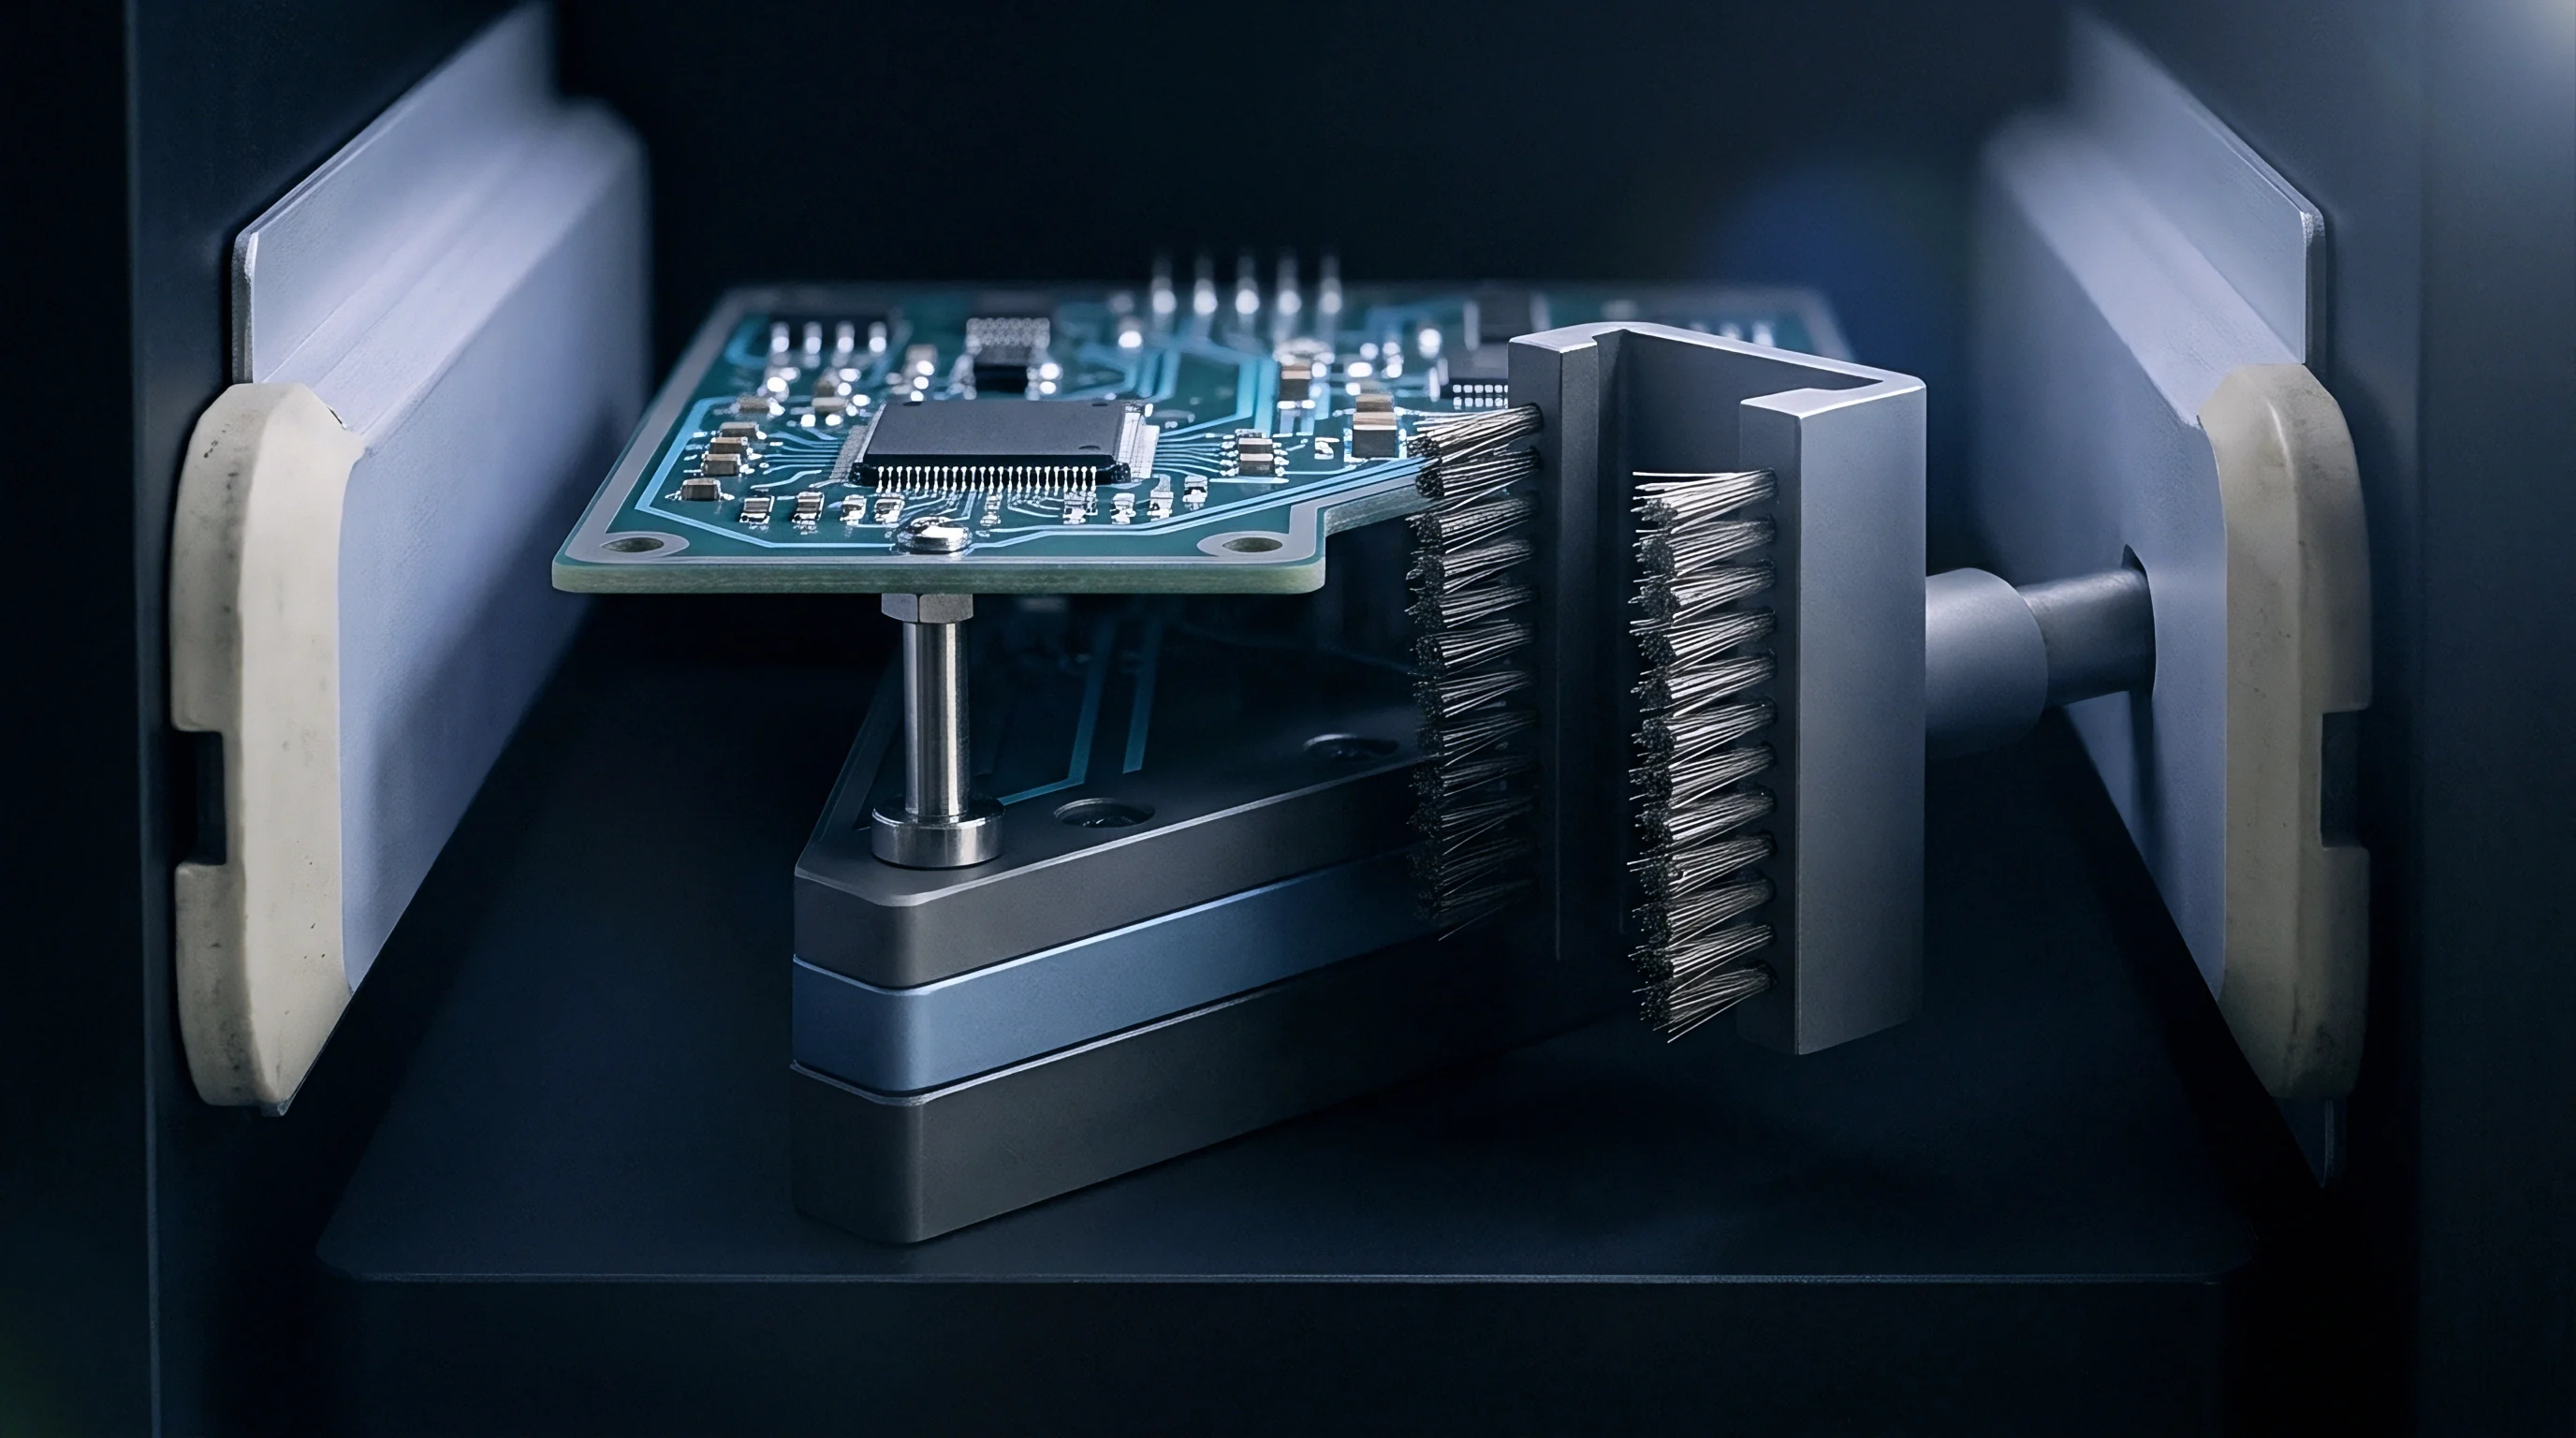
Strain gauge testing per IPC-9704 shows tension spikes exceeding five hundred microstrain on thin board substrates. To prevent structural damage, IPC/JEDEC-9704 sets a maximum diagonal strain limit of five hundred microstrain for standard FR4 boards with fine-pitch components, dropping to three hundred microstrain for brittle, sub-millimeter laminates. Fixture qualification uses strain gauge rosettes glued next to large BGAs and chip capacitors to verify that clamping forces stay well within safe material limits.
IPC-9704 limits operational strain to five hundred microstrain across circuit boards populating fragile lead-free solder interconnects.
Brittle packages frequently crack once board bending hits these microstrain limits.
Clustered probe pins are the main cause of severe board flex during test cycles. Packing seventy probes into a one-square-inch area to test dense power circuits concentrates over twenty-five pounds of upward force in a single spot. If the top fixture plate lacks supporting push blocks over that exact footprint, the board bends sharply along the edge of the cluster.
Spreading test targets evenly across the board distributes these forces and prevents laminate cracking.
- Ceramic Capacitor Fractures show up as diagonal cracks starting at terminal corners, leading to delayed shorts once moisture penetrates the dielectric layers.
- Solder Ball Pad Cratering rips copper lands out of the underlying resin matrix, severing inner-layer trace connections beneath fine-pitch BGAs.
- Silicon Die Cracking occurs in wafer-level chip-scale packages when uneven push fingers press onto bare mold compound instead of raw laminate.
- Conformal Coating Ruptures happen when sharp probe impacts craze nearby silicone or polyurethane coatings, destroying moisture protection needed in harsh environments.
Accumulated flux residues foul probe tips and cause false open calls.
Laminate thickness controls how much a board flexes under probe force. Standard sixty-two-mil FR4 deforms predictably under spring pressure, letting engineers space support pillars every two to three inches. Thinner thirty-one-mil or forty-two-mil boards flex much more easily, sagging under light pin pressure.
These thin substrates require custom aluminum stiffeners or vacuum backup blocks to hold planarity within three mils across the active probe area.
Chisel probe tips slice through light oxide film to establish metal contact.
Whether structural board modifications or secondary stiffener frames fully protect surface-mount solder joints from cumulative fatigue remains an ongoing question in high-volume reliability testing.

Partition
Full nodal test coverage becomes difficult when high component density forces signal traces into inner layers without breakout vias. High-speed differential pairs running between processors and memory cannot handle the stub length created by standard in-circuit test targets. A forty-mil pad on a high-speed line acts as an unterminated capacitive stub, creating reflections and degrading rise times.
To protect signal integrity, test engineers divide nets between physical probe points and software boundary-scan testing.
Requiring top-side probing significantly adds to fixture tooling costs.
Single-sided probing keeps fixture costs down and shortens build lead times. Routing all test targets to the bottom side allows simple, single-plate fixtures to access every net without clamshell mechanisms. Dual-sided probing doubles fixture complexity, requiring precise registration hardware to align top and bottom probe plates.
Upper plates also block the operator’s view, making it harder to clear jams or check board seating on the line.
High-frequency differential pairs cannot tolerate split probe stubs.
Boundary-scan logic compliant with IEEE 1149.1 and IEEE 1149.6 enables virtual in-circuit testing across digital buses without physical probe contact. Embedded scan cells inside complex microcontrollers drive test vectors across traces to receiver pins, detecting opens and shorts digitally. Combining boundary scan with physical spring probing cuts the required test pad count by up to sixty percent, freeing up critical board real estate for high-speed routing.
| Defect Classification | Bed-of-Nails ICT Coverage | Boundary Scan Coverage | Automated Optical Inspection | Functional Board Test |
|---|---|---|---|---|
| Solder Bridges and Shorts | 98% to 100% (Direct Nets) | 85% to 95% (Digital Bus) | 70% to 85% (Visible Pins) | 40% to 60% (Functional Block) |
| Component Value Shift | 95% to 99% (Analog Passives) | 0% (Digital Boundary) | 0% (Marking Only) | 10% to 30% (Parametric Drift) |
| Missing or Misoriented Parts | 98% to 100% (All Direct Nodes) | 90% to 95% (Active Silicon) | 95% to 99% (Polarity Markers) | 80% to 90% (Circuit Dropout) |
| BGA Open Solder Balls | 90% to 98% (Nodal Breakout) | 95% to 98% (Scan Chain Pins) | 0% (Hidden Joints) | 80% to 95% (Operational Failure) |
| In-Circuit Parasitic Leaks | 90% to 95% (Guarded Nodes) | 0% (Digital Boundary) | 0% (Visual Inspection) | 20% to 40% (Power Rail Sag) |
Guarding techniques isolate individual analog components from parallel impedances during in-circuit testing. When measuring a precision resistor shunted by capacitors or semiconductor junctions, the ICT system applies an active guard voltage to intermediate nodes. Operational amplifiers force these guard nodes to match the test potential, eliminating current leakage through parallel paths so the system can measure the target component within one percent accuracy.
Placing target landings across all nets yields comprehensive fault discovery before final integration.