Designing Test Bead Access Methodology for Microvia Array Substrates under in Circuit Testing
Test bead access on HDI substrates preserves microvia integrity during ICT while maintaining 98 percent node coverage when guided by precision fixtures.
Bead
High-density interconnect substrates with microvia arrays severely restrict conventional electrical test access. Direct mechanical contact on microvia surfaces tears thin copper plating and damages the underlying dielectric. Standard in-circuit test spring probes have tip diameters between 0.7 to 1.0 millimeter, far too large for microvia capture pads under 100 micrometers.
Placing small solder bumps directly onto narrow surface traces creates dedicated test targets without taking up board space or compromising microvia integrity.
Surface traces expand locally by 75 to 125 micrometers to form a base pad for the target bump. Solder mask openings expose this wider copper section so molten alloy can form a raised dome during reflow, building a height of 15 to 30 micrometers above the mask plane. This low profile gives probe crowns or spear points enough metal to make reliable ohmic contact without hitting surrounding mask dams or touching nearby microvias.
Target placement requires strict adherence to trace geometry and spacing rules. Placing targets over solid copper trace segments away from microvia capture pads keeps probe impact off delicate microvia barrels and inner-layer interconnects as the trace widens locally. Surface finishes also dictate engagement and contact resistance: electroless nickel immersion gold gives a hard surface that limits deformation, while organic solderability preservatives leave thin oxide films requiring higher force to pierce.
| Construction Type | Target Width (µm) | Height Above Mask (µm) | Minimum Pitch (µm) | Primary Failure Mode |
|---|---|---|---|---|
| Single-Trace Solder Dome | 100 to 125 | 15 to 25 | 250 | Probe slip off dome crown |
| Expanded Pad Alloy Bump | 150 to 200 | 20 to 30 | 350 | Solder mask dam erosion |
| In-Line Trace Bead Segment | 75 to 100 | 10 to 18 | 200 | Insufficient alloy volume |
| Differential Pair Dual Target | 100 each | 15 to 20 | 300 | Bridge formation during reflow |
Solder volume printed through the stencil determines target height and uniformity. Low paste deposits leave flat targets that sit below the solder mask edge, causing probe tips to land on dielectric material. Excess solder produces wide, rounded domes that bridge fine-pitch microvias or short against grounded copper fills.
Laser-cut stencils with stepped apertures keep deposit volumes consistent for stable target geometry.
Microvia capture pads are sometimes used directly as test targets under probe forces below fifty grams, though direct strikes on microvia structures still risk structural damage over time.

Probe
Choosing the right contact hardware sets both mechanical reliability and signal integrity across high-density substrates. Traditional chisel or four-point crowns made for standard 2.54-millimeter test grids distort small alloy bumps. Sharp single-spear or flat-chisel tips concentrate landing force on narrow surfaces, holding contact resistance down and keeping the probe tip from skidding off small targets.
Spring force calibration balances low contact resistance against substrate deformation. Standard test fixtures exert 100 to 250 grams per pin, easily crushing small solder domes on thin high-density laminates. Probes running between 30 and 70 grams reduce local stress while breaking through surface oxides, though target location still influences probe tip drift.
Alignment verification demands a strict sequence during fixture buildup to maintain target landing accuracy:
- Verify mechanical pin location accuracy using optical alignment tools before fixture wiring.
- Measure single-point spring probe travel height under uncompressed and fully compressed fixture states.
- Record landed contact resistance across a fifty-point sample board using a four-wire Kelvin meter.
- Inspect test targets under thirty-times optical magnification to evaluate indentation depth and deformation shape.
- Adjust mechanical push-finger locations to eliminate substrate flexure during vacuum draw down.
Contact resistance stability depends on tip shape and plating. Rhodium-plated beryllium copper tips hold their point geometry through thousands of cycles, resisting wear better than gold-plated nickel alloys. Smooth dome tips minimize target damage, but they require clean, unoxidized surfaces to maintain reliable continuity.
| Tip Configuration | Contact Force (g) | Landed Resistance (mΩ) | Indentation Depth (µm) | Life Expectancy (Cycles) |
|---|---|---|---|---|
| Single Spear 30 Degree | 40 to 50 | 12 to 25 | 5 to 8 | 100,000 |
| Micro-Chisel Edge | 50 to 70 | 8 to 18 | 4 to 7 | 150,000 |
| Smooth Radius Dome | 30 to 45 | 25 to 60 | 1 to 3 | 250,000 |
| Three-Point Crown | 60 to 80 | 15 to 30 | 6 to 10 | 120,000 |
Target accuracy degrades as fixtures cycle through thousands of actuations. Tolerances across probe plates, guide pins, and socket mounts stack up over time, drifting probe tips away from target centers. Maintenance routines must check landed mark positions to catch mechanical wear before misalignment causes false open readings.
Sharp probe tips pierce thin oxides under low spring force, whereas dull tips demand higher compression that damages underlying substrate layers.
Imprint
Mechanical impact from spring probes drives dynamic force into delicate high-density interconnect layers. When a probe strikes a target directly over or beside a microvia, stress moves through the thin copper cap into the barrel and underlying dielectric. Excessive impact energy cracks microvia walls, lifts caps, or delaminates inner-layer foil as contact force deforms the copper structure.
Standard IPC-9252B guidelines specify a minimum clearance of 100 micrometers between test target edges and microvia pad openings to prevent mechanical stress propagation into microvia structures.
Calculating landed pressure from tip contact area and spring force reveals the stress on substrate layers. A spear probe tip with a 12.5-micrometer point radius striking an elevated target under 50 grams of spring force applies 0.49 Newtons. Under elastic deformation, the initial contact area measures roughly 4.91 x 10⁻¹⁰ square meters.
Dividing 0.49 Newtons by 4.91 x 10⁻¹⁰ square meters gives a peak contact stress of 998 Megapascals. Because this far exceeds the yield strength of standard copper alloy (roughly 200 to 300 Megapascals) and soft lead-free solder (30 to 50 Megapascals), the metal yields immediately. Solder deforms beneath the tip to form a crater 5 to 8 micrometers deep, where repeated probing can crack thin dielectric resin.
When a target rests directly on a 75-micrometer microvia cap, deformed solder transfers residual stress downward. Standard glass-reinforced epoxy laminates have a compressive strength of 350 to 450 Megapascals. Microvia wall plating, often just 12 to 18 micrometers thick, experiences heavy shear stress where the capture pad meets the vertical barrel wall.
Microsection analysis shows that repetitive probe impacts fatigue the copper microstructure, causing latent microvia failures after thermal cycling in the field.
Because trace width governs bead volume, mechanical deformation also affects local signal line performance. Deep target indentations reduce trace cross-sectional area, altering high-frequency transmission line impedance. High-speed surface traces require tight probe force budgets so physical deformation stays within five percent of total copper trace height.
Direct probe hits on unreinforced microvias cause subsurface dielectric cracking and latent copper barrel shear, leading to field failures under normal operational thermal expansion.
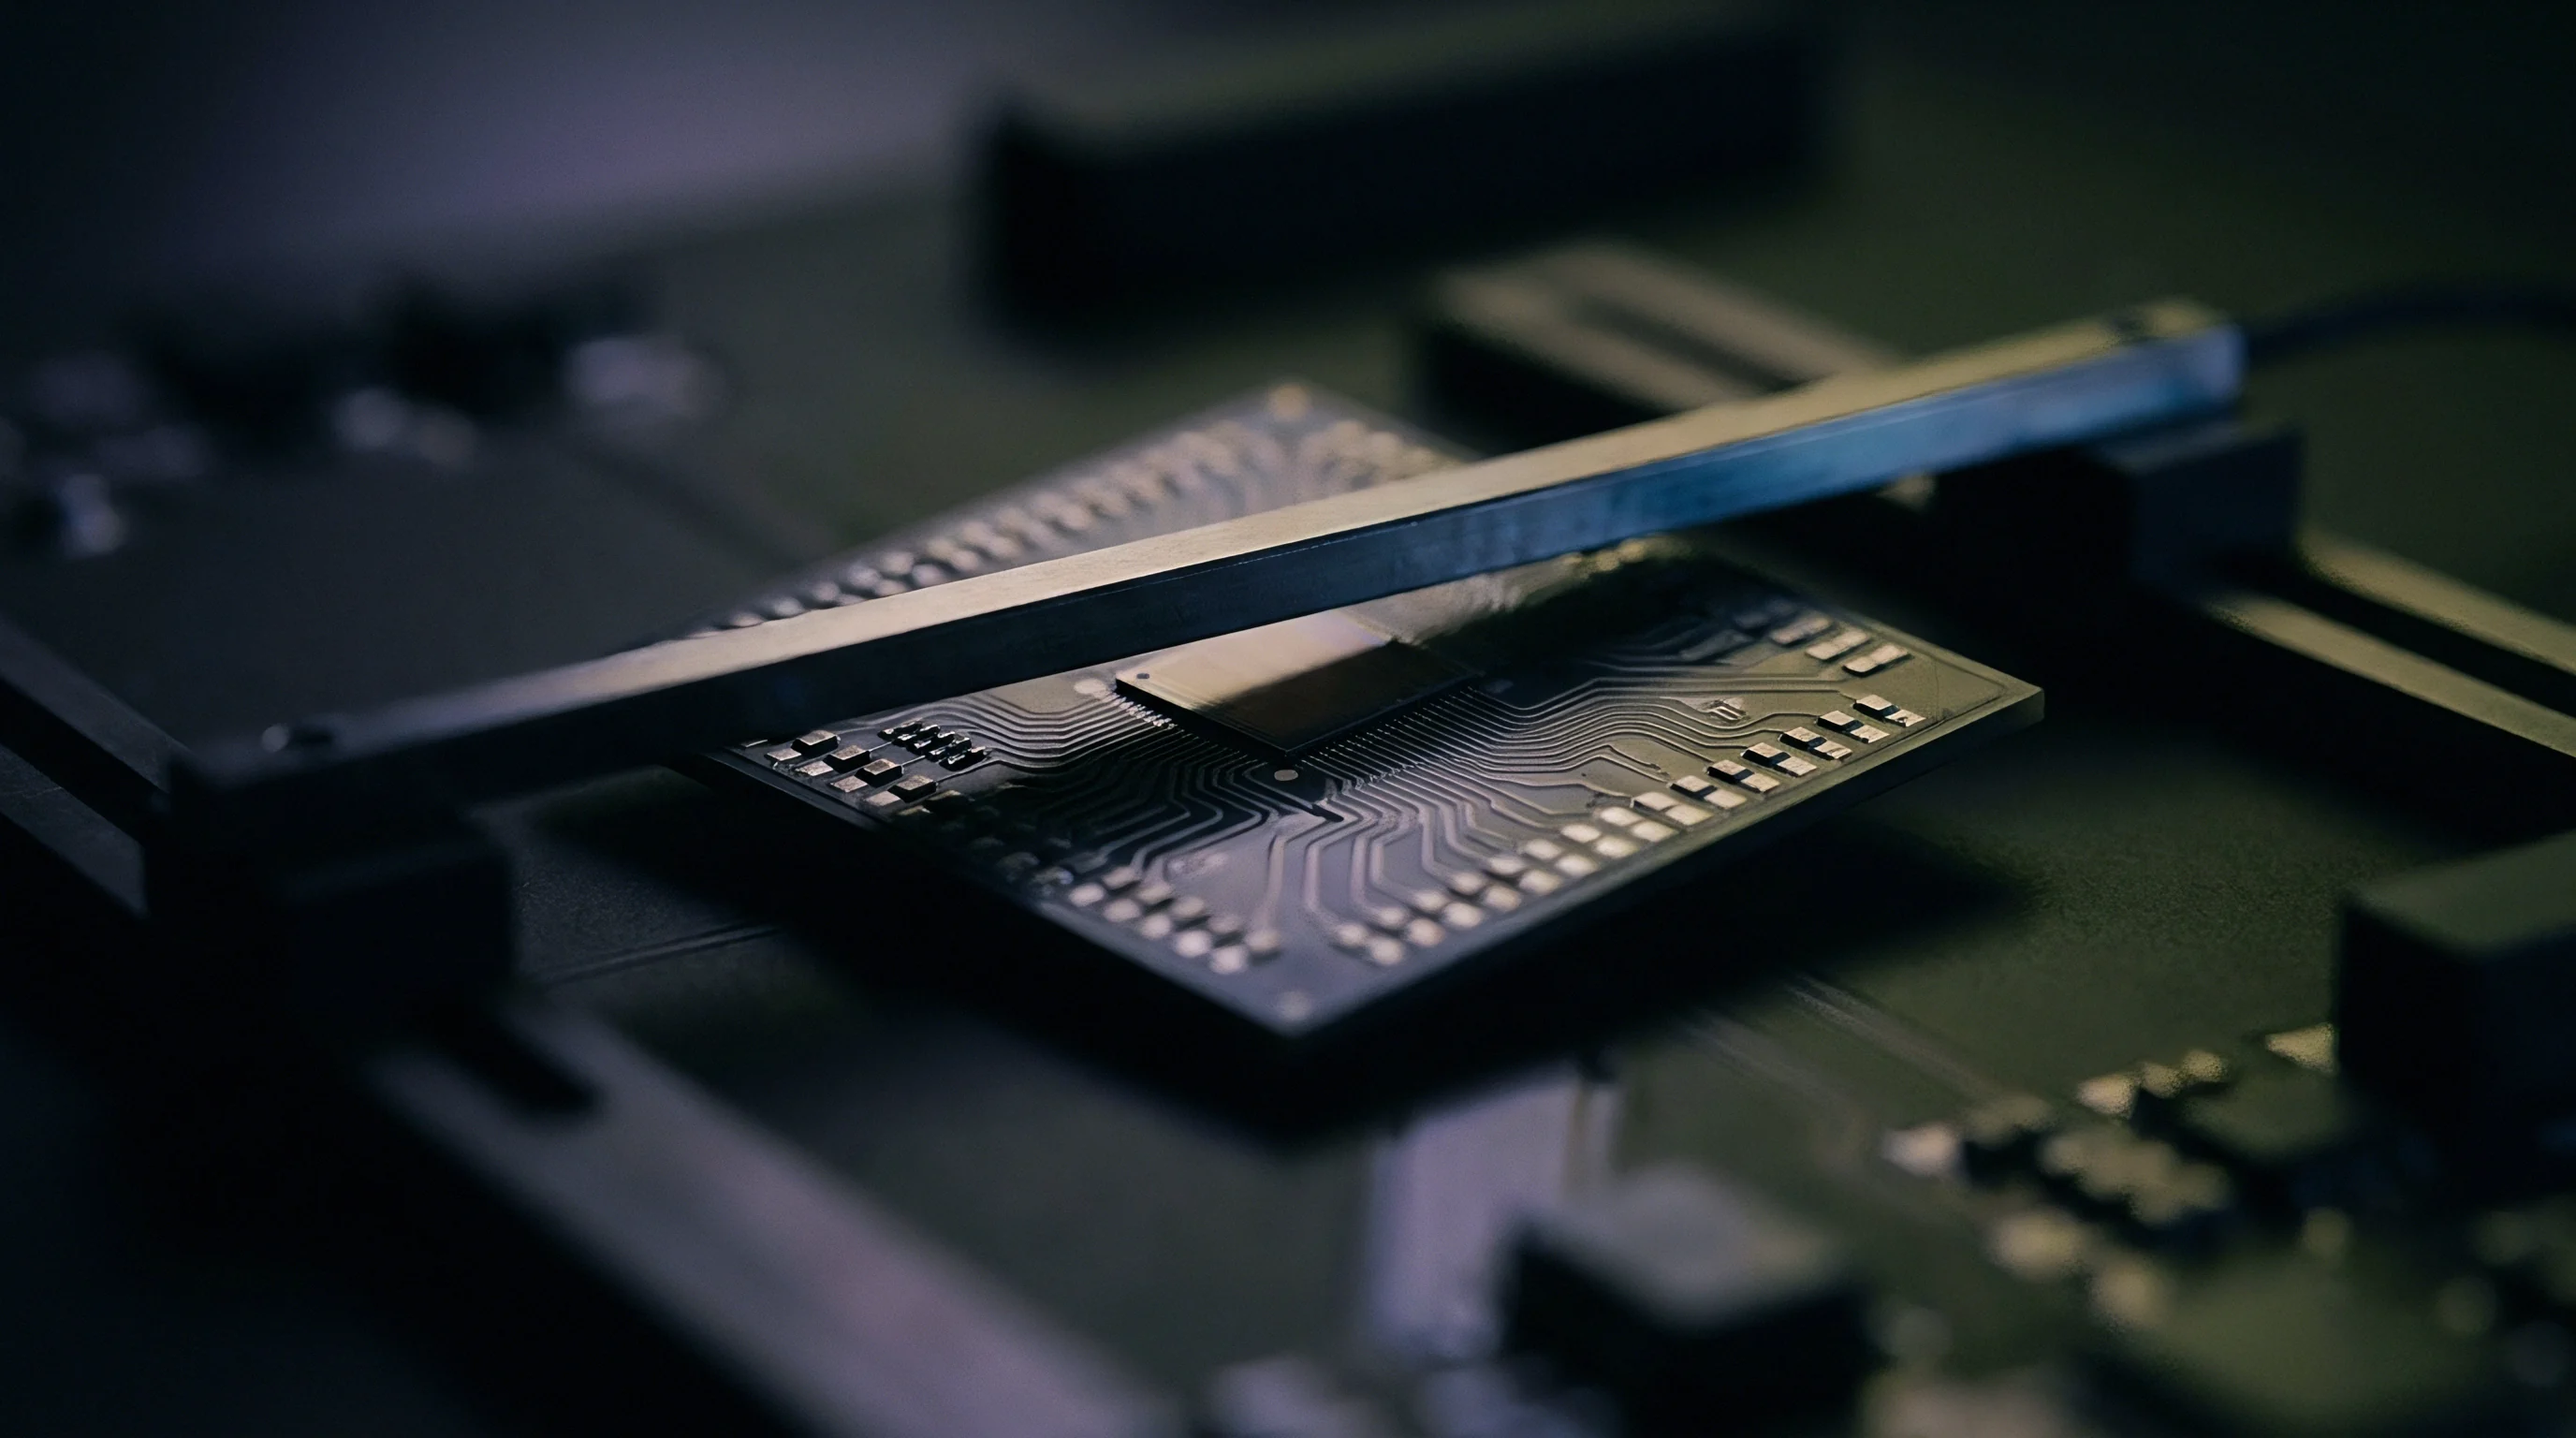
Fixture
High-density test fixtures demand tighter mechanical precision than standard circuit board tooling. Vacuum fixtures often lack the rigidity to maintain sub-100-micrometer target registration across large boards. Guided pneumatic presses use precision linear bearings and dual-stage guide pins to hold perpendicular probe alignment within tight tolerances, directly affecting overall board testability.

Does Microvia Stacking Limit Test Bead Landing Vector Accuracy?
Stacked microvias create local stiffness variations that alter surface deflection under probe compression. When microvias stack vertically through three or four layers, the solid copper column acts like a rigid pillar inside softer resin laminate. As the fixture actuates, surrounding resin flexes slightly while the microvia stack holds firm, producing micro-level surface tilt.
This tilt shifts target centers away from incoming probe vectors, raising the risk of tip slippage.
Accurate test target positioning demands a total fixture mechanical tolerance budget below 50 micrometers to guarantee 99 percent probe hit rates on high-density substrates.
Fixture design must place board support pins directly beneath dense microvia arrays. Unsupported substrate areas flex under probe compression, causing outer pins to strike targets at an angle. Angular strikes deepen target deformation and cause lateral scrubbing that tears delicate solder mask bridges between fine-pitch traces, defeating dams meant to stop alloy bridging.
| Tolerance Parameter | Vacuum Actuated (µm) | Precision Pneumatic (µm) | Impact on Landing Radius (µm) |
|---|---|---|---|
| Guide Pin Location Accuracy | ±25 | ±8 | 12 to 25 |
| Probe Plate Hole Drift | ±20 | ±10 | 10 to 20 |
| Probe Tip Deflection / Bent Pin | ±30 | ±15 | 15 to 30 |
| Substrate Thermal Expansion | ±12 | ±12 | 12 |
| Total Stackup Vector Variance | ±87 | ±45 | Not applicable |
Simultaneous top- and bottom-side testing on Every Layer Interconnect substrates doubles total spring probe force. Dual-sided fixtures require synchronized clamping to prevent differential shear forces from twisting the substrate and causing microcracks in the laminate. Mechanical support plates must clear tall surface-mount components while holding rigid counter-pressure directly behind test target clusters.
Per IPC-9252B section 4.3.2, test access point registration accuracy shall be validated using optical target measurement systems before certifying fixtures for high-reliability production lot testing.
Escapes
Limited nodal access on microvia array substrates directly degrades test coverage and fault isolation. Modern high-density interconnect designs use microvia pitches down to 0.4 millimeters, which prevents placing standard test pads on every net. Placing compact targets on selected traces restores nodal access without compromising layout density, preventing the steep decline in test coverage that occurs when access fails.
Unprobed nodes rely entirely on functional boundary scan or cluster testing, leaving micro-shorts, cold solder joints, and open traces unisolated prior to final assembly and raising defect escape rates and warranty costs. In-circuit test routines using elevated targets achieve full nodal continuity verification and precise resistance measurements across high-density nets.
A comprehensive strategy categorizes defect detection modes based on available physical access:
- Direct Trace Target Access enables full four-wire Kelvin resistance testing, open/short isolation, and component analog parametric measurement across high-density microvia nets.
- Boundary Scan Integrated Access provides digital net continuity verification on un-probed microvia nodes using IEEE 1149.1 boundary scan architecture.
- Cluster Access Strategy groups multiple microvia nets between available target pairs, detecting global shorts while accepting limited open-defect isolation resolution.
- Functional Access Exclusions identifies nets completely lacking physical test targets, routing them to downstream functional testing and elevated stress screening regimes.
Electrical measurement guardbands account for contact resistance variations on small alloy targets. Surface oxidation, flux residue, or minor tip contamination introduces variable contact resistance from 0.5 to 5.0 Ohms. In-circuit test software must adjust low-resistance thresholds so worn probes and contact drift do not trigger false failure calls on valid nets.
In-circuit test coverage metrics quoted without specifying physical node access density fail to reflect true defect escape risks on high-density interconnect substrates.
False failure calls stall production lines by forcing manual re-testing of good boards. Conversely, overly broad measurement thresholds let high-resistance opens or micro-shorts slip undetected into final assembly. Setting tight guardbands through empirical contact resistance sampling strikes the proper balance between test yield and defect escape prevention.
How far can test target dimensions shrink before spring probe mechanical landing tolerances and contact resistance instability degrade in-circuit test defect detection capability below acceptable automotive and aerospace quality standards?