In Circuit Test Nodal Access Layout Rules for Assembly Verification
Ensuring complete bottom-side nodal access with standard pad pitch and strain-mitigated fixturing locks in fault coverage and prevents field defect escapes.

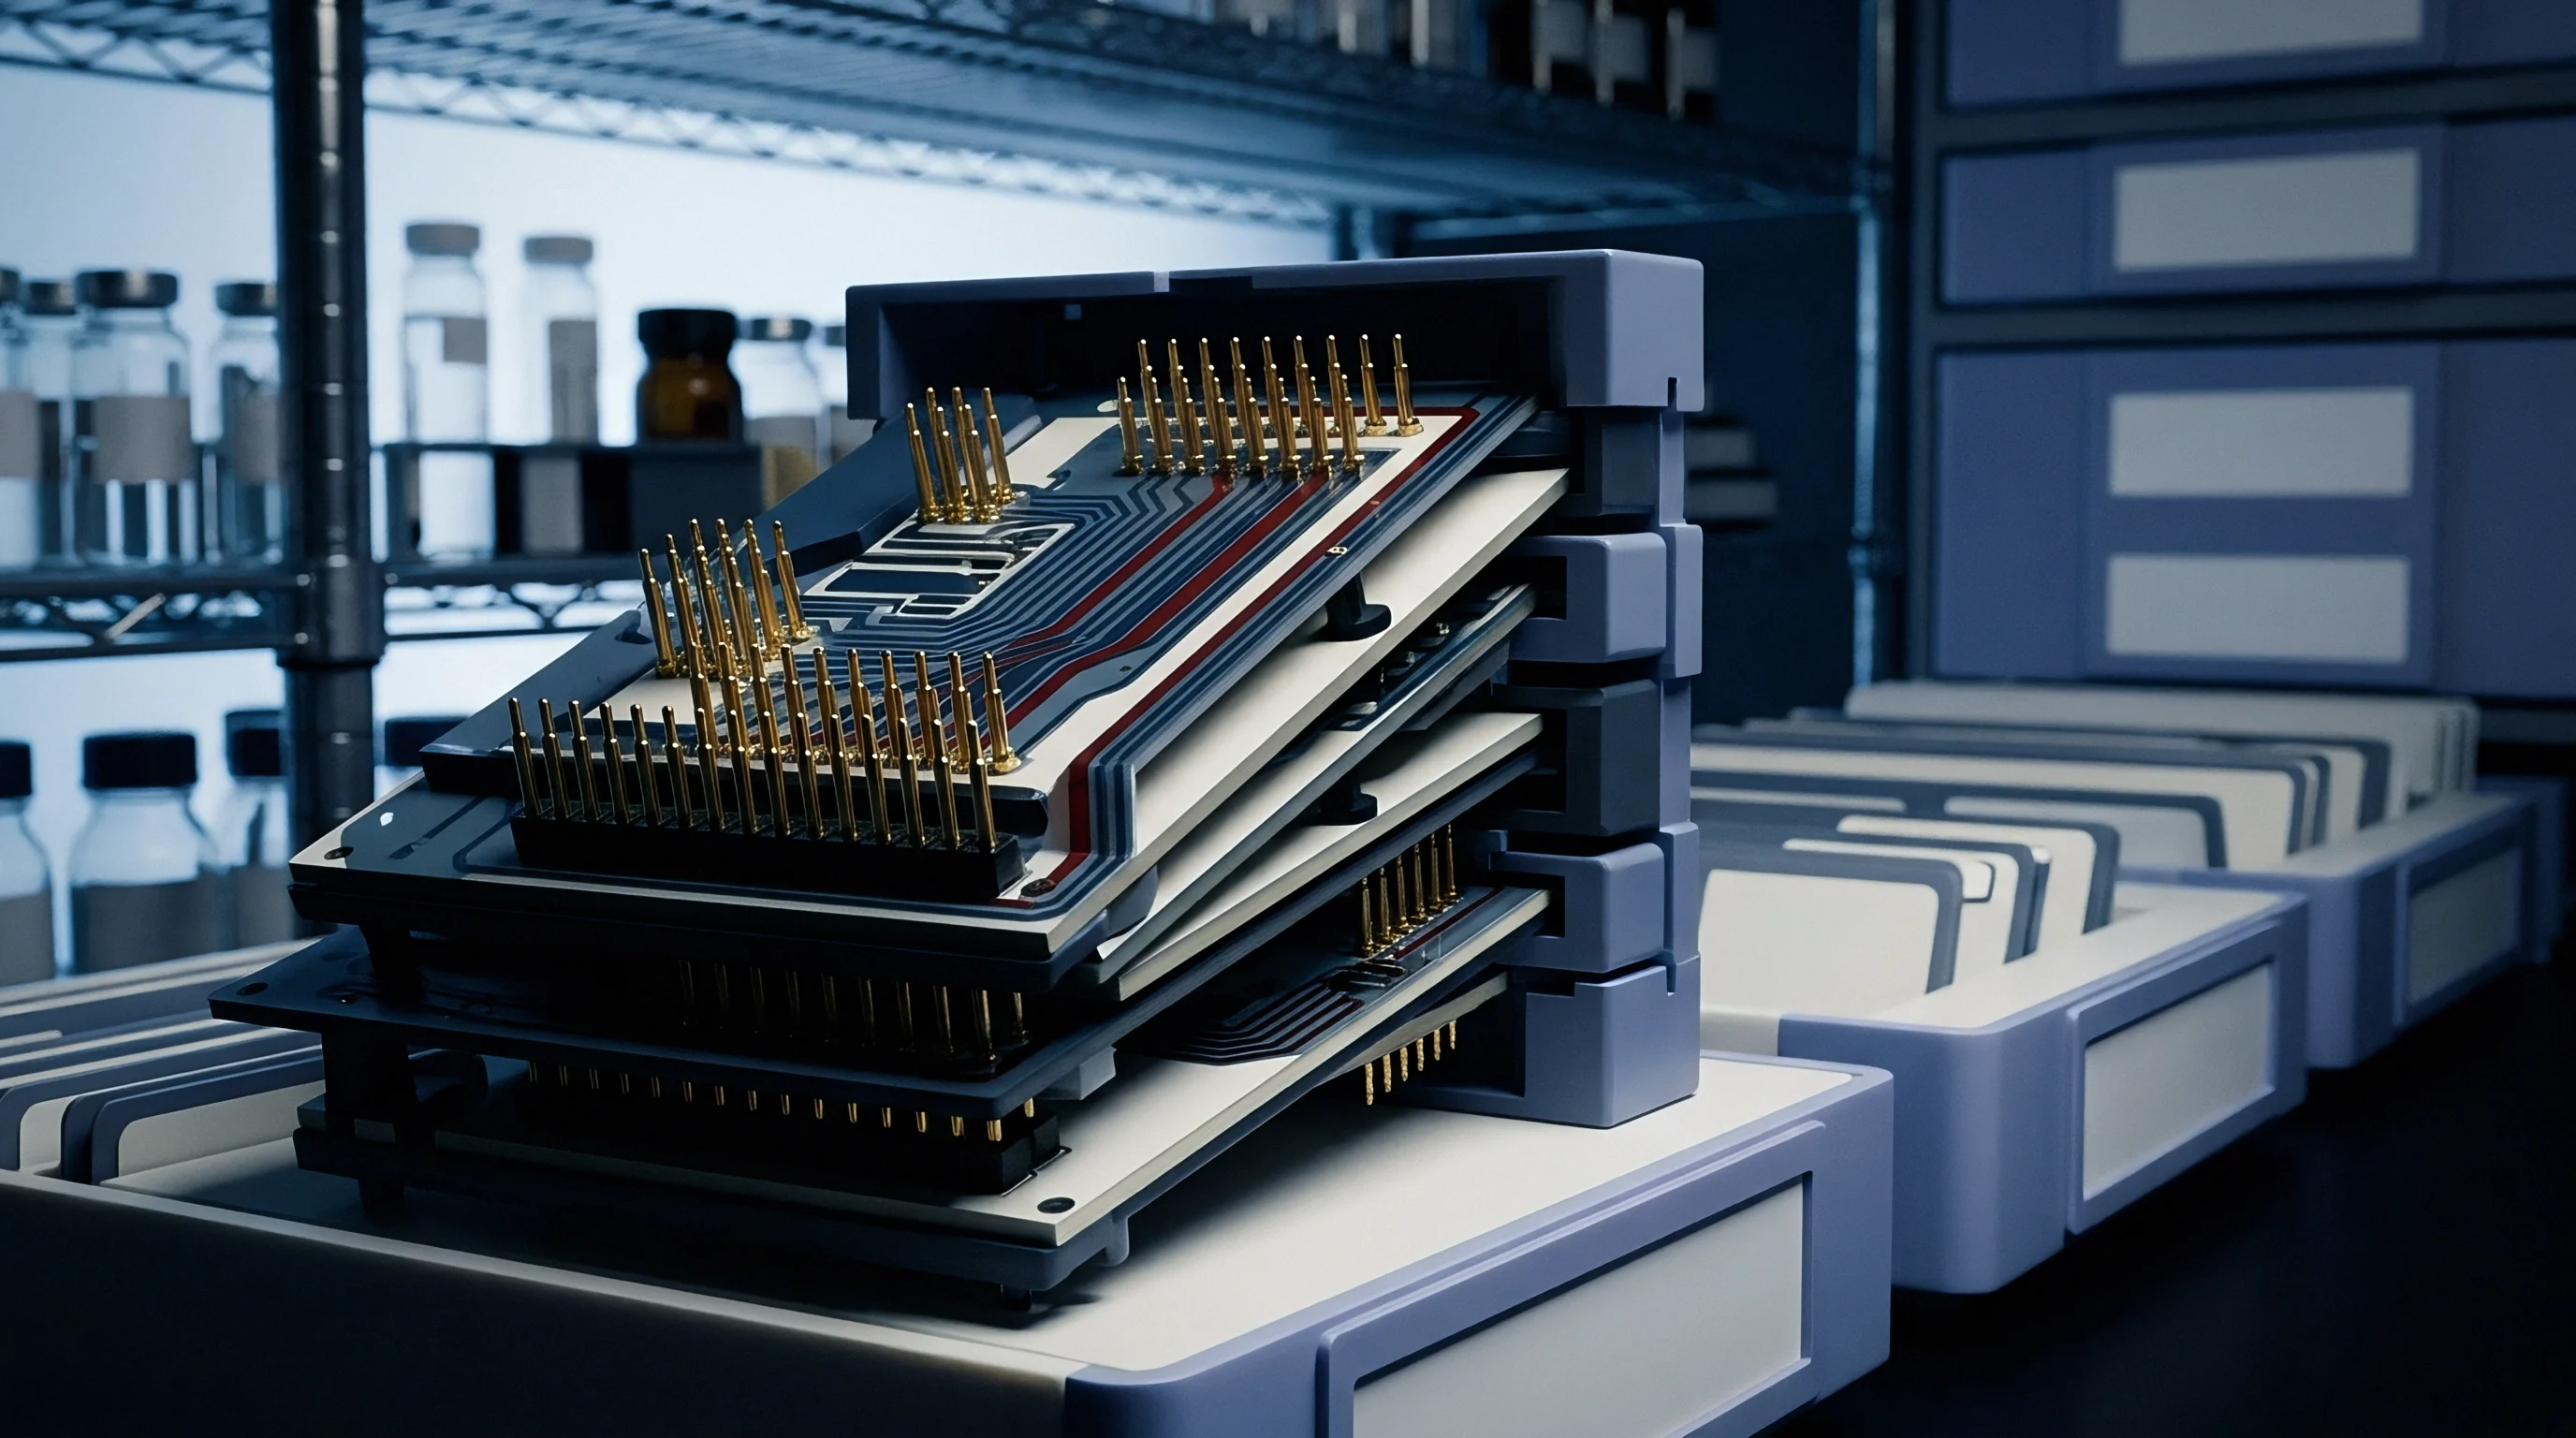
Access
Complete nodal access requires a dedicated physical contact point on every net within a printed circuit board assembly. Achieving full electrical observability allows bed-of-nails spring probes to drive signals, detect short circuits, measure passive component values, and exercise active components during in-circuit testing. Layout engineers often compromise nodal access to save space on high-density interconnect designs.
Eliminating a single test point breaks the direct physical link between the automated test equipment and that specific net, converting an electrically solvable fault into an unmeasurable node.
Net classification governs how test targets are assigned across a board. Power rails, ground planes, high-speed differential lines, analog feedback paths, and digital input/output lines present distinct fixture constraints. Power and ground nets need multiple distributed test points to divide total probe current during active component functional steps.
A single standard spring probe carries between 2 and 3 amperes continuously before resistive heating degrades the internal spring. Supplying high current during boundary scan or active flash programming without distributing the current load across parallel test targets creates local voltage drops across probe contacts, triggering false power-rail brownout failures during assembly verification.
Single-sided bottom access represents the most cost-effective architecture for in-circuit test fixtures. Routing every test target to the bottom laminate layer allows a single vacuum or pneumatic probe plate to actuate against the board. Top-and-bottom dual-sided access fixture designs, often called clamshell fixtures, double or triple initial tooling costs while adding mechanical alignment complexity.
Clamshell fixtures introduce severe physical access limits on top-side push fingers and increase fixture wiring lengths, which introduces unwanted parasitic inductance into analog measurement channels.
| Access Classification | Percentage of Nets Access | Fixture Architecture | Tooling Cost Multiplier | Primary Unchecked Fault Risk |
|---|---|---|---|---|
| Full Single-Sided Access | 100% Bottom Layer | Single-Plate Vacuum | 1.0x Base Cost | None (Full Analog and Digital Isolation) |
| Split Dual-Sided Access | 100% Top and Bottom | Clamshell Mechanical | 2.4x Base Cost | Top-Bottom Registration Drift Over Time |
| Partial Nodal Access | 70% to 85% Bottom Layer | Single-Plate Vacuum | 1.1x Base Cost | Unprobed Series Pass Resistors and Feedback Nets |
| Restricted Access (Boundary Scan Only) | 15% to 35% JTAG Nets Only | Flying Probe or Edge Connector | 0.4x Base Cost | Passive Component Solder Open Anomalies |
High-speed differential signals require careful test point placement to avoid signal integrity degradation. Placing a standard 1.0 mm test pad directly on a 10 Gbps differential pair introduces a stub capacitance of roughly 0.5 to 1.2 picofarads. That parasitic stub causes impedance discontinuities, increasing insertion loss and high-frequency reflections.
Designers mitigate signal degradation by placing test targets on micro-vias, routing secondary trace stubs through high-value isolation resistors, or relying on specialized high-bandwidth pogo probes designed for 50-ohm transmission line matching.
Unrouted pins and internal IC nodes demand explicit netlist attention during the layout capture phase. Floating microcontroller pins, unpopulated decoupling capacitor target pads, and internal pull-up resistor nodes must retain exposed test targets if the test program requires explicit verification of component presence. Unprobed nets force the test engineer to rely on indirect cluster testing.
Indirect cluster testing groups multiple components between accessible nodes, which conceals individual component values and leaves component orientation unverified.
Single-sided bottom-layer test point assignment reduces fixture manufacturing costs by up to 60 percent compared to dual-sided clamshell fixture configurations.
Resistor networks and series passive components present common nodal access traps. Placing a single test pad on one side of a series damping resistor allows the tester to verify net continuity up to the resistor, but leaves the far side of the component completely unmonitored. Placing dedicated test targets on both sides of every series component ensures the in-circuit tester performs isolatedGuard measurements, isolating parallel resistance paths by forcing floating guard potentials on adjacent nodes.
Layout guidelines mandate establishing nodal access rules before starting trace routing. Retrofitting test points into a fully routed board routinely causes design delays, trace necking, extra layer transitions, and broken differential impedance targets. Layout tools must run design-for-test rules alongside design-for-manufacturing checks to lock down target placement before final Gerber or ODB++ export.
Dense surface-mount footprints often prevent dedicated test point routing without adding two signal layers to the stackup.
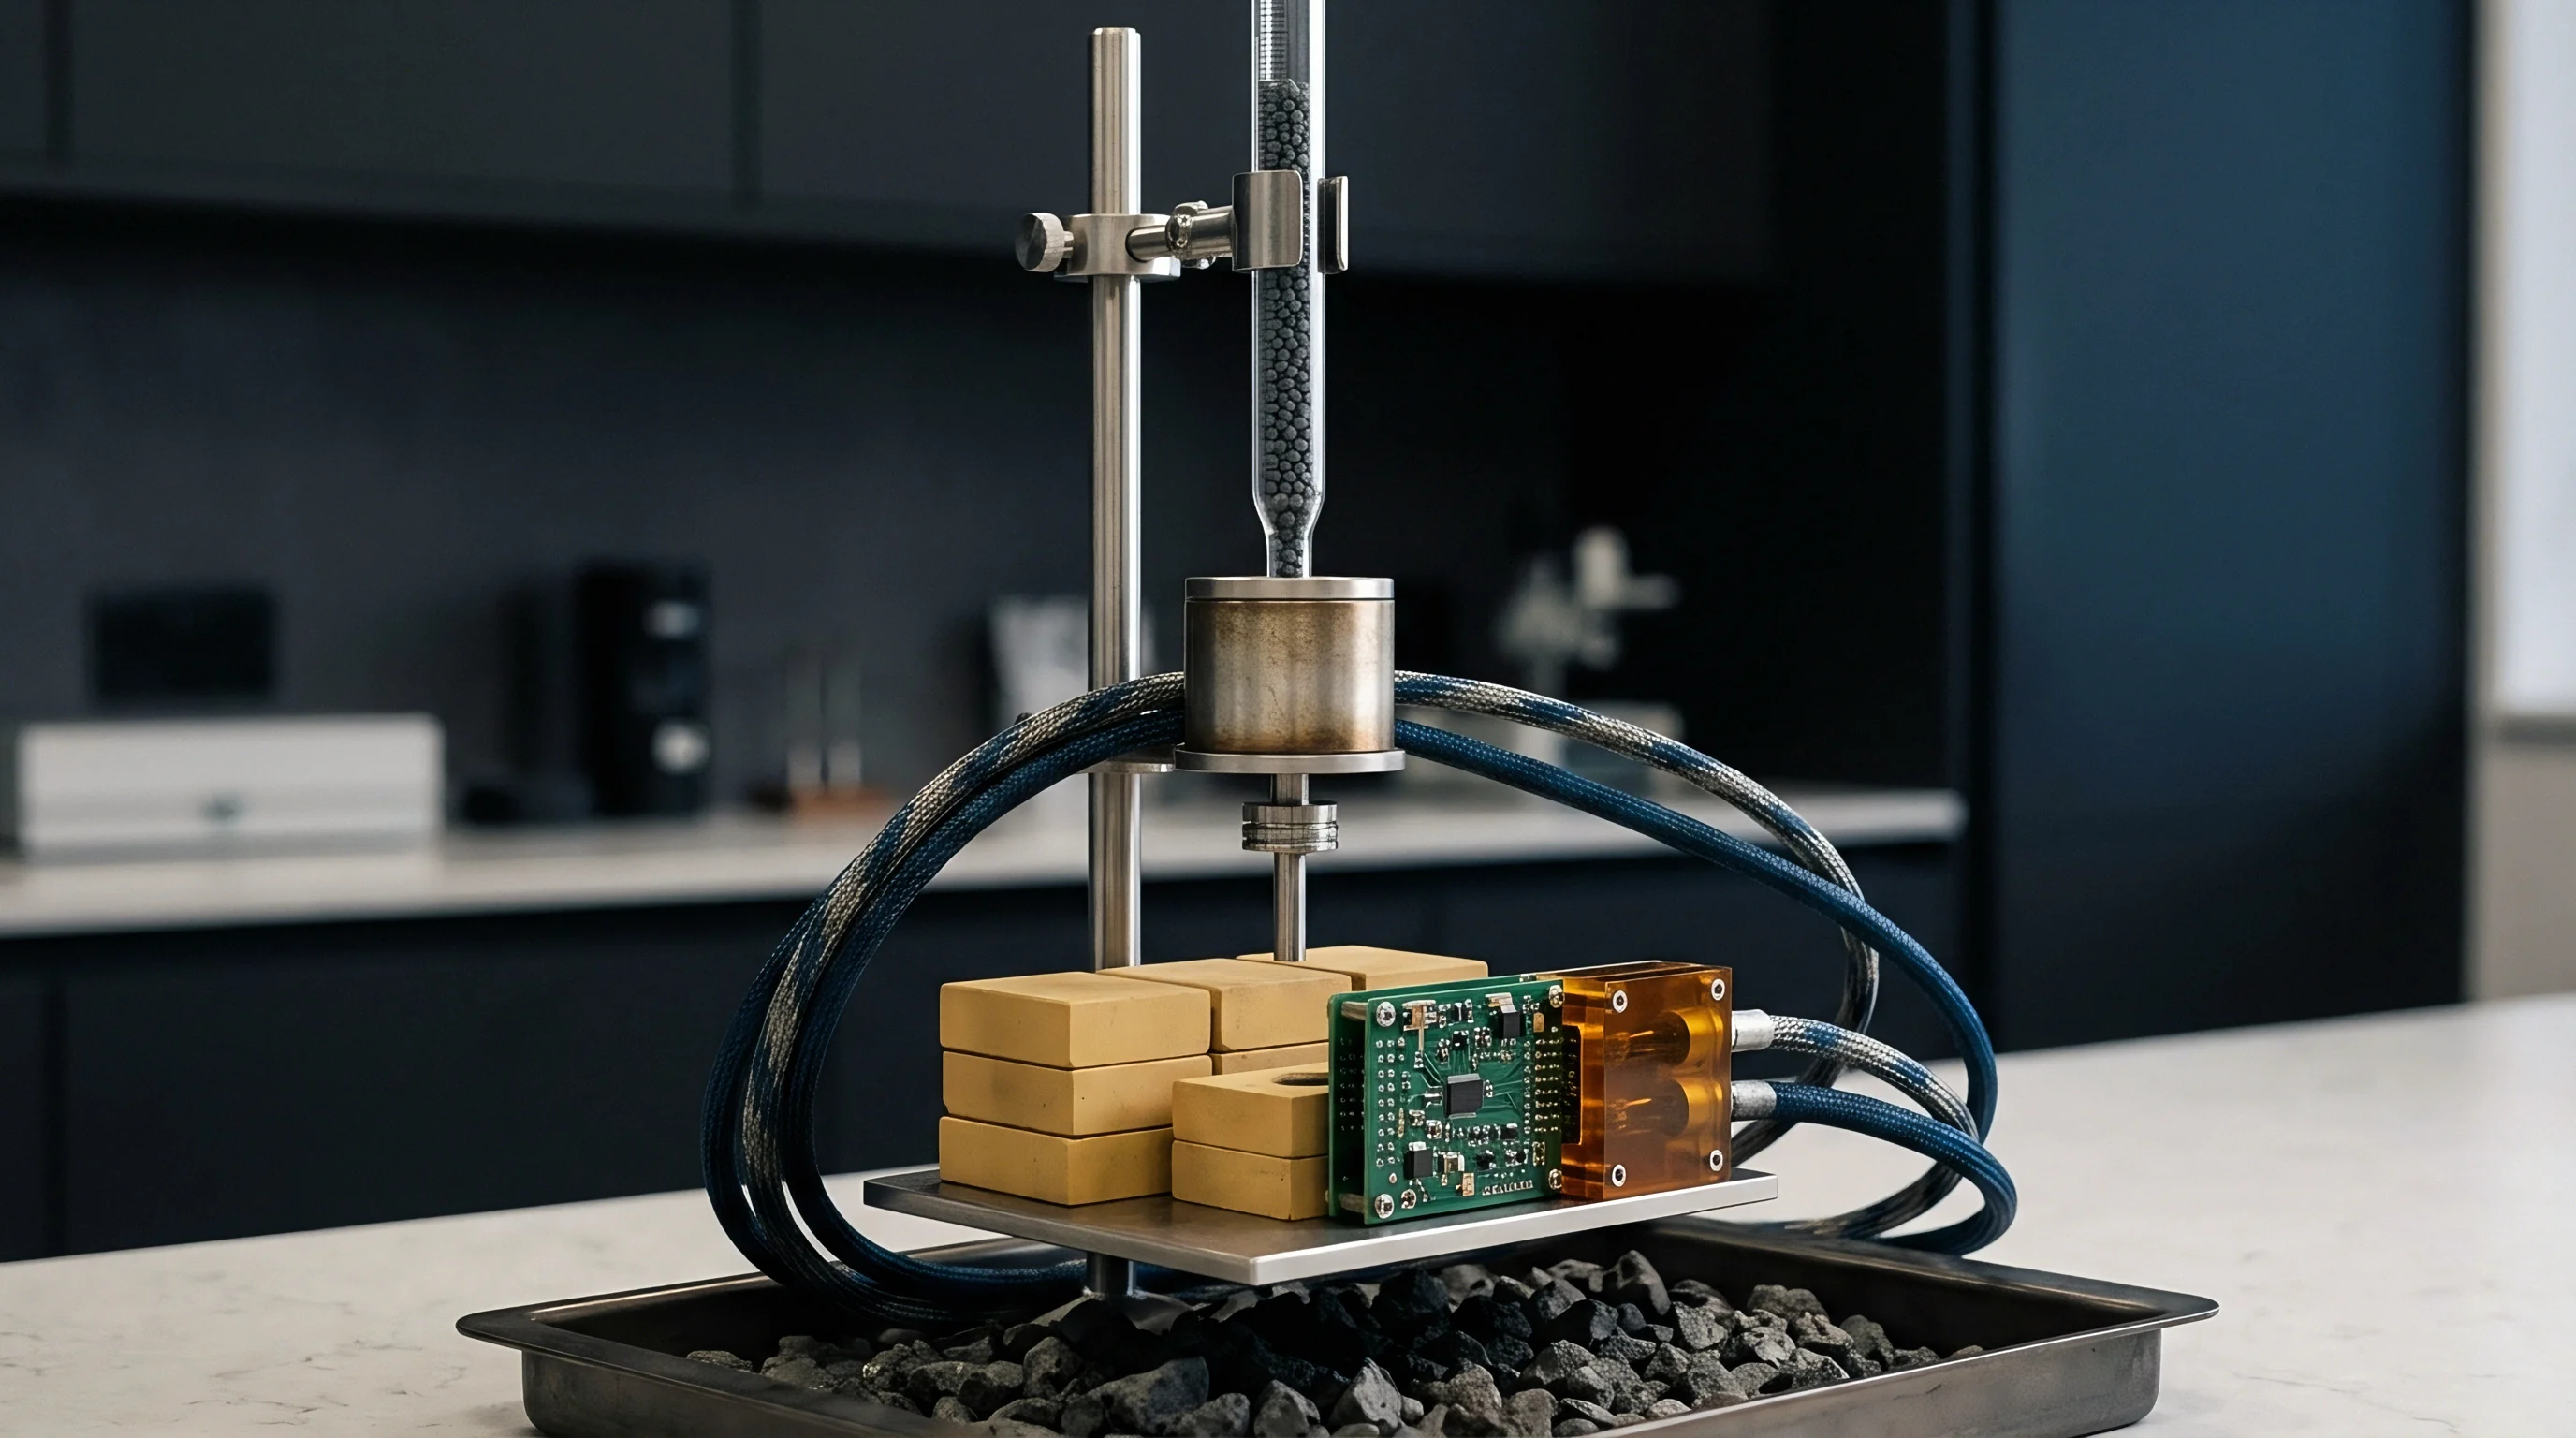
Target
Physical geometry defines whether a spring probe reliably lands on its intended conductor during fixture actuation. A test pad serves as the mechanical target for a sharp or crowned pogo pin moving along the Z-axis under vacuum or pneumatic pressure. Round copper targets represent the industry standard shape because round targets provide equal alignment tolerances in all radial directions from the target center.
Target size selection depends directly on the center-to-center spacing of adjacent nodes and the overall drill registration accuracy of the fixture plate. A preferred target diameter measures 1.0 mm, which accommodates standard fabrication tolerances and fixture drift over 100,000 actuation cycles. High-density designs permit smaller targets down to 0.8 mm or 0.6 mm, but smaller target sizes drastically increase probe alignment failure rates and demand expensive micro-machined guided fixture plates.
Solder mask opening geometry directly dictates test target usability. Solder mask pullback must provide an annular clear zone of at least 0.075 mm around the perimeter of the copper pad. If solder mask overlaps the pad edge or bleeds onto the target surface, the hard epoxy mask material prevents the spring probe tip from touching the copper.
The probe tip strikes the raised mask ridge instead, resulting in a false open circuit report during test execution.
Surface finish selection profoundly impacts probe contact resistance and long-term fixture maintenance cycles. Organic Solderability Preservatives form a thin protective organic film over copper, but this film requires aggressive, pointed probe tip geometries to punch through the non-conductive layer. Hot Air Solder Leveling leaves an uneven, domed surface profile that causes probe tips to skid laterally off center.
Electroless Nickel Immersion Gold provides a flat, highly conductive, non-oxidizing landing target that maximizes probe contact consistency across extended production runs.
Component height keepout zones prevent physical collisions between probe barrels, socket sleeves, and surrounding surface-mount packages. Standard test targets require a minimum clearance of 0.5 mm from the edge of the test pad to the body of any adjacent SMT component under 2.0 mm tall. Tall components such as electrolytic capacitors, inductors, and tall connectors demand a enlarged clearance radius up to 2.5 mm to ensure the probe socket body clears the component wall during full fixture compression.
Mechanical failure modes on test targets disrupt factory output and compromise joint integrity through structural wear:
- Probe Tip Skidding occurs when a sharp probe strikes an angled solder dome, driving the probe tip laterally off the pad and gouging adjacent laminate.
- Mask Overlap Insulation happens when residual solder mask covers the perimeter of the target pad, blocking electrical contact.
- Substrate Cratering results from excessive probe spring force impacting thin FR-4 laminates, causing micro-fractures in the glass-epoxy weave directly beneath the pad.
- Flux Residue Contamination builds up on target surfaces after wave or reflow soldering, forming an insulating barrier that causes false open-circuit test failures.
- Target Pad Oxidation degrades bare copper or OSP finishes exposed to humid storage environments, increasing electrical contact resistance beyond acceptable limits.
Tooling holes establish the absolute spatial coordinate system for the entire printed circuit board assembly during fixture mounting. A minimum of two non-plated tooling holes, positioned on opposite diagonal corners of the board, must be dedicated exclusively to fixture alignment. Tooling hole diameters should measure 3.0 mm with a tight mechanical tolerance of +0.05/-0.00 mm.
Plated tooling holes are unsuitable for precision alignment because solder plating thickness variations cause tooling pin binding or alignment drift across production batches.
Unplated tooling holes must remain free of surface-mount components, trace routing, and solder mask pour within a 3.0 mm radial keepout zone. This clear zone accommodates the mechanical shoulder of the fixture alignment pin and prevents mechanical crushing of nearby passive components during fixture engagement. The distance from a tooling hole center to the nearest test target center forms the baseline tolerance chain for all fixture drill file generation.
Probe target centers remain anchored to the primary tooling pin origin rather than local component centroids.
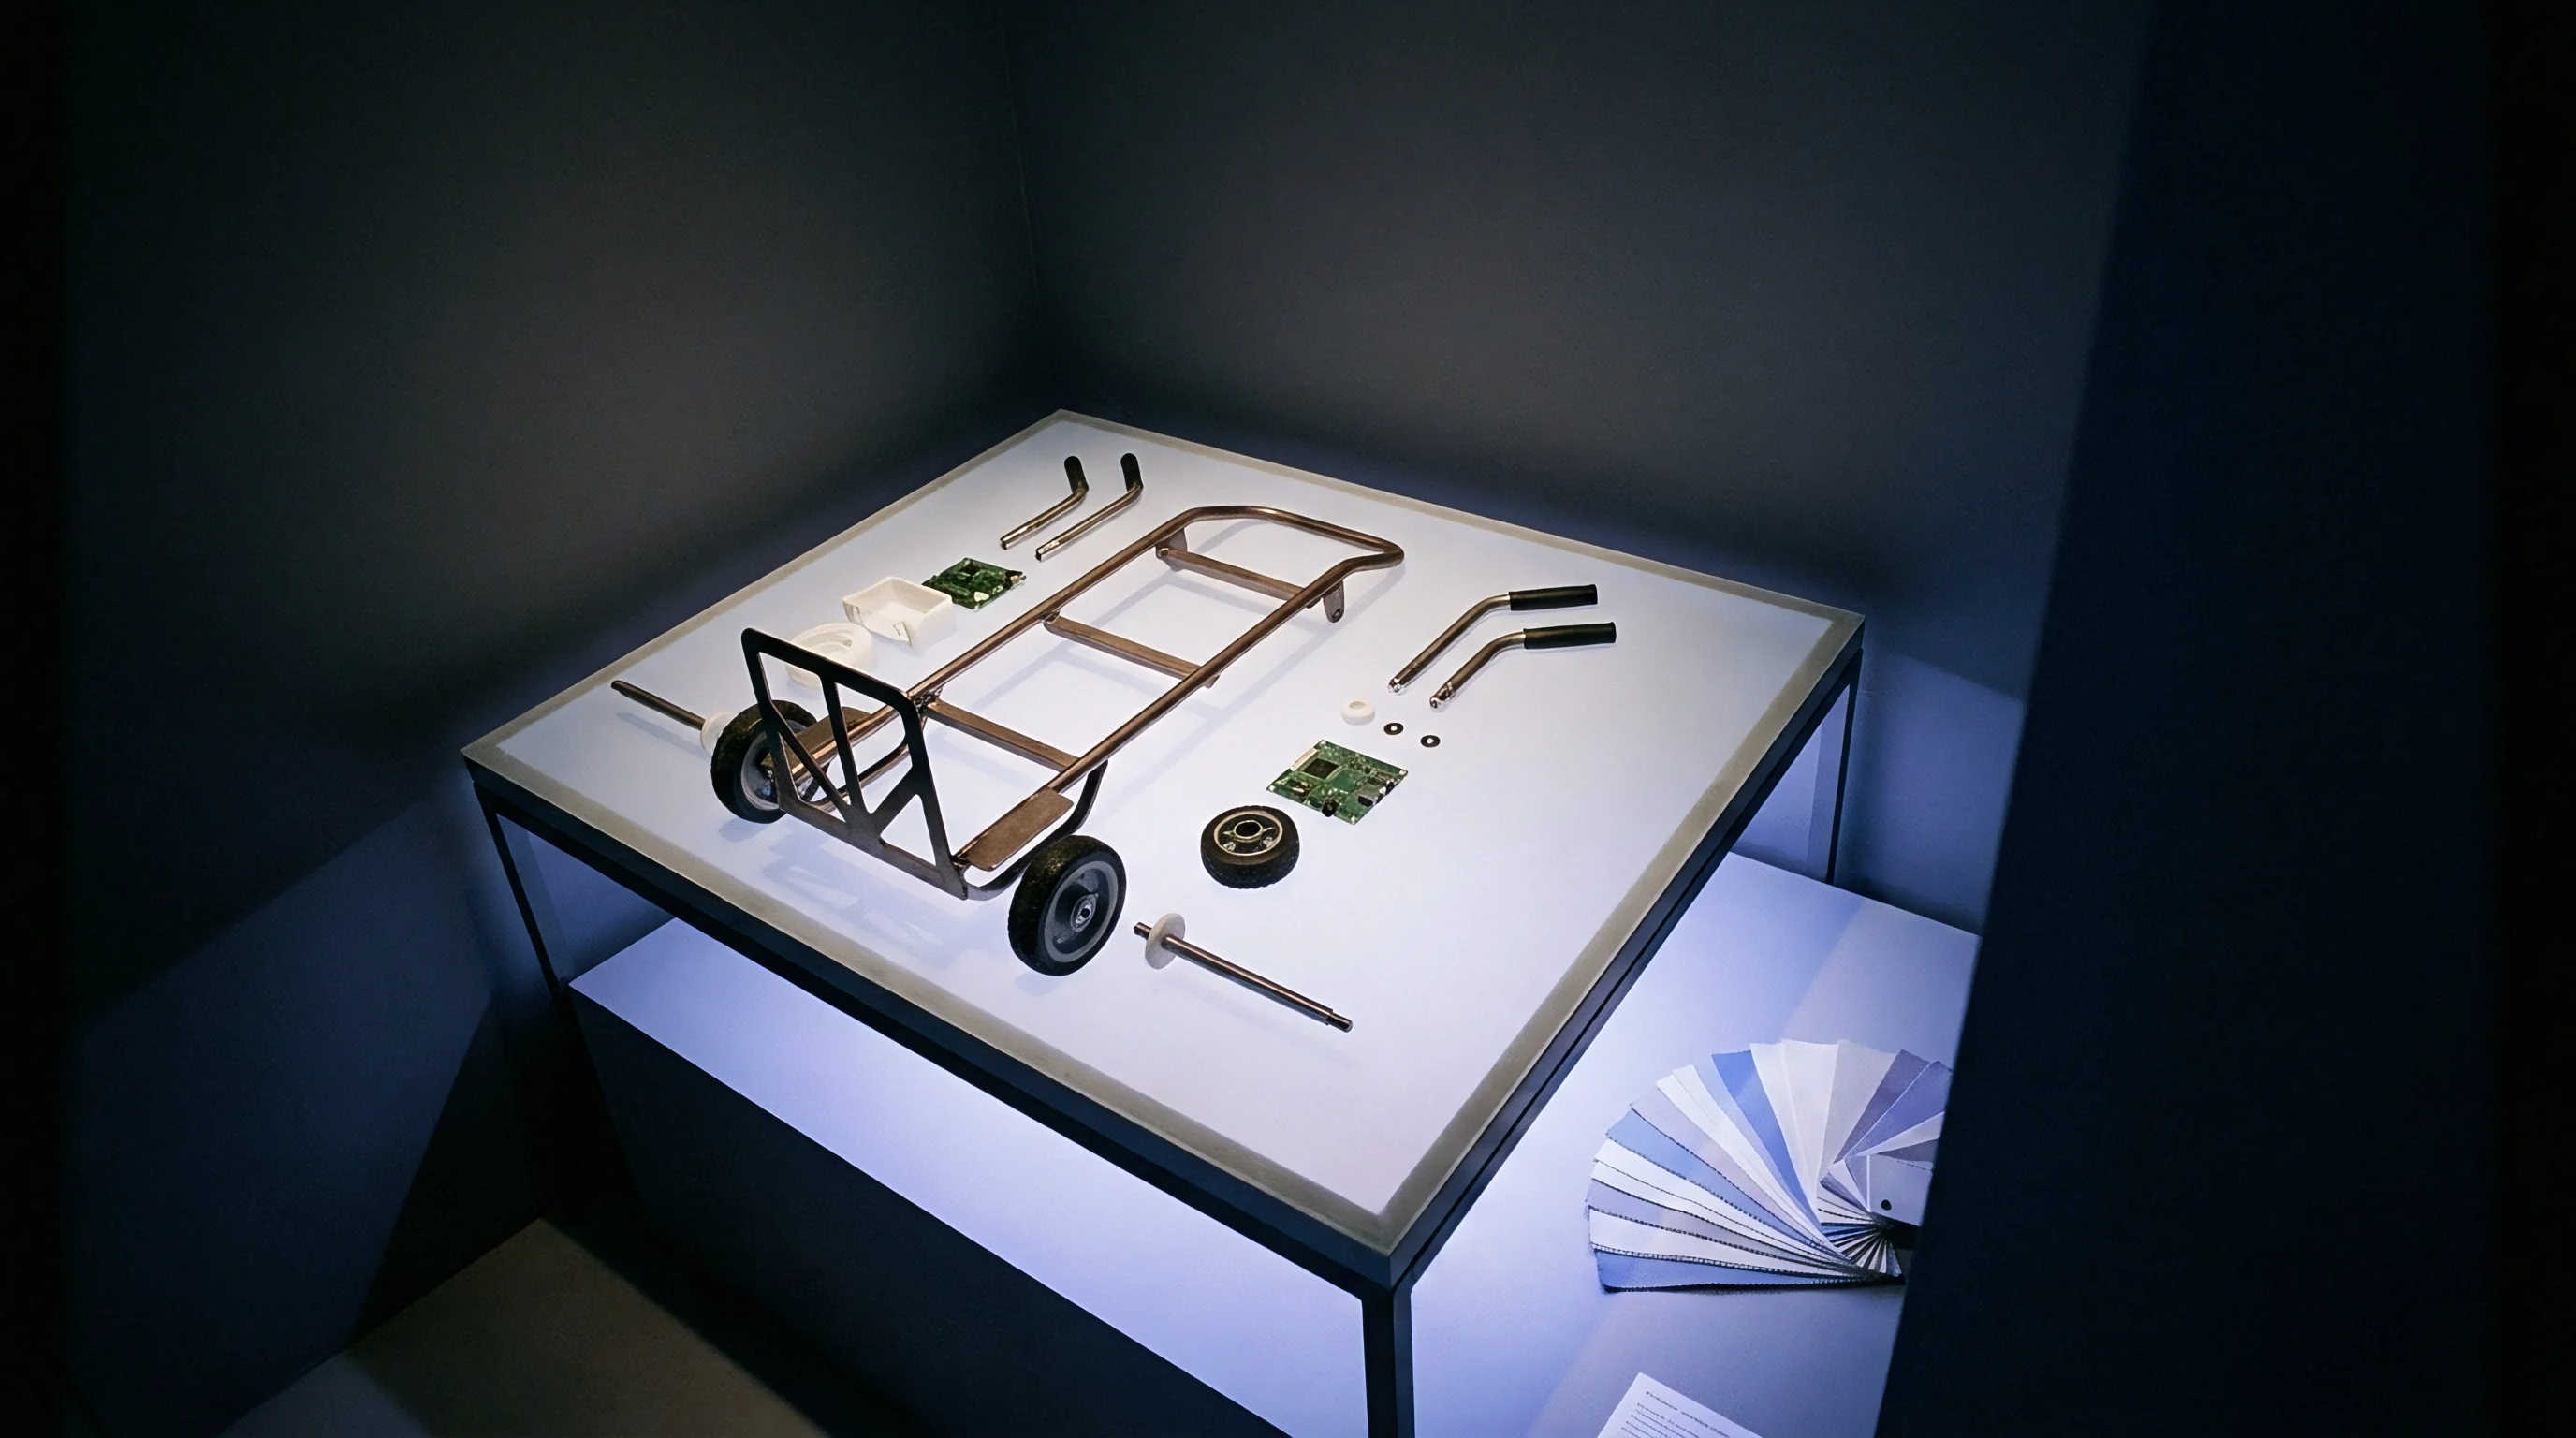
Pitch
Spacing between test target centers dictates the mechanical construction, spring force, and longevity of the test fixture probes. Standard probe pitch classes fall into four primary spacing tiers: 2.54 mm, 1.91 mm, 1.27 mm, and sub-1.0 mm fine pitch. Standard 2.54 mm pitch probes employ robust spring mechanisms and thick probe barrels, yielding high mechanical reliability and lower tooling costs.
Fine-pitch probes below 1.27 mm use thin-walled barrels and delicate internal springs, making them prone to bending, contamination, and premature fatigue failure.
Pogo pin internal mechanics consist of a precision-machined barrel, an internal helical spring, and an interchangeable solid plunger tip. As the fixture actuates, the plunger compresses the spring, creating downward force that pierces surface oxides to establish electrical contact. The socket housing holds the probe barrel securely inside the fixture matrix plate, allowing broken or worn probes to be replaced without unsoldering fixture wire harnesses.
| Probe Pitch Rating | Minimum Target Center Spacing | Recommended Target Diameter | Nominal Spring Force | Average Probe Life Expectancy | Relative Probe Unit Cost |
|---|---|---|---|---|---|
| 2.54 mm (100 mil) | 2.54 mm | 1.00 mm to 1.27 mm | 2.0 oz to 4.0 oz (0.56 N to 1.11 N) | 1,000,000 Actuations | 1.0x Base Cost |
| 1.91 mm (75 mil) | 1.91 mm | 0.80 mm to 1.00 mm | 1.5 oz to 3.0 oz (0.42 N to 0.83 N) | 750,000 Actuations | 1.3x Base Cost |
| 1.27 mm (50 mil) | 1.27 mm | 0.60 mm to 0.80 mm | 1.0 oz to 2.0 oz (0.28 N to 0.56 N) | 250,000 Actuations | 2.2x Base Cost |
| 1.00 mm (39 mil) | 1.00 mm | 0.50 mm to 0.60 mm | 0.8 oz to 1.5 oz (0.22 N to 0.42 N) | 100,000 Actuations | 4.5x Base Cost |
| 0.75 mm (30 mil) | 0.75 mm | 0.35 mm to 0.45 mm | 0.5 oz to 1.0 oz (0.14 N to 0.28 N) | 50,000 Actuations | 8.0x Base Cost |
Spring force selection presents a delicate balance between electrical contact integrity and mechanical stress on the board substrate. Standard 100-mil probes exert approximately 2.0 to 4.0 ounces of spring force at full mechanical compression stroke. A board containing 1,500 test points probed simultaneously experiences a total downward force of up to 375 pounds-force.
That concentrated load causes significant mechanical flexing if the test fixture lacks sufficient rigid support pins directly beneath dense probe clusters.
Plunger tip geometry selection must match the pad surface finish and physical target type. Spear tips punch cleanly through hard oxides and flux films on OSP and lead-free solder targets. Crown and multi-point tips distribute landing force across flatter targets, reducing mechanical deformation on soft gold or HASL surfaces.
Cup tips surround protruding component leads or header pins, securing electrical contact while preventing the probe tip from sliding off the lead shoulder.
Single-point spear probe tips require a minimum of 2.0 ounces of spring force to consistently penetrate no-clean flux residues on OSP copper targets.
Rigid execution of fixture maintenance protocols extends probe life and prevents false rejections. Fine-pitch 1.27 mm and 1.0 mm probes require aggressive cleaning schedules using ultrasonic baths or automated wire brushes to remove accumulated solder dust and flux solids. As fine-pitch probes accumulate actuations, internal spring fatigue reduces contact pressure, leading to erratic resistance readings that distort analog measurement steps.
A systematic procedure for evaluating fixture force distribution identifies localized mechanical overload conditions before releasing tooling to volume production:
- Import the ODB++ file into CAD fixture mapping software to extract all target coordinates and net identities.
- Calculate total downward force by multiplying the probe count within each square centimeter by the individual probe spring force rating.
- Identify force concentration regions where spatial probe density exceeds 25 probes per square centimeter.
- Position rigid support pillars on the bottom fixture plate directly underneath high-density target zones.
- Align top-side mechanical push-fingers with support pillars to capture the printed circuit board assembly without inducing localized bending moments.
- Run a mechanical actuation test with pressure-sensitive film to confirm uniform contact pressure across all test target arrays.
Sub-millimeter probe spacing without structural push-finger support warps FR-4 substrates during vacuum drawdown, snapping adjacent 0201 ceramic capacitor end-terminations and generating intermittent field returns.
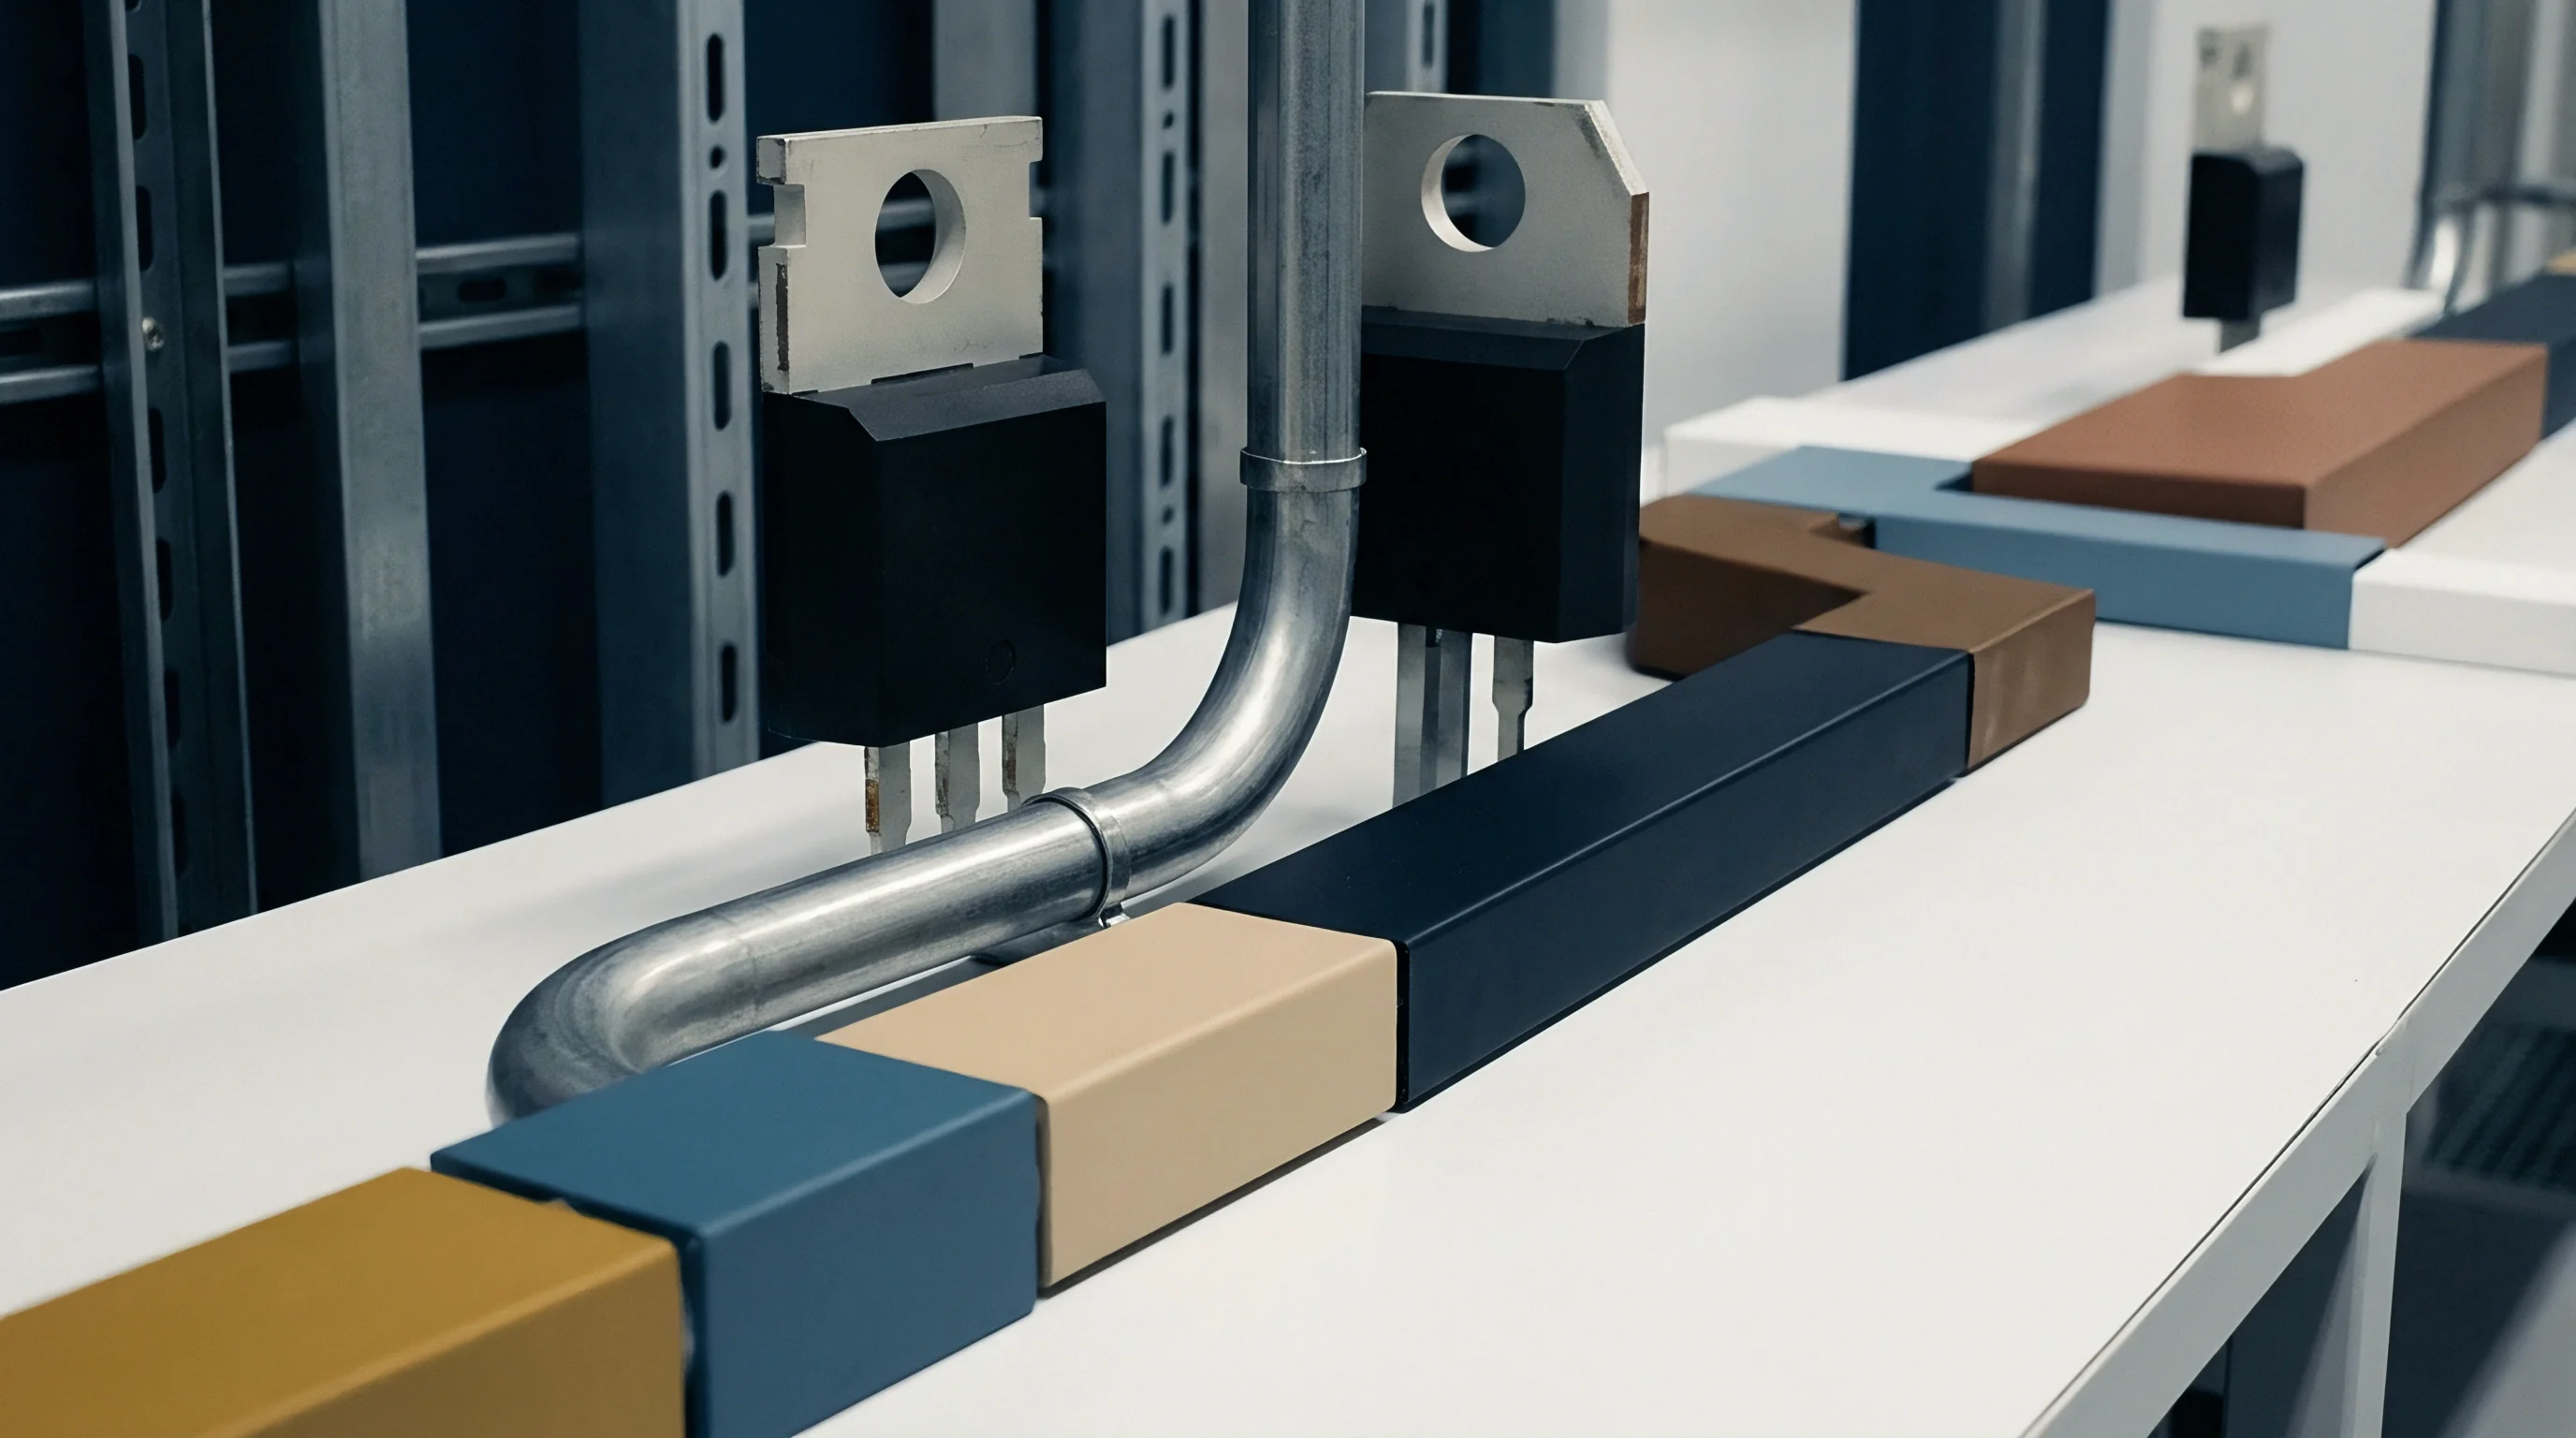
Fixture
Bed-of-nails fixture design transforms digital CAD layout rules into physical automation hardware. The fixture holds the circuit board assembly in precise spatial alignment while applying the mechanical force required to compress hundreds or thousands of spring probes against bottom-side targets. Fixture actuation relies on vacuum drawdown, pneumatic cylinders, or manual mechanical clamping frames, depending on production volume, board complexity, and target density.
Vacuum fixtures represent the standard choice for high-volume automated testing environment. The test system creates a pressure differential by evacuating air from a sealed chamber beneath the circuit board. Atmospheric pressure forces the board down onto the probe array uniformly across its entire surface area.
Vacuum operation requires a continuous, unprobed perimeter frame around the edge of the board to establish a reliable rubber gasket vacuum seal.
Gasket keepout rules demand a minimum 3.0 mm wide clear border around the entire top and bottom perimeter of the printed circuit board assembly. This border must remain completely clear of surface-mount components, test targets, through-hole pins, and unsealed pass-through vias. Any open via hole located inside the vacuum seal perimeter acts as a vacuum leak, drawing outside air through the substrate and reducing total clamping pressure unless the via is covered with solder mask or sealed with plug fill during fabrication.
Pneumatic and mechanical push-down fixtures eliminate vacuum sealing challenges by using top-side mechanical push-rods to press the assembly onto the spring probes. These push-rods must land on open, unpopulated substrate areas or flat component tops to avoid damaging delicate surface-mount packages. Top-side clearance zones must be coded into layout design files so automated fixture design tools can position push-rod fingers without crushing nearby components or overlapping top-side test targets.
Evaluating physical substrate deformation during fixture clamping prevents mechanical failure during test execution. IPC/JEDEC-9704 guidelines define strain measurement protocols using triaxial strain gages mounted in critical locations on the assembly. Excessive substrate flexure causes ceramic capacitor cracking, solder joint fracture beneath fine-pitch Ball Grid Array packages, and trace micro-fractures inside internal laminate layers.
| Substrate Classification | Substrate Thickness | Maximum Allowable Strain (Microstrain) | Critical Risk Factor | Recommended Support Strategy |
|---|---|---|---|---|
| Standard FR-4 (Lead-Free SAC305) | 1.6 mm | 500 Microstrain | Solder Joint Cracking on 0.8 mm BGAs | Standard Support Pins at 50 mm Grid |
| Thin High-Density FR-4 | 1.0 mm | 300 Microstrain | Substrate Warpage and Via Fatigue | Dense Support Grid plus Top Push-Fingers |
| Ultra-Thin HDI Laminate | 0.8 mm | 200 Microstrain | Micro-via Separation and Capacitor Fracture | Custom Milled Anodized Aluminum Backplate |
| Thick Industrial Multi-layer | 2.4 mm | 750 Microstrain | High Actuation Force Probe Fatigue | Heavy Duty Pneumatic Drive Actuation |
Calculating the force and support requirements for a representative high-density assembly illustrates the mechanics of fixture strain mitigation. Consider a 250 mm by 200 mm 8-layer assembly with a substrate thickness of 1.6 mm, featuring 1,450 test targets on a single bottom layer. The node breakdown includes 1,000 targets at 2.54 mm pitch (exerting 3.0 ounces of force each), 350 targets at 1.27 mm pitch (exerting 1.5 ounces each), and 100 fine-pitch targets at 1.0 mm pitch (exerting 1.0 ounce each).
Summing the individual spring loads yields total actuation force requirements across the board:
1,000 targets x 3.0 oz = 3,000 oz (187.5 lbs / 834 N)
350 targets x 1.5 oz = 525 oz (32.8 lbs / 146 N)
100 targets x 1.0 oz = 100 oz (6.25 lbs / 28 N)
Total Spring Force = 3,625 oz = 226.55 lbs-force (1,008 N)
Applying over 1,000 Newtons of downward force to an unsupported 1.6 mm substrate creates localized bending moments that easily exceed the 500 microstrain limit. The test engineer mitigates this strain by placing 18 rigid support pillars under high-density target clusters, backed by 12 top-side mechanical push-fingers positioned over rigid support points. Verification using a strain-gaged sample assembly confirms peak mechanical strain remains below 280 microstrain during vacuum engagement, safeguarding fragile component footprints from structural damage.
Top-side clearance planning must account for tall component interference with push-rod plates. Electrolytic capacitors, inductors, transformers, and board-to-board connectors require explicit Z-axis keepout volumes inside the fixture top plate. Custom pocket routing inside the fixture plate prevents hard structural contact between tall component bodies and the fixture housing when the drive mechanism completes its full stroke.
Fixtures exerting over 1,000 Newtons of total force require balanced support pin grids to keep substrate deformation well below maximum microstrain limits.
Thin substrates measuring 1.0 mm or 0.8 mm demand specialized stiffener plates or dedicated backing carriers during test execution. Without backplate reinforcement, fine-pitch probe arrays force the thin laminate upward away from adjacent probes, causing erratic open-circuit calls and localized micro-fractures in solder joints located around the perimeter of BGA packages.
Whether pneumatic bed-of-nails clamping introduces higher instantaneous mechanical strain transients than controlled vacuum drawdown across thin high-density HDI laminates remains an open operational debate among test house engineers.

Coverage
Fault modeling converts physical probe access into a statistical measurement of manufacturing quality. In-circuit testing isolates individual components on a populated assembly to verify component presence, orientation, value, and basic functional operation. The complete fault universe encompasses solder short circuits, solder open joints, wrong component installation, reversed polarized capacitors or diodes, dead active integrated circuits, and out-of-tolerance passive component values.
Analog in-circuit testing relies on guarded three-terminal and four-terminal Kelvin measurements to isolate low-impedance passive components from surrounding parallel circuits. Guarding applies an identical electrical potential to adjacent nodes in a resistor or capacitor network, steering measurement current exclusively through the target component under test. Without guarded access to surrounding nodes, parallel resistance paths alter measured values, rendering un-guarded low-value resistor tests inaccurate.
Digital in-circuit testing drives logic patterns directly into active IC input pins while measuring output responses at downstream nodes. Achieving high digital fault coverage depends on having physical probe access to every digital input, output, clock, enable, and reset control pin. Missing nodal access on a single chip enable line prevents the test system from driving the IC into an isolated high-impedance state, blinding the tester to potential shorts on shared parallel data buses.

When Does Flying Probe Outperform in Circuit Fixtures?
Flying probe testing eliminates dedicated bed-of-nails tooling by using high-speed robotic arms to move a small number of test probes across accessible pads. Flying probe systems excel during prototype development, low-volume production, and high-density designs where layout space prohibits adding thousands of standard test pads. In-circuit test fixtures remain superior for high-volume manufacturing due to their ultra-fast test cycle times, parallel testing capabilities, and robust mechanical repeatability.
| Operational Metric | In-Circuit Test (Bed-of-Nails) | Flying Probe Test System | Boundary Scan (IEEE 1149.1) | Functional Circuit Test (FCT) |
|---|---|---|---|---|
| Nodal Access Requirement | 100% Physical Pad Access | Partial Physical Pad Access | Digital JTAG Chain Access Only | Connector Interface Access |
| Fixture Tooling Expense | $5,000 to $25,000 per Design | $0 (Software Fixture Only) | $500 to $2,000 (Cable Harness) | $3,000 to $15,000 per Design |
| Test Cycle Time per Unit | 10 to 30 Seconds | 3 to 15 Minutes | 15 to 45 Seconds | 1 to 5 Minutes |
| Defect Isolation Level | Pin and Component Specific | Pin and Component Specific | JTAG Pin Boundary Specific | System or Cluster Level |
| Ideal Production Volume | High Volume (>5,000 Units) | Low Volume ( | All Volumes (Integrated) | Medium to High Volume |
Boundary scan testing, defined by IEEE standards 1149.1 and 1149.6, complements physical nodal testing by embedding boundary scan cells inside active digital integrated circuits. Connecting these scan cells into a serial shift register chain allows boundary scan software to manipulate IC output pins and sample input pins electronically. Boundary scan provides full structural fault detection across digital interconnects between JTAG-enabled devices without requiring physical test target pads on those internal signal traces.
System integrators choose appropriate test strategies by matching production parameters against explicit manufacturing constraints:
- Batch Volume Threshold mandates adopting flying probe systems for runs under 500 units to bypass high initial fixture tooling costs.
- Design Stability Status dictates delaying bed-of-nails fixture build until layout iteration completes, avoiding expensive fixture drill retrofits.
- Boundary Scan Architecture enables reducing physical test target count on complex digital buses by chaining JTAG-compliant ICs together.
- Analog Precision Requirement demands 4-wire Kelvin probe access for low-resistance current-sense components under 1.0 ohm.
- Board Form Factor Constraints forces shifting to functional cluster testing when component packing density eliminates bottom-side pad routing space.
Calculating fault coverage requires dividing the number of measurable component pins by the total fault population of the entire assembly. Achieving 100 percent nodal access typically yields between 92 and 98 percent total fault coverage, with remaining escapes limited to unmeasurable high-value parallel capacitors or high-speed differential bus internals. Dropping nodal access to 80 percent causes overall fault coverage to drop below 65 percent, exposing downstream integration processes to unisolated assembly defects.
Unprobed nets force defect escapes into downstream functional testing or field operation, where diagnostic and repair costs increase by an order of magnitude. In-circuit testing identifies a shorted solder bridge in seconds for pennies in labor cost. Allowing that same short circuit to survive through final assembly risks destroying active components during full power-on, generating complex system failure modes that consume hours of bench troubleshooting time.
Standard contract language incorporating IPC-9252 Class 2 electrical test rules mandates 100 percent continuity and isolation verification on unpopulated boards, shifting financial liability for unprobed open circuits directly to the bare-board fabricator.
Optimizing assembly verification across mixed analog and digital designs requires combining boundary scan testing with reduced-bed-of-nails in-circuit fixtures. This hybrid strategy preserves test coverage on complex digital processors while retaining direct analog measurement access across power management stages, passive filter networks, and sensor interface circuits.
Standard purchase order terms citing IPC-A-610 Class 3 acceptance criteria assign full financial responsibility to the assembly provider for all component orientation failures occurring on nets designated as accessible in the approved test point master file.

Verification
Execution of assembly verification links physical test execution to product release dossiers, quality tracking systems, and commercial release documentation. Generating the test software program begins during layout export by compiling standard ODB++ or Gerber files alongside the formal CAD netlist. The IPC-D-356 netlist format provides explicit electrical connection maps, defining exact X-Y target coordinates, net names, component pin assignments, and top-or-bottom layer designations.
First Piece Inspection confirms fixture mechanical alignment, electrical calibration, and signal routing integrity prior to releasing the test equipment for production batch processing. The setup validation protocol requires testing a verified Golden Board, followed by introducing deliberate shorted and open calibration artifacts using specialized shorting plates. This calibration pass verifies that the test system correctly flags known fault conditions while confirming contact resistance across every individual probe pin falls below 0.5 ohms.
False call rates must remain tightly controlled to preserve manufacturing line efficiency. A false open call occurs when oxidized target surfaces, target misregistration, or worn probe tips prevent physical electrical contact on a fully functional assembly. Production guidelines mandate halting the assembly line and performing a fixture audit if the re-test rate exceeds 1.0 percent of total batch throughput.
High re-test rates indicate probe tip contamination, mechanical vacuum seal degradation, or alignment pin wear.
Traceability documentation connects individual board test logs to factory manufacturing execution software and shipping documentation. Every in-circuit test run generates a digital test record containing the board serial number, operator ID, test timestamp, pass-fail status, and precise parametric measurement values for every tested component. These raw log files are archived inside the product technical file to prove regulatory and contractual quality compliance.
Financial risk modeling demonstrates the commercial value of investing in high-coverage in-circuit test fixtures. The cost of an undetected assembly defect escaping to the field averages between $250 and $1,500 per incident, including warranty freight, bench diagnostic labor, component replacement, and administrative processing. Amortizing a $12,000 in-circuit test fixture across a 25,000-unit production run adds exactly $0.48 per board to manufacturing overhead.
Catching just ten field-escape defects during factory in-circuit testing pays for the entire fixture build expense while protecting brand reputation and field reliability metrics.
Final acceptance sign-off requires assembling a complete verification dossier containing the CAD netlist extraction file, the fixture strain gauge audit report, the shorting plate calibration log, and the automated fault coverage summary report. Quality management holds batch shipments at the factory gate until the test log database confirms that every serial number listed on the bill of lading completed 100 percent in-circuit testing with zero unresolved fault flags. The test report serves as formal legal evidence that the shipped production batch met all electrical and structural assembly requirements established in the master purchasing agreement.