Optimizing Nodal Access and Fixture Pin Geometry
Maximizing nodal access balances minimum test pad diameters against fixture pointing tolerances and mechanical strain limits to prevent board damage.

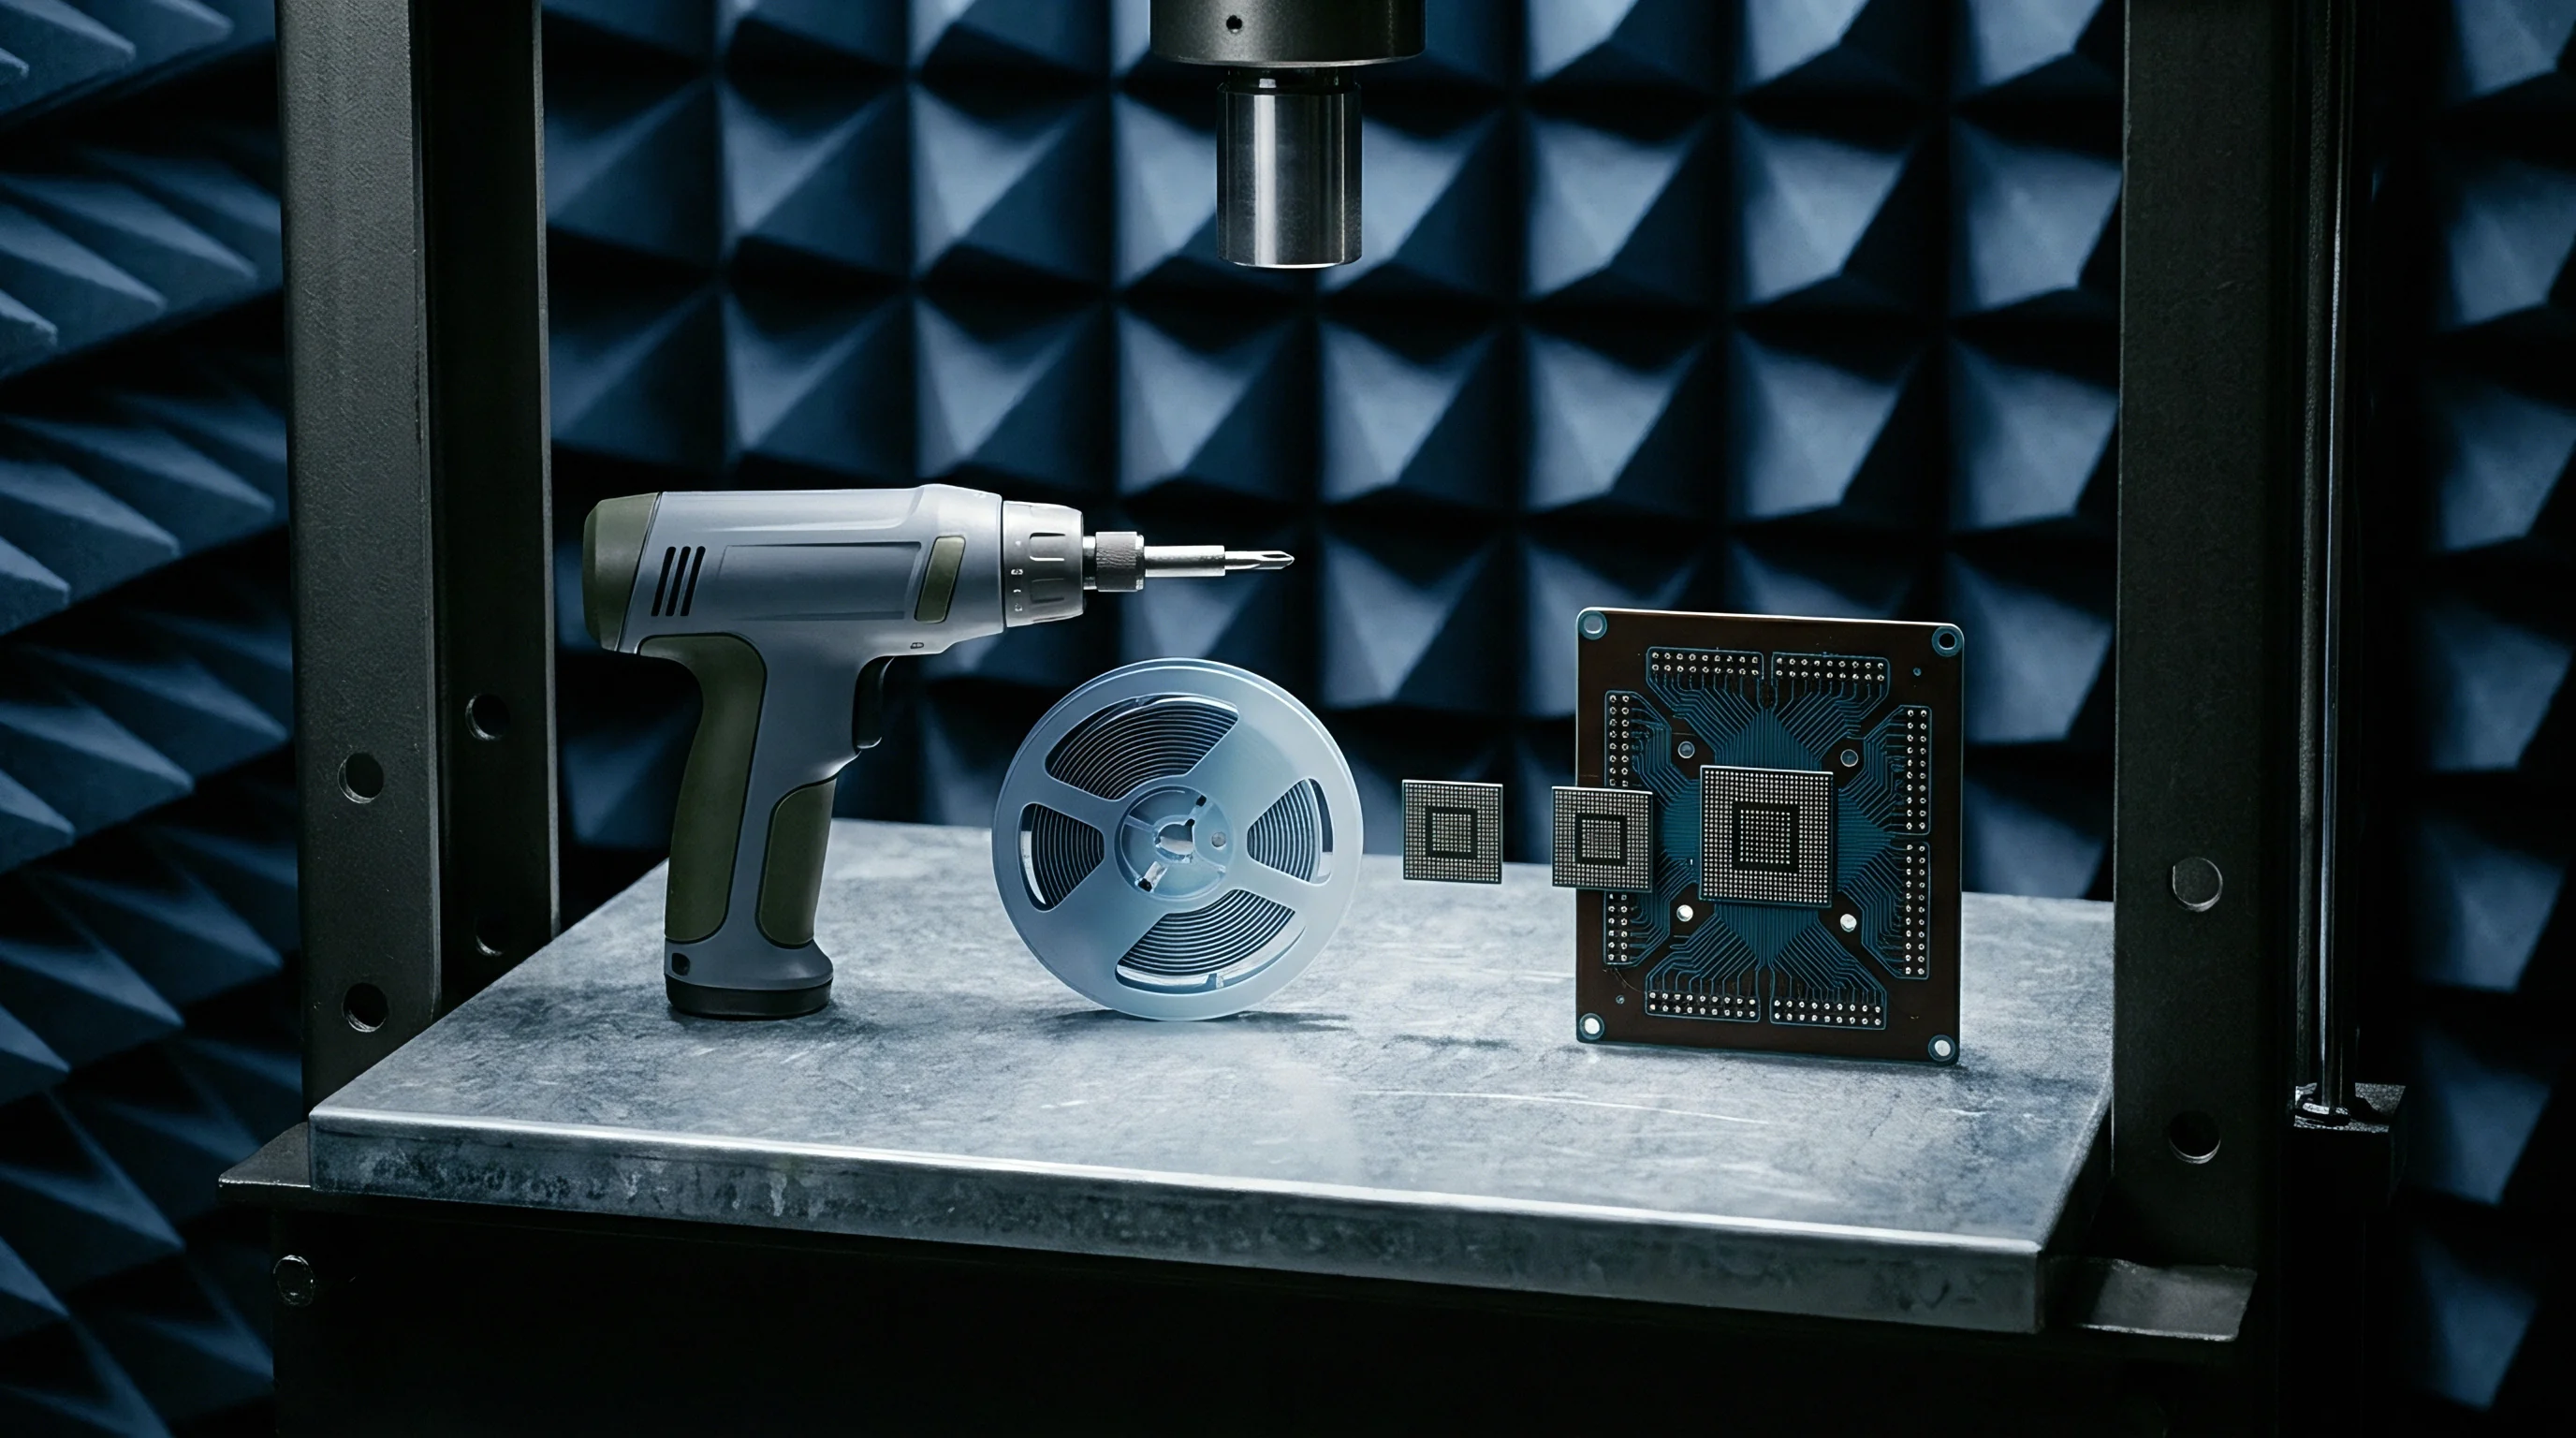
Target
PCB designers place dedicated copper pads on signal nets so spring-loaded test pins can make electrical contact. The size of these contact sites sets the baseline for test reliability, fault coverage, and fixture complexity. If targets shrink past mechanical tolerance limits, probe pins miss bare copper, causing false opens, damaging boards, and forcing expensive re-testing.
In high-density SMT assembly, balancing layout density against physical test access forms the primary design compromise.
Test land geometry depends on three linked variables: pad diameter, solder mask clearance, and center-to-center grid spacing. Standard practice once relied on 1.0 mm (40 mil) targets on a 2.54 mm (100 mil) grid, leaving ample room for probe fixture tolerances. Modern high-density interconnect layout forces pad diameters down to 0.5 mm (20 mil) or 0.4 mm (16 mil), while grid spacing drops to 1.27 mm (50 mil), 1.0 mm (39 mil), or 0.8 mm (31.5 mil).
Solder mask clearance needs an annular relief around the pad, usually 0.075 mm (3 mil) to 0.1 mm (4 mil) past the copper edge. Mask bleeding onto the copper target creates an insulating barrier that stops the plunger from making contact, flagging false defects during in-circuit testing.
Circular targets dominate PCB layouts because radial symmetry provides a uniform contact margin regardless of misregistration direction. Square and octagonal pads yield slightly more surface area at a given pitch, but sharp corners concentrate mechanical stress when pins strike, flaking the solder mask while overall pin pitch sets the physical limit.
| Fixture Construction Class | Pin Pitch (mm) | Minimum Pad Diameter (mm) | Recommended Mask Relief (mm) | Target Pointing Accuracy (mm) |
|---|---|---|---|---|
| Standard Wired Vacuum Fixture | 2.54 | 1.00 | 0.100 | ±0.120 |
| Standard Wired Vacuum Fixture | 1.27 | 0.80 | 0.075 | ±0.080 |
| Wireless Direct-Plate Fixture | 1.27 | 0.65 | 0.075 | ±0.050 |
| High-Precision Guided Plate Fixture | 1.00 | 0.50 | 0.050 | ±0.035 |
| Micro-Pitch Fixture (Dual-Stage) | 0.80 | 0.40 | 0.050 | ±0.025 |

Land Sizing and Mask Clearance Rules
Pad sizing rules stem from the total mechanical stack-up variance of the test system. Tolerances in CNC probe plate drilling, tooling pin location, substrate thermal expansion, and plunger tilt combine into a radial uncertainty vector. When total radial uncertainty measures 0.15 mm, any pad with a radius under 0.15 mm guarantees that some probe hits will fall outside the conductive copper.
Solder mask relief design determines whether nearby traces end up exposed during fabrication. Oversizing mask relief around tight target clusters strips away insulation between adjacent nets, inviting solder bridges during wave or reflow operations. Undersizing it allows liquid photoimageable mask to bleed over the pad edge.
Setting clearance limits at twice the maximum mask misregistration tolerance keeps the pad exposed without exposing neighboring lines.
A 0.8 mm test land centered on a 1.27 mm grid yields a 99.4 percent contact reliability rate over 50,000 actuation cycles when board bowing stays under 0.5 percent.
Using vias as test targets introduces distinct physical issues depending on finish. Unfilled bare vias allow probe tips inside the barrel, risking internal plating damage or trapped flux. Solder-filled vias create a flat contact area but yield inconsistent pad heights across the board.
Capped and planarized vias offer flat surfaces and consistent electrical contact, though they raise total fabrication costs.
Surface Finish Topography and Contact Resistance
Surface finish directly affects contact resistance and probe tip wear over a fixture’s life. Electroless Nickel Immersion Gold (ENIG) yields a flat surface where an ultra-thin gold layer keeps the underlying nickel from oxidizing. Under low compression force, ENIG holds initial contact resistance under 30 mΩ.
Hardened steel tips striking gold show minimal material transfer, prolonging pin life.
Organic Solderability Preservative (OSP) coats bare copper lands with a non-conductive organic film. Probe plungers must pierce this layer to hit copper underneath, requiring higher spring force and sharper tip styles like chisel points or multi-point crowns. Breaking through OSP exposes bare copper to air oxidation during later heat cycles, steadily degrading electrical continuity on multi-stage lines when solder mask offsets create opens.
Hot Air Solder Leveling (HASL) and lead-free HASL leave uneven surfaces marked by solder domes over copper pads. When a probe hits a curved HASL dome, lateral force pushes the tip off center, worsening mechanical misregistration. Striking these domes micro-fractures the solder, shedding debris that builds up inside fixture sockets and plungers.
Contact resistance on HASL varies from 50 mΩ to 1.5 Ω depending on dome height, intermetallic growth, and surface oxidation.
Choosing pad geometries that balance layout density with mechanical alignment maintains high contact hit rates in volume production without resorting to micro-pitch fixtures.
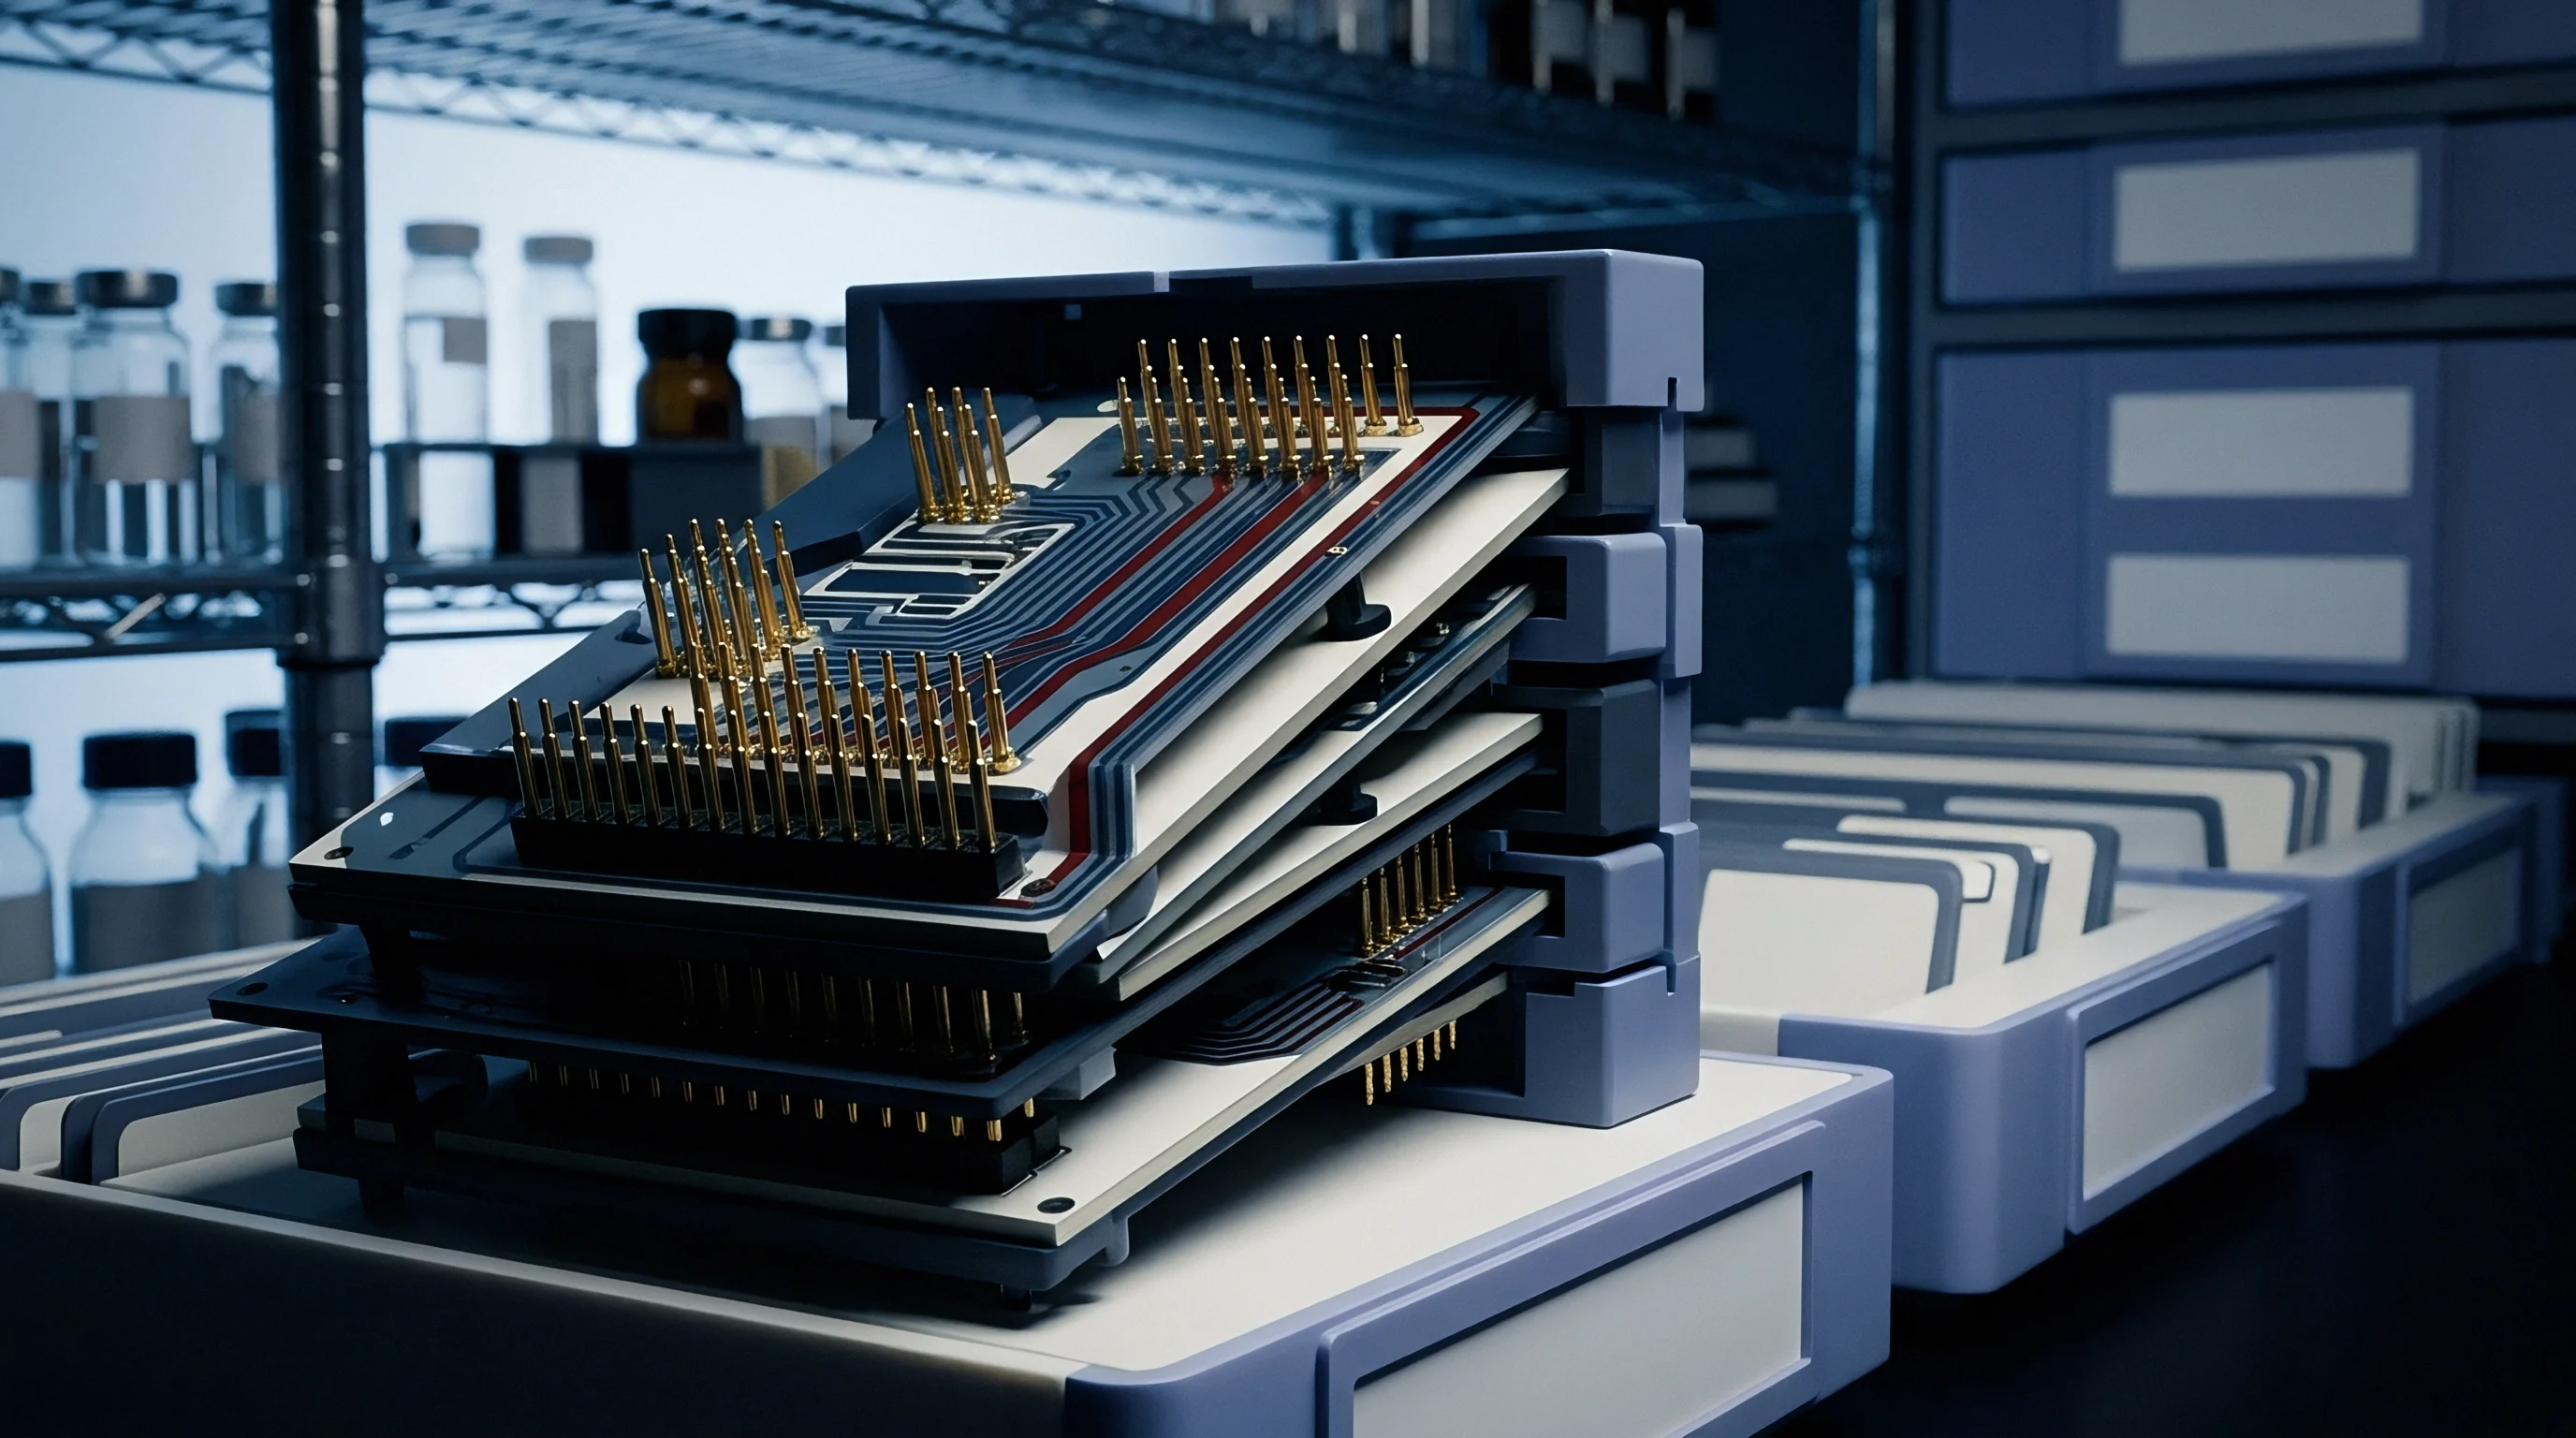

Probe
Spring-loaded plungers carry electrical signals from the board under test to measurement instruments. A typical probe setup includes a helical spring, a metal plunger, and an outer barrel seated in a socket press-fitted into a G10 epoxy-glass plate. Pin geometry determines how well the plunger cuts through surface oxides, sheds flux residue, and holds reliable contact over hundreds of thousands of cycles.
Plunger tip geometry defines how the pin interacts physically with the target. Spear points, chisel tips, multi-point crowns, and cup shapes suit specific target surfaces and contamination levels. Choosing the wrong style causes intermittent contact, excess board flex, or premature pin wear that forces mid-run replacements.
- Spear Point Geometry concentrates vertical force onto flat copper pads, piercing thin OSP films and oxides with low initial resistance.
- Four-Point Crown Tip surrounds round component leads and solder-filled vias, splitting contact force across four sharp points to prevent slipping.
- Chisel Tip Geometry wipes across flat surfaces as it depresses, cutting through heavy rosin and no-clean flux residues.
- Tulip and Cup Tip captures long leads and tall surface posts, centering them inside a concave socket to stop lateral probe slip.
- Spherical Bullet Tip hits delicate target lands without denting the surface or causing micro-cracks, preserving thin immersion coatings.

Tip Architecture and Flux Residue Penetration
No-clean fluxes leave hard, glassy residues on circuit boards after reflow. These synthetic resin films act as insulators, blocking light-touch plungers from reaching copper or solder underneath. Sharp, single-point spear plungers focus spring force into a tiny spot, generating local pressure high enough to break through brittle flux films and establish metallic contact.
Crown tips use outer teeth around a recessed center cavity. When striking a solder bump or lead, the teeth bite into the soft solder perimeter while centering the probe. Over time, flux debris packs into the center recess.
Once filled, the crown acts like a blunt, insulated pad and triggers continuity failures. Fixture maintenance schedules require routine vacuuming or brushing to keep flux from building up.
Per IPC-9252B Class 3 standards, electrical continuity testing requires a maximum contact resistance threshold of 2 ohms across all net terminations, making uncleaned synthetic flux residues a contractual cause for lot rejection.
Frictional heating eventually wears away tip plating. Plunger cores are usually beryllium copper (BeCu) or heat-treated high-carbon steel, plated with nickel and finished in gold or rhodium. Rhodium offers far higher hardness (800 ~ 1000 HV) and better chemical resistance to flux than standard gold (150 ~ 200 HV).
Using rhodium-plated plungers extends service life on high-throughput automated lines running abrasive lead-free alloys.

Spring Force Dynamics and Substrate Compression
Internal springs set the downward force applied against the board at working travel. Ratings generally run from 1.5 ounces (0.42 N) for delicate high-density arrays up to 10.0 ounces (2.78 N) for dirty lead-free boards. Working travel is usually set to two-thirds of total stroke so force stays consistent without bottoming out the spring.
Total compression force equals the sum of all individual pin forces across the bed of nails. A board with 1,200 test points probed at 4.0 ounces (1.11 N) creates 300 pounds-force (1,334 N) of downward pressure during engagement. Uneven distribution of strong springs generates localized bending moments across the substrate, causing strains that crack fine-pitch SMT parts.
Low-force probes rated at 2.0 ounces (0.56 N) or 1.5 ounces (0.42 N) limit mechanical deflection on thin substrates. Lighter springs, however, make it harder for tips to punch through surface contamination, raising the risk of false opens. Inline wash systems keep board surfaces clean enough to use lower forces without sacrificing test yields.
Wear patterns seen during volume runs show that contact instability stems from spring fatigue or poor tip selection as often as unwashed flux.

Alignment
Mechanical positioning determines whether spring pins hit inside the pad perimeter. Registration accuracy across a bed-of-nails fixture depends on a tolerance chain running from PCB fabrication to fixture machining and interface mounting. Any misalignment shifts pins laterally, making tips strike solder mask edges, component bodies, or neighboring traces.
Assessing alignment requires a complete tolerance stack-up analysis through every mechanical link in the test fixture. Primary alignment relies on precision tooling pins in the probe plate mating with registration holes drilled in the board. Wear on these pins or enlarged tooling holes produces translational and rotational shifts across the entire target array.
| Tolerance Stack Element | Nominal Dimension (mm) | Manufacturing Tolerance (mm) | Radial Error Contribution (mm) |
|---|---|---|---|
| G10 Probe Plate CNC Drill Hole Offset | 0.950 | ±0.015 | 0.015 |
| Receptacle Fit & Socket Radial Clearance | 0.950 | ±0.010 | 0.010 |
| Pin Plunger Pointing Vector Eccentricity | ~ | ±0.025 | 0.025 |
| Fixture Guide Pin Location Accuracy | 3.000 | ±0.012 | 0.012 |
| PCB Tooling Hole Location Error (Fab) | 3.000 | ±0.035 | 0.035 |
| PCB Tooling Hole Clearance Over Pin | 3.050 | +0.040 / -0.000 | 0.040 |
| PCB Thermal & Hygroscopic Expansion | ~ | ±0.020 | 0.020 |
| Worst-Case Total Radial Error: 0.157 mm. Root-Sum-Square (RSS) Radial Error: 0.063 mm. | |||

Registration Tolerance Stack Analysis
Calculating total positional error involves combining individual linear tolerances with both worst-case and root-sum-square statistical models. Worst-case calculations assume every error hits its negative limit simultaneously, leading to overly conservative pad sizes. Root-sum-square (RSS) models assume a normal distribution of variations, yielding a realistic picture of production registration.
Tooling pin clearance is often the main source of positioning error. Standard tooling pins measure 3.000 mm (+0.000/-0.008 mm), whereas board tooling holes call for 3.050 mm (±0.025 mm). That play permits up to 0.083 mm of lateral movement.
Across a 300 mm board diagonal, an 0.083 mm shift at the pins creates enough rotational skew to push target pads near board edges out of alignment unless optical fiducials correct the offset.
Point vector eccentricity measures how far a plunger tilts relative to its barrel centerline. Long-stroke plungers built for dual-stage fixtures suffer greater angular drift because of play between the plunger and barrel wall. A tilt of just 0.5 degrees creates a 0.022 mm lateral shift at a 2.5 mm working height.
Combining plunger tilt with G10 plate expansion from temperature swings consumes over half the tolerance margin on 0.5 mm pads.
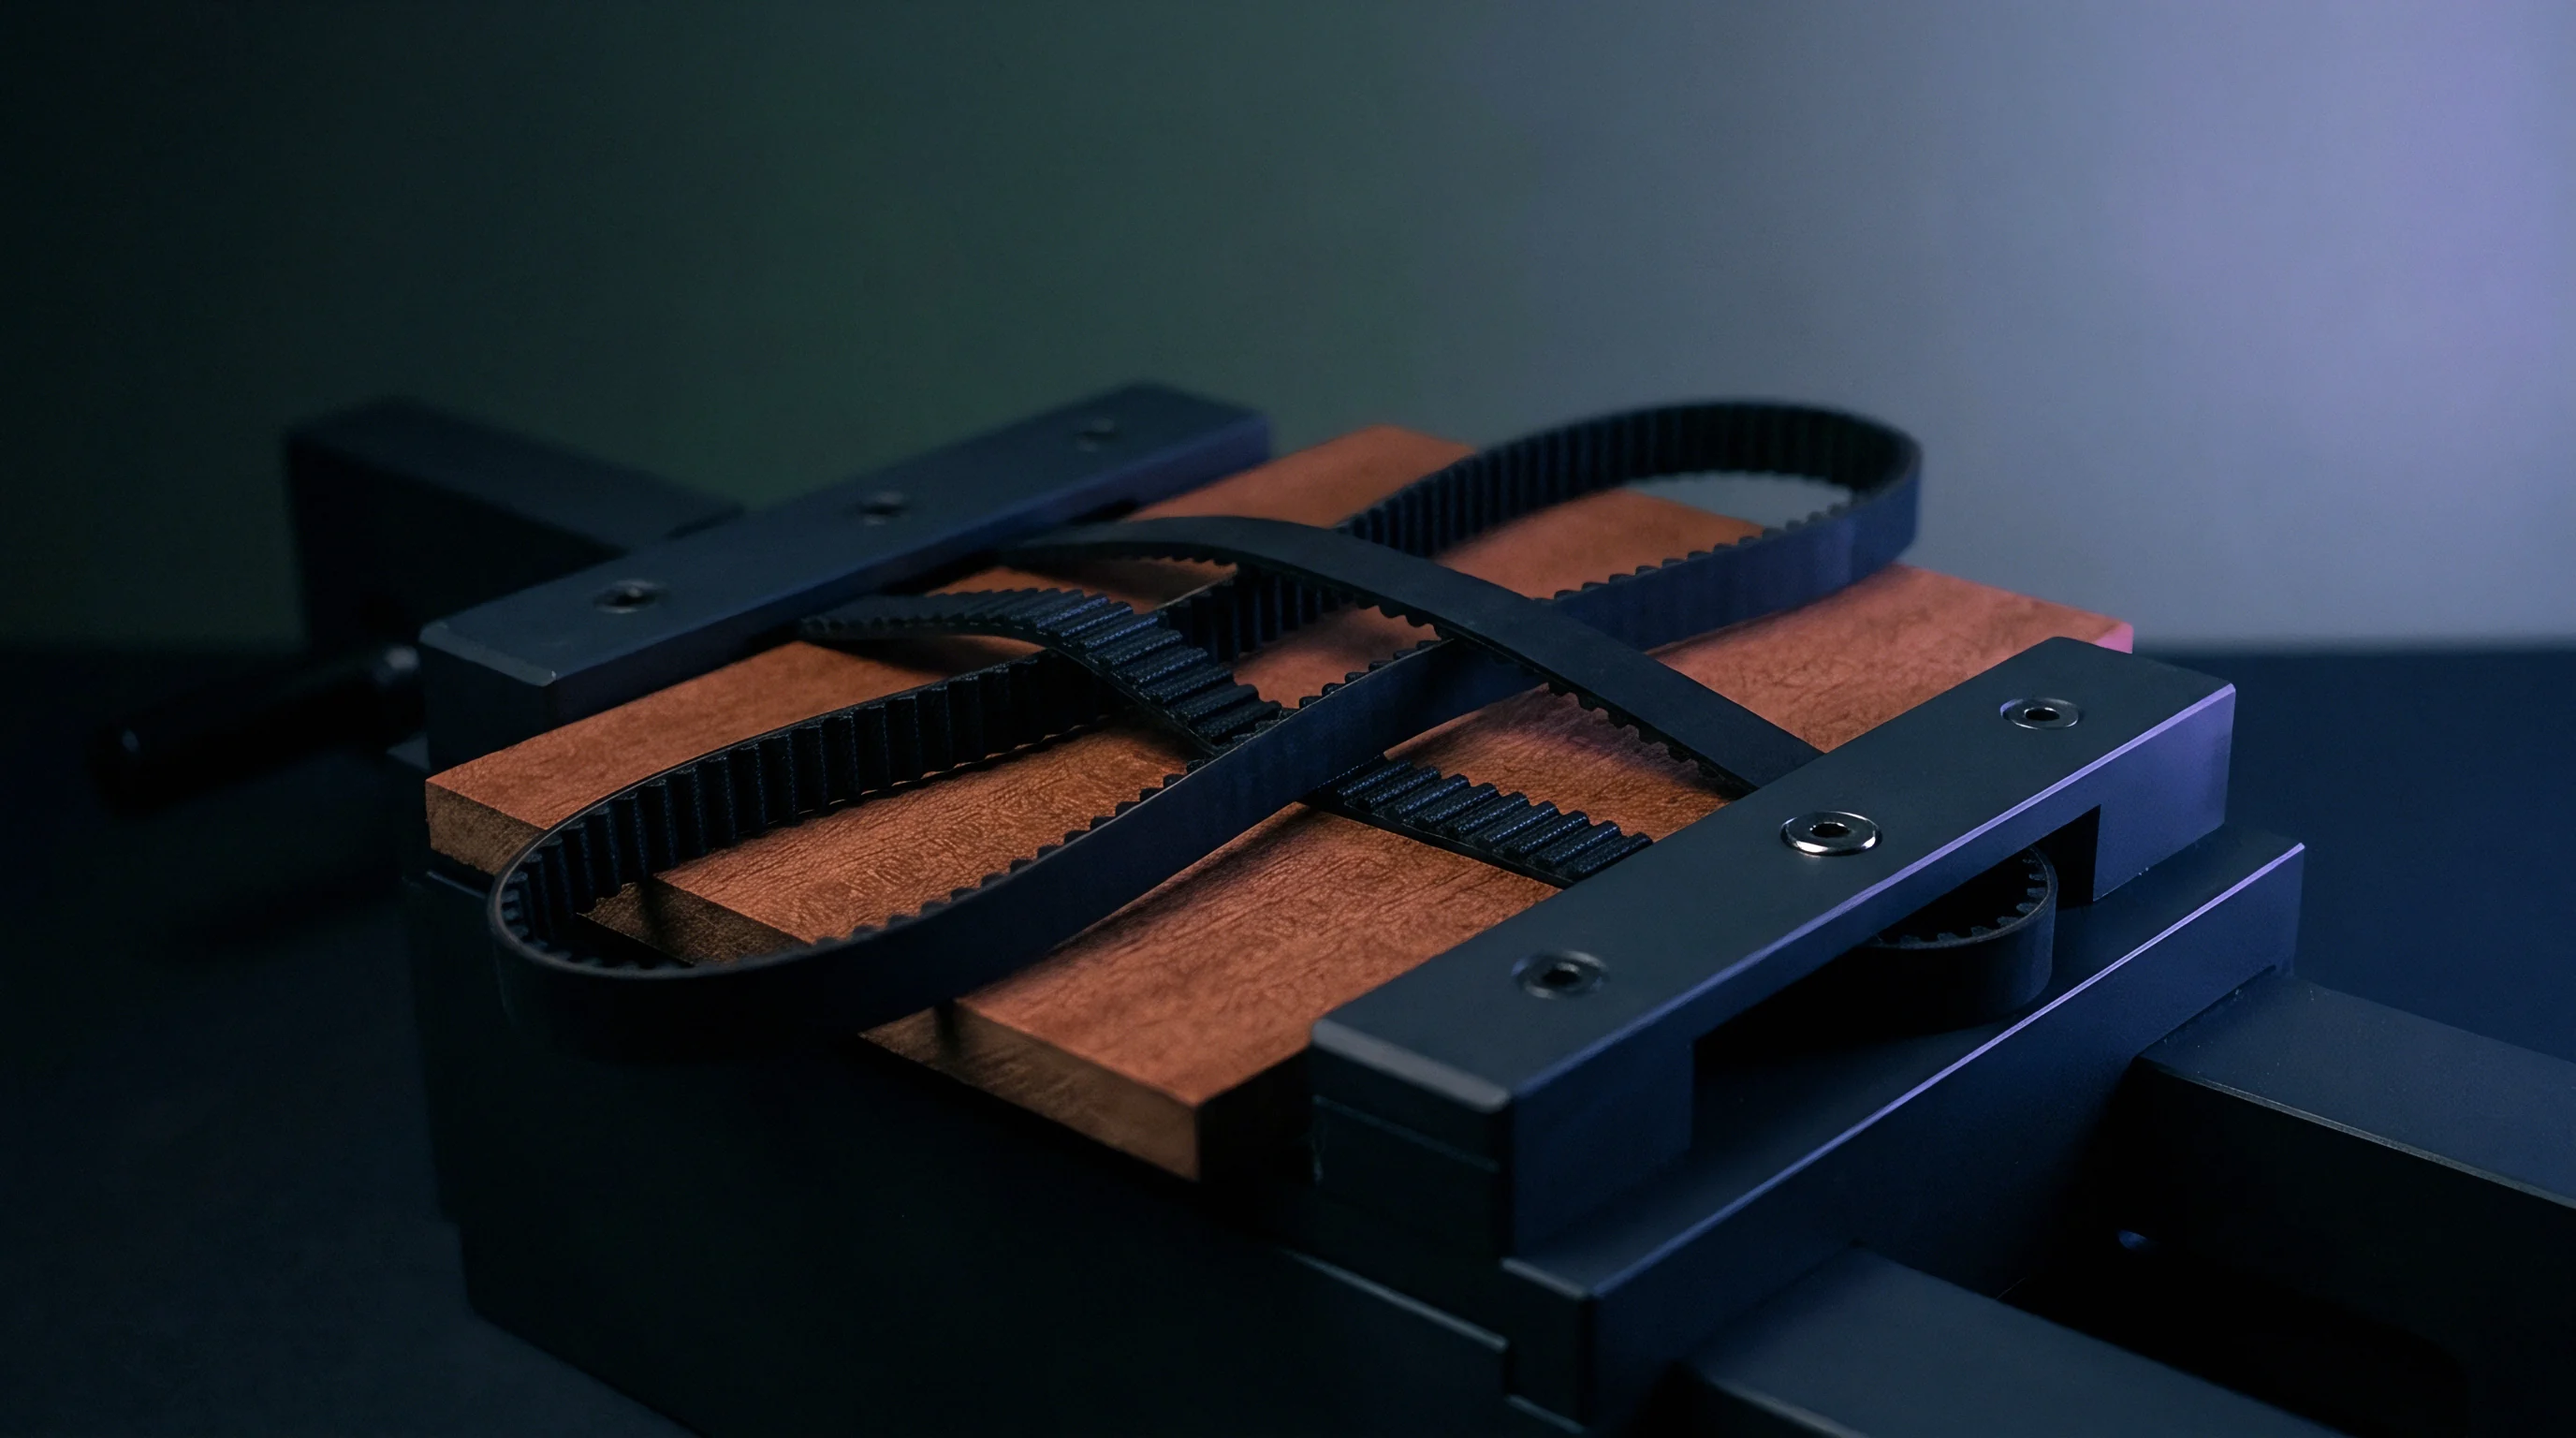
Tooling Pin Placement and Plate Expansion Vectors
Tooling pins set the initial reference position. Placing primary and secondary registration holes along the board’s longest axis gives the best control over angular alignment. Primary pins are ground round steel shafts that set the zero point; secondary pins use a diamond cross section.
The narrow flats of the diamond pin prevent rotation around the primary pin while allowing the substrate to expand or contract along its main axis.
- Mount the bare G10 probe plate on a calibrated high-precision optical coordinate measuring machine.
- Measure absolute hole positions for all tooling pins and probe sockets against the CAD drill file.
- Press primary round and secondary diamond guide pins into the probe plate with an automated press.
- Verify optical alignment using a glass master calibration plate of nominal board dimensions.
- Calculate lateral and rotational offsets, then record baseline alignment vectors in the tracking log.
- Run five test board actuations and inspect tip contact marks under a calibrated microscope.
Tooling pins placed at opposite diagonal extremities of the printed circuit board minimize rotational misregistration across all internal test points.
Substrate variations cause dimensional shifts between production lots. FR4 laminates absorb humidity and expand when heated, altering center-to-center pad spacing. In-plane CTE for FR4 ranges from 14 to 17 ppm/°C. A 15°C temperature increase on a 400 mm wide backplane stretches target spacing by 0.096 mm, shifting outer pads away from fixed pin positions.
Using G10/FR4 probe plates matches substrate expansion far better than acrylic plates, reducing thermal drift on climate-controlled floors.
Tracking misregistration across fixture builds isolated tooling pin wear after an uncorrected 0.12 mm rotational shift appeared across a dense backplane.

Deflection
Board flex under the combined force of hundreds of probe springs places heavy strain on surface-mount components. Dense pin arrays clustered under digital processors generate unbalanced upward force that bends the laminate. This deflection strains solder joints, cracks ceramic capacitors, and causes micro-cratering under BGA pads when the fixture engages.
Preventing flex requires placing anti-flexure supports carefully throughout the fixture. Vacuum fixtures pull air pressure evenly across the board surface to balance localized pin forces. Mechanical and pneumatic push-plate systems rely on local push-fingers, which can worsen substrate bending if fingers are not aligned properly with underlying pin clusters.
| Component Package Class | Substrate Thickness: 1.0 mm | Substrate Thickness: 1.6 mm | Substrate Thickness: 2.4 mm | Critical Failure Mode |
|---|---|---|---|---|
| 0402 / 0201 MLCC Capacitors | 500 µε | 700 µε | 900 µε | Internal Ceramic Flex Cracking |
| 0.8 mm Pitch BGA Arrays | 450 µε | 600 µε | 750 µε | Solder Joint Micro-Cratering |
| 0.5 mm Pitch Fine-BGA Arrays | 350 µε | 500 µε | 650 µε | Intermetallic Layer Delamination |
| Fine-Pitch QFP Leaded Devices | 700 µε | 900 µε | 1100 µε | Heel Solder Crack Initiation |
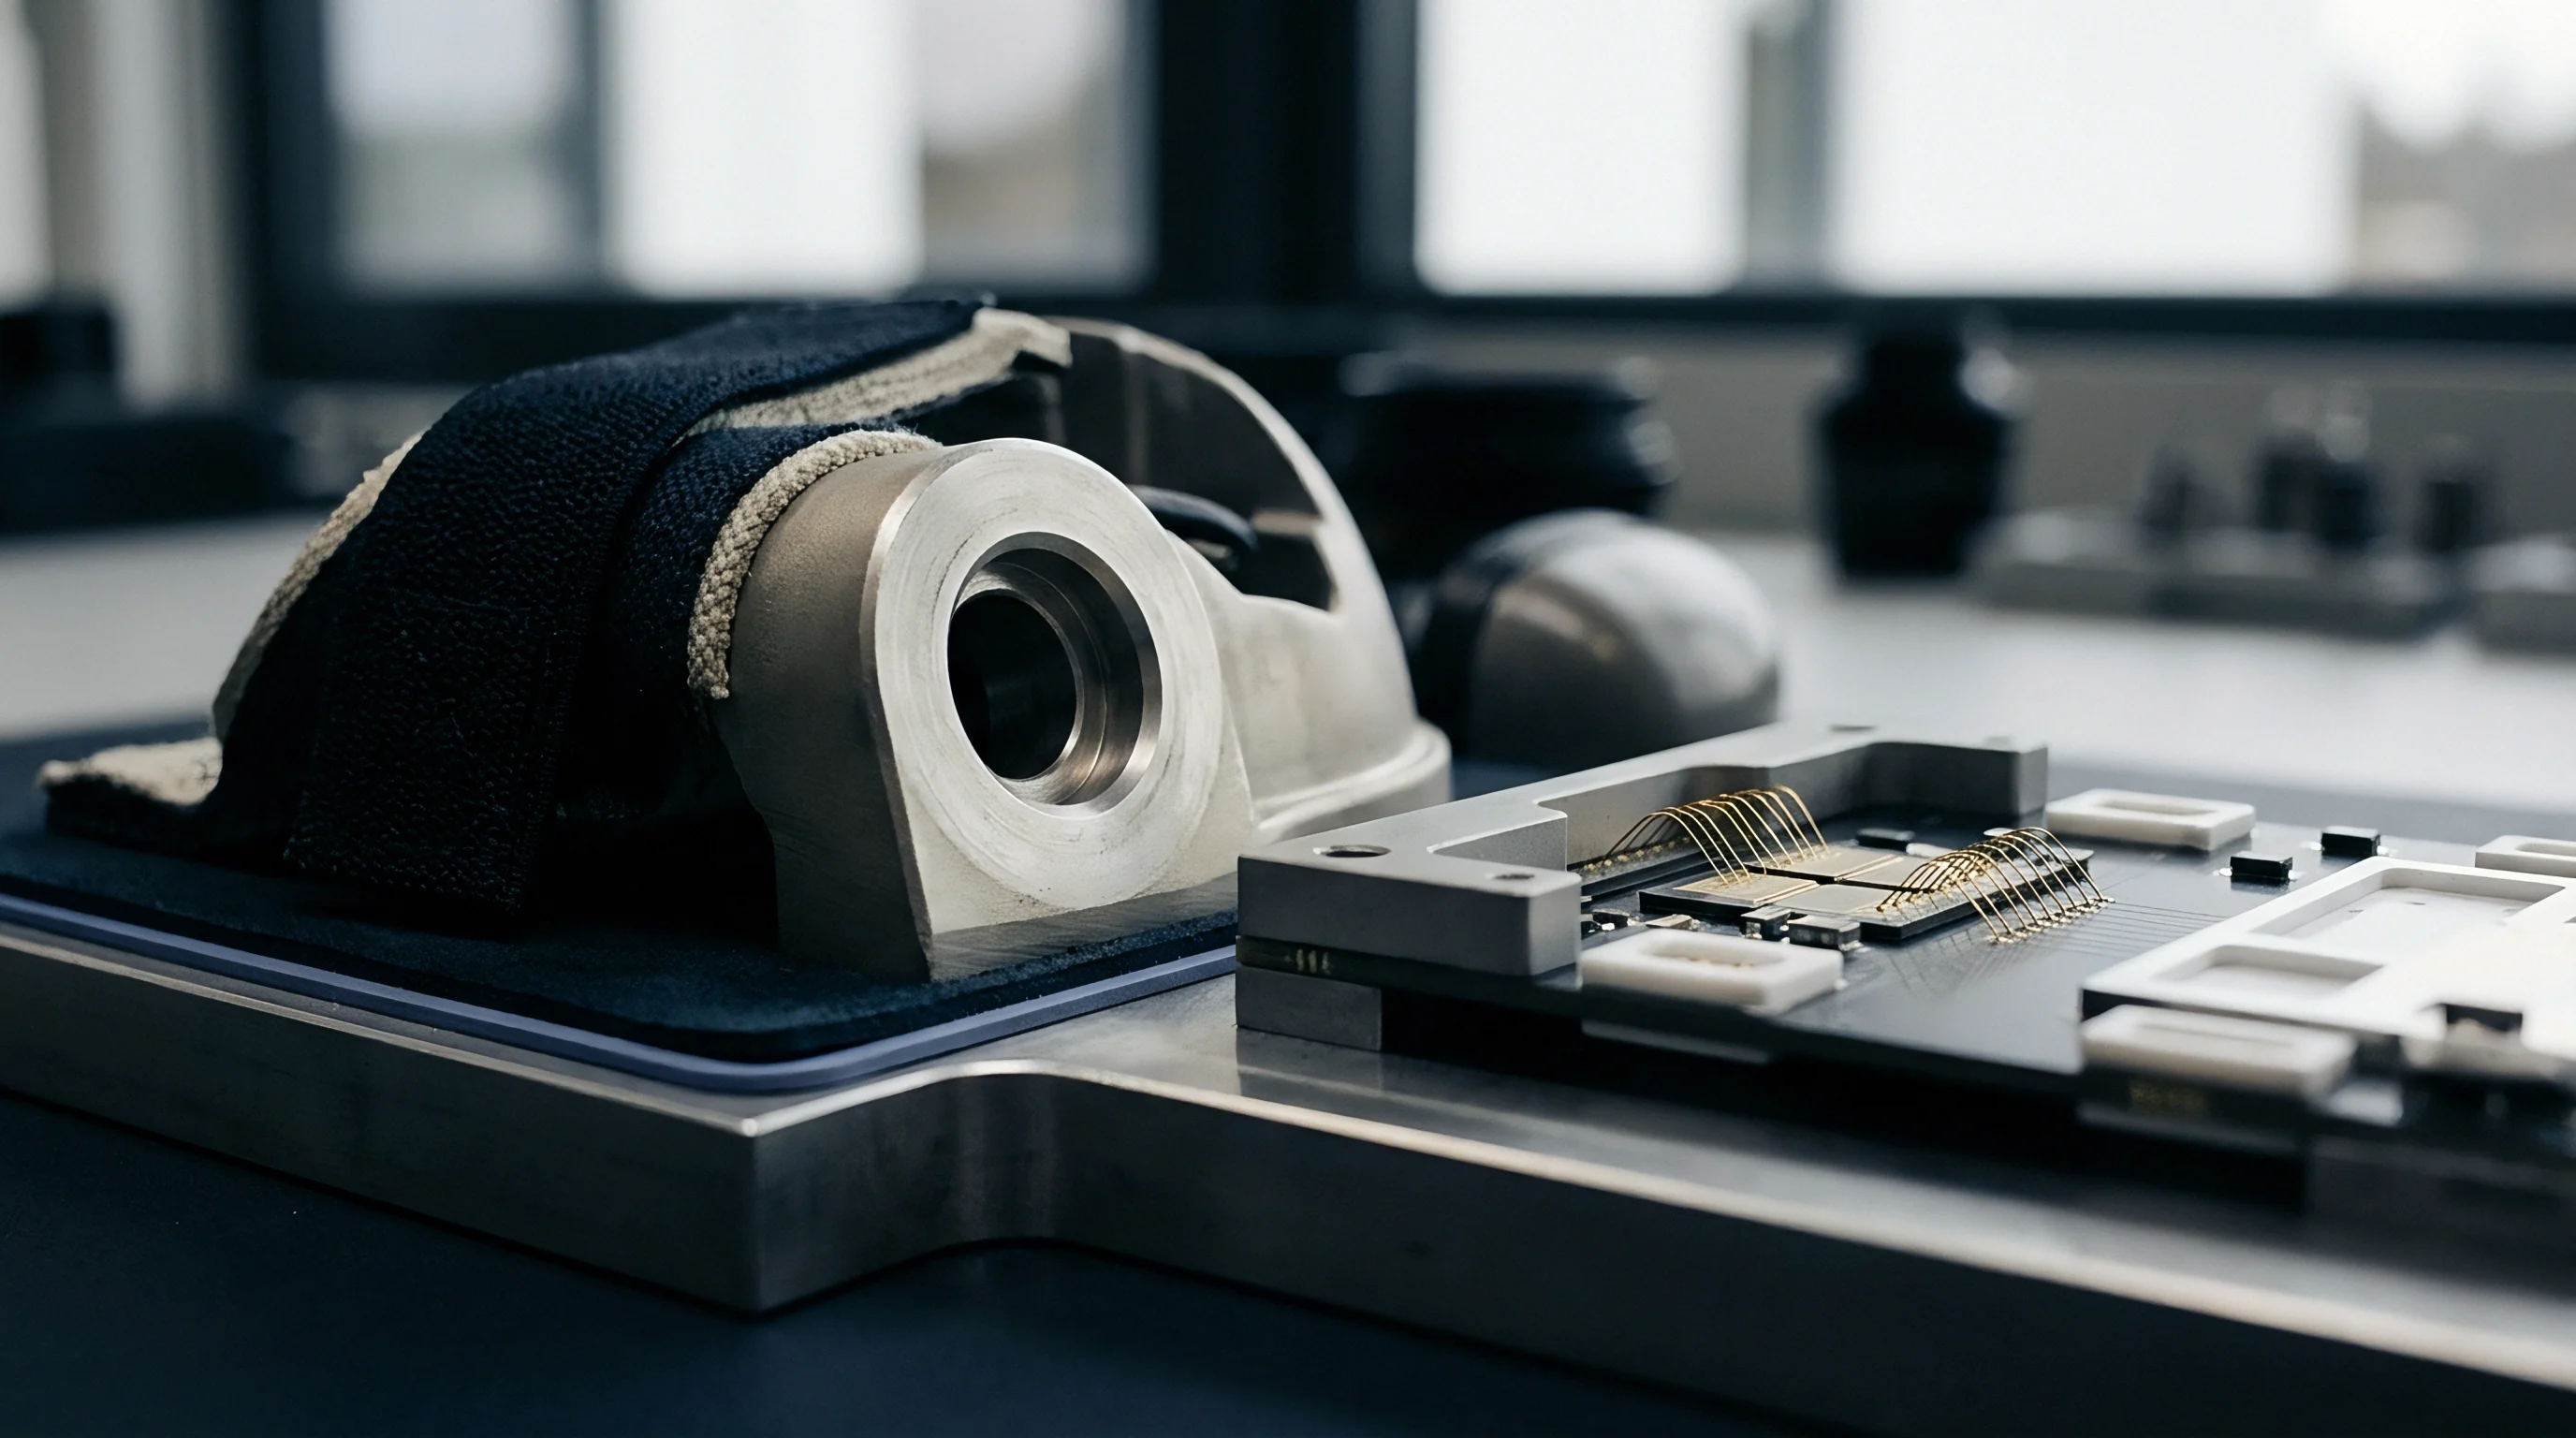
Mechanical Strain Profiles across Bed-of-Nails Assemblies
Assessing mechanical strain during actuation relies on IPC/JEDEC-9704 strain gauge testing methods. Triaxial rosettes attached to critical board areas track principal strains and strain rates throughout clamping, testing, and release. Safe microstrain limits depend on substrate thickness and component fragility: rigid 2.4 mm boards resist bending well, but 1.0 mm boards flex under modest pin loads and quickly cross safe strain thresholds.
Multilayer ceramic capacitors (MLCCs) are especially prone to damage from board bending because ceramic has poor tensile strength. When a board flexes down over an unsupported pin cluster, the bottom face compresses while the top face stretches. This tension drives micro-cracks from the termination ends into internal ceramic layers, creating latent shorts that show up weeks after deployment.
BGA packages suffer intermetallic fractures when board flex distorts their pin array pattern. Outer corner solder balls absorb the highest shear stresses during bending. Actuation speed matters significantly: rapid clamping creates shock loads that snap fragile copper-tin (Cu6Sn5) intermetallics at lower total strain than a slow, controlled stroke.
Strain profiles recorded during high-density compression helped map peak stress areas.
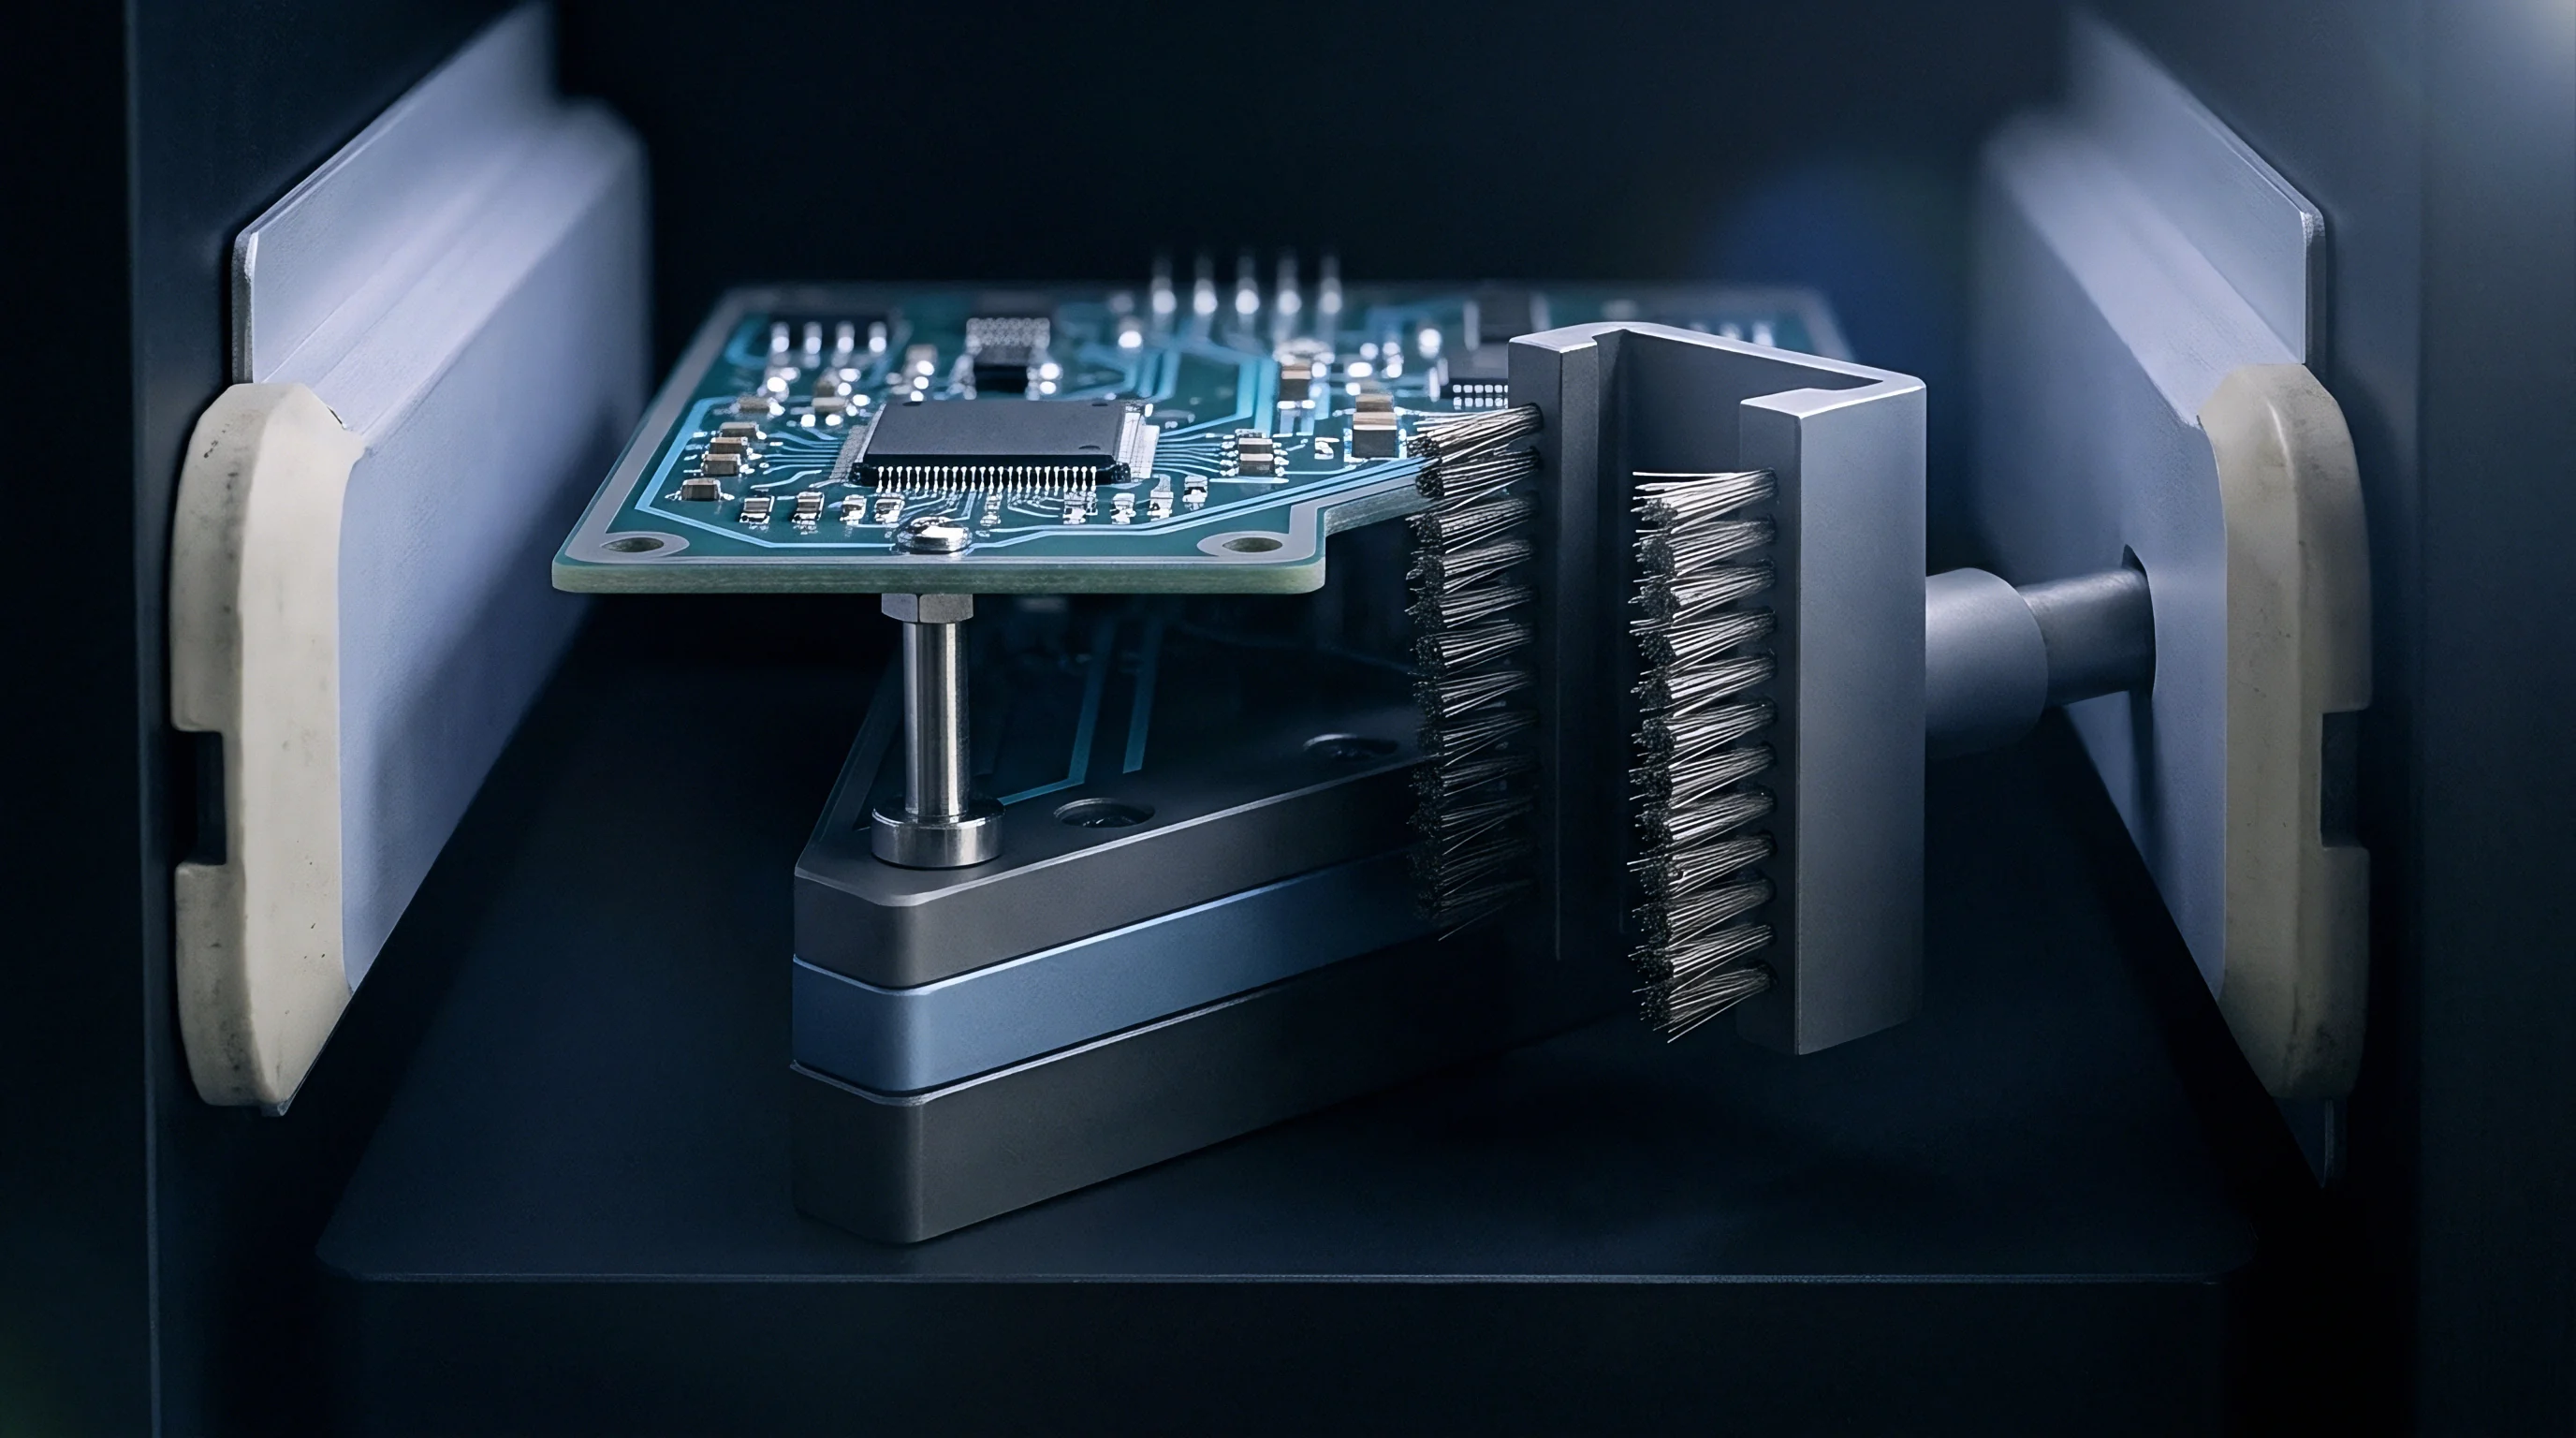
Push-Finger Placement Strategy and Backing Reinforcement
Offsetting heavy probe forces requires rigid support pillars positioned directly behind pin clusters to absorb pin force. On double-sided fixtures, top-side support pins must hit clear board space, missing components and traces. Landing a support pin directly on a component package transfers full clamping force into the part, crushing the mold body or breaking internal bond wires.
Fixture layout software analyzes CAD files to place push-fingers directly behind heavy pin fields. Support fingers sit within 5.0 mm of major probe clusters to hold the board flat. If dense top-side components block pillar placement, rigid beam extenders bridge across clearance pockets to transfer load to unpopulated areas along the perimeter.
Unsupported board areas under dense probe clusters experience localized bending forces that tear solder joints beneath adjacent ball grid array packages.
Managing vacuum pressure differential is critical to mechanical stability. High pin-count vacuum fixtures need an even seal along the perimeter gasket without bowing the board edges. Gasket durometer matters: soft foam conforms with light force, while stiff neoprene demands heavy vacuum pressure that bows perimeter edges before internal pins fully compress.

Which Fixture Layout Prevents Microcrack Initiation?
Stiffening structural frames and using dual-stage push plates keeps local substrate strain below critical levels. Single-stage fixtures compress every probe at once, hitting the board with peak force simultaneously. Dual-stage designs split the stroke: low-density in-circuit pins engage first, followed by high-density functional pins, spreading mechanical load across two distinct steps.
Wireless fixtures swap discrete wiring harnesses for an internal double-sided transfer board. Removing point-to-point wiring allows continuous stiffener ribs behind probe mounting plates. These ribs increase overall bending stiffness, limiting G10 plate flex under heavy loads and ensuring uniform vertical plunger travel across large boards.
Section 4.3 of IPC-9704 limits the maximum diagonal strain rate during engagement to 500 microstrain per second for boards carrying parts under 0.8 mm pitch ~ requiring strain gauge verification on production fixture designs before line qualification.
Escape
Unprobed nets let structural defects pass downstream undetected into functional testing or final assembly. Board space constraints, high-speed signal integrity requirements, and dense BGA routing often force designers to drop test pads from critical lines. These missing targets leave blind spots in test coverage, allowing opens, shorts, and missing passive parts to slip past in-circuit checks.
Measuring coverage completeness relies on models like PCOLA-SOQ (Presence, Correct, Orientation, Live, Alignment – Short, Open, Quality). Full access to a net lets instruments verify component values, check capacitor polarity, and test trace continuity. Partial access ~ a single pad on a net ~ allows shorts testing against nearby probed traces, but cannot confirm open circuits along the run.
Unprobed nets get zero direct coverage on standard bed-of-nails fixtures.
Nodal Access Ratios and Theoretical Defect Coverage
The nodal access ratio is the proportion of physically probed nets relative to total nets on the assembly. Reaching 100 percent access on simple single-sided designs is straightforward, but multilayer boards with 5,000 nets often drop to 70 ~ 85 percent access because of tight routing real estate.
Fault coverage drops non-linearly as access decreases. Dropping access on a 16-bit parallel bus blinds testing across all 16 lines; a solder bridge under an unprobed BGA pin will pass ICT without a flag. Finding that defect then falls on functional test or burn-in, where fault isolation takes far longer and costs much more.
- Access Ratio Verification measures physical probe access across all net types, identifying unprobed lines before signing off on coverage.
- Nodal Clustering Evaluation flags clusters of unprobed nets under high-density processors where defect risks concentrate.
- Boundary Scan Net Coverage Audit checks boundary-scan access on unprobed digital lines to supplement physical probe coverage.
- Parallel Component Isolation Test verifies guard-pin performance on low-impedance parallel nets so component faults are not masked.
Adding IEEE 1149.1 boundary scan covers unprobed nets and helps compensate for lost probe access on complex digital boards. By using shift register cells inside compliant chips, boundary scan drives and senses pin states across traces without physical probes. Linking boundary scan chains to the ICT controller restores open/short coverage on nets connecting compliant ICs.
Boundary Scan Integration for Blind Net Topology
Pairing bed-of-nails probes with boundary scan forms a hybrid test setup for complex interconnects. In a typical test, a physical probe drives a signal onto a peripheral pad, passing it through passive parts into a boundary-scan chip pin where the state is read out via the TAP controller. This approach extends fault coverage into unprobed internal traces, catching solder opens under unprobed BGA pins.
High-speed differential pairs running multi-gigabit protocols (such as PCIe Gen 5, Ethernet, or USB4) restrict test target placement. Placing a test pad on a 16 GHz differential trace adds capacitive loading, impedance drops, and signal reflections that erode channel margin. Signal integrity rules forbid physical test pads on high-frequency nets, leaving testing to IEEE 1149.6 AC-coupled boundary scan or functional loopbacks.
A 4.2 percent escape rate on unprobed net clusters during initial server accelerator testing forced the addition of flying probe screening across all high-density BGA breakout zones.
Predicting escapes relies on joint defect rates (DPMO) to estimate returns from unprobed nets. On a board with 10,000 joints and a 20 DPMO process defect rate, 2,000 unprobed joints translate to roughly 0.04 defects per board. Over a 100,000-unit production run, that unprobed footprint lets 4,000 defective boards escape into assembly.
How effectively can synthetic fault insertion validate true defect coverage on hybrid boundary-scan and low-access fixtures when high-speed component clusters have no physical probes?
Yield
First-pass test yields can hide latent defect populations when low nodal access cuts coverage. High yield numbers at ICT often reflect unprobed blind spots rather than defect-free manufacturing. Meaningful quality metrics require tracking ICT yield against downstream functional scrap, burn-in failures, and field returns.
Evaluating fixture investments means balancing tooling costs against overall manufacturing costs. Building a dual-stage wireless micro-pitch fixture with 100 percent access takes substantial upfront capital for engineering, G10 machining, and custom transfer plates. Settling for a standard wired fixture with 75 percent access cuts initial spending, but shifts undetected defects into far more expensive downstream phases.
| Fixture Architecture | Initial Tooling Cost (USD) | Target Access Ratio (%) | Re-Probe Rate (%) | Estimated Escape Cost per 10k Units (USD) |
|---|---|---|---|---|
| Standard Vacuum Wired Fixture | 6,500 | 78.5 | 3.2 | 42,000 |
| Dual-Stage Guided Mechanical | 14,000 | 89.0 | 1.5 | 21,500 |
| Wireless Direct Transfer Plate | 22,000 | 96.5 | 0.6 | 6,800 |
| Hybrid Flying Probe / ICT Combination | 9,500 | 99.2 | 0.2 | 1,500 |
Financial Mechanics of Fixture Nodal Access Limits
Escape costs rise roughly tenfold with each production stage a defect passes. Catching a solder short at ICT costs about $2.00 in rework time. Finding the same short at system test costs $50.00 in teardown and re-testing.
Letting it escape into the field incurs warranty claims, rush shipping, downtime penalties, and reputation damage that easily exceeds $500.00 per unit.
Fixture maintenance costs scale with pin density and tip aggressiveness. Sharp spear and crown plungers wear down faster in tough flux than bullet tips, needing replacement after 150,000 cycles instead of 500,000. Flux buildup raises contact resistance, forcing frequent cleaning; contaminated tips trigger false opens that drive up re-test rates and waste operator time.
Long-Term Maintenance Schedules and Contact Wear Lifecycle
Preventive fixture maintenance preserves contact accuracy over multi-year runs. Test software tracks mechanical cycles per fixture; reaching set thresholds triggers pin inspection, G10 plate cleaning, gasket replacement, and guide pin recalibration to prevent false open calls.
Worn probe barrels cause erratic resistance and lateral play that degrades pointing accuracy. Swapping individual pins during production runs creates uneven spring force, putting stiff new springs next to fatigued old ones. Standardizing scheduled bulk pin replacement across dense clusters restores uniform force and protects boards from local mechanical strain.
Tracking defect Pareto charts on returned boards gives fixture designers clear empirical feedback. If field returns point to failures on unprobed net clusters, adding targeted probe locations to drill plates removes systemic blind spots. Combining yield tracking, strain monitoring, and pad optimization delivers high structural fault coverage while protecting fragile high-density boards from mechanical damage.