Designing Balanced Inner Layer Copper Thieving to Mitigate Thermal Lamination Shift
Balanced inner layer copper thieving mitigates thermal lamination shift by equalizing dynamic resin flow pressures and mechanical strains during press cycles.
Hydrodynamics
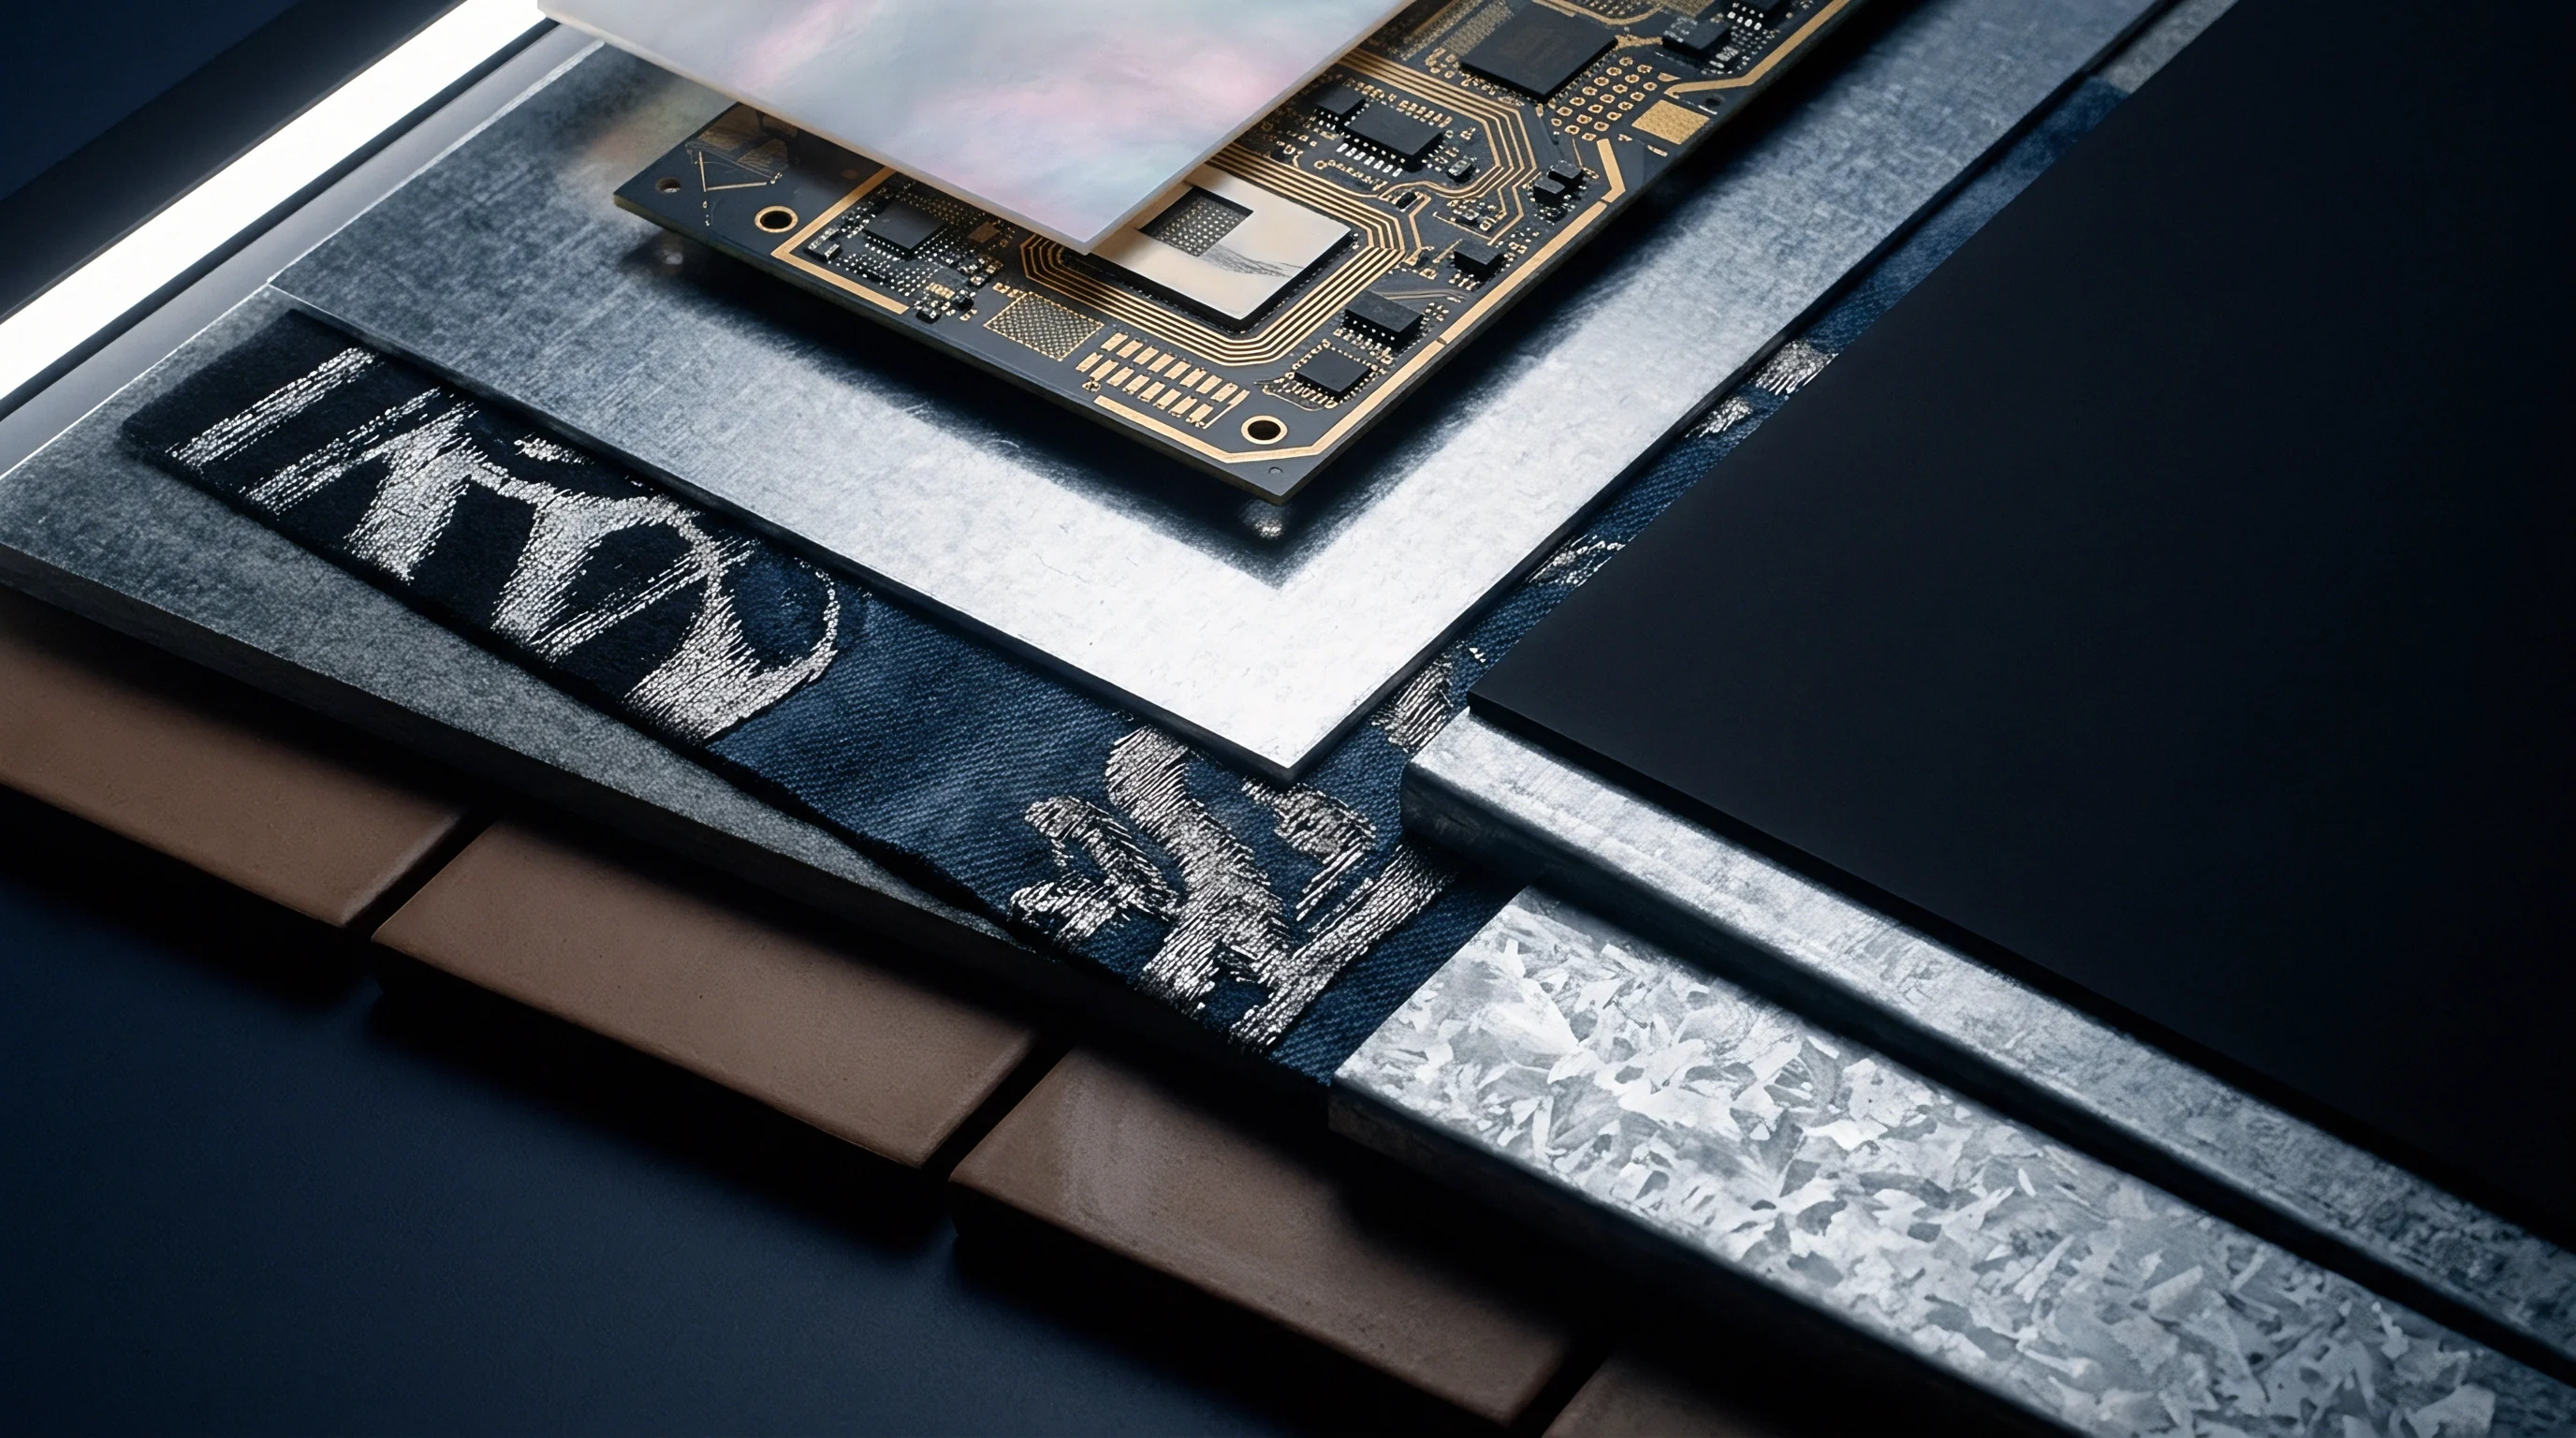
Multilayer circuit board lamination subjects inner core layers to simultaneous hydraulic pressure and thermal ramp-up inside the press. During heat-up, prepreg resin transitions from a solid glass-reinforced B-stage composite into a low-viscosity liquid. Between 110 degrees Celsius and 150 degrees Celsius, depending on the epoxy system’s chemistry, melt viscosity drops to between 10 Pa·s and 50 Pa·s before cross-linking locks the thermoset matrix.
When an inner layer has severe copper distribution imbalances ~ such as a localized power plane at 90 percent copper density facing a signal layer with only 15 percent density ~ the liquid resin flows unevenly across the panel plane.
Resin naturally migrates down pressure gradients toward areas with a lower solid volume fraction. Densely routed copper regions form narrow channels that restrict lateral flow, while wide, unetched clearance voids serve as low-resistance sinks. This creates localized hydrostatic forces pushing sideways against thin laminate cores (typically 50 micrometers to 150 micrometers thick).
Because thin cores lose most of their flexural stiffness at peak melt temperatures, these asymmetric lateral forces can cause the bare core to flex, buckle, or shift relative to neighboring layers, producing the internal registration error known as thermal lamination shift.
Fluid Pressure Gradients across Asymmetric Pattern Layouts
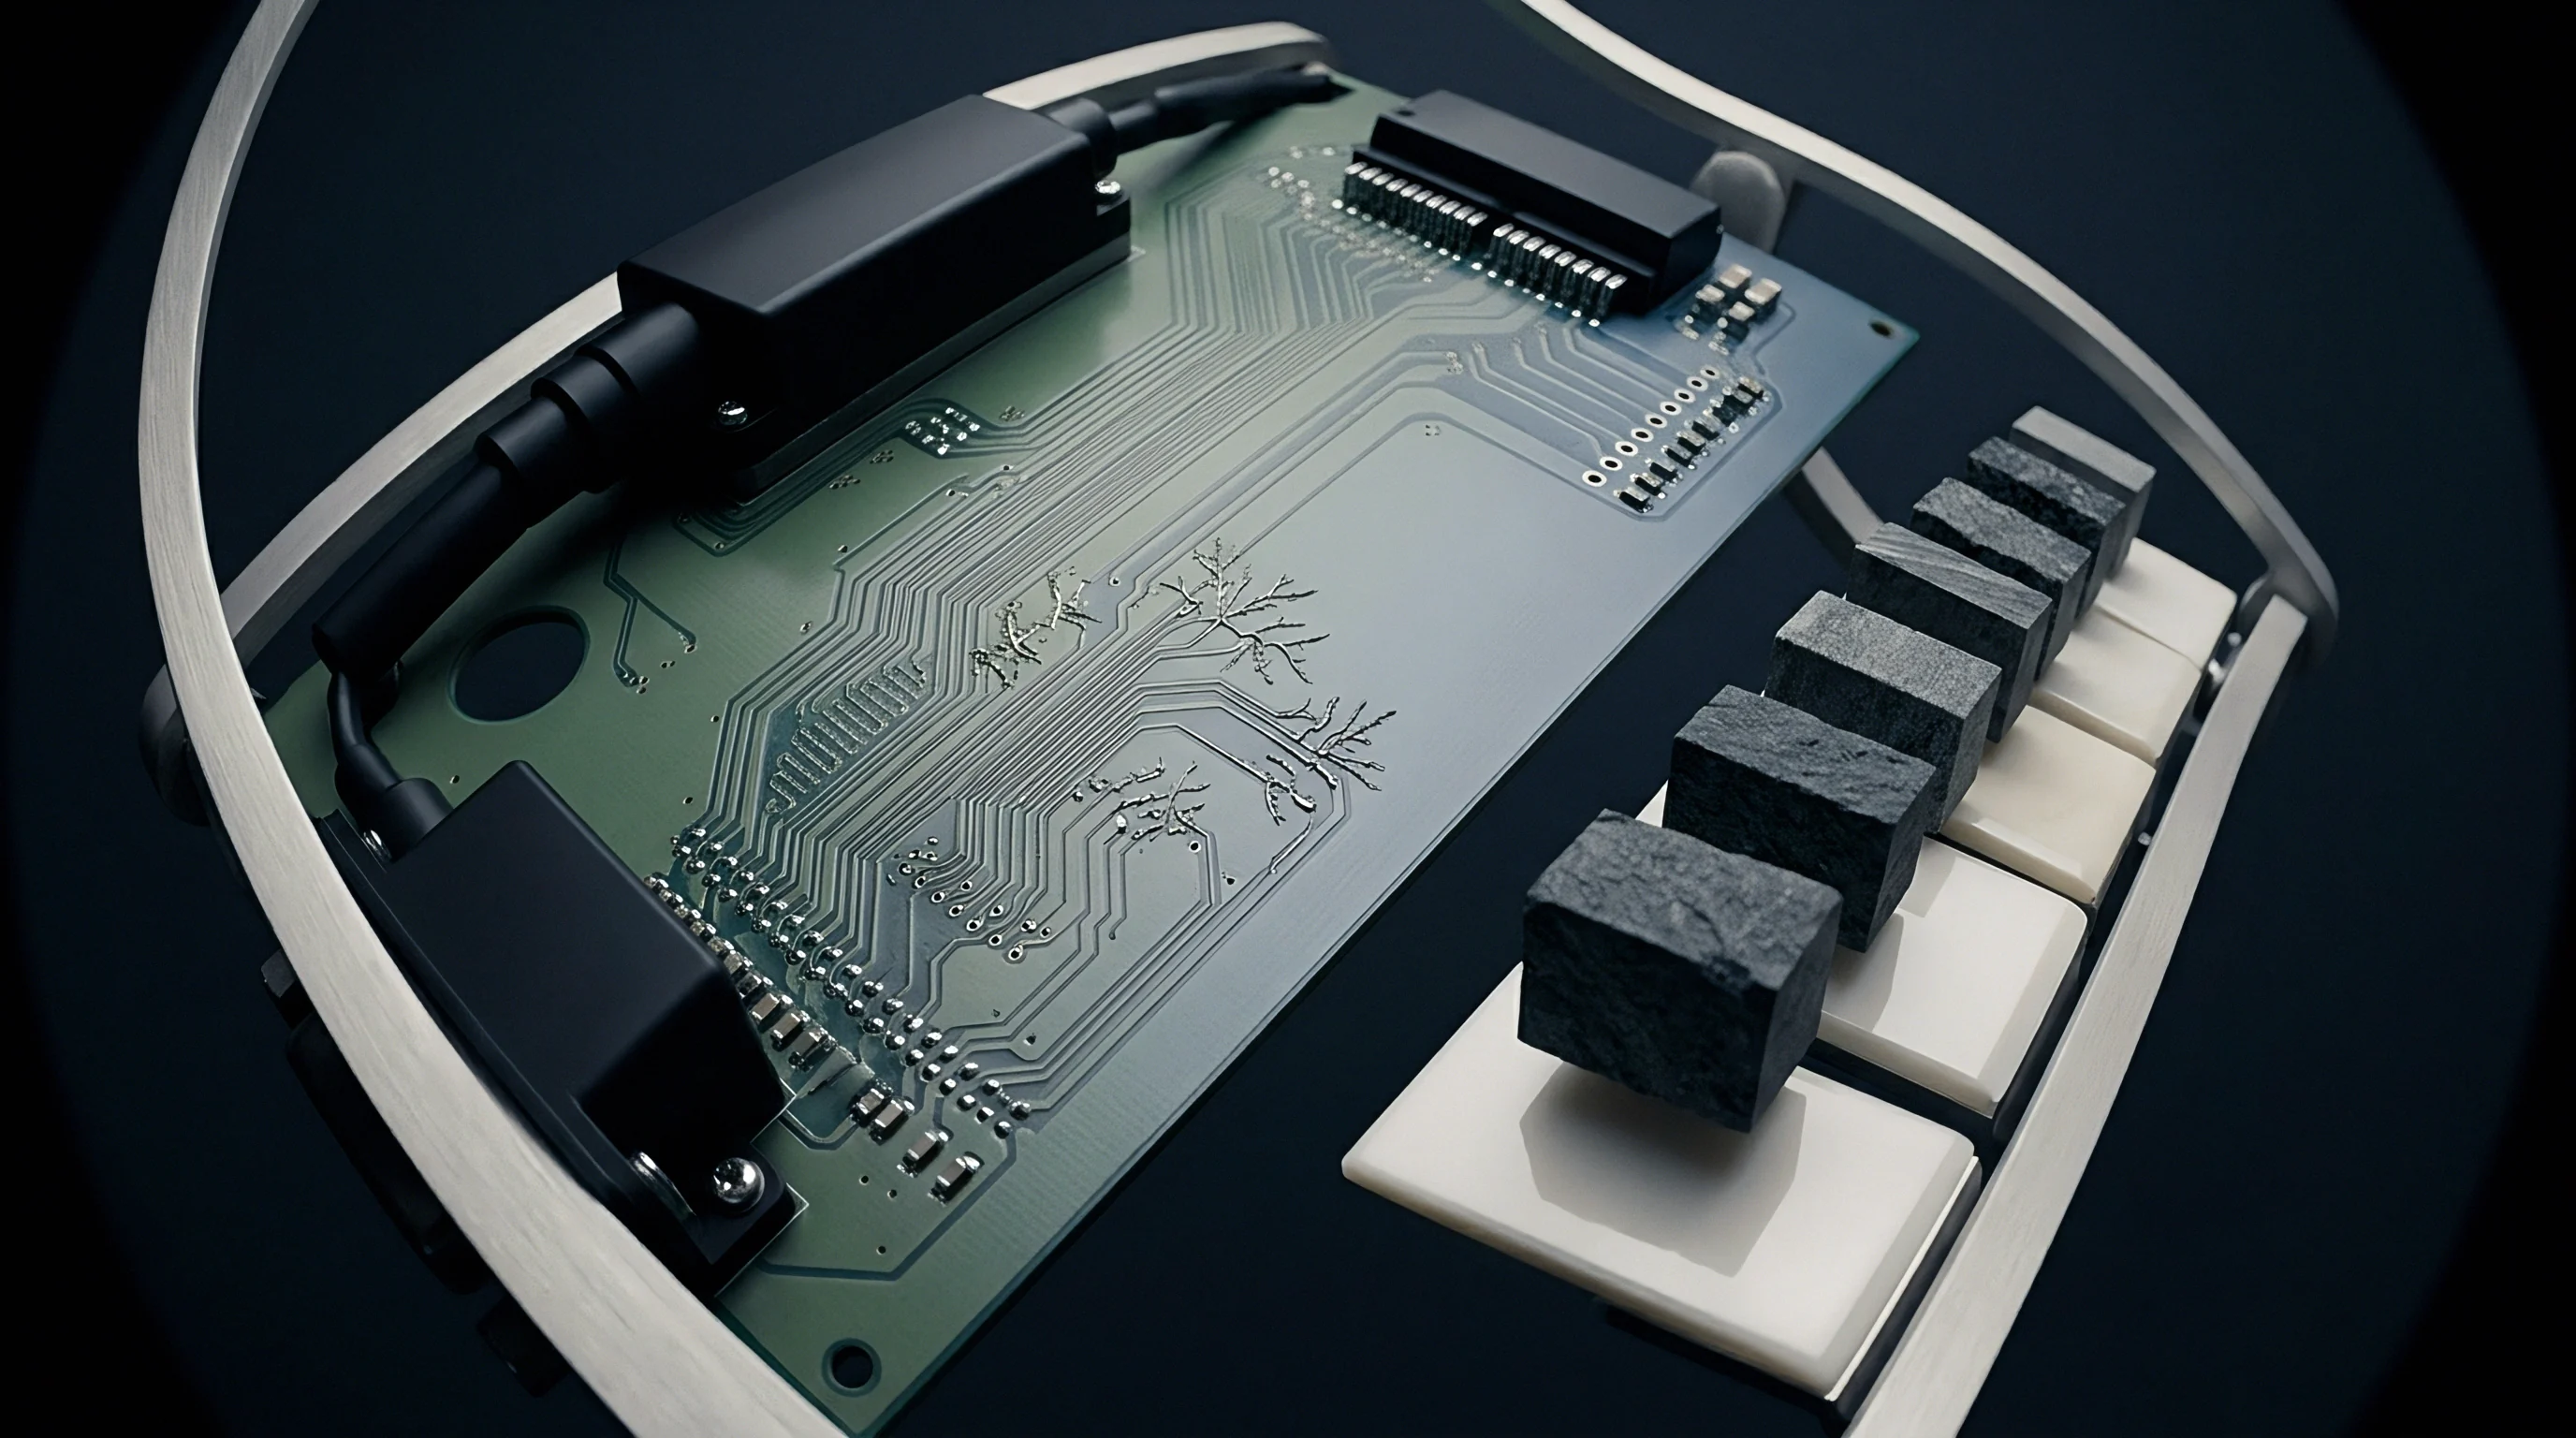
The magnitude of lateral resin push scales directly with the local spatial derivative of copper density across the panel. On a standard 18-inch by 24-inch manufacturing panel, this localized resin displacement exerts direct shear stress on the inner layer’s glass fabric bond. Loose glass weaves, such as 1080 or 106 style glass, have higher resin-to-glass ratios and offer less mechanical shear resistance during melt than tight weaves like 7628 glass.
As a result, thin cores sandwiched between low-count glass prepregs suffer severe geometric distortion whenever copper density gradients exceed 30 percent across a span of less than 50 millimeters.
Unetched clearance voids on inner layers act as resin sinks during platen gelation, pulling thin cores out of alignment before thermal cross-linking freezes the stackup.
Platen pressure profiles exacerbate this displacement. Automatic press controls ramp specific pressures between 200 pounds per square inch and 350 pounds per square inch to evacuate trapped air and fill etched signal patterns completely. When pressure peaks while resin viscosity is at its absolute minimum, hydrostatic side-loading reaches its maximum.
Unbalanced copper coverage converts vertical platen pressure into horizontal hydrodynamic thrust across the core face. The core shifts along the path of least resistance toward open, resin-rich areas, carrying internal target pads away from nominal drill coordinates.
Mechanical Displacements of Unsupported Inner Core Substrates
Core deformation is essentially a structural buckling problem driven by combined thermal expansion and fluid shear forces. Laminate cores made from woven E-glass cloth and standard high-performance epoxy exhibit an orthotropic Coefficient of Thermal Expansion. In-plane X-Y thermal expansion ranges from 11 ppm per degree Celsius to 15 ppm per degree Celsius below the glass transition temperature, whereas pure copper foil expands isotropically at 16.5 ppm per degree Celsius to 17.0 ppm per degree Celsius.
As the stack heats up, the expansion mismatch between solid copper pours and bare dielectric zones builds localized pre-stress into the core.
Asymmetric inner-layer patterns distribute this strain unevenly across the board. A quadrant dominated by continuous copper planes expands according to copper mechanics, while an adjacent quadrant of etched dielectric channels behaves like a resin-glass composite. Shear stress concentrates along the boundary between these dense and sparse regions.
Once the surrounding prepreg liquefies and loses its holding grip, this stored strain releases: the core relieves stress by twisting or sliding within the liquid prepreg, remaining permanently distorted once the resin cures.
Misregistration caused by dynamic fluid push creates serious problems at the drill stage. Primary target drills aligned to external optical tooling holes miss internal target pads. When inner-layer copper drifts by as little as 35 micrometers from nominal position, microsectioning will show misaligned drill channels, reduced annular rings, or outright drill breakout through conductor clearance rings ~ triggering an immediate scrap disposition at final inspection.
Equilibrium
Preventing thermal lamination shift requires spatial symmetry across the thermal-mechanical stress fields of every sub-assembly in the stack. To achieve spatial equilibrium, copper mass must be distributed uniformly across the individual layer plane and balanced across the center axis of opposing core faces. Balancing inner layers relies on adding non-functional copper fills ~ known as copper thieving ~ into open dielectric spaces.
Thieving replaces missing copper volume, bringing local solid density in line with adjacent planes and eliminating the resin sinks that generate lateral pressure during prepreg gelation.
Evaluating inner-layer balance starts by dividing the manufacturing panel into a localized spatial grid. Layout evaluations typically use 10-millimeter by 10-millimeter quadrant cells across the active panel area. Calculating the fractional copper area in each cell provides a continuous density map across every layer in the stackup.
Mathematical Formulation of Copper Mass Centroids
This localized density map is used to determine the global copper centroid for each inner-layer plane. The X-axis and Y-axis centroid coordinates are calculated via discrete moment summations across all spatial grid cells:
X_centroid = Sum( x_i rho_i A_i ) / Sum( rho_i A_i )
Y_centroid = Sum( y_i rho_i A_i ) / Sum( rho_i A_i )
Here, x_i and y_i represent the center coordinates of cell i, A_i is the cell’s surface area, and rho_i is the fractional copper coverage within cell i (ranging from 0.0 for bare dielectric to 1.0 for solid copper). On a well-balanced inner layer, the copper centroid falls within 1.0 millimeter of the panel’s physical center. When dense trace routing is confined to a single quadrant, the centroid pulls heavily in that direction, warning of structural instability during press cycles.
Mirror-image symmetry across the z-axis core center-line is just as critical. For a double-sided core laminate to remain stable, the top copper pattern on layer N must closely match the total mass and distribution of the bottom pattern on layer N+1. Significant mass differences across a single core cause classic bimetallic bowing under heat.
Matching thieving density profiles on internal core layers locks opposing core surfaces into identical volumetric fill ratios, holding Z-axis structural neutrality throughout the thermal press window.
Localized Failure Modes Induced by Hydrostatic Resin Imbalance
Asymmetric copper distribution leads directly to several recurring mechanical and electrical defects during lamination. The primary failure modes caused by fluid displacement and uneven mass balance include:
- Inner layer pin-hole misregistration occurs when fluid resin shear forces push thin, un-thieved signal cores off optical pin alignment centers during prepreg melt phase.
- Dielectric thickness variation develops when resin flows out from beneath high-density copper zones to fill adjacent un-thieved clearings, causing local core-to-core gap reduction.
- Warping and panel twist result from asymmetric z-axis cooling strain when solid copper planes on one core face shrink against etched signal traces on the opposing face.
- Teardrop pad distortion occurs when localized lateral core movement stretches soft copper via lands away from central drill axis alignments prior to full cure.
- Resin starvation voiding surfaces inside wide, dense trace channels where available prepreg resin volume fails to completely fill deep copper etched topography under uneven pressure distribution.
Managing localized mass distribution avoids these failures by smoothing out abrupt density steps. Placing thieving patterns across open zones ensures that adjacent grid cells stay within a 5 percent net copper mass fraction across the entire panel.
Board shops often assume that inner-layer registration errors are caused entirely by incorrect panel scaling factors applied in CAM. That assumption ignores how non-uniform copper density creates localized, non-linear material shifts that flat mathematical compensation factors cannot correct across a rigid panel.
Geometry
Translating theoretical copper balance into a manufacturable layout depends on choosing the right thieving geometry. Solid copper fills cannot simply be dropped into open areas; they create thermal outgassing risks, undermine solder mask adhesion, and introduce high-frequency electrical coupling. Effective thieving relies on segmented arrays that break continuous copper into small, isolated shapes while maintaining consistent volumetric displacement.
The four geometries most commonly used in high-reliability multilayer PCBs are solid dot arrays, vented crosshatch grids, segmented ring matrices, and continuous field borders. Each offers distinct trade-offs in mechanical support, resin flow, and electrical behavior throughout fabrication.
Comparative Analysis of Pattern Geometries
Selecting the right pattern means matching its layout parameters to the signal speed, foil thickness, prepreg glass style, and total panel layer count. The table below details performance characteristics for common inner-layer thieving patterns used in high-density interconnect stackups.
| Pattern Geometry | Resin Fill Efficiency | Mechanical Shear Resistance | RF Parasitics Risk | CAM Generation Overhead |
|---|---|---|---|---|
| Solid Dot Array (0.5mm dia, 1.0mm pitch) | High (88%) | Moderate | Low | Low |
| Crosshatch Grid (0.25mm trace, 0.5mm window) | Optimal (94%) | High | Moderate | Moderate |
| Vented Solid Plane (1.0mm vent holes) | Low (62%) | Very High | High | Low |
| Segmented Ring Matrix (0.8mm outer dia) | High (85%) | Moderate | Very Low | High |
Dot arrays arranged in an offset hex grid are the most versatile option for mixed-signal digital layouts. Circular pads present smooth boundaries to incoming liquid resin, reducing localized turbulence and avoiding the sharp corners that can concentrate stress and initiate micro-cracks in the cured epoxy.
Crosshatch grids, meanwhile, provide superior mechanical reinforcement along the glass weave axes. By routing grid lines at 45-degree angles to the warp and weft threads of the woven glass cloth, crosshatching spreads shear stresses evenly across the laminate, helping prevent localized core twist during cool-down.
Clearance Rules and High-Frequency Electrical Buffering
Placing non-functional copper close to high-speed traces introduces parasitic capacitance and alters microstrip or stripline differential impedance. Edge-coupled differential pairs running above 5 GHz are especially vulnerable. The electromagnetic fields around high-frequency traces extend into adjacent dielectric layers; floating, ungrounded thieving shapes that intersect these fields create periodic capacitive loading steps, increasing insertion loss and causing local impedance dips.
To avoid signal degradation, strict keep-out rules must govern thieving around active circuitry. Buffer distances scale with conductor width, dielectric thickness, and operating frequency. For controlled-impedance striplines, thieving patterns need a lateral setback of at least four times the dielectric height separating the trace from its reference plane.
Standard IPC-2221 design rules require non-functional copper thieving features to retain absolute electrical isolation, maintaining a minimum 1.25-millimeter clearance from all ungrounded signal conductors and plated drill locations.
Around drill locations ~ including through-vias, microvias, and mechanical alignment holes ~ proper clearance prevents drill bit deflection, avoids shorts caused by drill wander, and ensures clean isolation. Standard anti-pad clearance requires a radius extending 0.5 millimeters beyond the nominal outer edge of the drilled hole anti-pad diameter. On high-voltage designs, clearance distances must scale per IPC-2221 electrical spacing tables to prevent dielectric breakdown under voltage transients.
Automated Layout Rules for Algorithmic Thieving Insertion
Modern CAM and EDA software can generate optimized thieving geometries automatically using predefined rule files. An automated thieving routine generally runs through the following sequence:
- Calculate local copper spatial density maps by dividing the target layer surface into an array of discrete sub-square analysis cells.
- Identify unetched dielectric clearance regions that fall below target spatial copper density thresholds and exceed minimum feature clearance boundaries.
- Apply keep-out boundaries around all functional signal traces, power buses, via anti-pads, tooling targets, and panel breakaway routing channels.
- Populate approved clearance zones with the selected thieving pattern geometry, automatically truncating fractional pattern elements that violate edge clearance limits.
- Re-evaluate spatial copper density centroids across all layers simultaneously to verify layer-to-layer mass symmetry before releasing manufacturing CAD files.
Automating this process delivers consistent panel density without tedious manual draughting. Proper layer balancing prevents hydrodynamic pressure spikes during pressing, stabilizing the inner layers against shift while safeguarding signal integrity across sensitive nets.
Maintaining uniform fill across open areas ensures predictable laminate movement during lamination, assuming core strain remains within design limits.
Strain
During thermal lamination, multilayer circuit boards experience complex, multi-axial strain fields. Press cycles run from room temperature up to 185 degrees Celsius or 215 degrees Celsius for high-Tg polyimide and FR-4 systems, holding at peak temperature and pressure for 60 to 90 minutes. Throughout this cycle, every material in the stack expands according to its own Coefficient of Thermal Expansion and elastic modulus.
Laminate cores consist of woven glass yarn impregnated with epoxy resin. The glass filaments provide high tensile strength and low thermal expansion (5 ppm per degree Celsius), which controls in-plane X-Y movement. The epoxy matrix expands far more aggressively, especially once temperatures pass the glass transition point (Tg).
In-plane CTE jumps from roughly 12 ppm per degree Celsius below Tg to over 60 ppm per degree Celsius above it, while Z-axis expansion spikes from 45 ppm per degree Celsius to more than 250 ppm per degree Celsius.
Mechanical Interplay of Glass Weave Alignment and Core Strain
Because the glass fibers carry most of the mechanical load along the warp (longitudinal) and weft (transverse) directions, anisotropic strain is inherent to thin laminate cores. Warp yarns are held under higher mechanical tension during weaving than weft yarns, causing laminates to expand and contract unevenly along orthogonal axes during pressing.
Copper foil acts as a mechanical restraint. Solid copper features stiffen the composite core thanks to copper’s high tensile modulus (110 GPa at 20 degrees Celsius). When an inner layer contains large open areas next to solid copper pours, the bare dielectric expands and contracts at the rate of the resin-rich composite, while the copper-covered area is constrained by the metal.
This mismatch sets up severe shear strain right along the boundary between the two zones.
During a standard 185-degree Celsius thermal lamination cycle, an un-thieved 100-micrometer core experiences in-plane shear strains exceeding 0.35 percent across density boundaries, displacing feature coordinates up to 45 micrometers off nominal target centers.
This localized shear strain causes core distortion, locked-in internal stress, and dimensional creep. When multiple unbalanced layers are combined in high-layer-count panels (such as 18-layer or 24-layer boards), differential shear strains across adjacent cores accumulate non-linearly, pulling internal tooling targets well out of alignment with external pin systems.
Is Pinless Lamination Capable of Suppressing Pattern Induced Scale Variance?
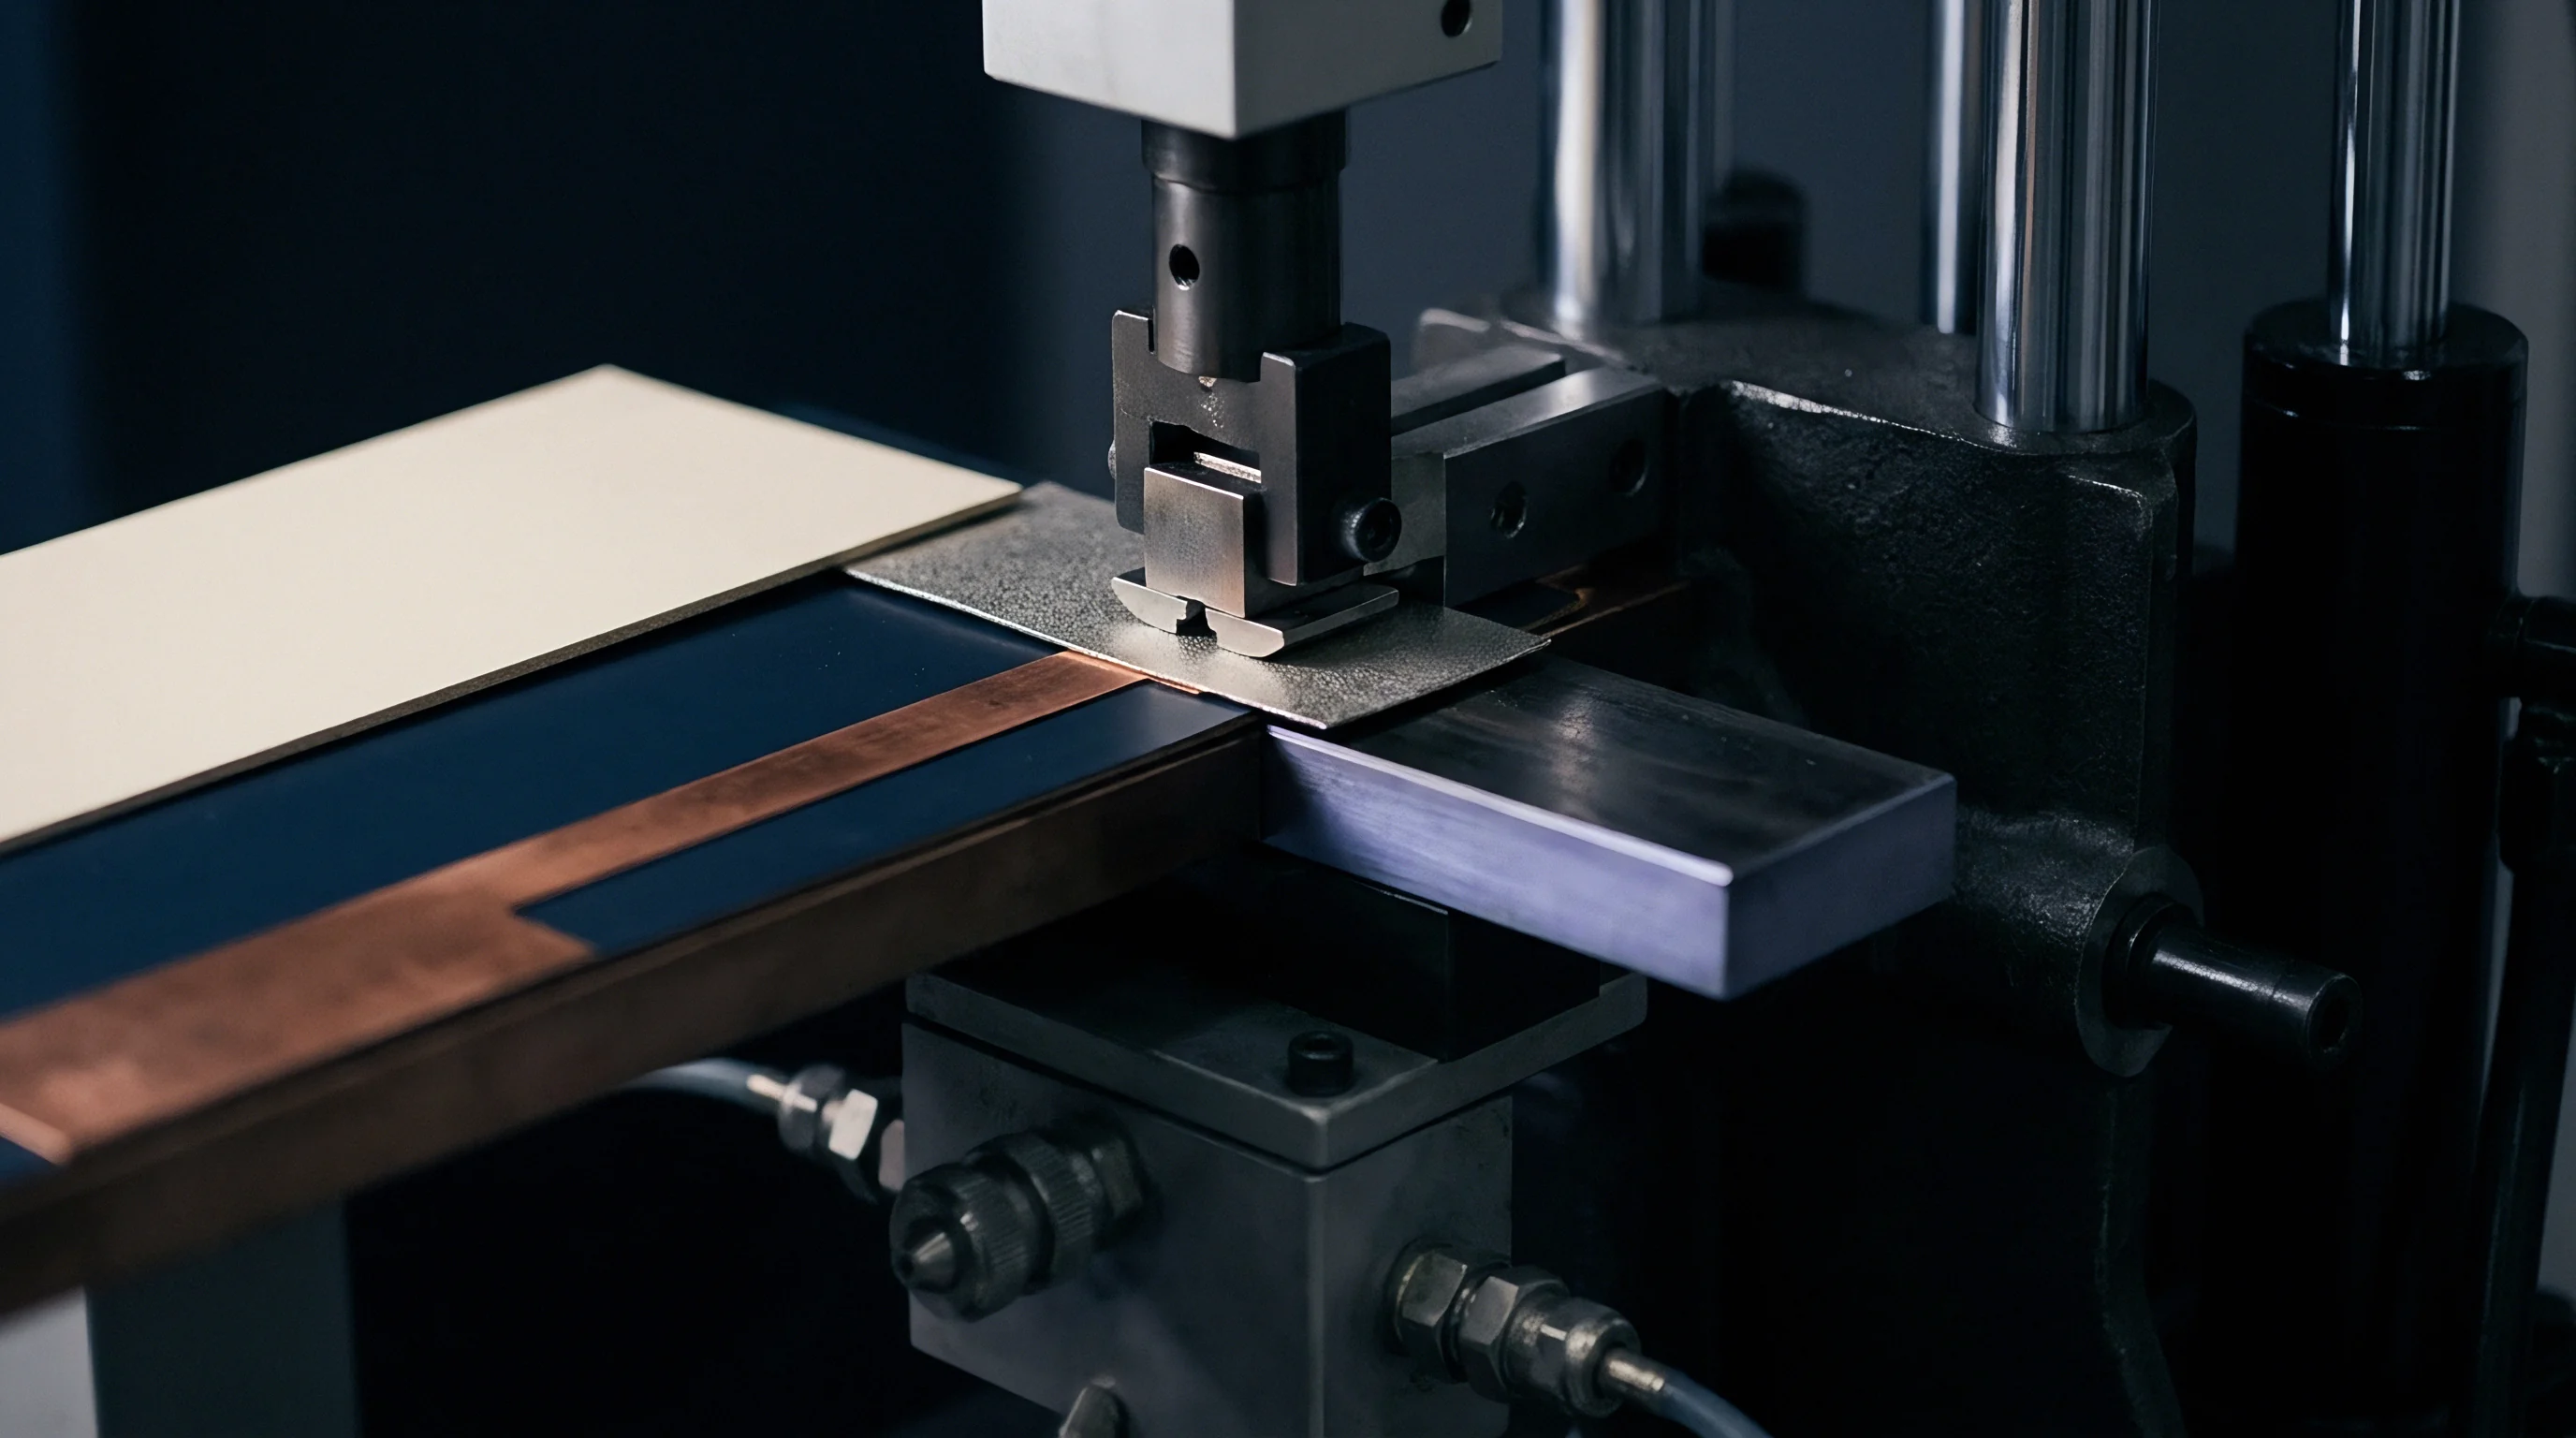
Modern fabrication shops often rely on pinless lamination, using induction heating and optical alignment targets to register inner layers before pressing. Instead of heavy steel pinning plates that mechanically clamp panel perimeters with dowel pins, pinless systems bond the core package using ultrasonic spot welds or localized thermal rivets. Once tacked, the unpinned stack depends entirely on interlayer friction and balanced internal forces to maintain registration through melt and cure.
Pinless lamination eliminates pin wear and relieves edge stress concentrations, but it does not prevent pattern-induced scale variation. Without balanced thieving, thermal expansion forces easily overcome the shear strength of localized spot welds during the low-viscosity prepreg gel phase. With no physical perimeter pins to hold the stack rigid, unbalanced cores slide, warp, and scale non-uniformly across X and Y.
To compensate for dimensional shifts during pressing, fabricators calculate scaling factors that offset predictable laminate shrinkage using low-order polynomial adjustments (typically in parts per million or millimeters per meter):
Delta_L = L_nominal ( Alpha_laminate Delta_T + Scale_factor )
When inner-layer copper distribution is balanced with thieving, scale factors remain linear and uniform across the panel, allowing standard optical target drills to hit internal via pads cleanly. When copper distribution is uneven, scale factors become irregular and non-linear. CAM systems cannot reliably compensate for localized, non-linear distortion, leading to drill misregistration and annular ring breakout on internal features.
Predictable dimensional scaling allows precision drilling processes to achieve target hit rates consistently across production lots, setting up direct compliance verification against structural standards.
Verification
Confirming that inner-layer thieving has controlled thermal lamination shift requires strict structural and dimensional inspection. Verification ensures layer registration stays within process limits before panels move into costly operations like sequential drilling, outer-layer imaging, and surface plating. The goal is simple: quantify drill-to-copper alignment accuracy across all internal layers simultaneously.
Inspection starts non-destructively using industrial X-ray registration measurement systems. These scan embedded metal targets located in all four corners and the center of the panel stackup. By measuring concentricity offsets between overlapping target pads on layers 2 through N, the system calculates directional shifts (dx, dy), rotational skew (theta), and scaling errors across every internal layer.
Microsectioning Protocols and IPC Acceptance Criteria
Physical cross-sectioning (microsectioning) provides direct, high-resolution proof of layer registration and structural integrity. Microsection coupons are cut from standardized test locations in panel drop-out borders and active areas, polished to a 1-micrometer diamond slurry finish, and inspected under an optical microscope per IPC-TM-650 Method 2.1.1.
Microsections are checked against core IPC specifications, primarily IPC-6012 (Qualification and Performance Specification for Rigid Printed Boards) and IPC-A-600 (Acceptability of Printed Boards). The decisive measurement is internal annular ring width ~ the minimum distance between the drilled hole wall and the edge of the internal copper pad.
IPC-6012 Class 2 permits up to 90 degrees of annular ring breakout on internal layers, provided minimum hole wall clearances are met. IPC-6012 Class 3 (for high-reliability military, medical, and aerospace builds) allows zero breakout; Class 3 designs require a continuous minimum internal annular ring width of 50 micrometers (0.002 inches) after accounting for drill wander, lamination shift, and etch undercut.
Registration Tolerance Stack Calculations
Meeting IPC Class 3 requires managing a tight multi-variable tolerance budget. Thermal lamination shift is often the single largest contributor to registration error. The table below outlines a typical production tolerance stack budget for a high-reliability 16-layer PCB built on high-Tg FR-4 material.
| Tolerance Error Source | Un-thieved Core Variance (3-Sigma) | Balanced Thieved Core Variance (3-Sigma) | Process Control Mechanism |
|---|---|---|---|
| CAD Artwork / LDI Imaging Drift | +/- 8 micrometers | +/- 8 micrometers | Laser Direct Imaging Environment Control |
| Inner Layer Etch Factor Variance | +/- 10 micrometers | +/- 6 micrometers | Automatic Optical Inspection (AOI) / Etch Compensation |
| Thermal Lamination Core Shift | +/- 38 micrometers | +/- 12 micrometers | Balanced Copper Thieving Patterns |
| Prepreg Scale Factor Non-Linearity | +/- 25 micrometers | +/- 7 micrometers | Predictive Material Scaling Models |
| X-Ray / Primary CNC Drill Spindle Drift | +/- 15 micrometers | +/- 15 micrometers | Dynamic Spindle Calibration / X-Ray Target Optimization |
| Total Root-Sum-Square (RSS) Error | +/- 49.8 micrometers | +/- 22.8 micrometers | Statistical Tolerance Stack Budget Verification |
Using balanced copper thieving drops total Root-Sum-Square (RSS) layer registration error from roughly 50 micrometers down to under 23 micrometers. This reduction restores needed process margin, preventing annular ring breakout and ensuring reliable structural compliance on high-density interconnect boards.
When evaluating fabricator capability dossiers, look at specific process metrics rather than generic plant claims:
- Statistical process control charts tracking X-ray drill registration targets must prove 3-sigma layer movement remains below 15 micrometers across consecutive high-layer-count production runs.
- Microsection capability dossiers must show zero internal annular ring breakout across Class 3 test coupon lots over a continuous 90-day production window.
- CAM automatic layout generation protocols must mandate global copper spatial density balancing across every un-thieved layer clearance region exceeding 20 square millimeters.
- Lamination platen temperature uniformity profiles across the pressing area must hold within a tight maximum variance window of +/- 3 degrees Celsius.
Under standard procurement terms governed by IPC-6012 Section 3.4.2, bare board shipments with internal misregistration that violates specified minimum annular ring widths face immediate lot rejection at incoming inspection, with scrap costs and replacement lead times falling entirely on the fabricator.
Yield
Inner-layer copper balancing directly affects panel pricing, scrap rates, and landed manufacturing costs. In bare-board fabrication, profitability comes down to usable panel yield. A standard 18-inch by 24-inch panel represents a fixed investment in core laminates, prepreg, copper foil, energy, press time, and labor.
Scrapping a panel late in the process ~ after imaging, etching, lamination, and primary drilling ~ destroys margins quickly.
Unthieved high-layer-count panels frequently fail microsection inspection due to non-linear lamination shift. On 16-layer to 24-layer builds with severe copper density mismatches, first-pass lamination yield can plummet to 82 percent. The lost 18 percent stems from pad breakout, panel twist, or out-of-spec dielectric thickness.
Adding automated spatial thieving across all inner layers pulls first-pass yields above 98.5 percent, eliminating scrap spikes and stabilizing shop-floor scheduling.
Panel Area Economics and Scrap Mitigation
To see the financial impact of thieving-driven yield improvements, take a high-reliability production run of 1,000 finished multilayer PCBs on a 16-layer stackup using mid-loss, high-Tg FR-4. An 18-inch by 24-inch panel yields six individual working boards in array format, requiring a baseline run of 167 panels at 100 percent yield.
Running un-thieved panels at an 82 percent yield means the shop must start 204 master panels to deliver those 1,000 boards, scrapping 37 panels along the way. At a cost of $420 per panel for 16-layer raw materials and processing, that yield loss adds $15,540 in scrap costs, raising unit cost by $15.54 per finished board.
When inner layers include balanced thieving grids, yield rises to 98.5 percent. The shop needs to process only 170 master panels to fill the order, scrapping just 3 panels. Total scrap cost drops to $1,260, saving $14.28 per board.
Across a 10,000-unit production volume, proper thieving design preserves over $140,000 in gross manufacturing capital.
Fabricator Capability Windows and Quoting Price Steps
Balanced inner layers also widen the pool of qualified board shops that can bid competitively. Fabricators generally fall into three capability tiers based on the layer-to-layer registration tolerances they can hold in volume:
Tier 3 commercial shops hold registration within +/- 50 micrometers. These facilities run low-cost automated lines geared toward high-volume, low-layer-count consumer goods. Unthieved inner layers with high thermal distortion consistently fail registration here, forcing buyers to source from higher-cost tiers.
Tier 2 precision shops hold registration within +/- 25 micrometers using optical pinless lamination and high-precision laser direct imaging. With balanced thieving, Tier 2 shops can process 12-layer to 20-layer boards at standard volume rates without yield markups or engineering surcharges.
Tier 1 specialized shops hold registration within +/- 12 micrometers using advanced X-ray target optimization, specialized vacuum presses, and tight cleanroom environmental controls. An unbalanced, un-thieved design often requires Tier 1 handling just to survive lamination shift, carrying panel price surcharges of 35 percent to 65 percent above market baseline.
Enforcing copper thieving rules early in CAD lowers the barrier to manufacture. Well-balanced boards run smoothly through standard Tier 2 shops, keeping unit costs down, shortening quoting cycles, and preserving vendor flexibility.