Evaluating Polyimide Dielectric Selection and Layer Transitions in Flexible Stackups
Specifying adhesiveless polyimide dielectric and staggered rigid-flex transition offsets prevents interfacial delamination and microvia fatigue in dynamic flexing.
Grade
Flexible stackups depend on the structural integrity of thin polyimide core dielectrics under thermal and mechanical strain. The base polymer material dictates electrical signal speed and attenuation on high-frequency transmission lines, while determining how well the circuit handles assembly reflow temperatures and repeated bending cycles. Standard flex constructions fall into two material families: adhesive-based laminates that join copper foil to polyimide film using acrylic or epoxy bonding layers, and adhesiveless laminates where copper resides directly on the polymer substrate through cast, electrodeposited, or vapor-deposited manufacturing routes.
Eliminating adhesive layers reduces the dielectric profile, improves thermal dissipation, and removes a major driver of z-axis thermal expansion failures during automated soldering.
Adhesiveless Polyimide versus Adhesive Bonded Laminates
Adhesive-based flexible laminates introduce a thermal weakness into rigid-flex and flex stackups. Modified acrylic and epoxy bonding films have glass transition temperatures below 100 degrees Celsius, alongside z-axis coefficient of thermal expansion values exceeding 200 parts per million per degree Celsius above that transition point. When subjected to lead-free reflow profiles reaching 260 degrees Celsius, these internal adhesive layers soften and expand rapidly, driving destructive tensile stresses into copper plated through holes until plating barrels crack where soft adhesive meets hard copper foil.
Adhesiveless polyimide laminates, governed by IPC-4204/11 for cast constructions and IPC-4204/1 for laminated types, eliminate intermediate bonding layers completely. Cast adhesiveless materials deploy liquid polyamic acid directly onto rolled annealed or electrodeposited copper foil, followed by high-temperature imidization. This molecular interface yields bond strengths exceeding 1.2 newtons per millimeter while maintaining substrate dielectric thickness down to 12.5 micrometers.
Laminated adhesiveless structures use a thin layer of thermoplastic polyimide as a hot-melt core sandwiched between high-modulus polyimide films. Both adhesiveless formats maintain dimensional stability within 0.05 percent following thermal exposure, preventing registration drift across high-density interconnect routing.
Adhesiveless polyimide laminates certified to IPC-4204/11 hold a glass transition temperature exceeding 310 degrees Celsius and exhibit z-axis thermal expansion below 50 parts per million per degree Celsius up to 250 degrees Celsius.
Including acrylic bonding films increases the overall dielectric loss tangent, limiting performance in high-speed digital and microwave links. Acrylic adhesives exhibit a dissipation factor near 0.025 at 10 gigahertz, converting signal energy into localized thermal dissipation. Cast adhesiveless polyimide maintains a dissipation factor between 0.0025 and 0.0035 at the same frequency, enabling controlled-impedance lines to run over longer distances without signal degradation.
The following failure modes originate from adhesive bonding layers inside multilayer flexible stackups during thermal processing:
- Barrel cracking occurs when z-axis thermal expansion of soft acrylic adhesive pulls electrodeposited copper plating away from hole walls during reflow.
- Blistering delamination arises from trapped moisture volatilizing within low-density adhesive matrices at temperatures above 220 degrees Celsius.
- Pad lifting results from diminished shear strength at the adhesive interface during manual rework or secondary soldering operations.
- Impedance drift stems from variable adhesive flow pressing into adjacent trace clearance voids during press lamination.

Dielectric Property Dispersion and Moisture Dynamics
Polyimide polymer chains absorb atmospheric water vapor because of polar imide groups within their molecular structure. Standard polyimide films retain between 1.5 percent and 3.0 percent moisture by weight in ambient operating humidity. Water carries a relative permittivity of approximately 80 at room temperature, so absorbed moisture raises the effective dielectric constant of polyimide from its nominal dry value of 3.2 up to 3.8, altering signal propagation velocity and dropping differential impedance by as much as 8 ohms on nominal 100-ohm traces.
Microvia thermal shock testing shows that absorbed water converts to high-pressure steam within substrate voids during rapid reflow ramps. Pre-baking flexible cores at 120 degrees Celsius for four to six hours prior to lamination and component assembly drives out entrapped volatile content, securing structural adhesion across interface surfaces.
| Material Construction | IPC Standard | Dielectric Constant at 10 GHz | Dissipation Factor at 10 GHz | Glass Transition (Tg) | Moisture Absorption Rate |
|---|---|---|---|---|---|
| Cast Adhesiveless Polyimide | IPC-4204/11 | 3.20 | 0.0030 | 330 °C | 1.3% |
| Laminated Adhesiveless Polyimide | IPC-4204/1 | 3.35 | 0.0038 | 290 °C | 1.8% |
| Epoxy Adhesive Polyimide Core | IPC-4204/3 | 3.60 | 0.0150 | 150 °C | 2.5% |
| Acrylic Adhesive Polyimide Core | IPC-4204/2 | 3.75 | 0.0250 | 95 °C | 2.8% |
Specifying low-moisture polyimide chemistries containing fluoropolymer blends keeps ambient water uptake below 0.8 percent. These hybrid materials retain stable permittivity across temperature shifts from minus 40 degrees Celsius up to 125 degrees Celsius. Sourcing lower-grade adhesive-backed films to shave upfront material costs risks latent field failures that erode operational margin through post-assembly warranty claims.
Seam
Where rigid glass-reinforced epoxy sections meet thin flexible polyimide cores is the most mechanically vulnerable region of a rigid-flex printed circuit board. Stress concentrations accumulate at this hard-to-soft transition seam whenever the assembly bends during installation or dynamic operation. Uncontrolled strain at the rigid board edge shears signal traces, lifts outer coverlays, and fractures internal copper ground foils.
Structurally durable transitions require staggered physical layer overlaps, flexible coverlay extensions, and liquid strain-relief beads applied along the interface border.
Rigid Flex Junction Mechanical Geometry
Transition seams split mechanical forces into shear and tensile components. Terminating flexible coverlays, prepreg cores, and rigid FR-4 glass layers along a single vertical line creates a severe stress riser; dynamic flexing along a unified termination plane causes metal fatigue in copper conductor traces inside fifty bend cycles.
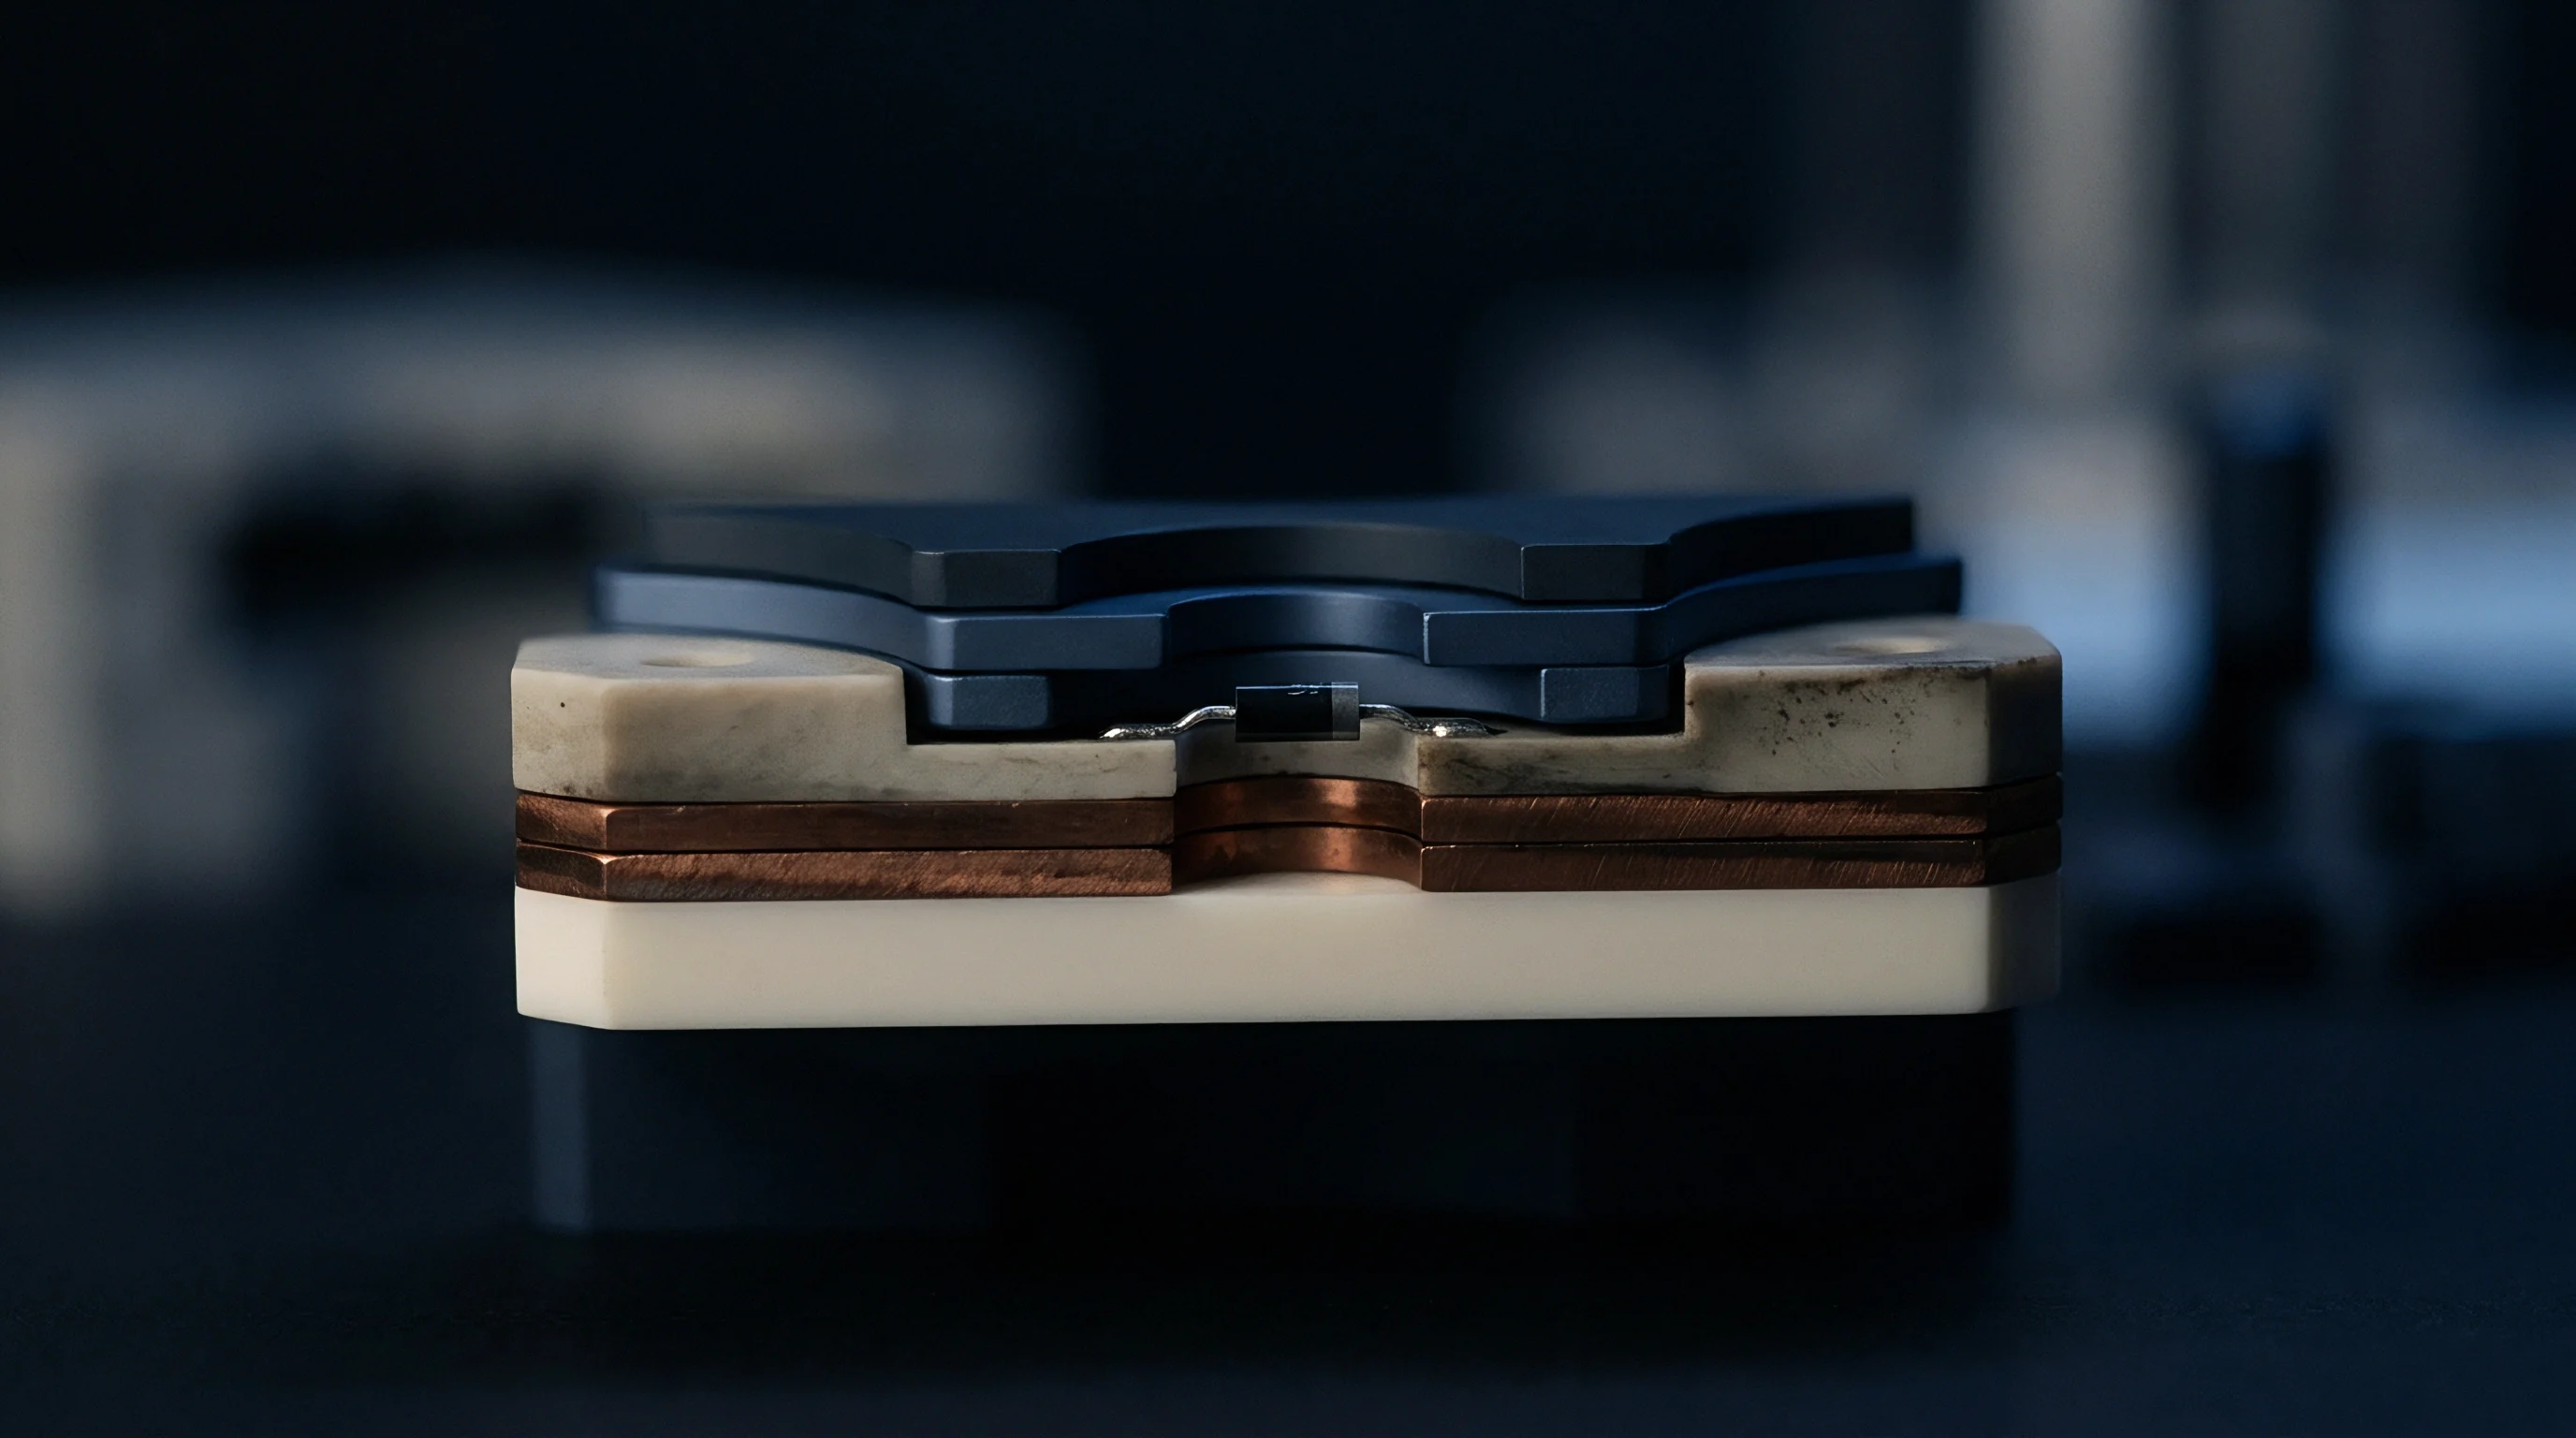
To disperse localized strain, stackup designs implement staggered layer transitions. Each layer interface terminates at a distinct horizontal offset, stepping the transition boundary over a distance of at least 1.0 millimeter per step. Rigid glass-epoxy prepreg sheets step back first, followed by outer rigid copper foils, leaving the internal polyimide flexible core free to exit the rigid boundary without contacting sharp corners.
IPC-2223 section 5.2.3 mandates a minimum offset distance of 0.5 millimeters between adjacent rigid-to-flex coverlay and prepreg termination lines to eliminate single-point mechanical failure zones.
How Do Staggered Coverlays Mitigate Stress Concentration?
Polyimide coverlay films pre-coated with acrylic or epoxy adhesives encapsulate outer flex conductors, serving as moisture barriers and primary dielectric insulation. Extending the flexible coverlay a minimum of 1.5 millimeters inside the rigid epoxy-glass area sandwiches the film securely between rigid prepreg laminates, preventing coverlays from peeling back under repeated flexure.
Solder mask applied over rigid outer layers must stop short of the flex interface. Brittle liquid photoimageable solder mask cracking on top of a dynamic flex seam releases sharp flakes that punch through underlying thin polyimide insulation films, inducing direct inter-layer electrical shorts.
Design teams apply the following mechanical rules when drafting transition interfaces between rigid and flexible sections:
- Offset termination steps keep internal coverlay, prepreg, and rigid laminate edges separated by a minimum of 0.8 millimeters along the horizontal plane.
- Adhesive exclusion channels stop internal bonding films 2.0 millimeters back from the rigid boundary line to prevent acrylic adhesive squeeze-out into flexible unbonded regions.
- Conductor routing perpendicularity forces all signal traces to cross the rigid-flex seam line at ninety-degree angles to balance tensile loading.
- Trace width broadening expands signal conductors by 20 percent through the transition zone to resist mechanical shear forces.
- Fillet radius additions eliminate sharp internal corners on flexible outer contours where tear stresses concentrate during dynamic bending.
Strain Relief Sealing and Bead Application
Applying a flexible bead of polymer material along the exposed outer edge where the rigid board section meets the flex core absorbs residual bending strain. Polyurethane, flexible epoxy, or silicone-based sealants serve as effective strain relief materials. The sealant must wet both the FR-4 rigid outer edge and the polyimide coverlay surface, forming a smooth ramp that forces the minimum bend radius away from the physical transition joint.
Overlooking physical clearance for strain relief bead dispensing causes assembly fit issues when boards slide into tight enclosure slots. Automated dispensing systems require a 1.5-millimeter smooth surface channel along the seam line to deposit strain relief materials consistently without contaminating nearby component mounting pads. Contractual fabrication drawings must define the exact sealant compound, cure schedule, and bead geometry required across transition edges.


Transit
Routing electrical signals and power across multiple flexible layers demands stable interlayer connections, particularly where blind microvias or buried vias reside near mechanical transition zones. Plated through holes placed too close to rigid-flex transition seams experience severe mechanical shear stresses during panel handling, thermal expansion, and repeated flexural cycles. Plating integrity inside small-diameter holes depends on controlled drill geometry, effective desmear preparation, and matching thermal coefficients across all structural materials.

Interlayer Connectivity across Transition Interfaces
Via barrels residing within 3.0 millimeters of a rigid-flex transition boundary experience mechanical stress amplification. The elastic modulus mismatch between glass-reinforced FR-4 sections (20 gigapascals) and unbonded polyimide flex cores (4 gigapascals) forces mechanical strain directly into nearby plated copper cylinders. Under thermal cycling, differential z-axis expansion drives shear forces along the barrel, inducing circumferential cracks inside the plated copper wall.
Moving plated through holes away from transition seams lowers mechanical failure rates. Maintaining a minimum clearance of 3.175 millimeters between plated hole outer edges and the nearest rigid-flex transition line isolates the plated copper structure from localized bending moments. Buried microvias within the flex core must rely on direct copper-to-copper microvia capture pads without intermediate acrylic adhesive layers to avoid z-axis tearing.
Aspect ratios for mechanically drilled vias within flexible core sections must remain under 6:1 to allow full fluid exchange during electroplating bath agitation. Microvias formed by carbon dioxide or ultraviolet laser ablation achieve clean wall profiles down to 75-micrometer diameters when drilling through unreinforced polyimide dielectrics.

Microvia Reliability in Flex Dielectrics
Laser microvias in flexible substrates require plasma desmear processing rather than chemical permanganate etch treatments. Chemical desmear solutions attack polyimide films aggressively, causing localized undercut and creating void pockets beneath copper capture pads. Fluorine-based plasma etching clears resin debris from copper target land surfaces cleanly without compromising substrate structural adhesion.
| Via Type | Substrate Base Chemistry | Clearance to Transition Seam | Reflow Peak Temperature | Mean Cycles to Failure |
|---|---|---|---|---|
| Through Hole Plated Via | Adhesiveless Polyimide + FR-4 | 5.0 mm | 260 °C | 1,450 |
| Through Hole Plated Via | Adhesiveless Polyimide + FR-4 | 1.0 mm | 260 °C | 380 |
| Through Hole Plated Via | Acrylic Adhesive + FR-4 | 5.0 mm | 260 °C | 220 |
| Stacked Laser Microvia | Adhesiveless Polyimide | 3.0 mm | 260 °C | 2,100 |
Fabricators operating standard commercial lines often struggle to hold microvia target pad registration on thin flexible cores due to web dimensional shrinkage. Standard fabrication notes for transition zone microvias specify clear inspection parameters to avoid latent open circuits during burn-in screening.
Fabrication notes on production master drawings must explicitly specify the following layer transition and interlayer connectivity parameters:
- Absolute exclusion boundaries prohibit plated through holes, blind microvias, and via capture pads within 3.175 millimeters of any rigid-flex transition seam.
- Plasma desmear specifications require fluorine-oxygen gas ratios calibrated to eliminate resin smears on internal copper target lands without undercutting polyimide dielectric walls.
- Copper plating thickness targets mandate a minimum of 20 micrometers of electrodeposited copper inside microvia barrels and 25 micrometers on surface interconnect pads.
- Unbonded flex layer notes mandate zero adhesive flow into dynamic flex regions, verified by cross-sectional microsection analysis per IPC-TM-650 Method 2.1.1.
Interlayer barrel cracking within transition regions can stem from customer artwork layout errors as well as poor desmear chemistry or inadequate copper plating bath circulation.
Arithmetic
Calculating the exact mechanical stress and neutral axis location across flexible layer transitions determines whether a dynamic stackup survives millions of flexure cycles or fails during initial functional testing. Compressive and tensile forces distribute unevenly across multi-layer flexible circuits during bending: outer layers endure maximum tension, while inner radii undergo severe compression. Positioned precisely along the structural center line sits the neutral axis, where strain equals zero.
Placing thin copper signal conductors directly on or near this calculated neutral axis prevents compressive buckling and tensile copper fatigue.
Neutral Axis Positioning in Dynamic Multilayer Flex
Multilayer flexible circuits deployed in dynamic applications like robotic joints or slide mechanisms require mathematically balanced dielectric and copper layer profiles. Stackups constructed with asymmetric foil weights or uneven coverlay thicknesses shift the structural neutral axis away from the geometric center line, exposing copper conductors to destructive cyclic mechanical stresses.
The formula determining the location of the neutral axis within a multi-layer composite beam sums the product of each layer’s elastic modulus, thickness, and centroid location, divided by the total flexural rigidity of the stackup. When layer dielectric materials possess similar elastic modulus values, the calculation simplifies to a thickness-weighted moment balance across all structural components.
The step-by-step procedure for determining neutral axis positioning and conductor strain within a flexible stackup follows this mathematical progression:
- Measure the precise thickness and record the elastic modulus for every individual copper foil, polyimide substrate, and coverlay adhesive layer inside the flex construction.
- Establish a zero-datum reference plane along the bottom external surface of the lowest flexible coverlay film.
- Calculate the distance from the zero-datum plane to the geometric centroid of each structural layer within the composite stackup.
- Multiply each layer’s cross-sectional thickness by its material elastic modulus and its centroid distance to calculate individual bending moments.
- Sum all individual layer bending moments and divide that total by the sum of each layer’s thickness-modulus product to find the absolute neutral axis location.
- Calculate the outer conductor tensile strain using the ratio of half the total flex thickness to the specified bend radius.
Worked Stackup Strain Evaluation
A double-sided unbonded flexible circuit construction illustrates this mechanical balance. Assume a central adhesiveless polyimide dielectric core of 50 micrometers thickness, clad on both sides with 18-micrometer rolled annealed copper foil. Coverlay films of 25-micrometer polyimide with 25-micrometer acrylic adhesive encapsulate both outer surfaces, establishing an overall flexible assembly thickness of 161 micrometers.
Both polyimide core and coverlay films share a similar elastic modulus of 4.0 gigapascals, while the acrylic adhesive measures 1.0 gigapascal and rolled annealed copper measures 110 gigapascals. Due to symmetrical material placement around the core dielectric center line, the neutral axis lands exactly at 80.5 micrometers from either outer coverlay boundary, placing both copper foils at equal distances from the zero-strain plane.
Bending this 161-micrometer total thickness flex assembly around a 10-millimeter radius curve induces outer conductor strain calculated through plain geometric relationships. The maximum strain equals the distance from the neutral axis to the outermost copper fiber divided by the sum of the bend radius and the neutral axis offset:
Strain = (25 um coverlay + 25 um adhesive + 18 um copper – neutral axis offset distance) / Bend Radius
Strain = (68 um – 80.5 um) / 10,000 um = -0.00125, representing a maximum compressive or tensile strain magnitude of 0.125 percent. Rolled annealed copper certified to IPC-4562 withstands dynamic strain levels up to 0.50 percent for over one million flexure cycles without micro-fracturing. Replacing rolled annealed copper with stiffer electrodeposited copper limits maximum allowable strain to 0.15 percent before micro-voids coalesce into total electrical open circuits.
As a general rule, the minimum bend radius for a dynamic flexible circuit must equal at least ten times the total flex core thickness for single-sided builds, twenty times thickness for double-sided constructions, and thirty times thickness for unbonded multilayer stackups.
Margin
Specifying complex flexible stackups without evaluating master manufacturing panel layouts creates severe yield losses and drives board costs up rapidly. Base polyimide raw materials, especially adhesiveless cores, arrive at fabrication facilities in continuous rolls or standard sheet dimensions like 457 millimeters by 610 millimeters. Nesting irregular flexible circuit outlines, long ribbon cables, and L-shaped rigid-flex geometries on standard panels determines the physical utility factor, and panel scrap directly drives up unit board costs.
Panel Conversion Efficiency from Flexible Roll Materials
Flexible materials behave much like textiles during mechanical handling. Thin polyimide core sheets deform under registration tension, forcing fabricators to maintain larger tooling borders and optical target clearances than those required for rigid FR-4 panels. Standard rigid-flex panels reserve up to 25 percent of peripheral panel border area for tooling holes, optical alignment targets, impedance test coupons, and breakaway tab routing channels.
Array designs nesting rigid-flex outlines require wide spacing between individual circuits to allow routed cutouts and coverlay strain relief bead clearance. Nesting L-shaped or modular flex geometries side-by-side in interlocking layouts increases panel conversion efficiency from 40 percent to over 70 percent, instantly dropping unit circuit prices.
| Stackup Configuration | Layer Count | Base Material Type | Panel Utilization Factor | Fabrication Yield | Relative Unit Board Cost Index |
|---|---|---|---|---|---|
| Adhesive-Free Rigid-Flex (Staggered Seams) | 4 Layer (2 Flex + 2 Rigid) | Cast Adhesiveless Polyimide | 68% | 88% | 1.00 |
| Adhesive-Free Rigid-Flex (Unified Seams) | 4 Layer (2 Flex + 2 Rigid) | Cast Adhesiveless Polyimide | 68% | 62% | 1.42 |
| Adhesive-Bonded Rigid-Flex | 4 Layer (2 Flex + 2 Rigid) | Acrylic Adhesive Polyimide | 71% | 74% | 1.12 |
| Unbonded Air-Gap Rigid-Flex | 6 Layer (4 Flex + 2 Rigid) | Cast Adhesiveless Polyimide | 52% | 78% | 1.85 |
Cost Structures of Unbonded Layers versus Stiffeners
Designing multilayer flex sections with unbonded air-gap layers improves physical flexibility by allowing individual two-layer flex cores to slide past one another independently during bending. Building unbonded flex sections requires separate coverlay application cycles, laser trimming steps, and handling fixtures for each loose flex element. These additional process operations increase front-end fabrication costs compared to unified bonded flex cores.
Rigid-flex boards containing unbonded layers incur a 35 percent manufacturing price premium over stiffened flex equivalents. Stiffened flex stackups utilize a single continuous flexible circuit substrate, adding localized stainless steel, aluminum, or thick polyimide stiffeners underneath component mounting areas using pressure-sensitive adhesive. Where mechanical envelopes permit, stiffened flex circuits provide equal mechanical support for Surface Mount Technology components at a reduced landed unit cost.
Fabricator quoting engines calculate unit board pricing using total panel material consumption, total lamination press cycles, laser drilling duration, and final electrical testing yields. Selecting lower-cost adhesive-bonded laminates to reduce initial material charges frequently backfires when elevated reflow rejection rates destroy final panel yield on the assembly floor.
How much panel scrap can an enterprise sourcing practice tolerate before shifting a dynamic flex design from an unbonded multilayer rigid-flex construction over to a modular stiffened flex assembly?