Setting Clearance Spacing for Secondary Reflow Mitigation in Surface Mount Boards
Maintaining secondary clearance spacing above component height ratios prevents convective shadowing and stops inverted solder joint remelt detachment during reflow.
Gap
High component density on modern surface mount assemblies leaves little room between adjacent packages. On double-sided SMT boards, the physical clearance between components on both sides directly influences thermal behavior during the second reflow pass. When primary-side components hang inverted inside the oven during secondary reflow, solder joints formed in the first pass are reheated.
If spacing around these inverted parts is tight, air flow and radiant heat distribution across the substrate become uneven.
Convective heat transfer in a multi-zone reflow oven depends on maintaining uniform gas velocity across the board. The local convective heat transfer coefficient scales with fluid velocity and boundary-layer turbulence. Tall components ~ like electrolytic capacitors, headers, aluminum heatsinks, and power inductors ~ physically obstruct forced air.
Placing a tall package on the secondary side next to lower-profile parts disrupts the local velocity field.
Standard layout guidelines rarely account for thermal shadowing during secondary reflow. Rules in IPC-2221 and IPC-7351 focus mainly on optical inspection clearance, pick-and-place nozzle access, and rework tool clearance. While standard spacings of 0.25 millimeters for 0402 passives and 0.50 millimeters for small-outline ICs accommodate placement tolerances, they fall short of preventing thermal gradients when inverted components are reheated in a second reflow pass.

Convective Air Flow Dynamics around Tall Packaging
Gas flow through a reflow tunnel forms a thermal boundary layer over the board surface, with local Reynolds numbers defining how gas moves around individual components. As heated air or nitrogen hits a tall package of height H, it slows down and forms a stagnation zone along the leading face. Separation then occurs at the upper edge of the package, leaving a recirculating wake behind it.
Inside this wake, gas velocity falls far below the free-stream convection speed of the tunnel. Solder pads placed closer than twice the component height receive significantly less convective heat, with the local heat transfer coefficient dropping by thirty to fifty percent within the separation shadow. Solder paste deposits or secondary-side joints sitting in this wake lag thermally behind the rest of the board.
Boundary layer detachment causes localized thermal deficits during ramp-up and liquidus dwell. If a fine-pitch QFN or BGA on the secondary side sits in the wake of a tall inductor, pads along the shielded edge reach liquidus later than exposed outer pads. This imbalance leads to non-simultaneous reflow across the land pattern, where joints on the exposed side melt while shadowed joints remain below liquidus.
Unbalanced melting across a single footprint creates asymmetrical surface tension. Molten solder on the hotter side pulls laterally on the lead or ball, while unmelted solder on the shadowed side acts as a rigid pivot. This force differential leads to component skew, tombstoning, or un-wetted pins.
Increasing lateral spacing between tall packages and nearby secondary components helps prevent boundary layer separation.
Secondary reflow stability depends on maintaining uniform convective velocity across inverted component bodies during peak thermal exposure.
Convective flow modeling shows that required clearance on double-sided boards scales directly with height differences between neighboring parts. Maintaining a ratio of clearance distance S to package height H above 1.5 ensures stable boundary layer reattachment along the board surface. For a 6.0 millimeter tall transformer, adjacent secondary components require at least 9.0 millimeters of lateral clearance to keep flow separation zones clear of neighboring solder joints.
Convective shadowing reduces heat delivery to smaller parts, where local thermal mass determines how quickly solder joints reach reflow temperatures.
Radiation Blockage and Thermal Gradients across Adjacent Lands
Infrared emission from top and bottom heating panels transfers energy directly to exposed copper and package surfaces. This radiation transfer follows the Stefan-Boltzmann law, with energy flux governed by surface emissivity and the view factor between the heating panel and the board target. Tall packages block direct line-of-sight radiation from reflow heaters to nearby low-profile lands.
The view factor F12 defines the fraction of radiant heat from an oven panel that strikes a solder pad directly. When an adjacent component casts an infrared shadow, direct F12 drops toward zero, leaving the shadowed pad reliant on lateral conduction through copper planes and local gas convection. Internal copper thickness and trace density then dictate how quickly heat moves sideways into the shadowed area.
Thermal gradients across land patterns cause significant defects during secondary reflow. The main goal when reflowing an inverted assembly is keeping bottom-side joints cool enough that the alloy does not soften and drop components, while top-side joints reach full liquidus wetting. When clearance around inverted primary parts is overly tight, trapped heat raises local temperatures above liquidus, leading to unintended remelting.
Setting clearances for secondary reflow involves balancing two competing constraints. Wider spacing reduces flow stagnation and infrared shadowing on top-side components. At the same time, adequate spacing around heavy inverted parts on the bottom side prevents localized heat accumulation that could cause upside-down joints to pass critical remelt thresholds.
Insufficient physical separation leads to cold solder joints, secondary bridging, and manual rework.
Mass
Gravity acts continuously on inverted components during the second reflow pass. As the assembly moves through the tunnel, parts on the underside experience peak temperatures near or above the solder alloy’s liquidus point. Retaining these inverted components depends entirely on whether capillary surface tension from the molten solder can overcome gravitational pull.
A component’s mass relative to its total wetted pad area determines its vulnerability to dropping. Small passives like 0402, 0603, and 0805 chips have high surface-area-to-weight ratios; molten solder surface tension holds them securely even if the joint completely remelts. Heavy packages ~ such as high-pin-count BGAs, shielded inductors, large electrolytic capacitors, and edge connectors ~ have much lower surface-area-to-weight ratios.
Evaluating secondary reflow stability requires calculating the mass-to-contact-area ratio. The accepted empirical threshold for upside-down retention without adhesive support is 30 milligrams per square millimeter of wetted pad area (0.030 grams per square millimeter). Above this limit, surface tension alone cannot reliably support the package weight during liquidus dwell, making generous surrounding clearance essential to avoid heat concentration that could worsen drop risks.
Gravitational Detachment Forces on Upside down Components
Inverted components experience a downward gravitational force opposing the surface tension of the liquid solder. This downward force Fg is the product of component mass m and gravitational acceleration g:
Fg = m · g
Conveyor vibration, convection blower turbulence, and board flexure introduce dynamic vertical forces on top of static gravity during reflow. Mechanical shock spikes can temporarily increase effective downward force by twenty to forty percent. If this total force exceeds the vertical holding power of the liquid solder fillets, the component will shift, tilt, or drop off the board.
While surface tension readily supports lightweight parts against gravity, high-mass inverted components risk detaching if forces fall out of balance.
This downward force must be counterbalanced by the total upward surface tension Fst across all wetted pad perimeters. Upward force is calculated using the alloy surface tension coefficient γ, total wetted contact perimeter P, and wetting angle θ:
Fst = γ · P · cos(θ)
For standard SAC305 lead-free solder at 240 degrees Celsius, the liquid surface tension coefficient γ ranges from 0.430 to 0.480 Newtons per meter. Beyond liquidus, surface tension drops linearly with rising temperature. Excessive peak temperatures weaken the holding force on hanging parts.
Providing wider clearance around heavy components prevents localized heat spikes that would otherwise degrade surface tension.
Surface Tension Thresholds for Component Retention
Molten lead-free solder exerts capillary holding forces along the wetted pad perimeter P, which is dictated by land geometry. Rectangular passive pads offer contact along four straight edges, whereas circular BGA pads provide a perimeter defined by pad diameter d.
Evaluating whether an inverted part stays attached requires calculating its weight-to-wetted-area ratio. Engineers specify clearance limits based on these ratios to avoid line failures. Consider four distinct surface mount packages undergoing secondary reflow on the underside of a panel:
| Package Type | Component Mass (mg) | Total Wetted Area (mm²) | Mass-to-Area Ratio (mg/mm²) | Retention Stability Status | Mitigation Strategy Required |
|---|---|---|---|---|---|
| 100-Pin QFP (0.5mm pitch) | 750 | 30.00 | 25.00 | Stable | Standard Thermal Clearance |
| 256-Ball BGA (0.8mm pitch) | 3200 | 32.17 | 99.47 | Unstable | Corner Staking / Secondary Clearance Extension |
| 1210 MLCC Capacitor | 35 | 2.56 | 13.67 | Highly Stable | None (Standard Layout Rules) |
| Shielded Power Inductor | 4500 | 18.50 | 243.24 | Critical Risk | Secondary Surface Mount Adhesive Staking |
This comparison shows how drastically gravitational risk varies by package type. The 1210 capacitor, at 13.67 milligrams per square millimeter, sits safely below the 30 milligram threshold and stays secure through surface tension alone. By contrast, the 256-ball BGA reaches 99.47 milligrams per square millimeter, and the shielded power inductor climbs to 243.24 milligrams per square millimeter.

Calculating Critical Mass Ratios for Secondary Pass
Determining if liquid solder can hold an inverted part requires calculating weight relative to total wetted contact area. For the 256-ball BGA with 0.40 millimeter pad diameters, single-pad wetted area Asingle is calculated as:
Asingle = π · (d / 2)² = π · (0.40 / 2)² = 0.1257 mm²
Across 256 pads, total wetted area Atotal equals 32.17 square millimeters. Dividing the 3200 milligram mass by 32.17 square millimeters yields a mass-to-area ratio of 99.47 milligrams per square millimeter. Exceeding the 30 milligram threshold by over three hundred percent means surface tension cannot hold the component in place during secondary reflow.
A weight-to-contact-area ratio exceeding 30 milligrams per square millimeter induces joint sagging when secondary reflow peak temperatures remain above liquidus for more than 60 seconds.
Exceeding critical mass-to-area ratios leads to specific structural defect modes on inverted components during secondary reflow:
- Gravitational Solder Joint Stretching occurs when heavy components sag downward, pulling molten solder spheres into elongated hourglass shapes that shorten fatigue life.
- Package Skew and Lateral Drift happens when uneven temperature distribution across a heavy package causes asymmetric surface tension release, pulling the component off pad center.
- Complete Component Detachment occurs when conveyor vibration overcomes residual surface tension, causing inverted parts to drop into the oven.
- Micro-Void Coalescence and Bridging results when a sagging BGA compresses neighboring molten solder spheres together, forming internal shorts underneath the package.
- Secondary Joint Tilt and Coplanarity Loss occurs when one side of a high-mass package remelts while the other stays solid, causing permanent angular misalignment.
Layout design must account for these weight-driven retention limits. Increasing clearance around heavy components prevents nearby heat sources from raising secondary joint temperatures past liquidus. Parts that exceed critical weight thresholds require supplementary mechanical anchoring rather than sole reliance on liquid alloy cohesion.
Profile
Multi-zone convection ovens allow independent thermal control over top and bottom board surfaces. Secondary reflow requires establishing a clear temperature delta between the top side, where new joints are forming, and the bottom side, where inverted primary joints hang. Process engineers adjust zone temperature offsets to keep bottom-side joints below liquidus while top-side joints undergo complete reflow.
Maintaining this differential depends on board thickness, internal copper density, and component clearance. On standard four- or six-layer boards with continuous ground planes, heat conducts rapidly between surfaces. If spacing around inverted primary components is inadequate, heat traveling down through vias and ground planes can easily push primary joint temperatures past the SAC305 liquidus point of 217 degrees Celsius.
Because softening solder loses shear strength, secondary reflow profiles require strict thermal boundaries to keep shadowed pads from failing to wet or remelting unexpectedly.
How Does Thermal Shadowing Change Required Secondary Reflow Clearances?
Height differences between adjacent components distort convective boundary layers, requiring wider spacing to prevent heat deficits on surrounding secondary joints. A tall package on the upper board surface blocks air flow from top-zone blowers. As gas velocity drops behind the obstruction, local heat transfer declines, forcing higher oven zone temperatures just to achieve liquidus on neighboring low-profile parts.
Raising zone temperatures to compensate for top-side shadowing drives more heat through the substrate to the underside. Inverted primary joints sitting directly below these hot spots experience severe temperature spikes. If clearance around those primary parts is tight, they absorb excess heat and remelt.
Widening top-side clearance around tall components removes stagnation zones, allowing lower furnace setpoints that protect bottom-side joints from unintended reflow.
| Oven Zone | Top Heater Setpoint (°C) | Bottom Heater Setpoint (°C) | Top Gas Velocity (m/s) | Target Primary Joint Temp (°C) | Target Inverted Joint Temp (°C) |
|---|---|---|---|---|---|
| Zone 1-2 (Preheat) | 160 | 140 | 2.5 | 120 | 110 |
| Zone 3-4 (Soak) | 180 | 155 | 2.2 | 165 | 150 |
| Zone 5-6 (Soak Transition) | 200 | 170 | 2.0 | 185 | 168 |
| Zone 7-8 (Reflow Liquidus) | 255 | 210 | 3.0 | 238 | 198 |
| Zone 9-10 (Cooling) | 110 | 110 | 4.0 | 130 | 125 |
The profile data illustrates how bottom-side heater setpoints are lowered in Zones 7 and 8 to protect inverted primary joints. Setting these bottom heaters to 210 degrees Celsius keeps peak inverted joint temperatures at 198 degrees Celsius ~ safely below the 217 degree Celsius liquidus threshold of SAC305. Meanwhile, top heaters running at 255 degrees Celsius bring top-side joints to 238 degrees Celsius, ensuring thorough wetting, intermetallic formation, and void expulsion.

Zone Temperature Offsets in Convection Reflow Ovens
Independent top and bottom heating allows engineers to suppress underside temperatures while achieving full liquidus on top-side pads. Thermal response across the panel is measured during profiling using test boards fitted with thermocouples. These sensors are attached directly to high-mass inverted BGAs, edge leads, and small passive pads on both sides using high-temperature solder or tape.
Qualifying a double-sided thermal profile involves a systematic series of verification steps prior to production release:
- Attach calibrated K-type thermocouples to the heaviest inverted component, the lightest secondary passive, and the center pad of fine-pitch array packages.
- Run the instrumented board through the oven to establish baseline curves with equal top and bottom heater setpoints.
- Map thermal deltas across the panel, checking if inverted primary joints pass the 200 degree Celsius safety ceiling during peak reflow.
- Lower bottom-zone heat settings incrementally while adjusting top-zone convection speeds to maintain top-side liquidus dwell times between 60 and 90 seconds.
- Verify that maximum temperature variance (ΔT) across all top-side joints stays below 8 degrees Celsius at peak temperature.
- Confirm through shear testing that inverted joints showed no intermetallic grain coarsening or micro-fracturing from thermal softening.
IPC J-STD-001H Clause 4.14 mandates that secondary pass exposure shall not degrade primary side interconnect shear strength below class minimums.
Profile adjustments work alongside layout rules. When clearance between heavy inverted components and nearby heatsinks is sufficient, process engineers operate within a comfortable thermal window. Tight layout spacing shrinks this window, leaving little margin for error against line voltage fluctuations or conveyor loading density.
Secondary-side joint skew often stems from incoming component pin coplanarity variations that exceed placement specifications.
Bond
When physical clearances and profiling options reach their limits, auxiliary mechanical attachment prevents inverted component movement during liquidus dwell. Dense modern boards rarely have room to expand spacing around heavy packages. In tight layouts, engineers rely on bonding materials or dual-alloy metallurgical approaches to keep inverted parts stable.
Surface mount adhesives, corner staking epoxies, edge bonds, and targeted underfills provide direct mechanical anchoring by bridging the component body to the substrate. When secondary reflow heating softens or remelts the solder joints, the cured polymer carries the package weight, preventing displacement, sagging, or joint separation.
Dual-alloy assembly offers a metallurgical alternative to polymer adhesives. Using a high-melting-point solder alloy for the first pass and a low-melting-point alloy for the second allows secondary reflow to run at peak temperatures well below the liquidus point of primary-side joints. This temperature gap avoids remelting entirely, letting components sit close together without risk of dropping.

Adhesive Staking and Edge Bonding Mechanics
Dispensing thermosetting epoxy beneath or beside component bodies creates permanent mechanical anchors. Surface mount adhesives are jetted onto solder mask areas between pads during the first pass before component placement. As the board runs through the first reflow cycle, the epoxy cures into a cross-linked polymer capable of enduring subsequent thermal passes.
Corner staking and edge bonding are applied after inspecting first-pass reflow. High-viscosity epoxy beads are jetted along the corners or edges of heavy BGAs, inductors, and connectors, then hardened in an inline thermal or UV curing oven. This provides robust structural support, absorbing gravitational load and mechanical shock during secondary reflow.
While adhesives require additional processing steps and slow dispensing speeds, low-temperature alloys offer an alternative path to protecting primary joints.
Choosing a secondary reflow mitigation strategy involves balancing volume, equipment availability, layout space, and operating costs:
- Extended Layout Clearance Spacing incurs no extra material cost or cycle time, but requires more board area and larger panel sizes.
- Surface Mount Adhesive Dot Jetting uses low-cost epoxy and standard SMT equipment, but adds ten to fifteen seconds of dispensing time per panel and requires specialized valves.
- Post-Reflow Corner Staking delivers excellent mechanical support for heavy BGAs, but calls for offline dispensing and curing steps and complicates rework.
- Dual-Alloy Metallurgical Processing eliminates secondary remelt using standard printing equipment, though low-temperature solder paste carries higher raw material costs.
- Selective Local Underfilling provides maximum structural integrity in harsh environments, but adds fluid dispensing dwell time and increases unit cost.
Metallurgical Differentials with Mixed Alloy Assemblies
Using alloys with distinct melting points allows primary-side joints to remain solid while secondary-side joints form. Standard SAC305 melts between 217 and 220 degrees Celsius, requiring peak oven temperatures of 235 to 245 degrees Celsius. If SAC305 is used on both sides, inverted primary joints reheat into that same window and undergo complete remelting.
In a dual-alloy process, primary components are assembled with SAC305 paste, while the secondary side uses a bismuth-bearing low-temperature paste like Sn42Bi58 or Sn42Bi57Ag1. Sn42Bi58 has a eutectic melting point of 138 degrees Celsius, allowing the secondary profile to run at peak temperatures between 165 and 180 degrees Celsius.
Dual alloy processing eliminates secondary reflow remelt by maintaining a eighty degree Celsius differential between primary and secondary liquidus thresholds.
During a 170 degree Celsius secondary pass, top-side low-temperature paste melts and wets cleanly into robust joints. At the same time, underside SAC305 joints stay at 170 degrees Celsius ~ nearly fifty degrees below liquidus. These primary joints retain full shear strength and rigidity throughout the cycle.
Dropping, skew, and sagging are avoided without widening component spacing. Contract provisions specifying IPC-A-610 Class 3 compliance require documented shear testing verification for all edge-bonded secondary components after final reflow.

Dossier
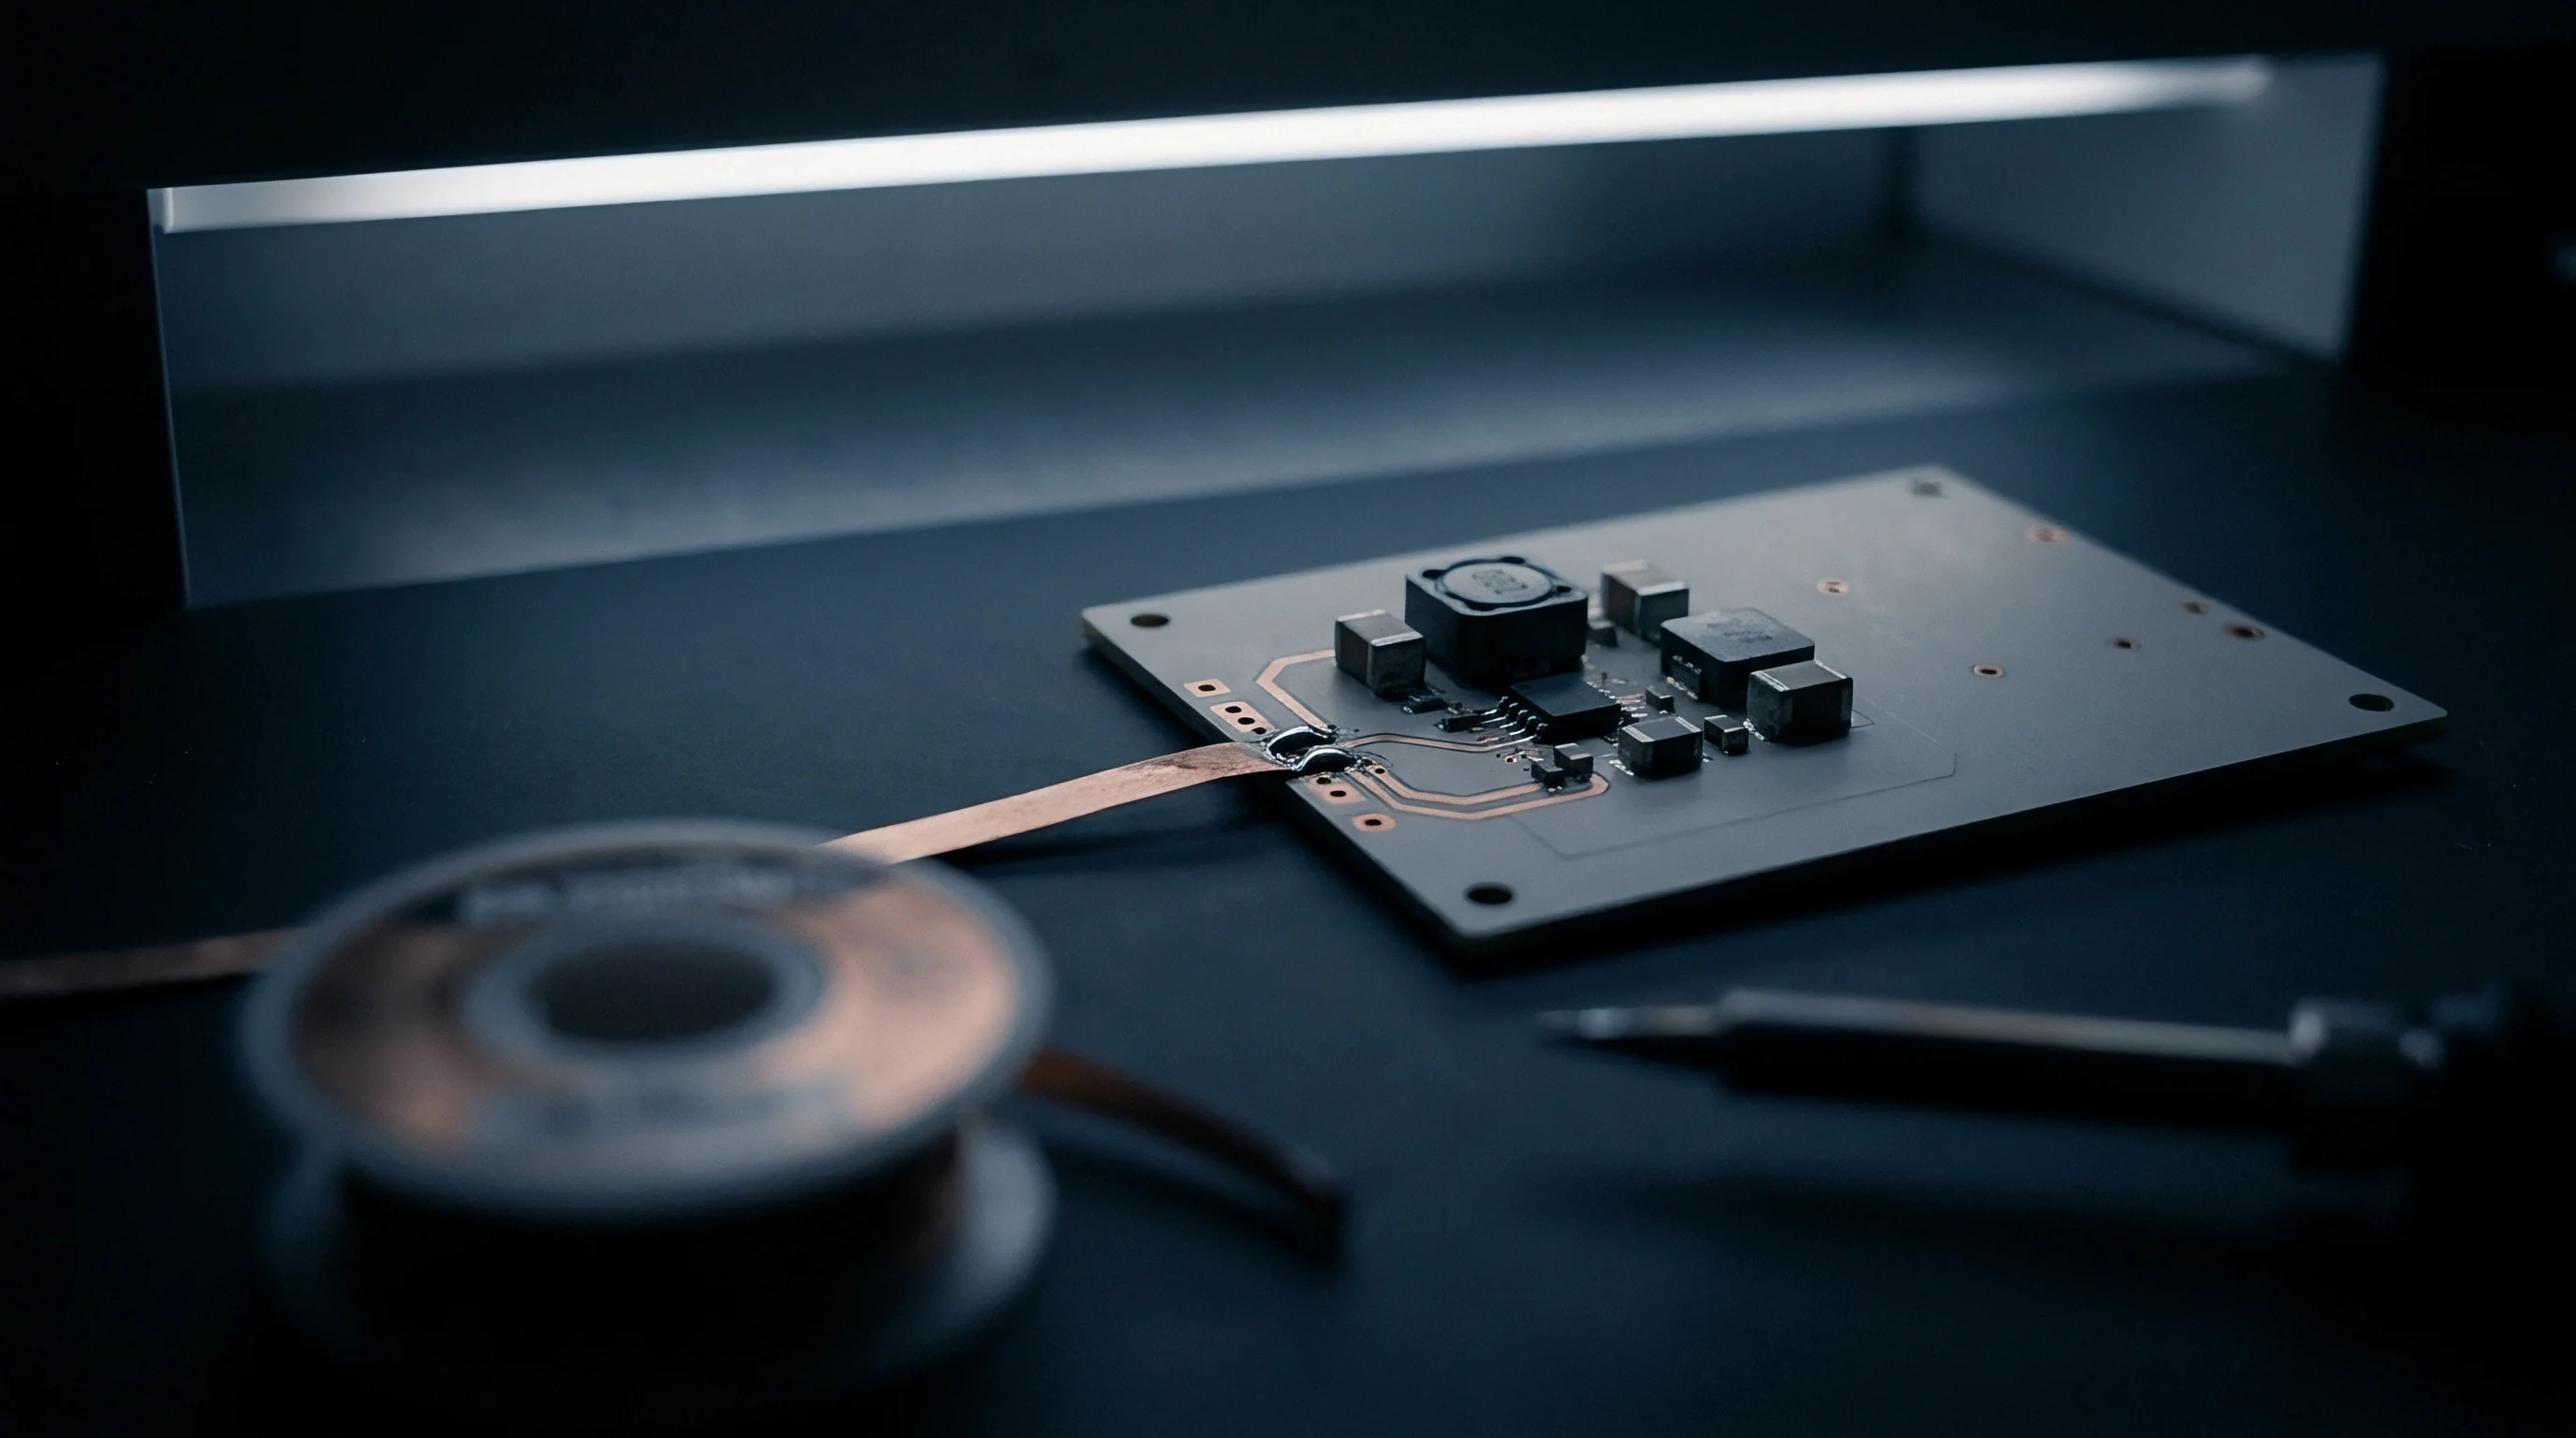
Validating clearance spacing and component retention requires quantitative inspection data from qualification runs. Before releasing double-sided SMT assemblies to full production, quality assurance protocols must confirm that secondary reflow has not compromised primary joint integrity, caused tilt, or introduced latent defects. Qualification dossiers combine visual analysis, X-ray imaging, and destructive shear testing.
Automated Optical Inspection (AOI) checks surface fillet geometry, coplanarity, and placement alignment. However, optical systems cannot evaluate joints hidden under BGAs or LGAs, nor can they detect internal voiding. Automated X-ray inspection (AXI) is therefore required to assess internal joint structures across double-sided boards.
Cross-sectional microstructural analysis provides definitive evidence of joint health after repeated thermal exposure. Heating a joint near liquidus drives continued growth of the intermetallic compound (IMC) layer along the copper-solder interface. If thermal exposure is excessive, brittle Cu6Sn5 and Cu3Sn intermetallic phases thicken beyond three micrometers, reducing fatigue resistance under vibration and thermal cycling.
First Article Verification and X Ray Acceptance Gates
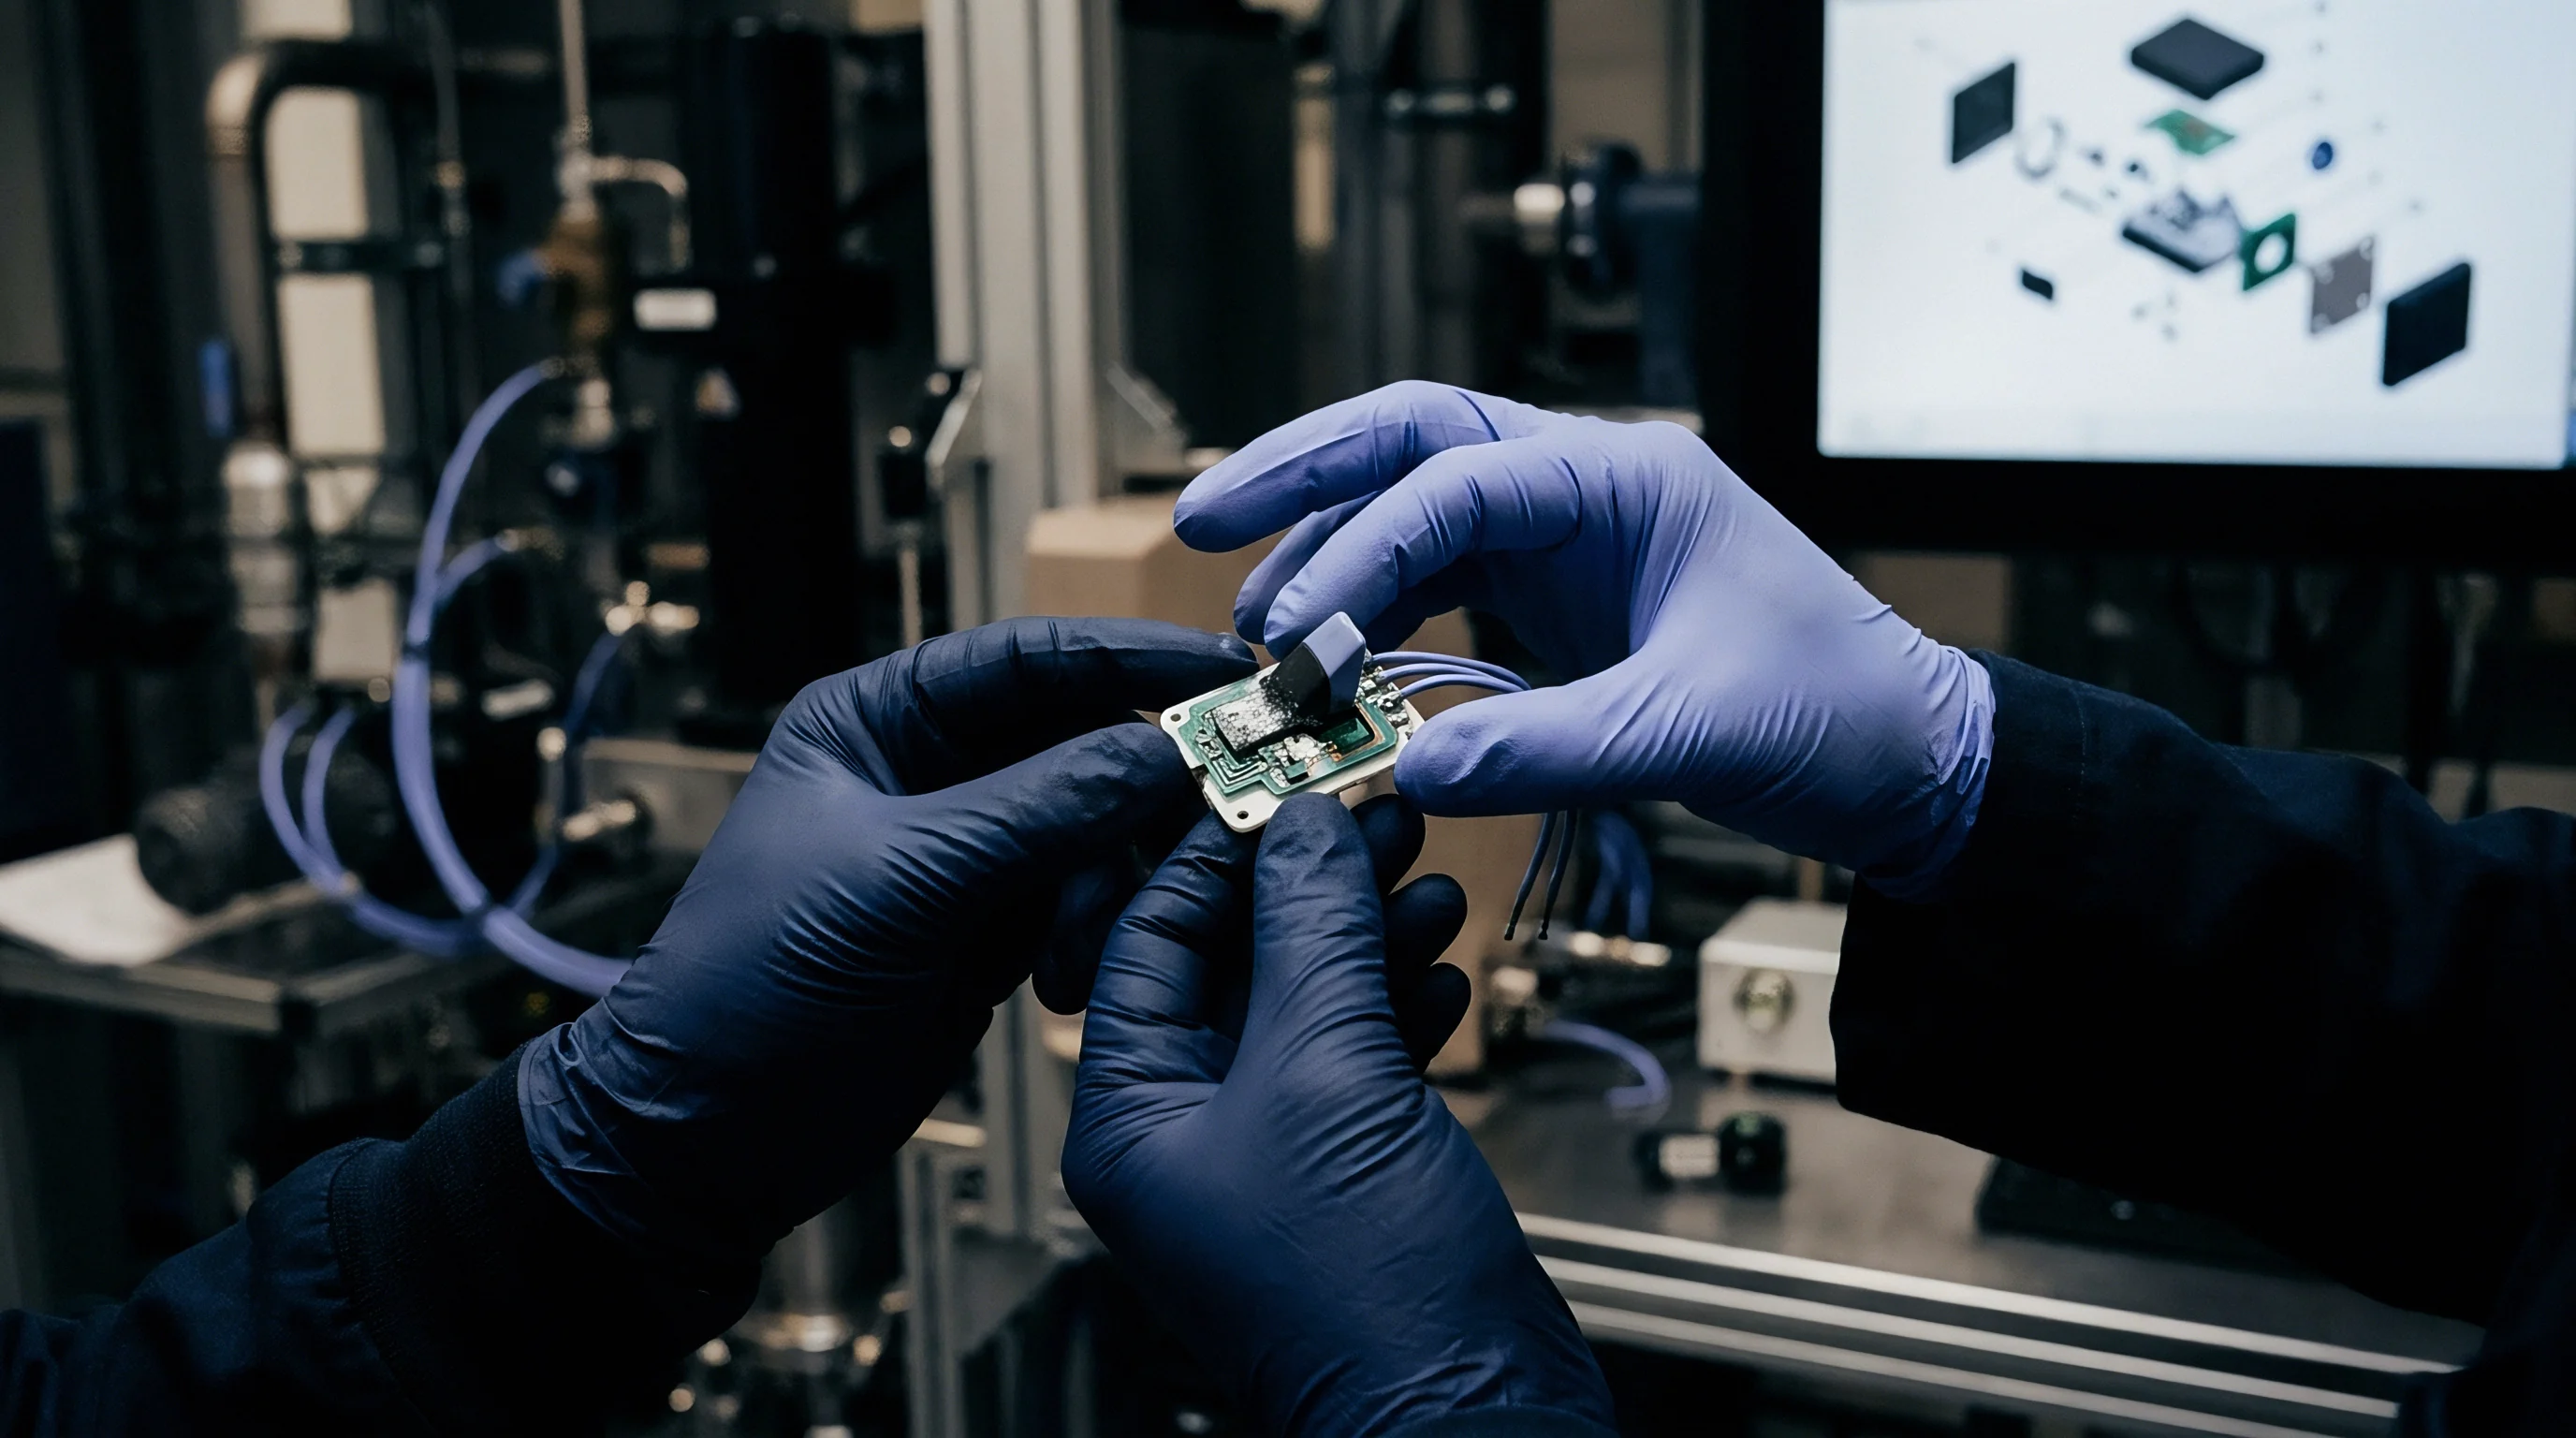
First-article production panels undergo non-destructive inspection to verify pad wetting, alignment, and voiding. AXI systems capture transmission or computed tomography images of hidden array connections, with transverse slices exposing solder bridging, head-in-pillow defects, and void percentages within individual solder spheres.
| Inspection Parameter | IPC-A-610 Class 2 Standard | IPC-A-610 Class 3 Standard | Primary Defect Cause | Mitigation Action Required |
|---|---|---|---|---|
| BGA Solder Void Percentage | Less than 30% total area | Less than 15% total area | Excessive Secondary Remelt Dwell | Adjust Bottom Zone Temperatures |
| Component Vertical Sagging / Tilt | Less than 25% height change | Less than 15% height change | High Mass-to-Area Ratio | Apply Corner Staking Epoxies |
| Secondary Joint Bridge Rate | Zero Acceptable | Zero Acceptable | Thermal Shadowing Skew | Expand Component Clearance Spacing |
| Intermetallic Layer Thickness | 1.0 to 3.0 micrometers | 1.0 to 2.5 micrometers | Repeated Reflow Overheating | Reduce Peak Reflow Duration |
The acceptance table sets the quality gates enforced during line qualification. Under IPC-A-610 Class 3 standards for high-reliability electronics, voiding in any individual BGA sphere must not exceed fifteen percent of the ball area. If secondary heat causes an inverted BGA joint to partially remelt, internal gas bubbles coalesce into large voids that breach this limit and halt the line.

Commercial Sign off and Line Time Allocation
Line capacity calculations account for changeover delays, inspection programming, and profile stabilization cycles. Secondary reflow mitigation directly impacts scheduling and hourly running rates, with contract manufacturers pricing jobs based on setup time, changeover complexity, and throughput speed.
When tight spacing forces the use of adhesive dispensing or corner staking, additional equipment must be added to the SMT line. Adding an inline dispenser increases job changeover setup by 1.5 to 2.5 hours to account for nozzle calibration, fluid viscosity stabilization, syringe temperature equilibration, and program alignment.
Line speed drops in proportion to dispensing dwell. Jetting four adhesive dots onto each of thirty high-mass packages adds roughly twenty-four seconds per panel. Across a run of ten thousand panels, dispensing adds sixty-six hours of line time.
At commercial rates between $150 and $250 per hour, adhesive mitigation introduces substantial direct assembly cost.
Evaluating thermal shadowing through thermocouple placement and shear testing verifies process stability before volume production. Expanding clearance during initial board layout avoids secondary dispensing equipment, cuts setup hours, and maximizes throughput speed. How long high-density double-sided interconnects maintain thermal cycle integrity under severe vibration without underfill remains an open empirical question for high-reliability military and automotive hardware.