Optimizing Rigid Flex Stackup Architecture for High Speed Signals
Optimizing rigid-flex stackups for high-speed signals requires adhesiveless polyimide cores, cross-hatched reference alignment, and staggered rigid transitions.
Bond
Controlled impedance in rigid-flex stackups depends heavily on the physical junction between rigid glass-reinforced laminates and flexible polyimide cores. High-speed signals operating above 10 GHz encounter sharp insertion loss spikes and impedance jumps wherever rigid-flex transitions are unoptimized. This physical boundary is an asymmetric mechanical zone where glass transition temperatures, resin flow, and coverlay adhesive strain all shift across a distance of less than two millimetres.
Acrylic and modified epoxy adhesives used in flexible coverlays carry high dissipation factors, frequently exceeding 0.025 at 10 GHz. Where microstrip traces cross adhesive pockets near a stiffener edge, the effective dielectric constant climbs unexpectedly from 3.2 to 3.8. That localized shift pulls line impedance down by 4 to 6 ohms, leaving a clear reflection dip on a time-domain reflectometer.
Eliminating acrylic adhesive from high-speed signal paths requires adhesiveless laminates paired with photo-imageable coverlays or direct coverlay windowing.
Bending concentrates mechanical stress right where the rigid FR-4 core meets the flexible polyimide, making copper traces vulnerable to micro-cracking during repeated flexure. If the coverlay edge aligns directly with the prepreg termination, the rigid boundary acts as a sharp pivot axis. Fabricators prevent these co-planar strain points by staggering coverlay edges, prepreg borders, and stiffener terminations by at least 0.50 mm relative to one another.
Mechanical failures inside the rigid-flex bond zone stem from predictable thermal and structural loads. Building a durable stackup requires accounting for how differential expansion forces act on copper conductors during lead-free reflow.
- Adhesive Squeeze-Out Incursion occurs when acrylic flow enters the unbonded flex zone during lamination, forming a stiffened stress riser that snaps inner-layer copper traces upon initial bending.
- Coverlay Delamination at High Temperatures stems from moisture absorption in polyimide films exceeding 1.5 percent by weight prior to lamination, causing steam expansion voids at reflow temperatures reaching 260 degrees Celsius.
- Z-Axis Transition Shear ruptures plated microvias within 1.0 mm of the rigid transition boundary, driven by a fivefold expansion mismatch between polyimide and glass-reinforced epoxy.
- I-Beam Copper Fatigue strikes differential pairs routed directly atop one another on adjacent flex layers, concentrating bending stress and fracturing outer conductors after fewer than fifty flex cycles.
Designing the physical transition requires staggered layer terminations. Outer rigid layers step back first, allowing the internal flex core to exit without catching on glass edges. Inner prepreg layers call for low-flow epoxy resin with a scale flow below 8 percent to prevent resin bleed onto open flex channels.
High-speed traces passing through this region retain continuous ground reference planes on adjacent flex layers, using solid copper or cross-hatched shields depending on bend radius requirements.
Misaligned layout offsets at the rigid-flex boundary generate shear stresses that peel signal foils away from polyimide substrates during thermal shock testing, causing immediate open circuits in production lots.

Dielectric
Dielectric behavior directly governs bit-error rates in multi-gigabit rigid-flex stackups. Standard polyimide film serves as the baseline flex substrate, with a nominal dielectric constant of 3.4 at 1 GHz. Polyimide properties shift under humidity and heat cycles: absorbed atmospheric moisture increases both dielectric constant and loss tangent.
A dry polyimide film holding a dielectric constant of 3.2 at 10 GHz moves to 3.55 when saturated at 85 percent relative humidity, dropping a 100-ohm differential pair down to 91 ohms.
Direct-cast or thermally laminated adhesiveless polyimide cores bypass high-loss adhesive layers entirely. Direct-cast cores achieve dielectric loss tangents near 0.0025 at 10 GHz, competing with low-loss rigid materials like high-Tg FR-4 or polyphenylene ether blends. Thin flex cores using 25-micrometer or 50-micrometer polyimide films keep the total stack height low and permit tight trace geometries, though thinner dielectrics demand narrower traces to hit impedance targets, raising conductor loss through copper skin effect resistance.
| Material Grade | Dielectric Constant (Dk) | Loss Tangent (Df) | Moisture Absorption (%) | Moisture Dk Shift | Decomposition Temp Td (°C) |
|---|---|---|---|---|---|
| Adhesiveless Polyimide Core | 3.20 | 0.0028 | 0.8 | +0.15 | 520 |
| Acrylic-Bonded Polyimide Core | 3.55 | 0.0210 | 2.8 | +0.45 | 340 |
| Flexible Fluoropolymer (PTFE) | 2.45 | 0.0009 | 0.1 | +0.02 | 500 |
| High-Tg Low-Loss FR-4 (Rigid) | 3.65 | 0.0040 | 0.15 | +0.05 | 380 |
| Halogen-Free Polypropylene Flex | 2.25 | 0.0012 | 0.05 | +0.01 | 410 |
| Data measured using split-post dielectric resonator method per IPC-TM-650 Test Method 2.5.5.5.1 at ambient laboratory conditions. | |||||
High-speed rigid-flex stackups require strict pairing between rigid glass weaves and flexible cores to manage phase skew across differential channels. Conventional 7628 glass cloth leaves wide weave gaps where one conductor of a pair runs over resin-rich pockets while the other sits directly over glass bundles. This dielectric imbalance drives differential-to-common mode conversion, corrupting eye diagrams at data rates above 10 Gbps.
Specifying spread-glass styles like 1035, 1067, or 1078 in rigid zones smooths spatial dielectric variations across signal paths.
IPC-6013D Clause 3.2.2 mandates that flexible dielectric thickness variations across signal channels shall not exceed 10 percent of nominal thickness after lamination.
In high-frequency designs operating near 28 Gbps PAM4, polyimide film acts as an anisotropic medium. Permittivity along the z-axis runs approximately 10 to 15 percent higher than in-plane permittivity along the x-y axis. Field solvers calculating microstrip impedance must use the z-axis dielectric constant, while stripline topologies require a weighted tensor calculation incorporating both directional components.
Ignoring anisotropic behavior produces calculated trace widths that end up roughly 4 ohms off target on actual test coupons.
Concentrated chemical synthesis makes polyimide monomer pricing volatile, forcing laminators to periodically adjust lead times and lot minimums for specialty adhesiveless rolls. Flexible fluoropolymer alternatives lower attenuation further, but suffer poor cold-flow dimensional stability during processing. Pairing low-loss spread-glass rigid laminates with adhesiveless polyimide flex cores yields a balanced construction capable of handling high-frequency signals while enduring harsh mechanical flexure.
Purchasing contracts governed by IPC-4101 slash sheet specifications allow fabricators to substitute equivalent rigid laminates unless explicit drawing notes prohibit vendor cross-grading based on high-frequency dissipation limits.

Impedance
Passing signals across rigid-flex transition zones requires precise impedance matching to prevent reflections and jitter. When a differential pair moves from a rigid stripline environment into a flexible microstrip environment, reference plane distance, dielectric constant, and conductor geometry all change. Maintaining a constant 100-ohm differential impedance across this boundary demands stepping trace widths and line spacing precisely at the transition interface.
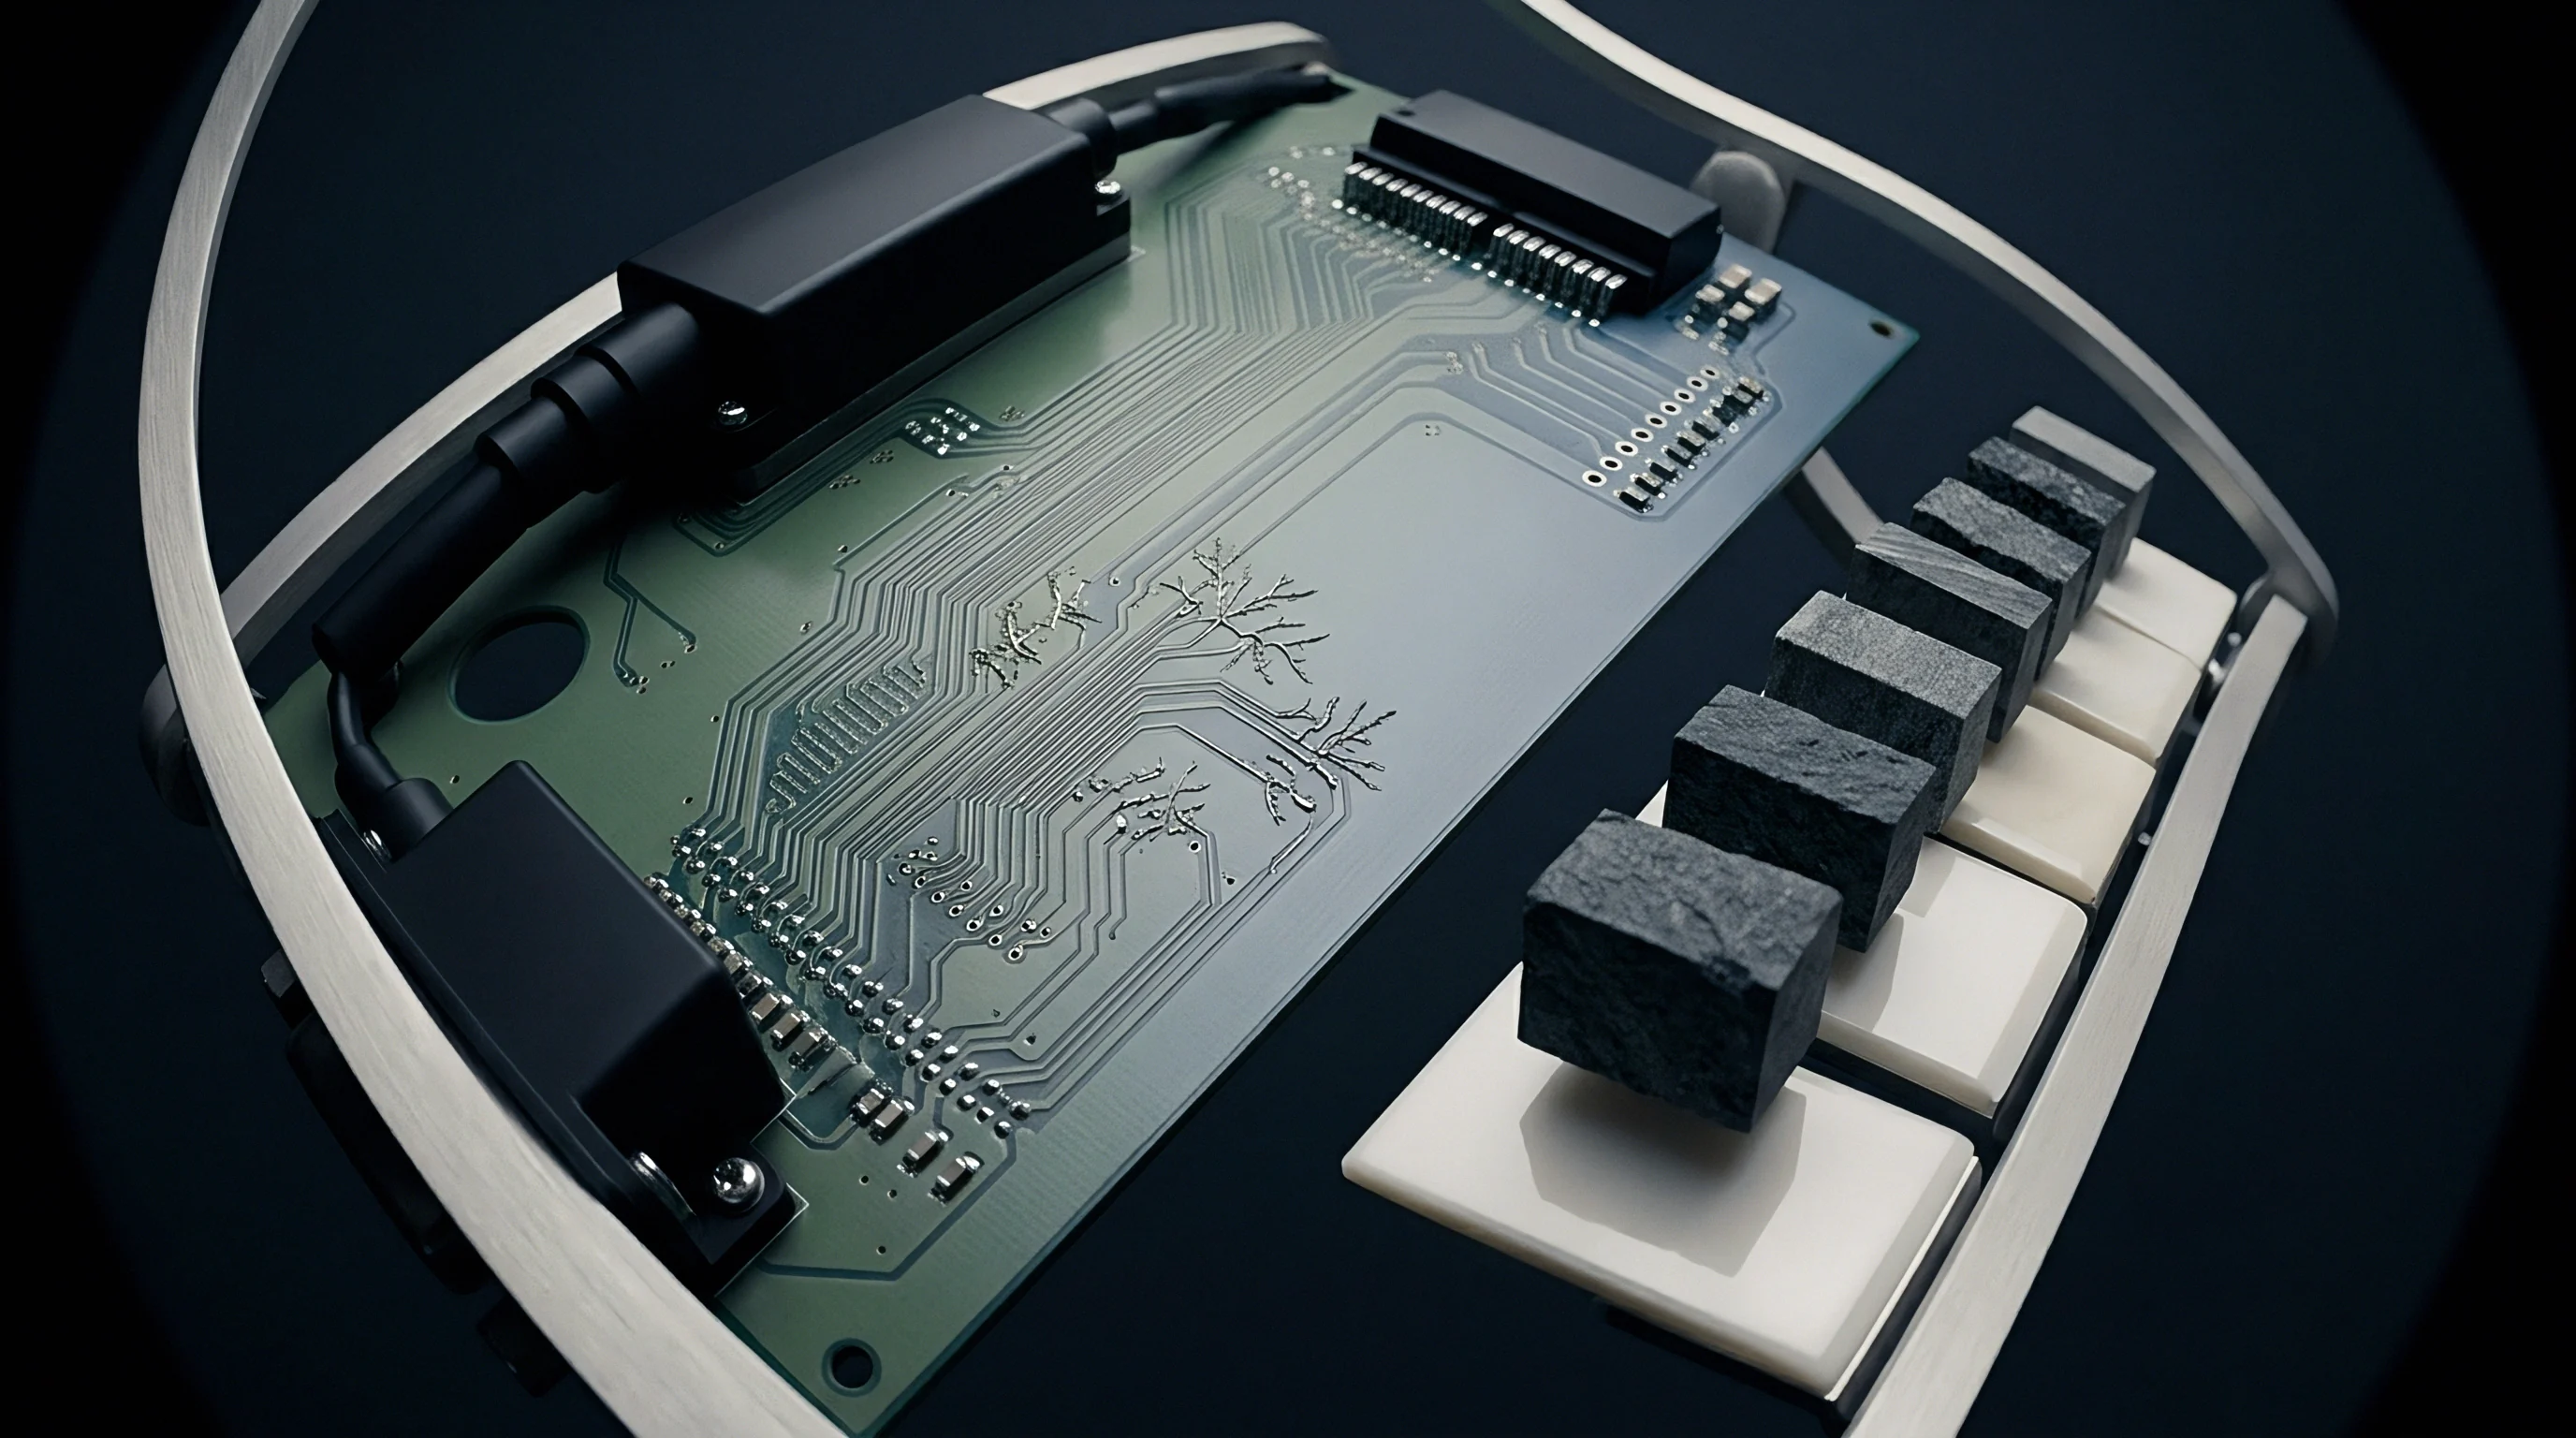
Flex zones often use cross-hatched reference planes instead of solid copper to preserve mechanical flexibility and prevent fatigue cracks during bending. Hatched ground planes reduce capacitive coupling between signal traces and reference metal, raising line impedance compared to solid planes at the same dielectric spacing. Routing signal traces over a 63 percent open hatched ground plane requires wider conductors to hold a 50-ohm single-ended target.
Constructing a cross-hatched reference model requires precise mathematical adjustments to align signal traces against hatch pitch angles.
- Determine Hatched Ground Geometry by setting hatch wire width to 0.10 mm and pitch to 0.30 mm, establishing a 58 percent open copper ratio.
- Calculate Inductance Delta using field solver software to capture magnetic field loop enlargement created as return currents weave around hatch openings.
- Adjust Conductor Width upward by approximately 12 to 18 percent over solid-plane equivalents to compensate for reduced plane capacitance.
- Orient Signal Routing at a 45-degree angle relative to hatch lattice lines to average return path lengths and eliminate periodic impedance ripple.
How Does Hatch Pitch Distortion Alter Return Path Impedance?
When hatch pitch approaches signal wavelength, return currents can no longer route around openings without introducing phase delays and radiated emissions. At 14 GHz, the guided wavelength in polyimide drops near 12 millimetres, making a 1.0 mm hatch pitch electrically significant. High-speed signals suffer resonant loss spikes when hatch grid periodicity matches harmonic quarter-wavelength frequencies.
Fabricators keep hatch pitch below one-tenth of the guided wavelength at maximum operating frequencies, forcing high-speed designs toward fine pitch structures or ultra-thin solid copper foils.
| Topology Type | Zone Location | Target Differential Impedance (Ω) | Trace / Space Width (µm) | Reference Type | Insertion Loss @ 14 GHz (dB/in) |
|---|---|---|---|---|---|
| Symmetrical Stripline | Rigid Core | 100 ± 5 | 100 / 125 | Solid Copper 17 µm | -0.42 |
| Microstrip | Flex Channel | 100 ± 7 | 120 / 100 | Cross-Hatched (60%) | -0.68 |
| Embedded Microstrip | Flex with Coverlay | 100 ± 5 | 105 / 110 | Solid Copper 12 µm | -0.51 |
| Asymmetrical Stripline | Rigid Transition | 100 ± 8 | 90 / 130 | Solid FR-4 Ground | -0.48 |
| Dual-Stripline Air Gap | Unbonded Flex | 100 ± 5 | 85 / 115 | Solid PI Ground | -0.39 |
Air-gap rigid-flex stackups separate individual flex layers into loose, unbonded flex channels that move independently, lowering overall bending stiffness. These unbonded flex layers use thin outer coverlays, creating an air interface directly above the microstrip conductors. Because the dielectric constant of air sits at 1.0, signal velocity increases inside the unbonded flex zone compared to the glass-reinforced rigid section.
This phase velocity disparity causes inter-lane skew in parallel bus architectures crossing between rigid boards and flexible cables.
Cross-hatched reference planes increase line impedance compared to solid planes, requiring wider traces to hold target signal values.
High-speed differential pairs passing through rigid-flex boundaries demand continuous ground return paths. Transition vias connecting rigid ground planes to flexible reference layers must sit within 0.5 mm of signal trace transition points. Removing reference copper under transition zones introduces high-frequency loop inductance, generating common-mode noise and corrupting differential signal balance.
Advanced designs place dual ground vias symmetrically on either side of the differential pair transition point, controlling ground return loop area.
In multi-channel 56 Gbps PAM4 interfaces, phase velocity shifts through unbonded air-gap flex channels can introduce lane-to-lane skew that exceeds receiver compensation limits.

Drill
Mechanical drilling and via formation in rigid-flex laminates present manufacturing challenges unseen in purely rigid boards. Polyimide film deforms elastically during drilling, smearing soft resin across inner-layer copper contacts. Standard chemical desmear processes optimized for FR-4 epoxy fail to clean polyimide residue efficiently.
Fabricators utilize specialized plasma desmear cycles using tetrafluoromethane and oxygen gas mixtures to chemically etch back polyimide drill debris without degrading surrounding glass-epoxy layers.
Registration shifts during multi-stage lamination complicate drill-to-pad alignment across the rigid-flex boundary. Polyimide core materials exhibit dimensional instability, shrinking or expanding up to 0.15 percent after copper etching and thermal exposure. Meeting IPC-6013 Class 3 annular ring requirements demands dynamic scale factor adjustments during direct imaging laser exposure.
Maintaining via structural integrity across sequential lamination cycles requires a strict, controlled process sequence.
- Bake flexible cores at 120 degrees Celsius for 4 hours to drive out absorbed residual moisture before optical pattern imaging.
- Apply non-linear optical scaling parameters during laser direct imaging to compensate for anisotropic polyimide dimensional shrinkage.
- Drill primary via holes using dynamic bit speed profiling, reducing entry chip loads to minimize flexible core wall tearing.
- Process panels through RF-plasma etching using CF4/O2 chemistry to achieve 10 to 15 micrometres of uniform polyimide etch-back.
- Deposit electroless copper plating under continuous direct-current agitation, ensuring minimum 25-micrometer copper barrel thickness.
Blind and buried microvias terminating on flexible core layers experience severe thermal expansion stress during lead-free soldering cycles. Polyimide exhibits an unreinforced z-axis thermal expansion coefficient of roughly 60 ppm per degree Celsius, compared to 15 ppm for copper. During solder reflow at 260 degrees Celsius, this expansion mismatch exerts tensile stress on microvia target pads.
Microvias placed directly over the rigid-flex transition line suffer interface shear, leading to barrel cracking at the capture pad junction.
A measured z-axis expansion of 4.2 percent across a flex core during reflow reduces microvia fatigue life by 60 percent compared to rigid FR-4 zones.
Aspect ratios for plated through-holes in thick rigid-flex stackups must stay below 10:1 to ensure uniform copper plating density along the hole barrel. When panel thickness reaches 3.2 mm, a 0.3 mm drill hole struggles to circulate plating solution through internal flex channels. Thin copper plating at the flex layer intersection creates localized high-resistance bottlenecks, causing thermal hot spots under high-current DC power delivery scenarios.
Standard FR-4 drill feeds and speeds can appear to deliver acceptable microvia yields on flex cores without plasma desmear, but omitting plasma cleaning leaves hidden micro-crack risks that surface during post-assembly thermal stress testing.
Frame
Panels represent the fundamental unit of currency in printed circuit manufacturing. Rigid-flex boards carry significant material cost per unit area due to raw polyimide film expenses and complex multi-stage lamination workflows. Standard production panel sizes of 18 by 24 inches or 16 by 18 inches yield a fixed usable rectangular area.
Complex rigid-flex outlines with extending flex arms create massive scrap rates unless nested strategically.
Interlocking flex tails inside array panel layouts increases material utilization efficiency. Rotating alternating board geometries by 180 degrees allows flex extensions to nest inside adjacent contours, boosting panel utilization from 40 percent to over 70 percent. Higher nesting density drops bare-board unit cost directly by harvesting more finished boards per panel.
Nesting high-speed designs requires monitoring grain orientation in rolled-annealed copper foils, as bending flex tails perpendicular to copper grain lines causes conductor cracking during flexure.
| Stackup Architecture | Lamination Cycles | Panel Utilization Range (%) | Usable Boards / Panel (18×24 in) | Lamination Scrap Index | Relative Unit Cost Factor |
|---|---|---|---|---|---|
| 4-Layer Single Flex Core | 1 Pass | 65 – 75 | 24 | 1.0 | 1.0x |
| 6-Layer Air Gap Dual Flex | 2 Sequential Passes | 50 – 60 | 18 | 1.8 | 2.3x |
| 8-Layer Bookbinder Flex | 3 Sequential Passes | 35 – 45 | 12 | 3.1 | 4.1x |
| 10-Layer Rigid-Flex HDI | 3 Passes + Laser Microvias | 40 – 50 | 14 | 2.7 | 4.8x |
Tooling borders around rigid-flex panel arrays consume valuable material real estate. Fabrication shops require a minimum 25 mm perimeter frame to accommodate registration pins, optical alignment targets, plating thief rings, and impedance test coupons. Secondary rigid stiffeners added to flex tails require separate panel routings, adding secondary press cycles that increase panel handling labor charges.
Commercial buyers rely on a clear decision checklist to evaluate panelization efficiency before releasing tooling artwork to the factory floor.
- Maximize Panel Usable Area by arranging board geometry to keep array scrap waste under 35 percent of total laminate area.
- Align Rolled-Annealed Copper Grain along the longitudinal bending axis of all nested flexible tails to prevent fatigue fractures.
- Consolidate Rigid Stiffener Material specifications to allow simultaneous routing of stainless steel and FR-4 stiffener components.
- Standardize Impedance Coupon Placement within primary tooling borders to avoid sacrificing active board placement sites.
Sequential lamination processes amplify panel yield risk exponentially. A 6-layer rigid-flex board requiring two lamination passes compounds individual pass losses: if each lamination pass achieves 92 percent yield, the cumulative process yield drops to 84.6 percent. Scrapping a partially completed panel on the final lamination step destroys all prior material and labor value, driving up factory risk premiums embedded in production quotes.
Designing flexible tail lengths to fit within standard panel subdivisions yields more boards per production lot than optimizing individual board contours.
Panels containing flexible channels require specialized carrier plates or breakaway rigid frames to support flexible sections through automated surface-mount assembly pick-and-place lines. Designing tab-routed rigid frames around flexible extensions allows assembly equipment to handle rigid-flex panels like standard rigid boards, preventing flex tail sagging during solder paste printing and reflow operations.
Aligning flexible tail geometries along unified layout axes increases board density across the manufacturing panel.
Dossier
Engineering drawings and stackup documentation serve as the legal and operational contract between design teams and manufacturing facilities. Clear, unambiguous fabrication notes prevent costly engineering queries and unauthorized material substitutions. High-speed rigid-flex drawings must specify laminate grades using IPC slash sheet standards rather than manufacturer trade names, while explicitly locking key signal layers to exact dielectric thickness and copper weight targets.
Fabrication notes must clearly distinguish between starting copper foil weight and finished plated copper thickness. A 1/2-ounce starting copper foil measuring 18 micrometres grows to roughly 35 micrometres after pattern plating. High-speed impedance calculations performed on starting copper weights yield incorrect trace width recommendations, resulting in out-of-tolerance signal channels on delivered boards.
Drawing callouts must state whether trace dimensions apply before or after surface plating.
Quality assurance standards demand explicit inclusion of IPC-6013 Class 3 requirements for critical aerospace or medical rigid-flex builds. Class 3 specification mandates continuous plated copper thickness of 25 micrometres inside via barrels, restricts internal conductor land breakout, and sets microsection inspection frequencies per panel lot. Including cross-section microsection coupons within manufacturing panel frames ensures every shipped lot carries physical proof of internal layer registration, plating thickness, and adhesive fillet formation.
Controlled impedance notes must define target values, allowed tolerances, reference layers, and specific coupon design requirements. An explicit impedance table on the engineering drawing overrides generic shop default tolerances, specifying a ±5 percent impedance tolerance for critical differential pairs instead of the standard ±10 percent industrial norm. Fabricators use these notes to adjust production trace widths to account for subtle variations in their specific lamination press cycles.
Final procurement documentation must specify surface finish requirements suited for both high-speed signal integrity and gold-wire bonding or SMT assembly. Electroless nickel immersion gold provides a flat surface for fine-pitch component mounting, yet the nickel layer induces skin-effect conductor loss at frequencies above 10 GHz due to its ferromagnetic properties. Specifying Electroless Nickel Electroless Palladium Immersion Gold or direct Immersion Silver preserves high-speed signal edges while maintaining excellent solderability across complex rigid-flex assemblies.
Fabrication release packages that combine unambiguous layer stackups, strict IPC performance classes, explicit impedance notes, and appropriate surface finish selections ensure predictable high-speed signal performance and consistent panel yield.