Standard Microsection Evaluation Protocols for Multilayer Printed Circuit Boards
Destructive microsectioning validates barrel copper thickness and layer registration against IPC-6012 criteria to prevent uninspected PCB assembly field failures.
Sampling
Panel layouts allocate outer perimeter space to sacrificial test structures that monitor internal plating, lamination, and drilling integrity. These test strips confirm interior process control without requiring the destruction of functional circuit boards. Fabrication parameters, drill hit counts, and lamination pressure distributions vary across a single manufacturing panel.
Coupons positioned at panel corners encounter different thermal masses and fluid dynamics during electroplating than those near the center matrix. Catching localized anomalies before boards reach assembly lines depends on these placement rules.
Coupon Selection and Panel Margin Geometry
Test structures specified by IPC-2221 occupy fixed locations along array borders to capture spatial variations in manufacturing quality. Coupon A monitors hole wall plating and inner layer interconnects for standard through-holes, while Coupon B evaluates thermal stress resistance following solder dip simulation. Combination Coupon A/B structures merge both tests into a single footprint to conserve panel area.
Placing coupons along panel perimeters exposes test features to maximum etch fluid velocity and high current density gradients during copper plating. High current density at panel edges leads to thicker copper deposition on outer coupons compared to interior production circuits. Panel design rules enforce a minimum fifteen-millimeter clearance between coupon hole centers and panel edges to neutralize edge-effect distortion.
Laminate utilization and coupon placement directly affect net panel yield.
Designing custom coupons becomes necessary when multilayer stackups incorporate high-density interconnect features, staggered microvias, or buried vias. Standard IPC coupons often fail to replicate blind via aspect ratios or specific z-axis clearance constraints present in dense functional areas. Incorporating embedded microvia chains into perimeter coupons provides representative resistance data during thermal stress testing.
Fabricators must align coupon layer stackups exactly with functional boards, maintaining identical copper thickness, dielectric prepreg styles, and core orientations. Any mismatch in glass weave orientation or prepreg resin percentage between the test coupon and the functional circuit invalidates microsection metrology data.
| Coupon Type | Design Features | Target Defect Mechanism | Evaluation Frequency |
|---|---|---|---|
| Coupon A | Standard through-holes, minimum drill diameter | Plating thickness, hole wall roughness, drill debris | Every panel, diagonal corners |
| Coupon B | Through-holes post thermal stress simulation | Barrel cracking, resin recession, layer separation | One per lot, or per IPC class requirement |
| Coupon A/B | Combined through-holes and inner layer joints | Inner layer post separation, foil lifting | Standard production panels |
| Coupon D | Interconnect stress test daisy chains | Via fatigue, microvia necking, interfacial fracture | High-reliability Class 3 builds |
Statistical Frequency across Production Runs
Quality management plans establish how many panels undergo destructive examination based on targeted product assurance levels. IPC-6012 Class 2 builds require microsection evaluation from one coupon set per panel lot, whereas Class 3 high-reliability builds require microsections taken from two diagonally opposite corners of every panel. Sampling diagonal corners captures cross-panel thermal variations during lamination press cycles and current distribution gradients during electrodeposition.
When panel lots exceed twenty sheets, testing frequency increases proportionally to track tool wear on mechanical drills. Excessive drill bit wear causes glass fiber fracture and severe hole wall roughness, which microsections reveal before resin smear causes post-separation failure.
IPC-6012 Clause 3.8.2 specifies that a single coupon failure invalidates the entire panel batch, shifting scrap liability directly to the board vendor.
Mount
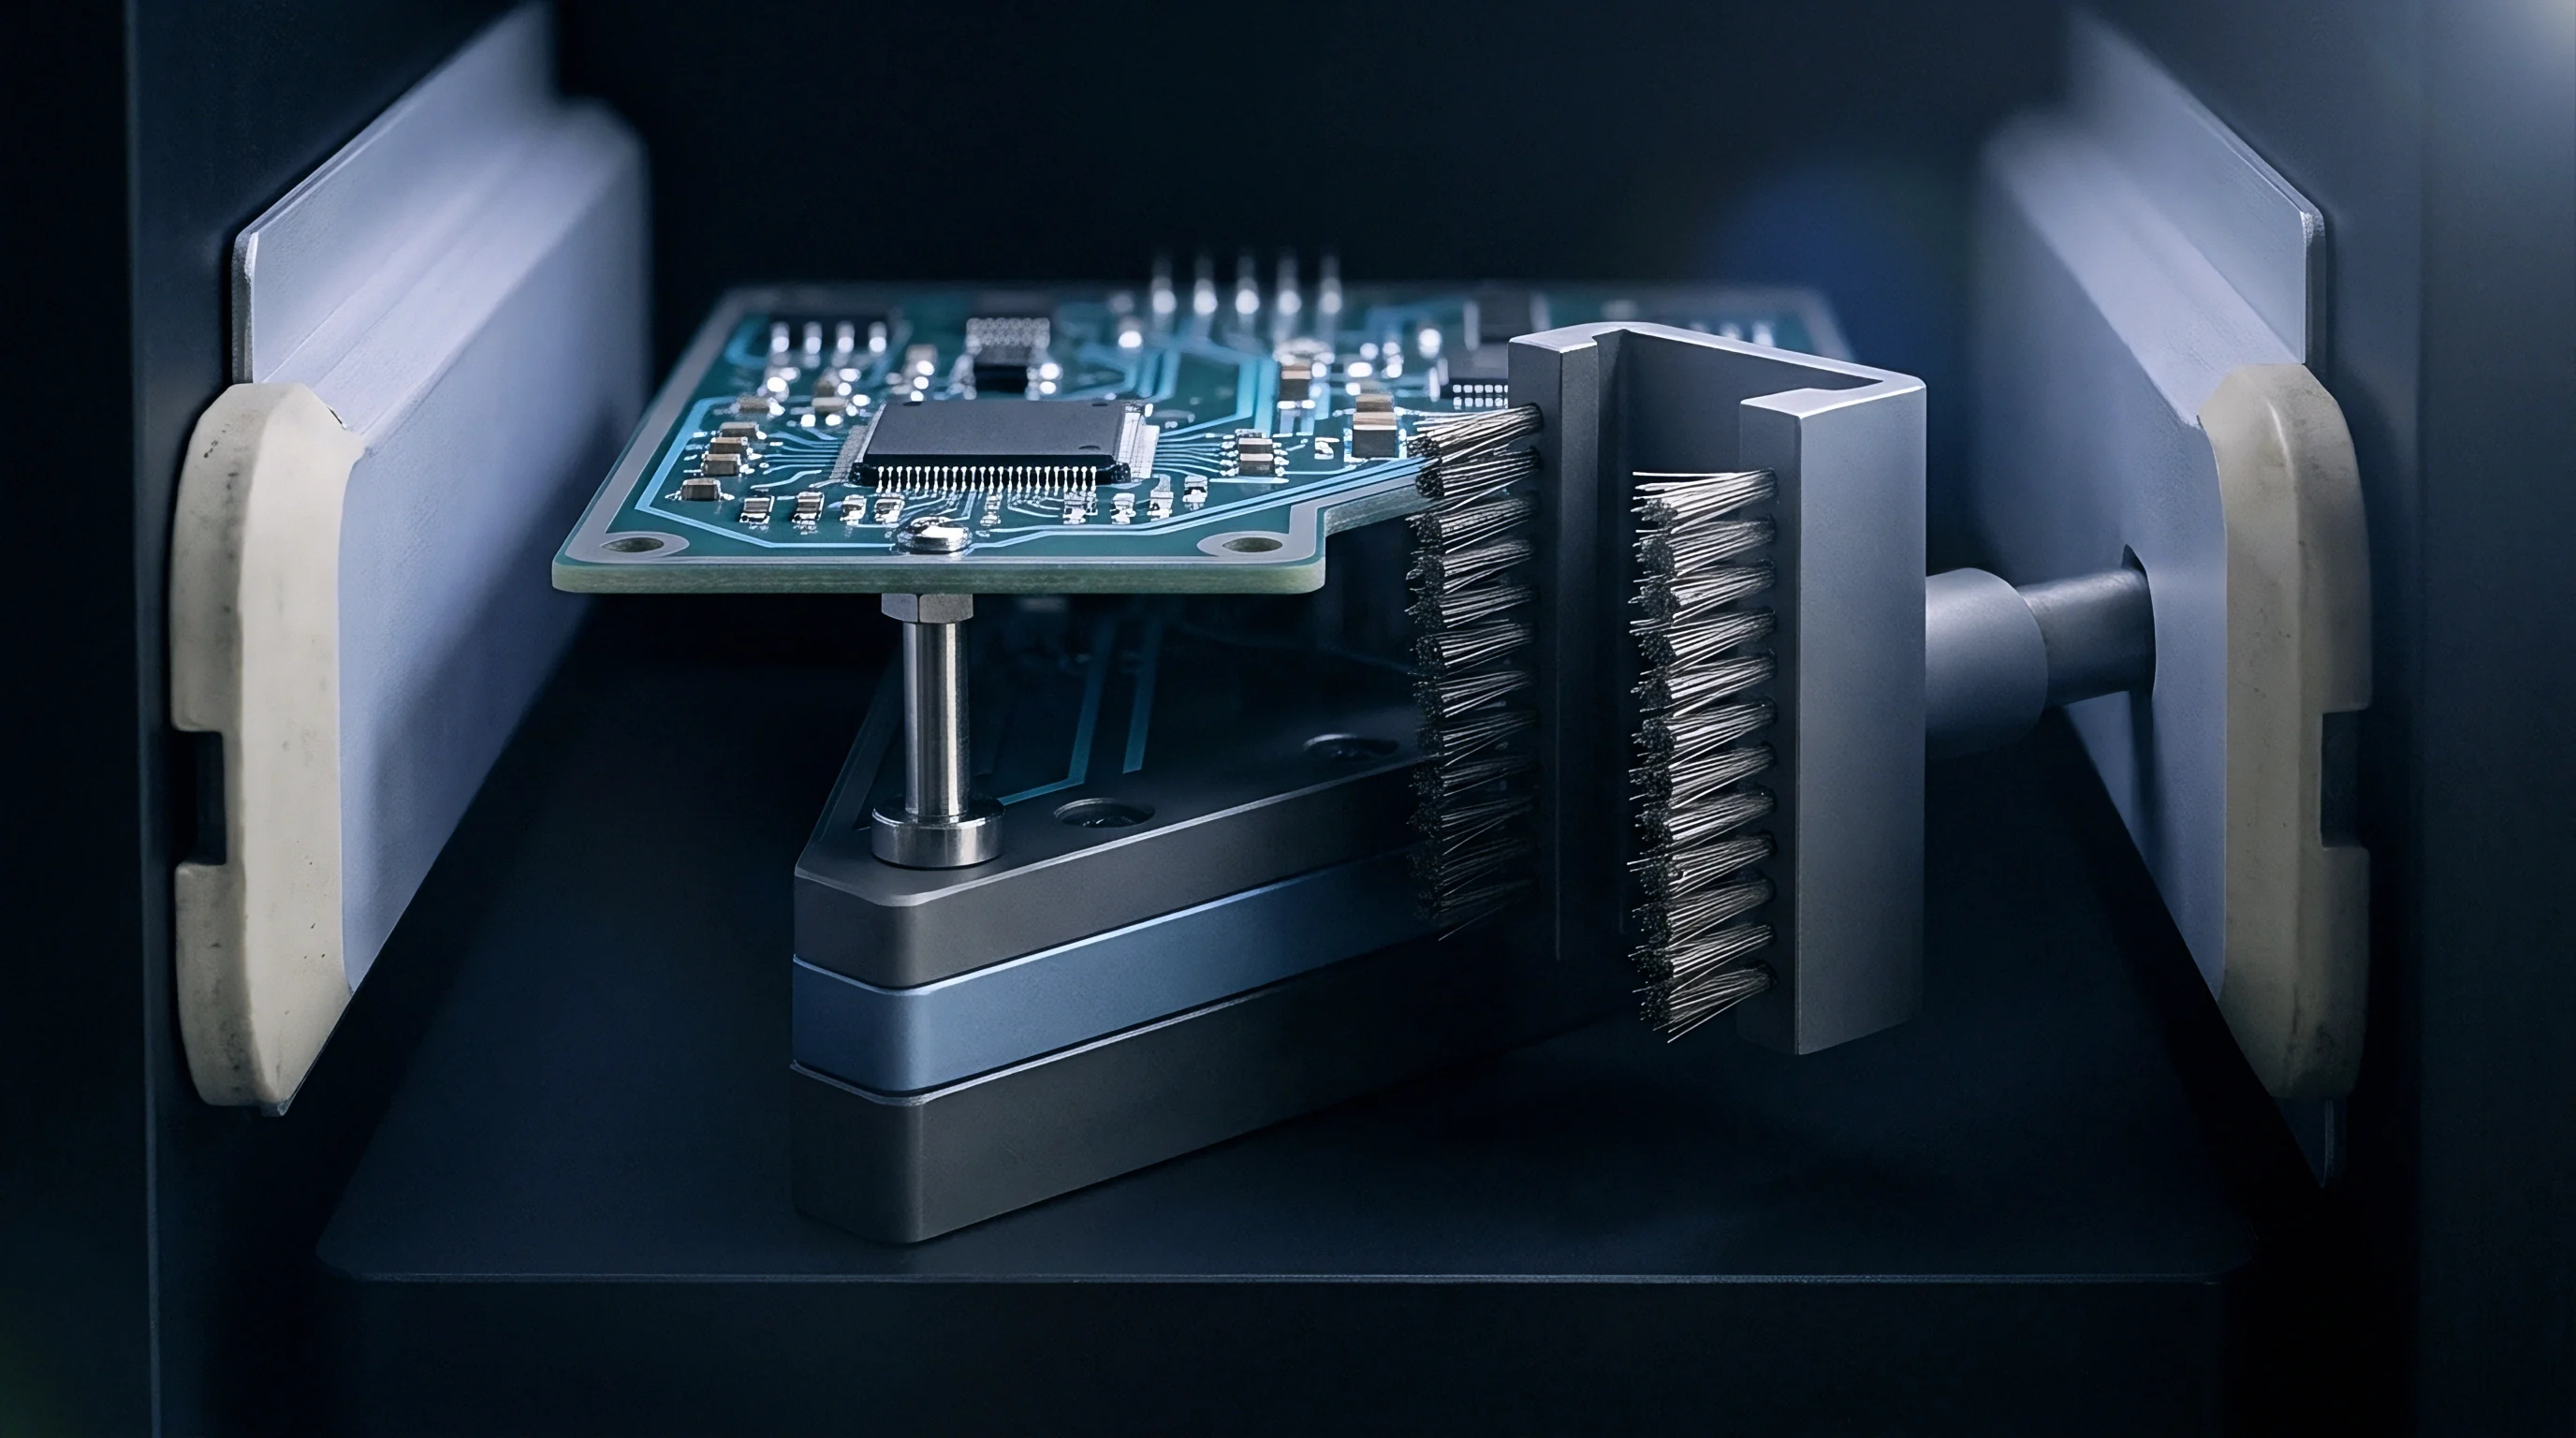
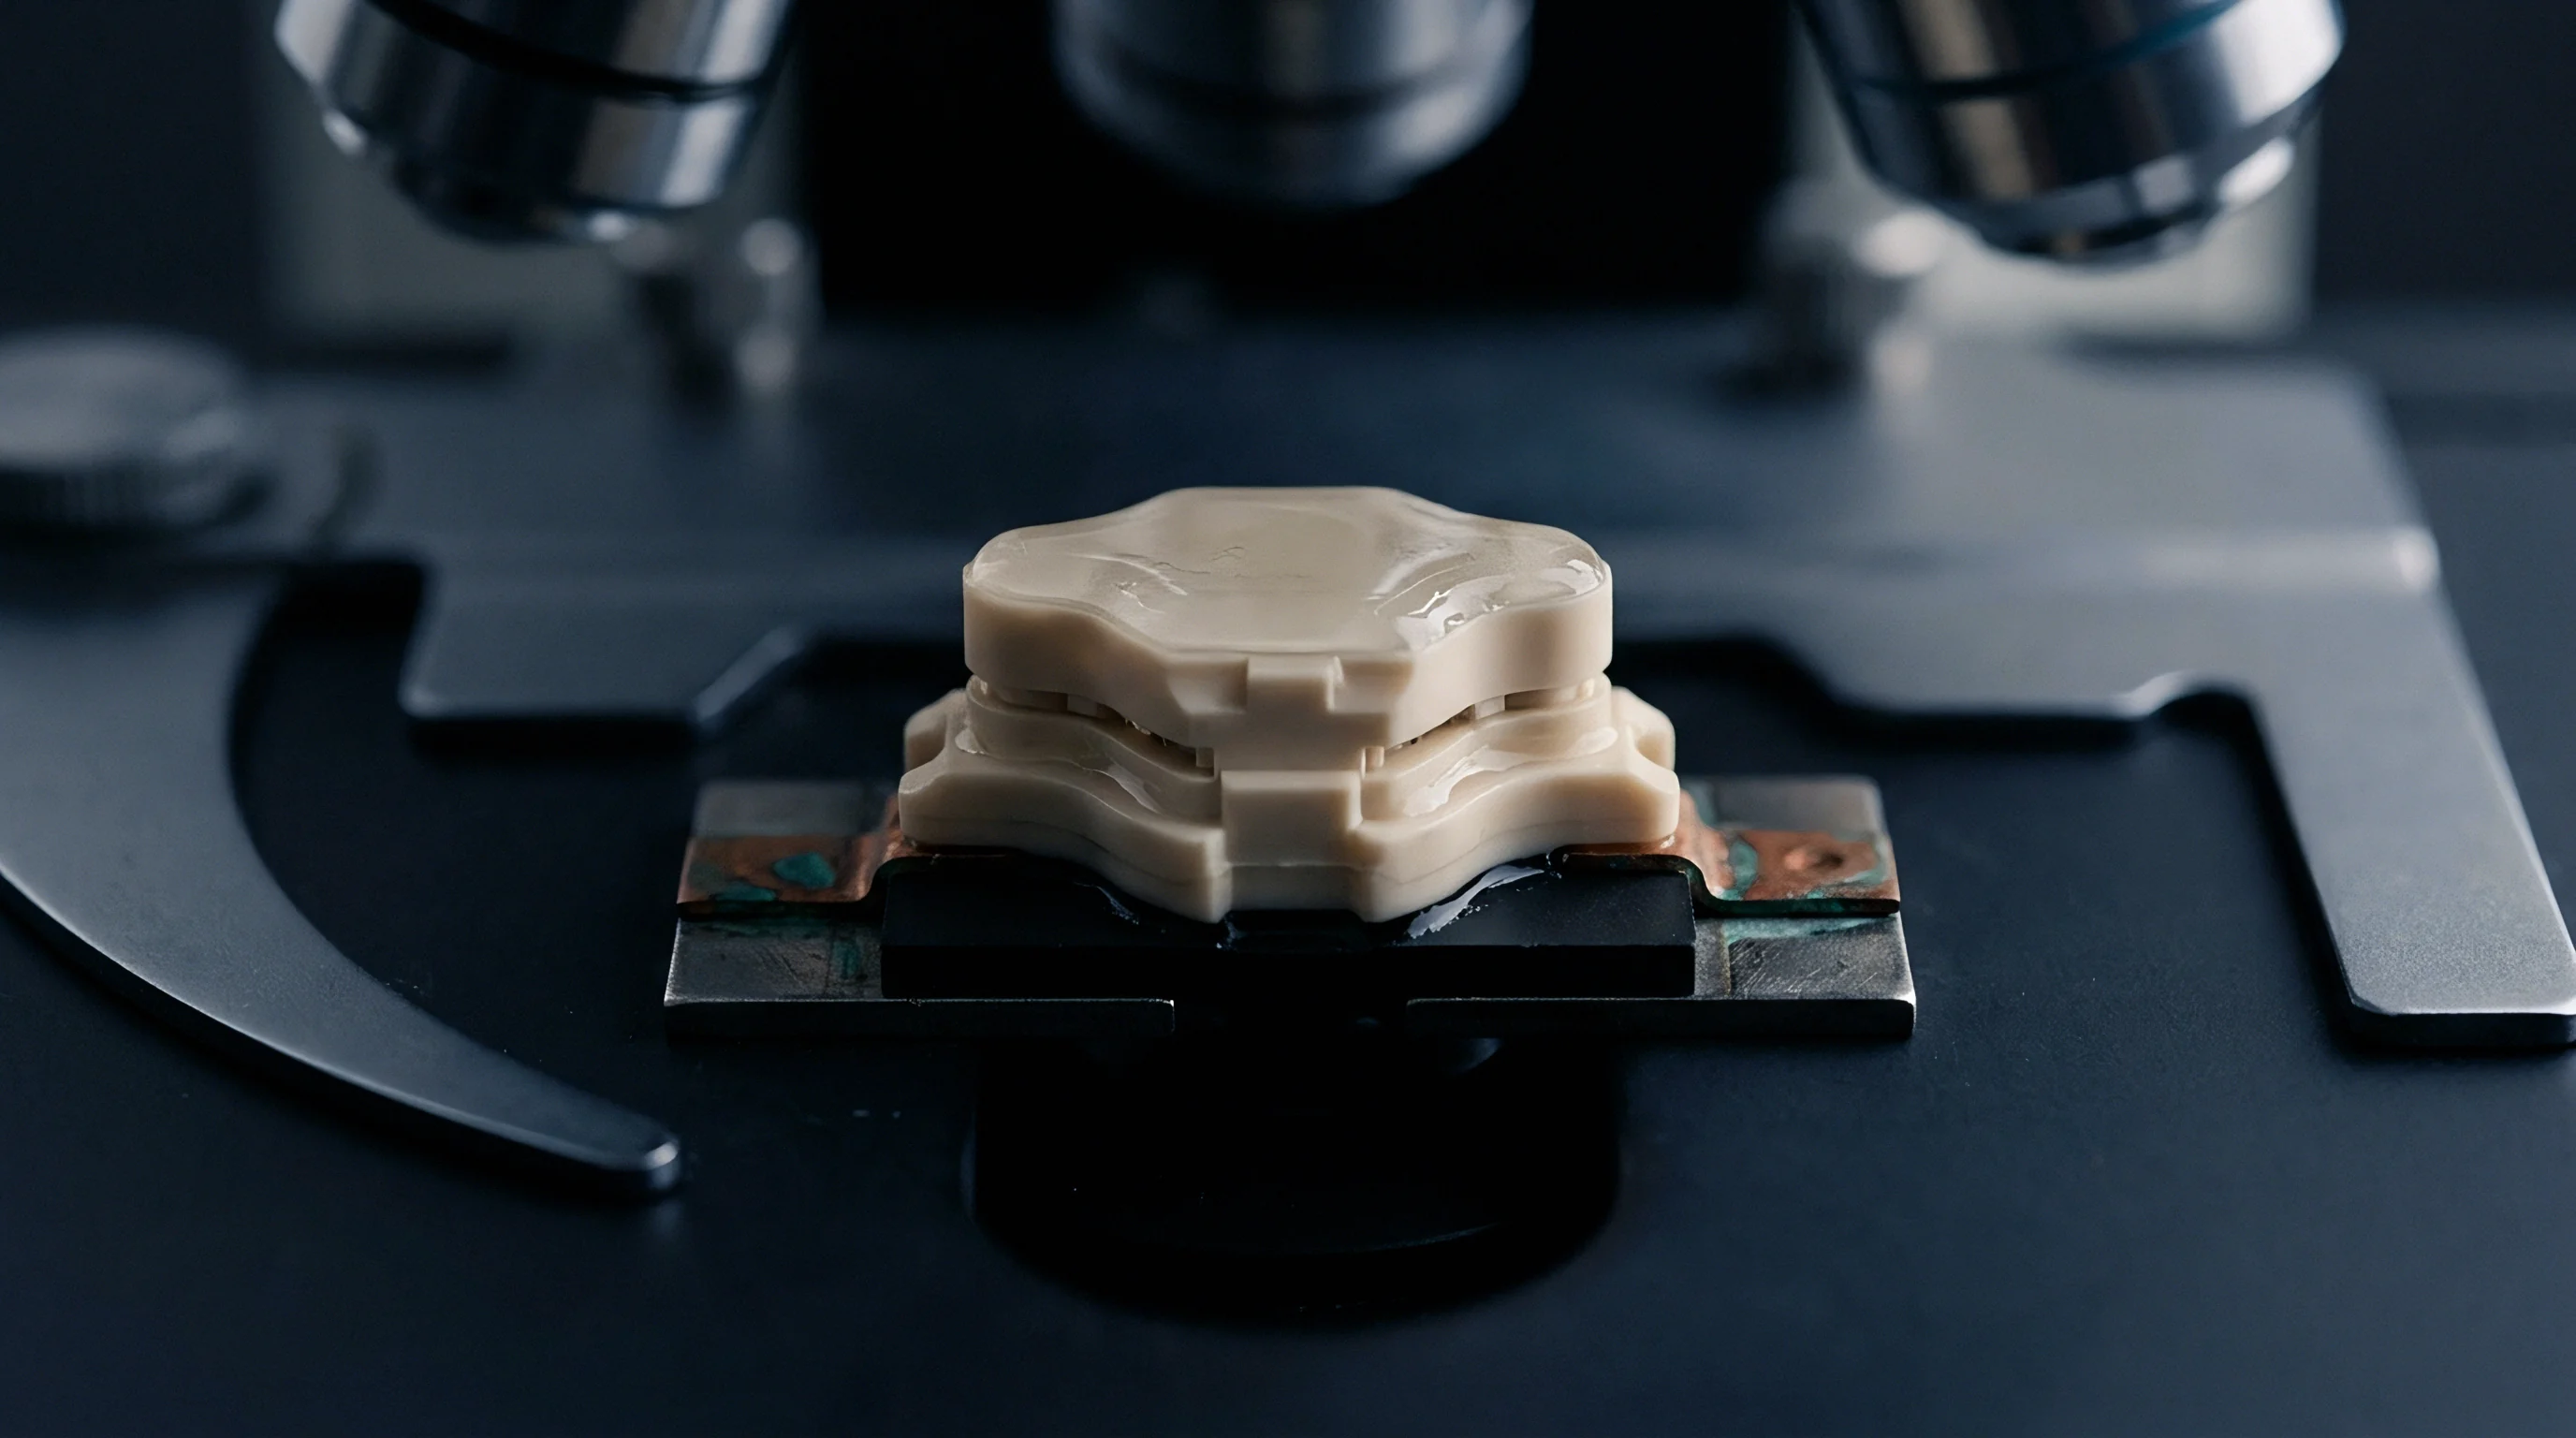
Encapsulating cut coupons in liquid polymer protects fragile copper features during subsequent grinding steps. Unencapsulated cross-sections collapse under abrasive shear force, smearing ductile copper across dielectric gaps and masking genuine layer separations. Cold-mounting acrylics and epoxy formulations support delicate hole walls and thin foil structures.
The choice of mounting compound dictates edge retention, curing thermal peaks, and processing speed. Vacuum impregnation during potting forces liquid resin into open hole structures, eliminating air pockets that bleed abrasive fluids during polishing.
Thermosetting Resins and Vacuum Impregnation Mechanics
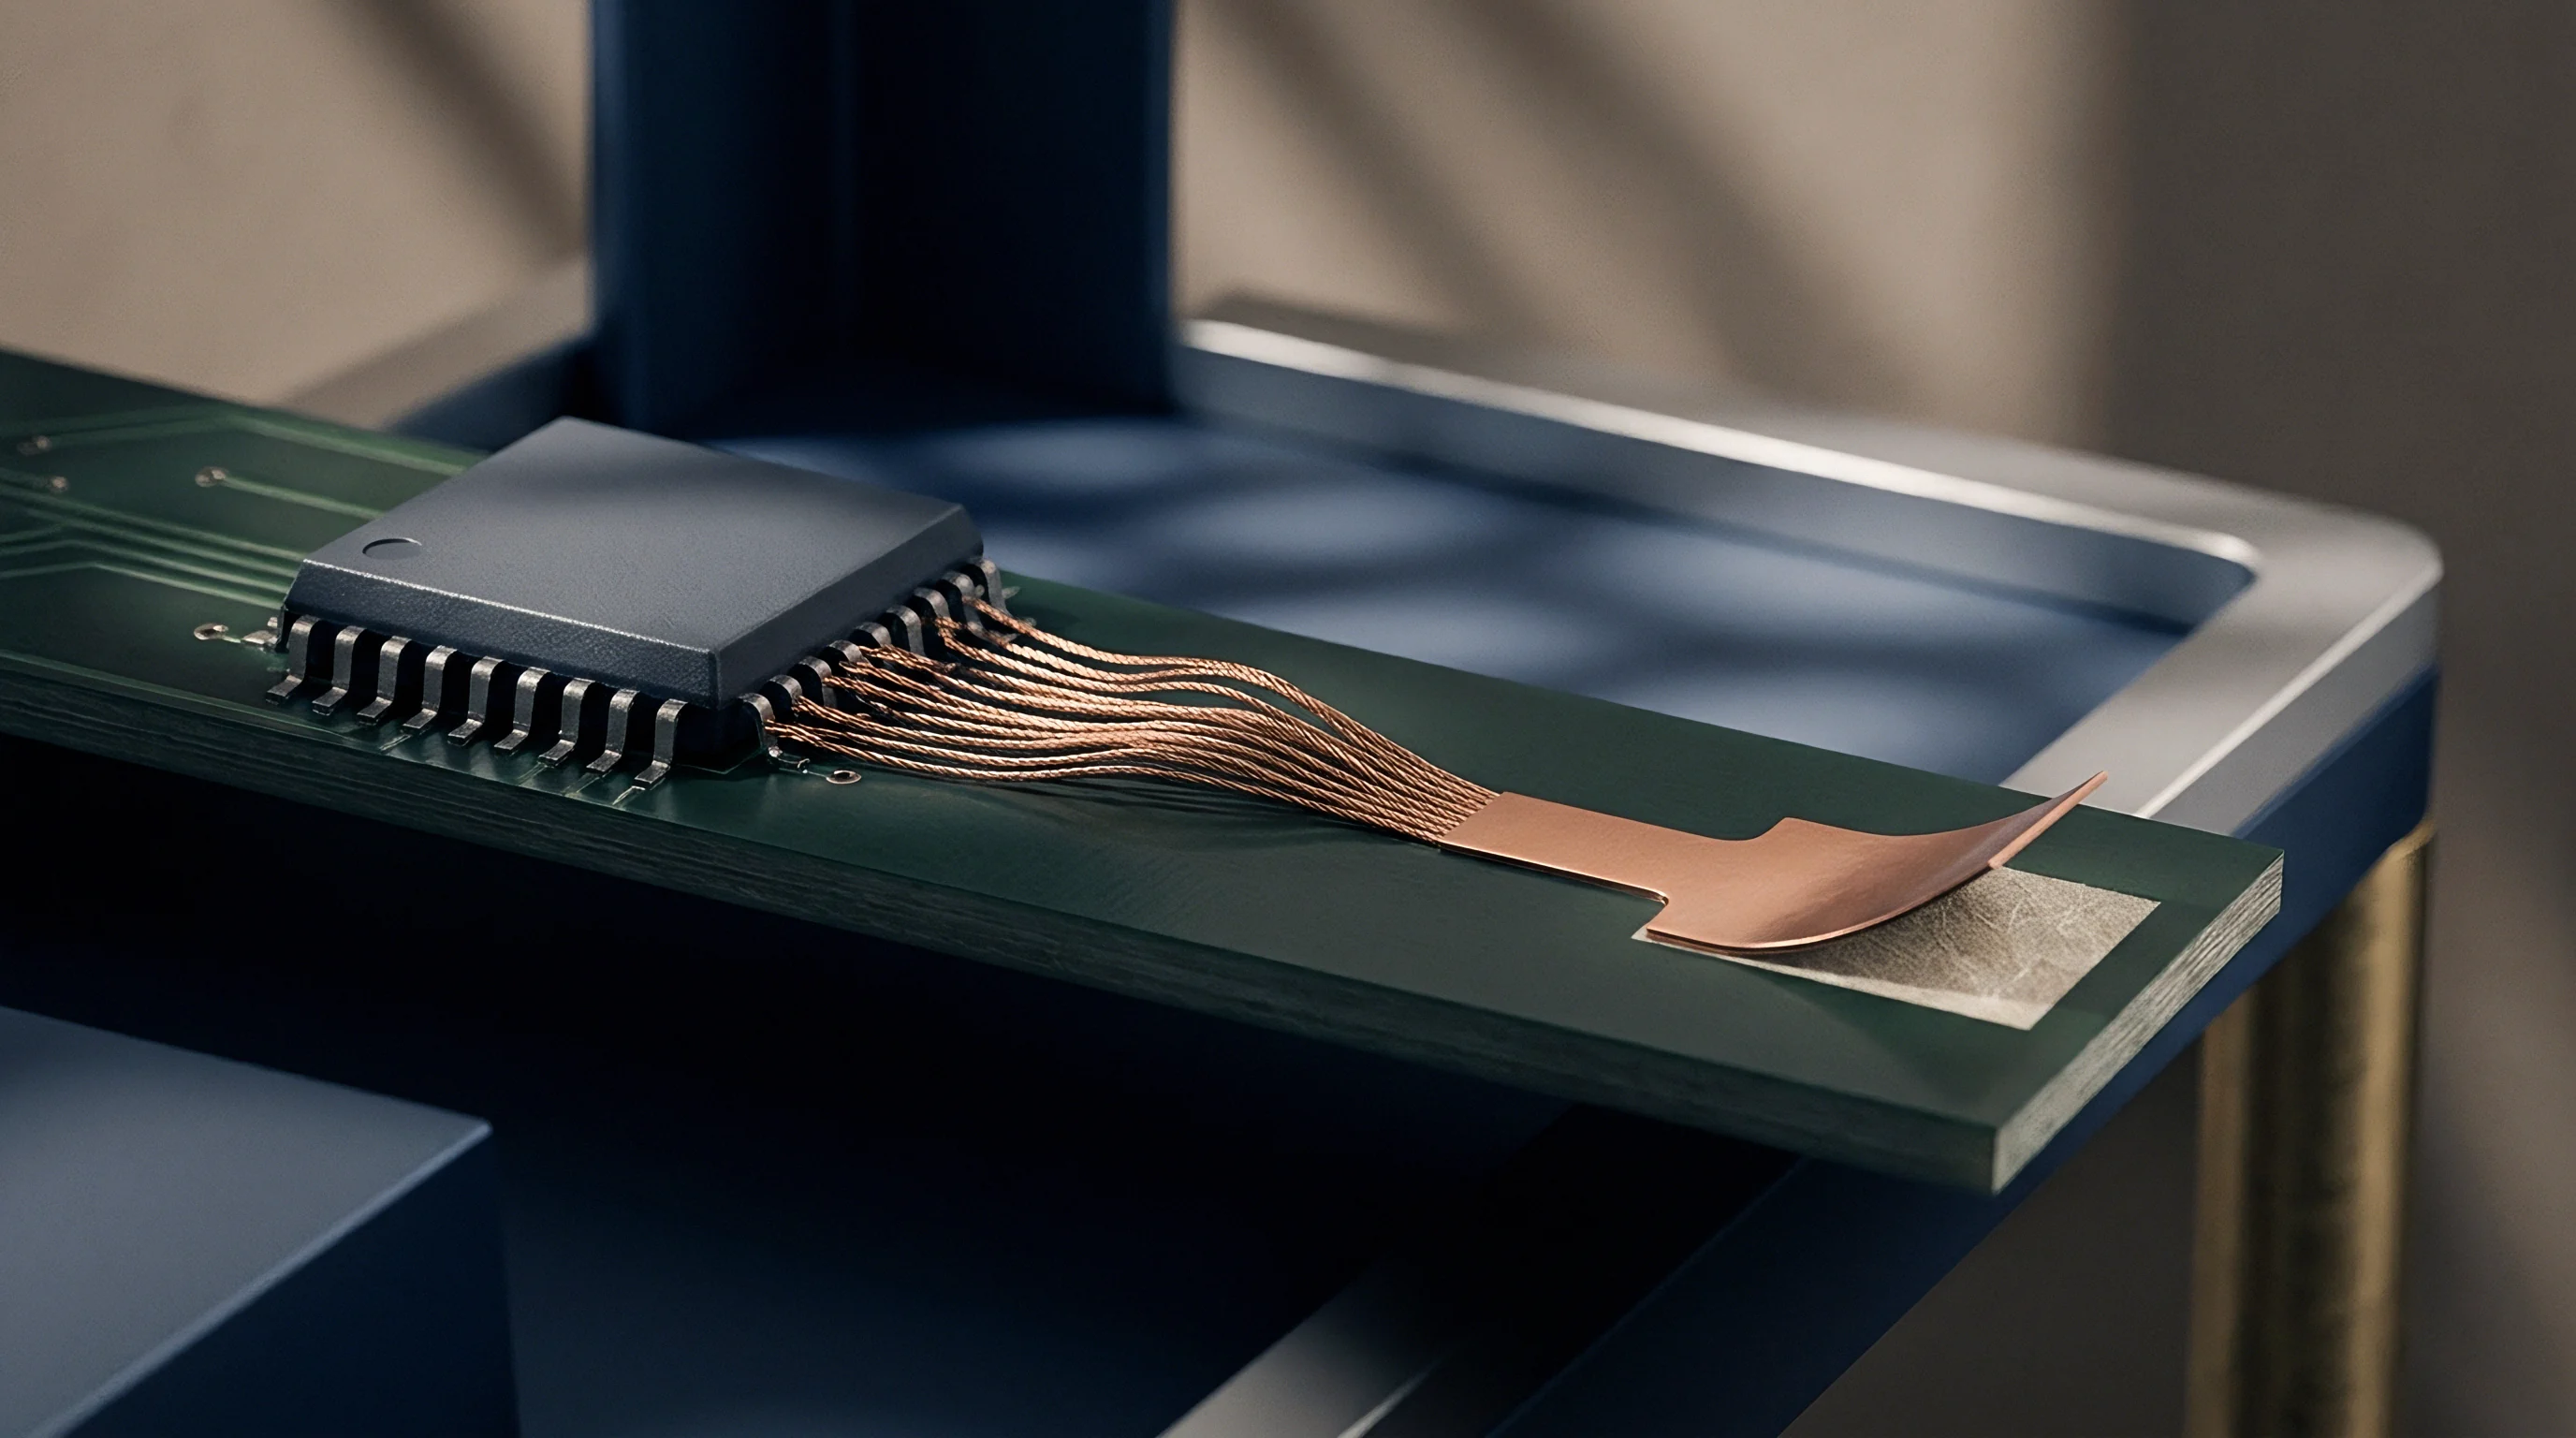
Cold-curing acrylic systems reduce cure thermal peaks to protect delicate dielectrics from artificial thermal stress. Acrylic resins mix rapidly and cure within twenty minutes at ambient temperatures, though their lower hardness relative to glass-reinforced laminates can lead to rounding at copper-dielectric interfaces. Epoxy mounting systems exhibit superior hardness, minimal shrinkage, and exceptional adhesion to copper surfaces, preventing edge-rounding during coarse grinding.
Epoxy resins demand cure times ranging from two to eight hours, depending on amine hardener chemistry and ambient thermal controls. High-volume laboratories utilize low-viscosity liquid epoxy formulations combined with vacuum chamber evacuation to draw entrapped air out of microvias and blind structures down to fifty micrometers in diameter.
Acrylic mounting systems curing above sixty degrees Celsius induce thermal stresses that simulate artificial copper foil lifting in high-Tg FR-4 laminates.
Vacuum impregnation cycles pull vacuum pressures down to twenty-five inches of mercury inside the potting chamber. Depressurization evacuates air bubbles trapped inside high aspect ratio plated through-holes, allowing the liquid mounting media to submerge the copper barrel completely. Venting the vacuum chamber back to atmospheric pressure forces the liquid resin deep into surface cavities, micro-voids, and delamination cracks.
Complete resin fill supports copper hole walls against mechanical deflection when abrasive papers apply perpendicular downward force. Incomplete resin encapsulation results in unsupported copper rims that bend under grinding pressure, creating fake plating fatigue anomalies under visual examination.
Thorough resin penetration ensures structural support across all internal features.
- Cut target coupons from the production panel using a slow-speed diamond saw to prevent mechanical shock delamination along internal copper-resin boundaries.
- Clean sectioned specimens in an ultrasonic bath using isopropyl alcohol to remove oil, cooling fluids, and abrasive dust from surface cavities.
- Mount specimens vertically in plastic mounting clips inside specimen molds, ensuring sectioning targets sit strictly perpendicular to the mold base plane.
- Pour mixed low-viscosity epoxy or acrylic resin over specimens until liquid levels rise at least ten millimeters above target coupon top surfaces.
- Place filled molds inside a vacuum chamber, drawdown vacuum pressure to pull air out of small holes, and hold for three minutes before venting.
- Allow specimens to cure fully under ambient room temperature conditions to prevent thermal expansion distortions within delicate glass-epoxy stackups.
Exotherm Control during Encapsulation
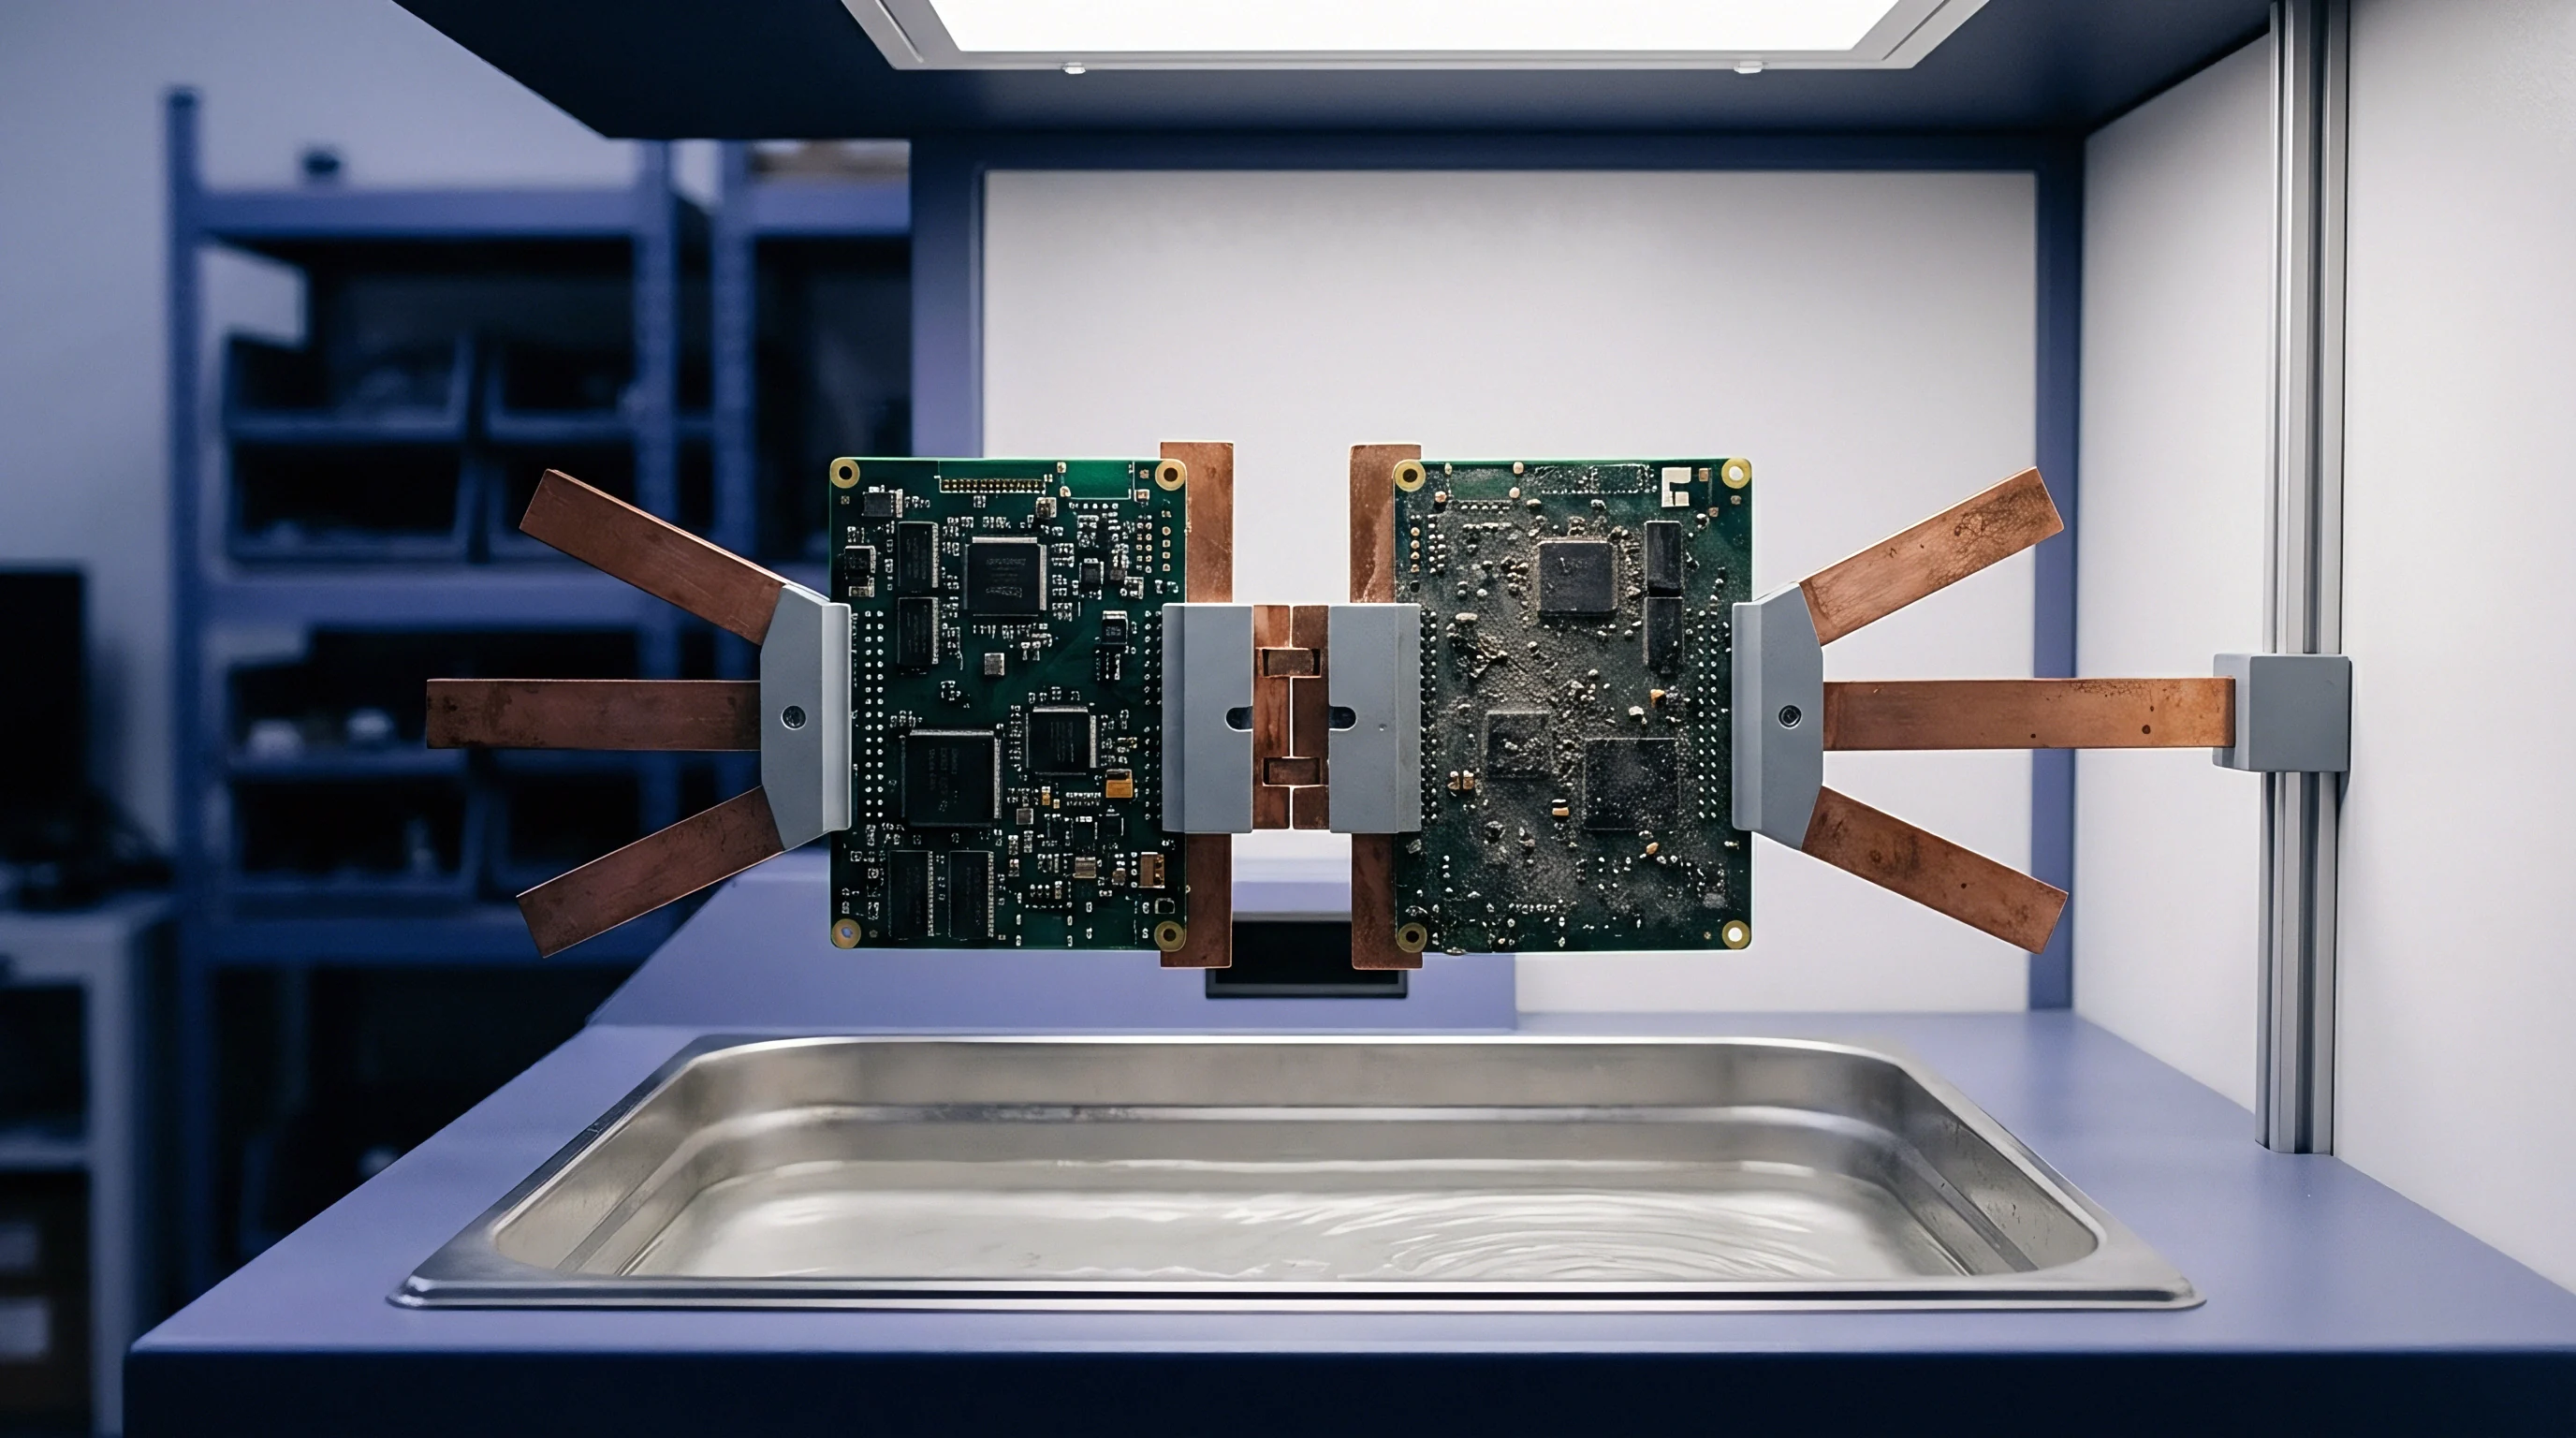
Excessive polymerization heat drives volatile solvents out of lamination prepregs, creating false delamination voids in microsection samples. Fast-curing acrylic systems can generate internal peak temperatures exceeding one hundred degrees Celsius inside thick mounting pucks. High exotherm temperatures exceed the glass transition temperature of low-Tg laminate formulations, inducing artificial thermal expansion strain along the z-axis.
Polymerization exotherms stay within acceptable limits when technicians limit mounting puck volumes or mold specimens in conductive aluminum mounting cups that dissipate heat. Controlling cure exotherms prevents artificial resin recession and thermal separation of copper foils from internal land pads.
Managing thermal output during cure protects delicate dielectric structures.
Internal resin shrinkage gaps may stem from prior coupon stresses rather than poor mounting formulation.
Polish
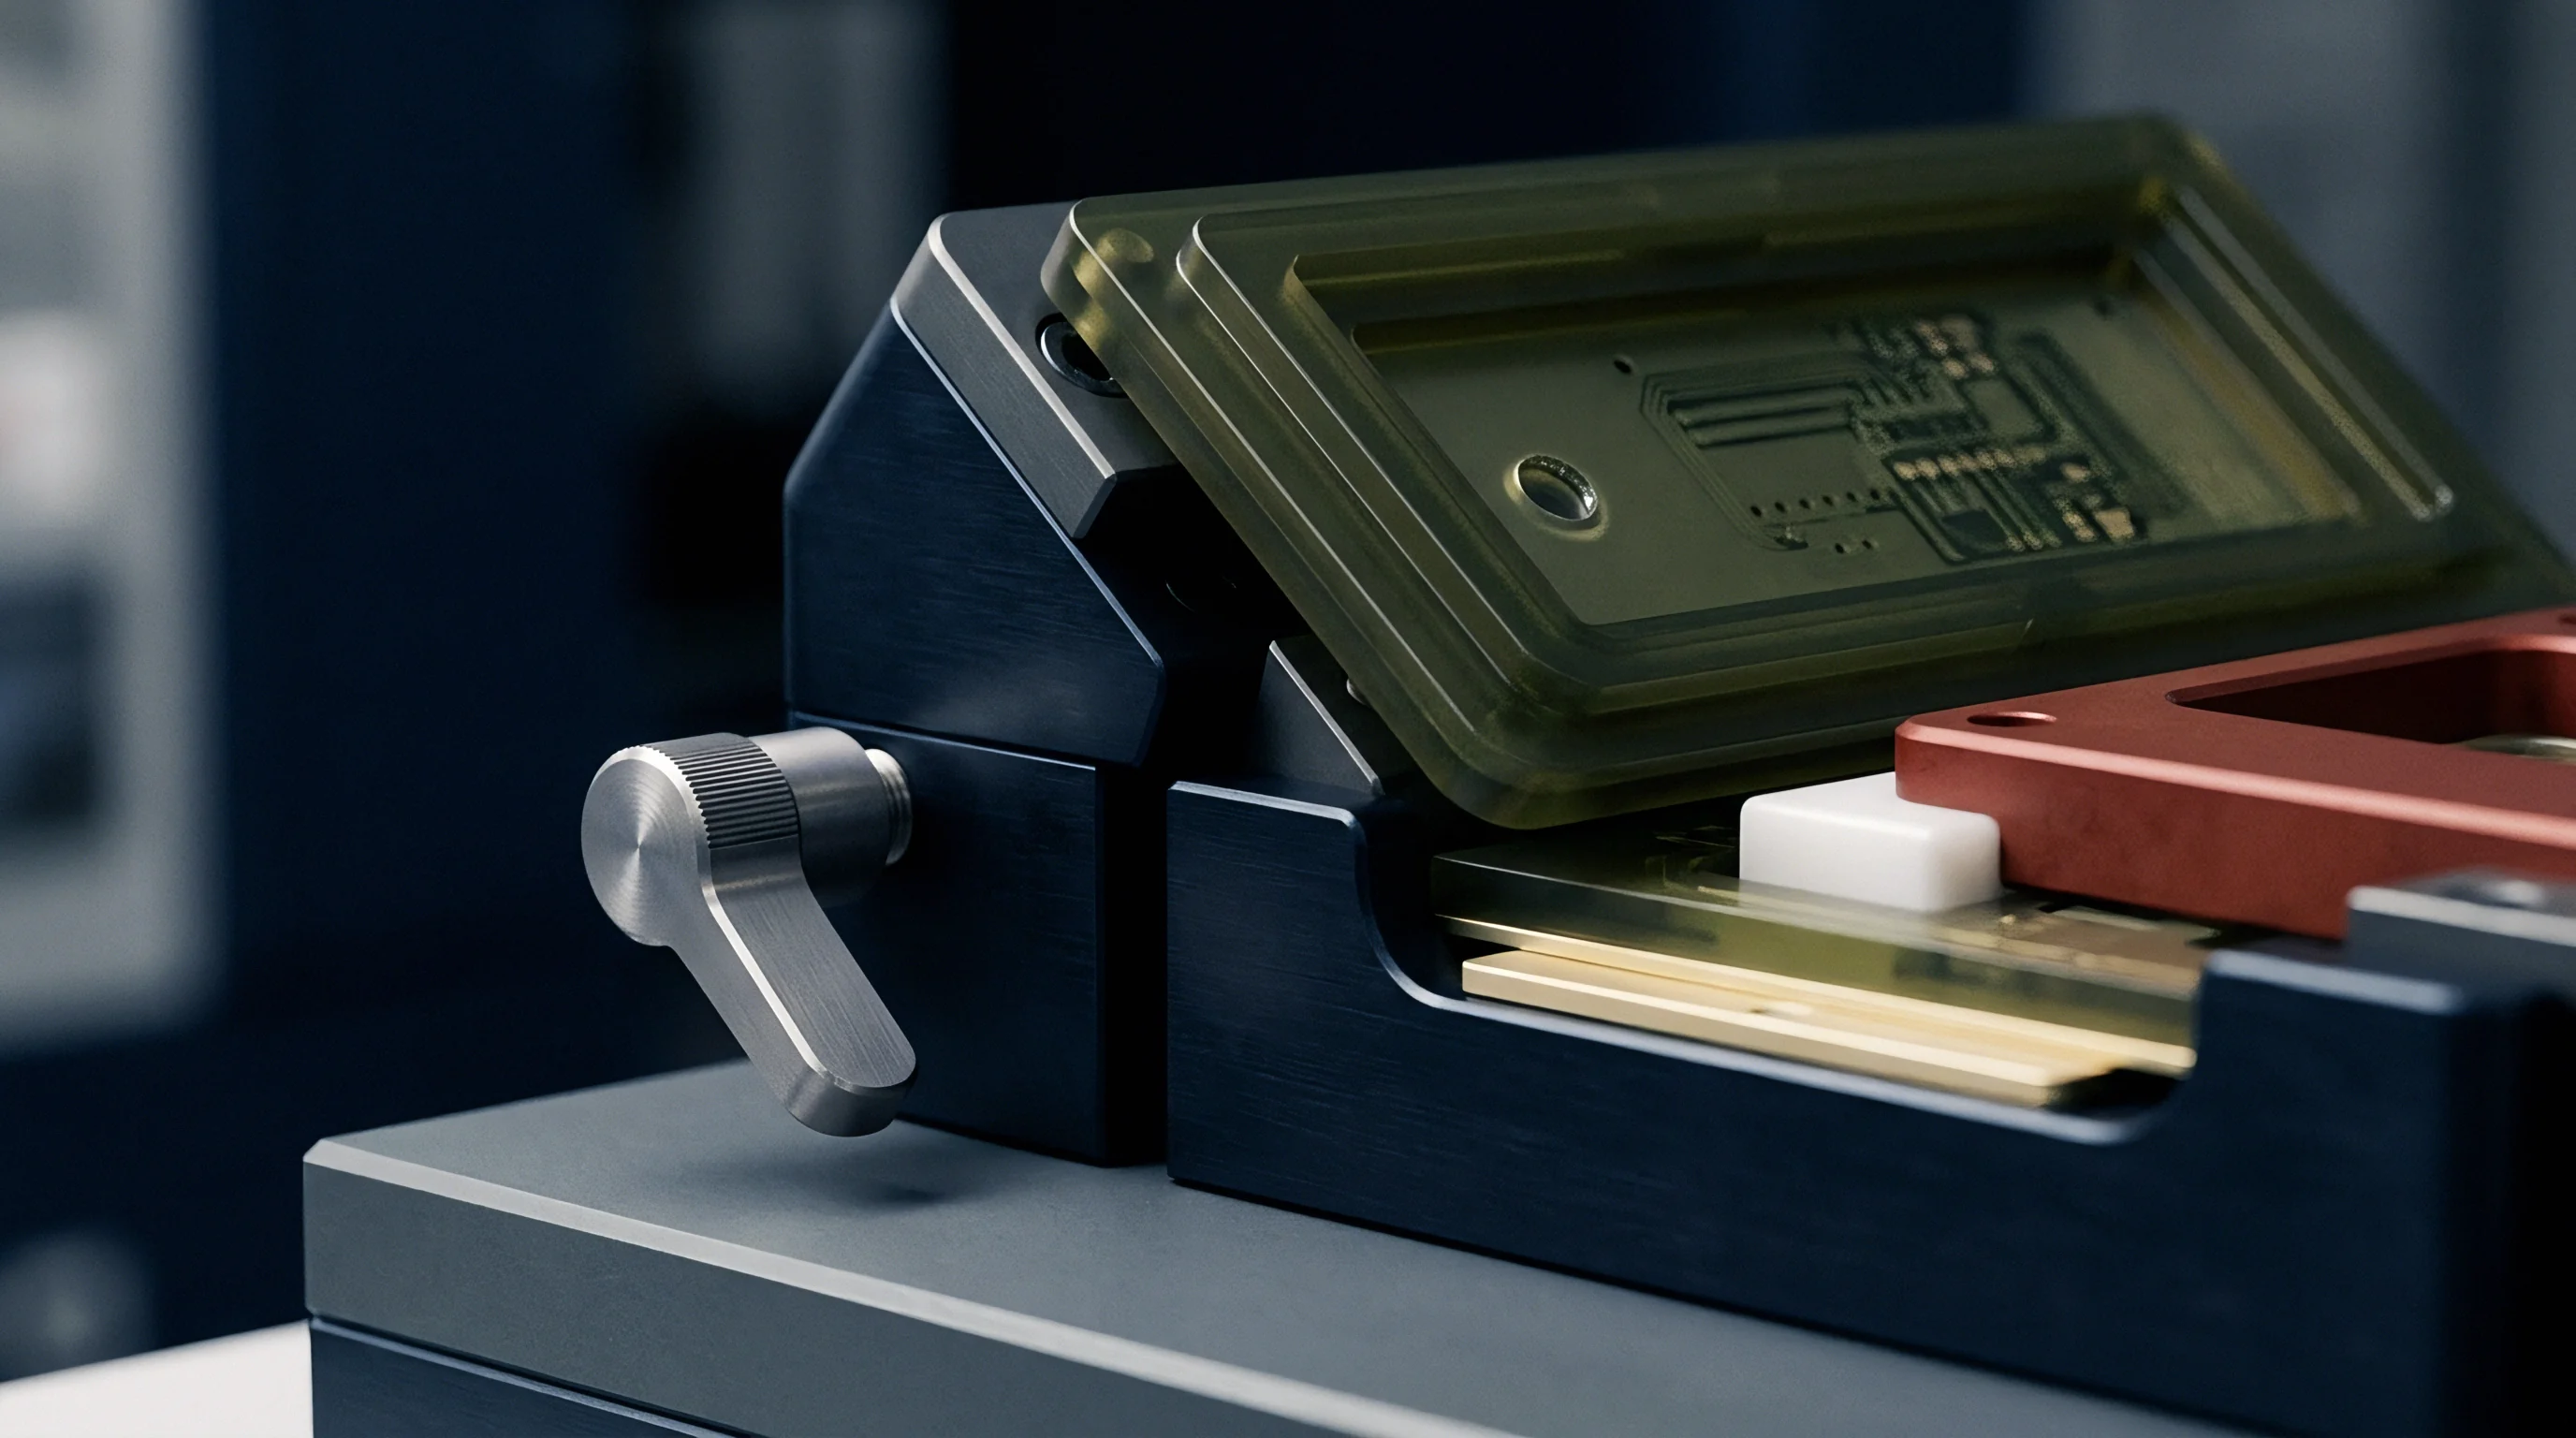
Abrasive specimen preparation transforms rough cut surfaces into optically reflective planes suitable for high-magnification analysis. Sequential grinding removes mechanical deformation layers introduced during panel cutting while bringing the sectioning plane precisely to the hole centerline. Precision preparation demands controlled step-down abrasive sizing, starting from coarse silicon carbide paper down to sub-micron diamond suspensions.
Mechanical force applied during grinding must remain uniform across the puck face to prevent tilting the sectioning plane relative to target hole axes. Etching the polished metal face with mild acid solutions reveals internal copper grain structures and plating boundaries otherwise obscured by plastic deformation.

Planar Grinding and Lapping Sequences
Silicon carbide papers remove damage from initial diamond sawing in controlled abrasive increments. Initial planar grinding utilizes 240-grit or 320-grit silicon carbide paper under continuous water lubrication to reach the outer edge of the target hole series. Water lubrication flushes away swarf and prevents thermal buildup that could distort copper structures.
Technicians transition to 600-grit paper to advance the sectioning plane precisely to the hole centerline, reducing mechanical scratch depth. Subsequent lapping steps utilize synthetic silk cloths charged with polycrystalline diamond suspensions scaling down from six micrometers to three micrometers, and finally one micrometer.
Fine polishing steps clarify boundary details across the section plane.
Avoiding edge rounding preserves accurate feature boundaries for measurement.
Maintaining sample planarity during final polishing demands rigid specimen holders and automated polishing heads. Hand polishing introduces angular drift, creating parallax errors during optical thickness measurements. Flatness across the copper-epoxy boundary preserves crisp edge definition under vertical optical illumination, enabling precise dimensional metrology down to fractions of a micrometer.
The final polishing step uses a soft nap cloth impregnated with 0.05-micrometer colloidal silica or gamma alumina suspension to eliminate microscopic relief scratches without rounding the edge of ductile copper features.
| Stage | Abrasive Type | Particle Size | Rotational Speed | Lubricant |
|---|---|---|---|---|
| Planar Grinding | Silicon Carbide Paper | 240 / 320 Grit | 250 RPM | Continuous Water Stream |
| Fine Grinding | Silicon Carbide Paper | 600 / 1200 Grit | 200 RPM | Continuous Water Stream |
| Primary Polish | Diamond Suspension | 6 Micrometer | 150 RPM | Glycol-Based Extender |
| Secondary Polish | Diamond Suspension | 1 Micrometer | 150 RPM | Glycol-Based Extender |
| Final Polish | Colloidal Silica | 0.05 Micrometer | 100 RPM | Distilled Water Flush |
| Methodology note: Specimen grinding forces held between fifteen and twenty-five Newtons per individual mounted puck to minimize copper smearing. | ||||
Microetching Reagents for Copper Structure Clarification
Chemical oxidation reveals grain boundaries across electrodeposited wall plating and copper foil interfaces. Polished unetched copper surfaces reflect light uniformly, making boundaries between electroless copper seed layers, electrodeposited copper, and internal copper foils invisible. Applying a micro-etching solution selectively attacks high-energy grain boundaries and lattice defects, producing topographical contrast visible under optical microscopes.
Standard micro-etching chemicals combine ammonium hydroxide and hydrogen peroxide in water, applied via cotton swab for three to five seconds at room temperature.
IPC-TM-650 Method 2.1.1 dictates micro-etching exposure limits, where over-etching beyond five seconds obscures fine grain boundary separations in plated copper deposits.
Etching highlights individual grain boundaries within the plated copper.
Excessive chemical exposure can obscure fine boundary separations.
Alternate etching formulations utilize ammonium persulfate or sodium persulfate mixtures when evaluating fine grain structures in high-aspect-ratio microvias. Persulfate etchants act slower than hydroxide-peroxide solutions, providing greater control over reaction depth. Etching reveals critical interfaces, including post-separation boundaries between inner layer copper land pads and electrodeposited barrel copper.
Immediate rinsing with deionized water and rinsing with pure isopropyl alcohol stops the chemical reaction, preventing surface oxidation stains that mimic intergranular corrosion under vertical illumination.
Excessive mechanical pressure during final polishing smears soft copper across dielectric boundaries, disguising true inner layer separation and causing undetected field failures in high-reliability assemblies.
Verification
Optical analysis under calibrated magnification quantifies internal feature dimensions against acceptance thresholds. Magnifications ranging from 100x to 400x allow inspectors to verify copper barrel wall thickness, measure inner layer land clearance, and detect micro-cracks. IPC-6012 sets clear dimensional limits for copper plating continuity, hole wall roughness, resin recession, and thermal strain damage.
Accurate measurement requires calibrated optical reticles or digitized image analysis software validated against certified stage micrometers. Cross-section analysis verifies physical geometry against mechanical fabrication drawings and customer procurement specifications.
Plating Thickness and Annular Ring Metrology
Calibrated optical graticules measure copper wall density at three distinct vertical height locations on each side of the plated barrel. Acceptance criteria demand an average electrolytic copper thickness of twenty-five micrometers for IPC Class 2 builds and twenty micrometers for specific Class 3 applications, with single point minimums dropping no lower than eighteen micrometers. Measuring hole wall plating requires identifying the thinnest isolated spot on the barrel, which frequently occurs near the center of thick panels due to electroplating fluid attenuation.
Annular ring verification evaluates the remaining copper pad width extending from the drilled hole edge to the outer margin of the copper land on internal layers.
Thin plating along microvia corners indicates poor fluid agitation during electrolytic copper deposition rather than insufficient lamination pressure.
External and internal land registration metrics check hole location accuracy relative to original artwork positions. Misregistration during drilling reduces internal annular ring width, which can lead to drill breakout where the hole edge breaches pad boundaries. Class 3 criteria prohibit hole breakout on internal layers, demanding a minimum ninety-degree axial annular ring of fifty micrometers.
Microsection evaluation confirms that dielectric clearances between un-connected copper features satisfy minimum insulation resistance spacings dictated by voltage isolation requirements in fabrication prints.
Why Do Plated Interconnect Failures Escape Visual Inspection?
Subsurface fractures around blind vias remain hidden under surface solder masks and component bodies. Destructive cross-sectioning combined with pre-conditioning thermal stress testing exposes latent defects that pass low-voltage electrical continuity screens at room temperature. IPC-TM-650 Method 2.6.8 subjects coupons to thermal stress via solder float testing at 288 degrees Celsius for ten seconds prior to cross-sectioning.
Thermal expansion forces thin, micro-cracked copper barrels apart, opening electrical opens that would otherwise remain closed under ambient physical testing conditions.
Thermal expansion during testing places direct z-axis stress on the barrel.
Visual inspection alone cannot reveal interior structural defects.
Evaluating internal interconnect integrity involves performing calculated thickness averages across multiple cross-section targets. Consider a worked evaluation scenario involving three distinct hole structures on a high-reliability eight-layer panel subjected to thermal stress testing:
Assume a target specification demanding an average hole wall copper thickness of 25.0 micrometers with an absolute minimum single point threshold of 20.0 micrometers. Measurements taken across three microsection targets yield the following local thickness figures:
- Hole Target Alpha ~ Plating measurements at top, middle, and bottom locations record 27.2 micrometers, 22.1 micrometers, and 26.4 micrometers respectively, yielding a local mean of 25.2 micrometers.
- Hole Target Beta ~ Plating measurements across identical vertical locations record 24.8 micrometers, 19.2 micrometers, and 25.1 micrometers, resulting in a local mean of 23.0 micrometers.
- Hole Target Gamma ~ Plating measurements record 26.1 micrometers, 21.5 micrometers, and 25.8 micrometers, resulting in a local mean of 24.5 micrometers.
- Lot Disposition Verdict ~ Although the overall aggregate mean across all nine measurement sites reaches 24.2 micrometers, Hole Target Beta contains a localized minimum point of 19.2 micrometers, breaching the absolute single point requirement of 20.0 micrometers and forcing lot rejection.
Whether non-destructive x-ray computed tomography can replace destructive cross-sectioning for high-density interconnect qualification without increasing unit inspection costs remains an open debate across high-reliability supply chains.

Anomaly
Structural defects within multilayer stackups signal deep systemic process instabilities during lamination, drilling, or plating operations. Classifying internal defects requires distinguishing between physical manufacturing flaws and artificial damage caused by improper specimen polishing. Primary multilayer defects include interconnect stress cracks, inner layer post separation, resin recession, laminate delamination, and glass fiber weave voiding.
Mapping observed defects to specific root causes enables targeted corrections to press cure profiles, drill feed rates, and plating bath chemistry balance.

Barrel Cracking and Inner Layer Separation
Z-axis thermal movement forces electrodeposited copper past its ultimate tensile strength during assembly reflow thermal profiles. Differential expansion occurs because glass-reinforced laminate expands along its z-axis at sixty to eighty parts per million per degree Celsius below Tg, whereas electrodeposited copper expands at seventeen parts per million per degree Celsius. Barrel cracking surfaces as transverse fractures across the cylindrical copper wall, predominantly occurring near the center of the PCB thickness where z-axis strain reaches peak concentration.
Thin plating, low copper ductility, or high bath organic contamination accelerates thermal fatigue cracking in plated barrels.
Plating voids restrict effective cross-sectional area and current capacity.
Inner layer separation breaches Class 3 requirements and invalidates the batch.
Inner layer post separation occurs when the electrodeposited copper wall pulls away from the internal copper land foil surface. Separation stems from incomplete removal of resin smear generated during mechanical drilling operations. Mechanical drill bits melt resin matrix material, smearing liquid epoxy across exposed inner layer copper pad edges inside the drill hole cylinder.
Chemical desmear processes using permanganate or plasma etching must remove this organic residue prior to electroless copper deposition. Residual smear forms an insulating barrier, causing post-separation open circuits under thermal shock stress.
Resin starvation defects appear as dark voids along glass bundle intersections under vertical polarized illumination.
Laminate Delamination and Glass Weave Distortions
Resin starvation leaves unbonded glass filaments vulnerable to moisture ingress during soldering operations. Delamination manifests as physical separation along dielectric interfaces, either between prepreg layers or at the bond line between core laminates and treated copper foil surfaces. Entrapped moisture inside prepreg micro-voids vaporizes rapidly during 260-degree solder reflow, generating intense internal steam pressure that ruptures resin-glass bonds.
Microsections reveal delamination as dark horizontal splits traversing dielectric spaces or running along glass bundle fills.
Microscopic voids retain moisture that expands into delamination under reflow heat.
| Defect Type | Physical Description | Primary Root Cause | IPC Class 3 Acceptance Limit |
|---|---|---|---|
| Barrel Crack | Transverse split across copper cylinder | Excessive z-axis expansion, low copper ductility | Zero permitted |
| Post Separation | Gap between inner layer pad and hole wall plating | Incomplete desmear, drill resin smear | Zero permitted |
| Resin Recession | Void between copper barrel outer wall and resin | Laminate moisture, thermal cure strain | Max 80% wall height, max 25 µm depth |
| Foil Lifting | Internal copper pad lifting off dielectric base | High drill mechanical pull force, poor foil tooth | Zero permitted if pad deformation exceeds limits |
| Weave Void | Resin-free gap inside woven glass fibers | Inadequate resin flow during press cycle | Zero permitted between non-connected conductors |
Evaluating defect severities relies on identifying failure characteristics across multiple structural parameters:
- Interconnect Post Separations ~ Cleavages along inner layer copper interfaces indicate incomplete chemical desmear or poor micro-etching activity before seed layer deposition.
- Wedge Voiding Mechanics ~ Angular gaps appearing at the junction of inner layer pads and drilled hole walls signal differential drill deflection or severe resin removal wash-out.
- Resin Smear Overlays ~ Thin organic films remaining over copper pad edges block metallization contact, inducing high resistance joints under functional loads.
- Glass Fiber Fracture Damage ~ Fractured glass filaments extending deep into dielectric walls result from worn drill bits operating at incorrect feed-to-speed ratios.
When resin recession appears alongside inner layer copper separation, moisture contamination during lamination invariably caused the defect.
Valuation
Financial impact calculation for coupon failure requires evaluating panel utilization loss against raw material and processing inputs. Scrap costs escalate exponentially when microsection evaluations discover catastrophic plating or lamination failures at final inspection rather than earlier in the processing sequence. Panel margin real estate allocated to test structures represents a fixed yield loss on every raw laminate sheet cut.
Balancing test coupon land footprint against statistical process confidence determines true net landed board unit costs for commercial and high-reliability products.
Panel Overhead and Coupon Real Estate Accounting
Surrounding production boards with test strips consumes up to ten percent of usable laminate area on standard eighteen-by-twenty-four-inch production panels. High-density designs requiring multiple Coupon A/B and Coupon D structures force panel designers to expand border clearances from fifteen millimeters to twenty-five millimeters. Area lost to perimeter test structures reduces the total count of functional boards nestable within prime panel real estate.
Yield drop from lost nested unit positions must be added directly to bare board procurement unit prices.
Allocating border area to coupons directly increases effective board cost.
Coupon conformance remains the primary threshold for batch acceptance.
Consider a panel layout worked example: an eighteen-by-twenty-four-inch panel yields forty individual circuit boards when using standard twelve-millimeter border margins. Expanding border margins to twenty-four millimeters to accommodate advanced high-density interconnect coupons reduces net panel space, dropping yield down to thirty-two boards per panel. Assuming an eighteen-by-twenty-four-inch processed panel base cost of four hundred dollars, the per-unit bare board cost increases from ten dollars to twelve dollars and fifty cents, representing a twenty-five percent unit price premium purely to support expanded coupon metrology structures.
Landed Cost Impact of Batch Conformance Testing
Lab fees, specimen preparation labor, and delayed shipping release compound unit purchasing costs when coupons fail initial screening. Destructive microsection preparation requires specialized metallographic laboratory equipment, optical microscopes, consumables, and skilled labor, costing between seventy-five and one hundred fifty dollars per prepared coupon puck. When microsections expose non-conformance, fabricators must halt shipment releases, pull secondary coupons, and conduct root cause failure analyses across adjacent panel lots.
Batch rejection invalidates entire production runs, forcing emergency re-fabrication cycles that cost weeks of schedule delay. Procurement contracts incorporating explicit IPC conformance clauses assign scrap costs, lab re-inspection fees, and line-down penalties directly to the bare board vendor. Establishing robust incoming microsection evaluation protocols protects purchasing organizations from assembling non-conforming bare boards into high-value circuit card assemblies.
Factoring destructive inspection overhead into initial panel utilization calculations prevents sudden gross margin erosion when high-reliability builds demand comprehensive microsection compliance dossiers.