Printed Circuit Assembly Strain Limits during Bed of Nails Testing
Bed-of-nails test fixtures demand empirical strain gauge verification to ensure dynamic microstrain levels stay below component limits and prevent latent pad cratering.
Gauge
In-circuit testing exposes printed circuit assemblies to localized mechanical loads that often cross the plastic deformation threshold of copper traces, solder joints, and dielectric laminates. As a pneumatic or vacuum test head drives hundreds of spring-loaded pins onto component landing pads, the assembly flexes rapidly. Capturing these brief mechanical deformations requires triaxial strain gauge rosettes bonded at high-risk board locations.
Single-axis sensors miss the principal stress vectors produced by non-uniform pin layouts, asymmetrical cutouts, or off-center push rods. To catch damage mechanisms before boards reach environmental stress screening or functional test, strain analysis during bed-of-nails engagement depends on calculating maximum and minimum principal strains along with strain rate.
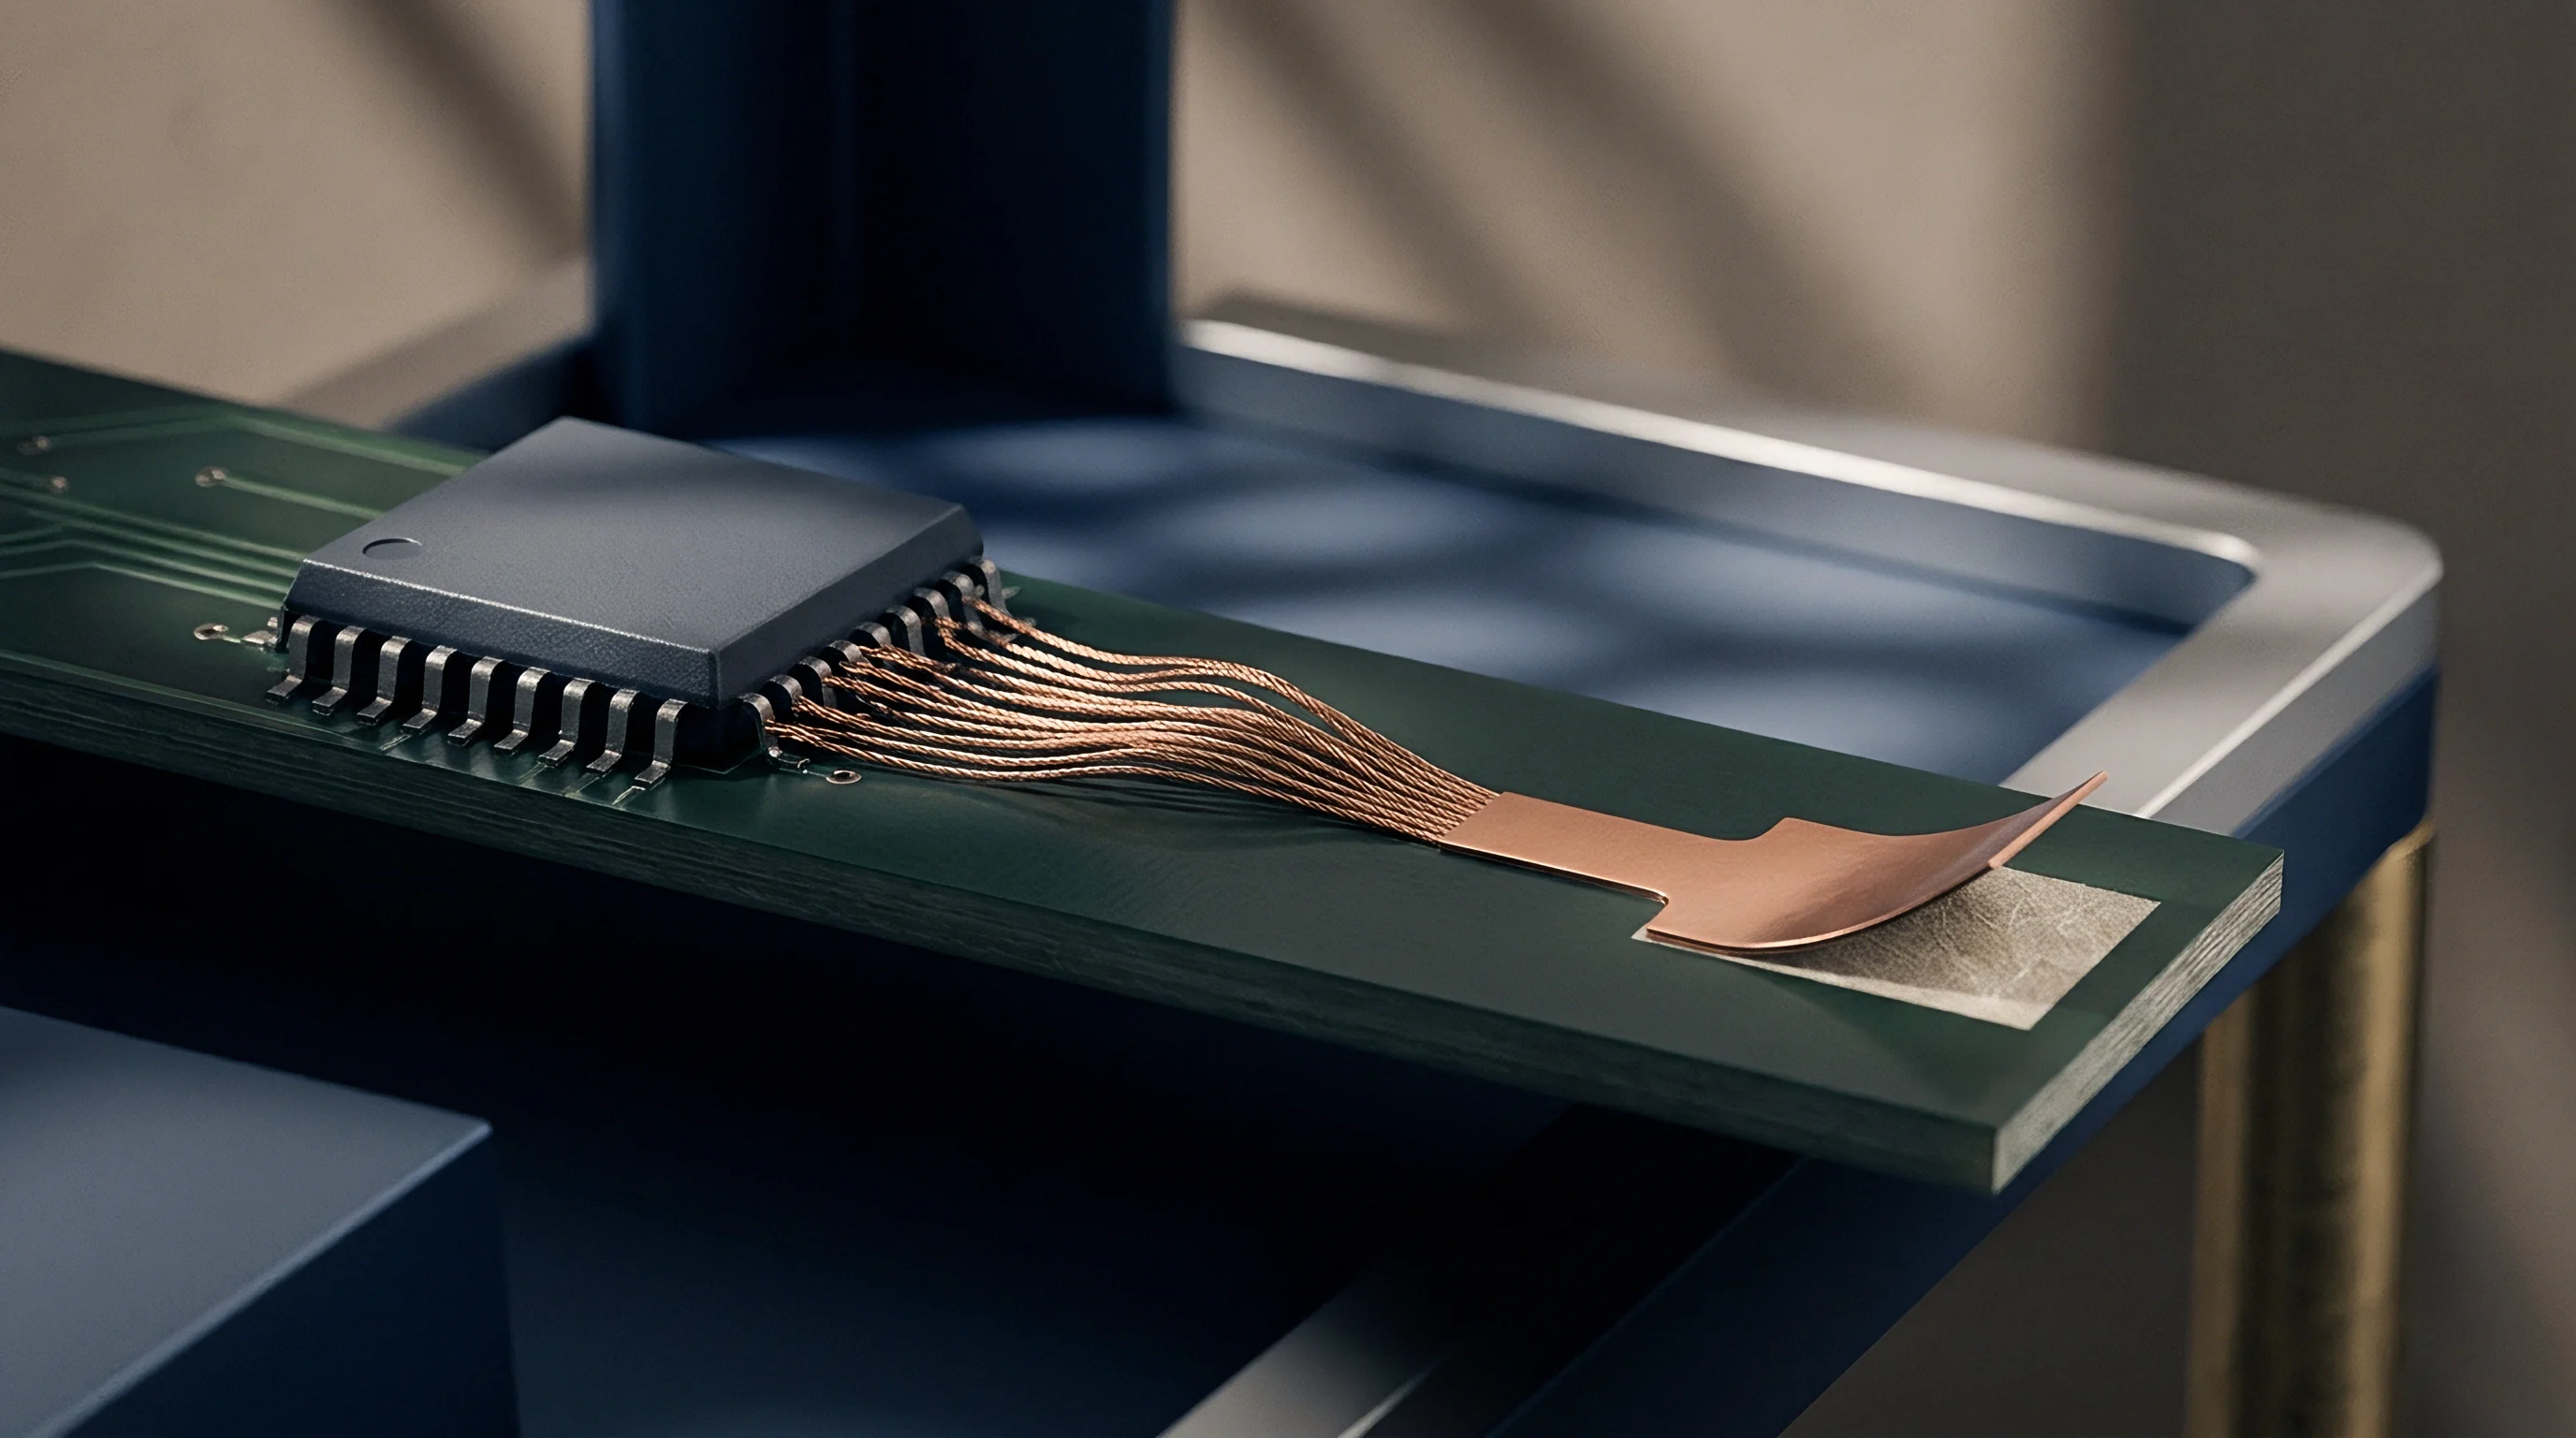
Electrical resistance strain gauges turn small mechanical displacements into measurable resistance changes across a balanced Wheatstone bridge circuit. Accurate strain measurement in automated testing requires three-element stacked or planar rosettes, usually in a zero-forty-five-ninety degree layout. Placing these sensors within one millimeter of critical component corners ~ especially large Ball Grid Arrays, shield cans, and fine-pitch headers ~ captures the localized bending moments created as the fixture closes.
Standard gauge resistances of 120 ohms or 350 ohms are paired with high-speed data acquisition systems sampling above 10 kilohertz. These high sample rates capture short strain peaks during latching, vacuum pull-down, and mechanical ejection that slower data loggers average out into false passes.
Calculating principal strains requires processing the raw microstrain values from the rosette’s three individual elements. These mathematical transformations convert directional strain readings into principal microstrain components, designated as principal strain one and principal strain two. The equations use the raw strain values together with the Poisson ratio of the board laminate, which generally ranges from 0.11 to 0.18 for standard FR-4 epoxy glass systems.

Principal Strain Calculations and Rosette Orientation
How individual rosette elements are oriented dictates the math needed to extract principal strain magnitudes. In a typical rectangular stacked rosette, element A aligns with the horizontal reference axis, element B sits at forty-five degrees, and element C takes the vertical ninety-degree position. Raw readings from these elements ~ designated epsilon A, epsilon B, and epsilon C ~ feed directly into planar elasticity equations.
The arithmetic mean of elements A and C gives the hydrostatic component of the strain field, while the square root of the squared differences provides the shear strain component.
Principal strain one is the maximum normal strain at the gauge site, found by adding hydrostatic strain to the maximum shear strain radius. Principal strain two is the orthogonal minimum normal strain. Maximum diagonal strain, which tracks closely with mechanical cleavage risk in brittle solders, combines these values to isolate peak shear strain at component termination interfaces.
Rapid board flexing during bed-of-nails engagement creates multi-axial strain fields where the principal axes rotate dynamically throughout the push-rod stroke. Looking only at single-axis strain values understates the maximum strain vector by forty percent whenever the primary bending axis drifts off the sensor axis.
The time derivative of principal strain gives the strain rate in microstrain per second. High strain rates change how lead-free solders like SAC305 respond mechanically. At low strain rates, solder relaxes stress through plastic deformation via dislocation climb and grain boundary sliding.
Above 10,000 microstrain per second ~ common during fast pneumatic fixture clamping ~ solder acts like a rigid, brittle solid. That brittleness shifts the failure mode from ductile solder deformation to intermetallic cleavage or copper pad cratering in the dielectric laminate under the surface copper foil.
| Parameter | Standard Value | High-Precision Value | Impact on Measurement Accuracy |
|---|---|---|---|
| Grid Length | 1.5 mm | 0.6 mm | Smaller grids reduce spatial strain averaging over steep stress gradients near component edges. |
| Bridge Excitation Voltage | 2.0 V DC | 1.0 V DC | Lower excitation voltage minimizes local self-heating errors on thin circuit board substrates. |
| Sampling Rate | 1.0 kHz | 10.0 kHz | Higher rates capture millisecond-scale impact transients during pneumatic clamping cycles. |
| Transverse Sensitivity Ratio | 1.5 percent | 0.2 percent | Lower transverse sensitivity eliminates cross-axis measurement distortion in multi-axial strain fields. |
High Strain Rate Dynamics during Fast Actuation
Fast pneumatic test fixtures close in under 200 milliseconds, driving spring probes onto test points at speeds that generate mechanical shock waves. Impact energy from the accelerating top plate transfers straight into the board through the push pins. Telemetry recorded during these fast actuations reveals sharp, high-frequency strain spikes peaking within five to fifteen milliseconds of initial probe contact.
Standard strain limits derived from static structural analysis underestimate component degradation risk during these rapid events.
Quantifying these transient peaks requires tracking both peak principal strain and the instantaneous strain rate slope. Data acquisition systems need simultaneous-sampling analog-to-digital converters so phase distortion does not occur between the rosette’s three channels. Low-pass analog filtering between 1 kilohertz and 2 kilohertz cuts high-frequency electrical noise from nearby solenoid drivers while keeping the physical strain wave intact.
Filtering above 5 kilohertz is needed when analyzing pneumatic impact transients; otherwise, peak strain levels that trigger brittle fractures can easily be under-reported.
Installing strain gauges takes careful surface preparation to preserve laminate integrity while ensuring good signal transfer. Stripping solder mask mechanically or by laser ablation exposes the resin matrix without gouging the underlying glass fibers. Cyanoacrylate adhesives yield rigid, thin bond lines that transmit substrate strain to the constantan foil grid without creeping under repeated clamping cycles.
Zero-strain baseline calibration is done while the board rests unsupported on flat granite blocks, setting a true reference state before mounting it into the bed-of-nails fixture frame.
Peak transient strain values measured during fixture engagement depend directly on the local strain rate, requiring sample rates of 10 kilohertz to capture microstrain spikes exceeding limits by 300 microstrain.
Gathering strain data across complex printed circuit assemblies means evaluating every stress concentration point on the board layout. Fixture engineers map high-density test point zones, heavy magnetics, rigid connectors, and large surface-mount packages to select gauge sites. Testing without preliminary mechanical modeling risks placing sensors along neutral axes where recorded strains look benign despite severe localized stress just millimeters away.
- Rosette Grid Selection matches gauge footprint to the stress gradient at the component edge being evaluated.
- Bridge Excitation Calibration prevents thermal drift in thin laminates by limiting continuous voltage on small gauge grids.
- Substrate Preparation removes conformal coating and solder mask without damaging structural glass fibers in the outer layer.
- Data Acquisition Synchronization locks sampling clocks across all analog channels to maintain phase alignment during fast transients.
Getting accurate strain measurements across a populated board involves correlating fixture stroke distance with strain development in real time. Fixture designs frequently exhibit probe spring forces that vary by up to thirty percent across the bed of nails due to mixed probe strokes and unequal spring pre-loads. This force imbalance tilts the assembly during initial compression, creating flexural stresses well above values calculated from uniform pin distribution models.
Measuring these dynamic events physically provides the empirical foundation required to validate mechanical fixture designs.
Does the current IPC/JEDEC-9704 strain measurement methodology fully account for the multi-axial strain fields generated by simultaneous top-side push-rod loading and bottom-side probe resistance in high-density assemblies?
Anvil
A bed-of-nails test fixture works as a specialized mechanical press to establish electrical contact between hundreds or thousands of spring-loaded probes and corresponding pads on a circuit assembly. The structural frame, push plates, support pins, and probe plates form an integrated mechanical system applying thousands of Newtons to the board. Vacuum fixtures rely on atmospheric pressure differentials across a sealed diaphragm to pull the board onto the probe array, while pneumatic fixtures use air cylinders to push a top plate with push pins down onto the assembly.
Either method creates severe mechanical bending moments if the opposing forces from probes and push pins are not aligned along common vertical axes.
Spring-loaded test probes exert forces ranging from 0.5 Newtons to 3.0 Newtons per contact point at full working stroke. An assembly with 1,500 test pads sees a total compressive force between 750 Newtons and 4,500 Newtons during fixture closure. When test pads cluster unevenly in one quadrant, the probe array behaves as an asymmetric spring bed.
The high-density side experiences heavy upward force while low-density regions meet minimal resistance. This imbalance turns the board into a loaded beam, bending the substrate around the fulcrum formed between high and low probe density zones.
Push pins on the upper fixture plate oppose probe forces and keep the board flat against bottom supports. Effective layout aligns every top push pin directly opposite a lower support pin or dense probe cluster. Placing push pins over open board space without bottom support drives the laminate down into local depressions, causing sharp local curvature.
On the other hand, putting push pins directly onto delicate surface-mount components creates localized compressive loads that crack ceramic capacitors, shear solder joints, or fracture packages.
Mechanical Dynamics of Vacuum and Pneumatic Actuation
Vacuum fixtures displace the board by evacuating air from the chamber below the assembly. Atmospheric pressure on the top surface applies a uniform load of roughly 100 kilopascals across the board. Although atmospheric force acts evenly downward, upward resistance from spring probes remains concentrated at individual test pads.
Vacuum actuation reduces broad board bowing compared to unguided pneumatic push plates, but it sharpens localized bending around isolated probe clusters or cutouts where seals disrupt pressure distribution.
Pneumatic fixtures bypass atmospheric limits by using mechanical push rods to force a rigid top plate downward. Force transfers to the board strictly through discrete push pins. This setup allows tight control over stroke speed and clamping depth, but creates high point loads where pins make contact.
Misadjusted pneumatic cylinders can drive the top plate past bottom dead center, over-compressing probe springs and crushing the circuit board. Deflection sensors in modern pneumatic heads monitor plate parallelism throughout the down-stroke.
Support pins under the substrate keep the board from sagging where test probes are absent. These rigid metal or plastic pins must match the exact height of the probe sockets at full working stroke. A support pin sitting 0.2 millimeters above the nominal socket plane acts as a rigid pivot point, causing the board to seesaw during compression.
One sitting 0.2 millimeters too low offers no support until the laminate has already suffered significant bending. Tolerances on support pin length and socket mounting depth control overall flatness during testing.
Component damage resulting from fixture compression invalidates batch acceptance parameters and transfers financial liability for board scrapped during functional test to the test house.
Asymmetrical geometries, internal cutouts, and edge notches alter an assembly’s flexural rigidity. Bending stiffness in FR-4 laminates scales with the cube of board thickness ~ a 1.0-millimeter board has less than twenty-three percent of the flexural stiffness of a 1.6-millimeter board with identical layer construction. When testing thin assemblies on a bed of nails, standard push pin layouts generate excessive microstrain that demands custom support structures like machined backing plates or contoured top plates.
Push Pin Placement and Unbalanced Board Support
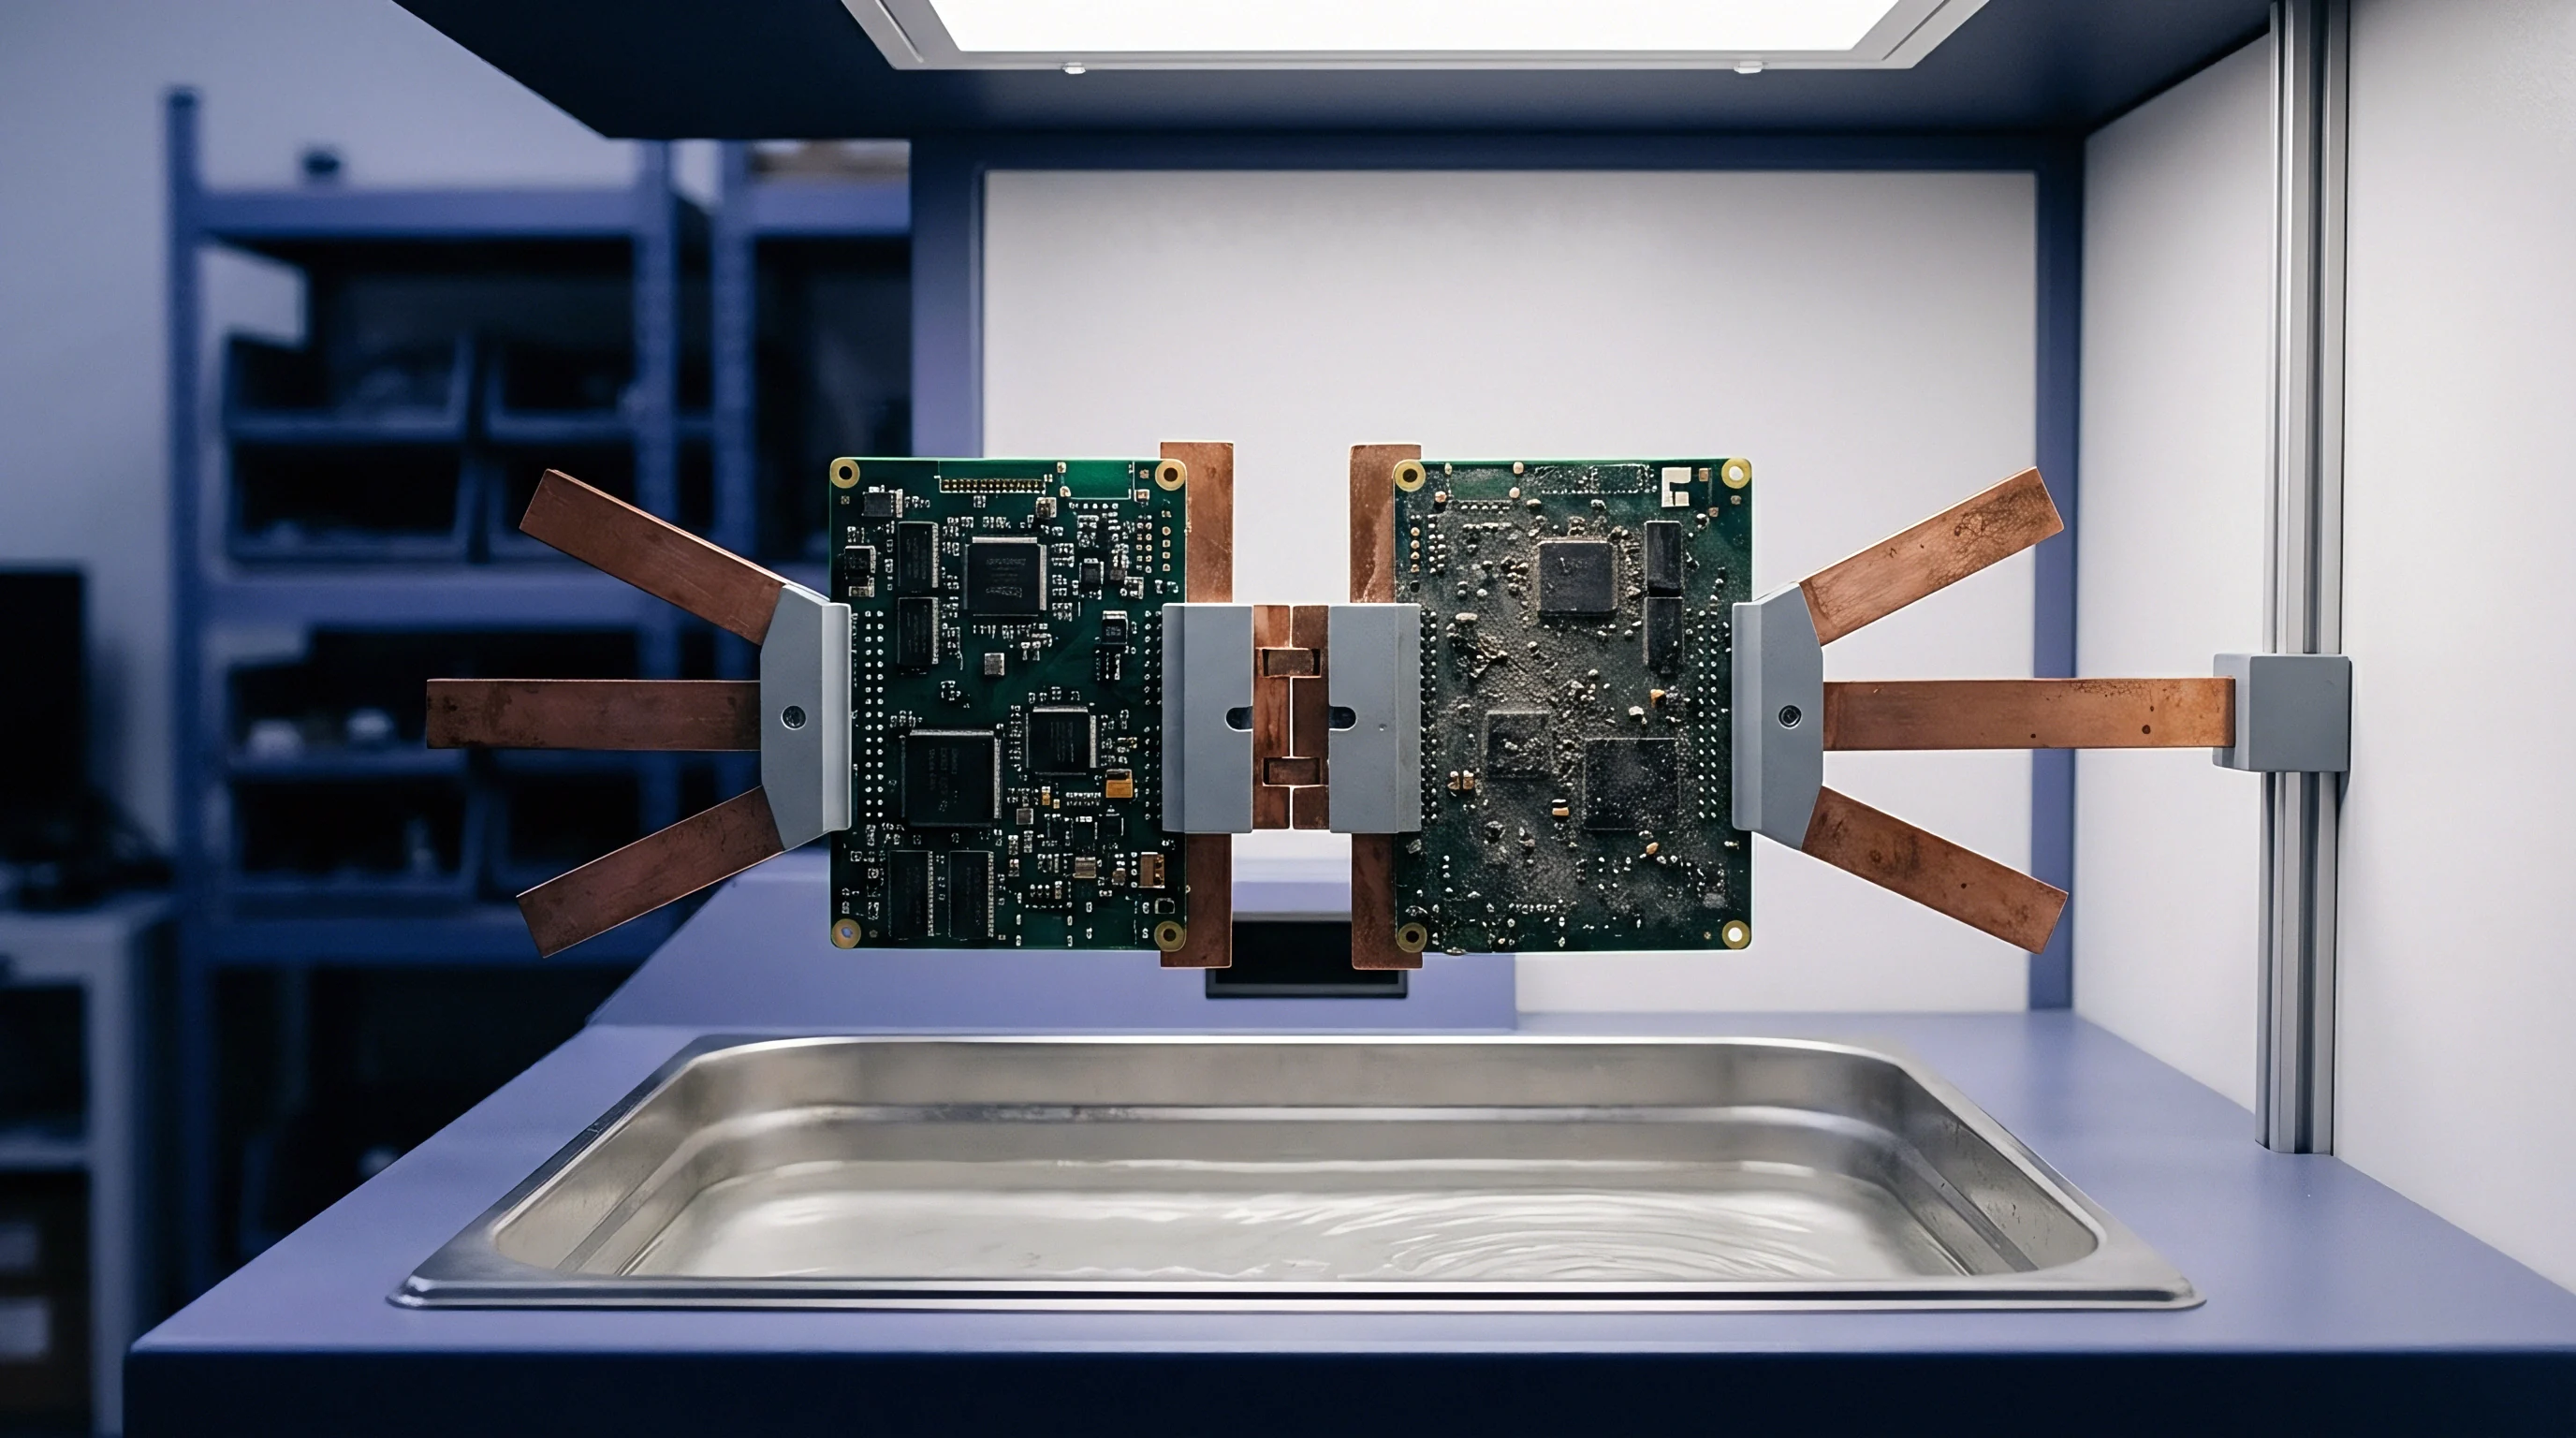
Designing push pin layouts requires analyzing how probe forces are distributed across the board surface area. Finite element tools generate force density maps by plotting the X-Y coordinates and spring constants of every probe in the fixture. Push pins are placed at the centroids of these force clusters to maintain vertical equilibrium.
Without force equilibrium, shear stresses develop along the board’s Z-axis, causing delamination between internal copper planes and prepreg bonding layers.
Edge guide rails and alignment pins create secondary mechanical constraints as the fixture closes. If alignment pins fit too snugly into tooling holes without room for horizontal movement, the board binds on the pins during vertical travel. That binding generates severe lateral shear strain across the board plane, concentrating around the tooling hole perimeter and nearby traces.
Proper fixture design uses floating alignment pins that locate the board during initial engagement but release lateral constraints at full compression.
- Verify that every upper push pin aligns within 0.5 millimeters of a lower support pin vector.
- Measure support pin height uniformity across the lower plate using a dial indicator to ensure planarity within 0.05 millimeters.
- Calculate the total spring force at full working stroke to confirm that pneumatic cylinder capacity operates within forty to sixty percent of its rated maximum output.
- Inspect edge guide clearances to confirm that horizontal board motion remains unconstrained during the vertical compression stroke.
- Check push pin tip materials to ensure soft polyurethane or ESD-safe delrin pads prevent localized surface crushing on board laminates.
Interactions between fixture mechanical tolerances and board manufacturing variations produce complex strain profiles that evolve over time. As probe springs age, wear and fatigue degrade their spring constants unevenly, shifting the initial force equilibrium designed into the fixture layout. Routine maintenance must re-validate strain levels with calibrated strain gauge boards to catch mechanical degradation before spring imbalances destroy components across production runs.
Adding extra push pins across open laminate areas does not automatically reduce board deflection unless underlying probe density maps are evaluated.
Fracture
Mechanical strain on a printed circuit assembly triggers structural failures within component bodies, solder joints, and internal interconnects. Lead-free solder alloys like SAC305 (96.5% Tin, 3.0% Silver, 0.5% Copper) have high elastic modulus but low strain tolerance under dynamic impact compared to traditional tin-lead solders. As flexural strain deforms the substrate, surface-mounted rigid components resist bending.
This differential displacement generates severe shear and tensile stress across interconnect interfaces, starting cracks that propagate through bulk solder, intermetallic layers, or the epoxy-glass laminate matrix.
Pad cratering is among the most insidious defects induced by bed-of-nails testing. It occurs when tensile stress pulls the copper landing pad off the board, tearing out resin and glass fiber matrix underneath. The metallic solder joint often stays visually intact while the electrical link between pad and internal microvias or traces is severed completely.
Standard visual and automated optical inspection miss pad cratering because the component stays aligned and the fracture hides beneath the copper pad footprint.
Multilayer Ceramic Capacitors (MLCCs) are extremely vulnerable to mechanical fracture during board flexure. Ceramic materials have high compressive strength but poor tensile strength. Bending the board creates tensile stress on the outer surface of surface-mounted capacitors, initiating micro-cracks that run diagonally from end terminations through dielectric ceramic layers.
These cracks rarely cause immediate open circuits. Instead, under operating voltage and humidity, metal migrates along the crack, causing catastrophic low-impedance shorts weeks or months after testing.
Which Components Fail First under Mechanical Strain?
Component architecture, footprint geometry, and physical dimensions determine which parts fail first under mechanical loading. Large surface-mount packages concentrate flexural strain at their outermost corner pins because of their distance from the component body’s neutral axis. The larger the package, the greater the displacement differential between the rigid component body and the flexing substrate beneath it.
Ball Grid Arrays with tight ball pitch (0.8 millimeters or less) and large body sizes (exceeding 27 millimeters per side) rank among the most vulnerable. Outermost corner solder balls bear the highest shear stress during board bending. The boundary between the copper pad and the intermetallic compound layer (such as copper-tin Cu6Sn5 or nickel-tin Ni3Sn4) acts as a stress concentration point where brittle fracture occurs under transient peaks exceeding 500 microstrain.
Small surface-mount passives like 0201 and 01005 resistors and capacitors are largely immune to broad board bowing because of their small footprint. However, they suffer high failure rates when placed within two millimeters of localized high-stress features ~ such as routing cutouts, panel breakaway tabs, or push pin contact points. Local shear gradients near these features can snap end terminations or pull pads directly off outer laminate despite low overall board deformation metrics.
| Component Class | Package Type / Size | Max Microstrain (<100 /s) | Max Microstrain (>1000 /s) | Dominant Failure Mode |
|---|---|---|---|---|
| BGA Array | Pitch > 0.8 mm, Body > 35 mm | 750 microstrain | 500 microstrain | Pad cratering and intermetallic crack |
| Fine-Pitch BGA | Pitch ≤ 0.5 mm, Body > 15 mm | 500 microstrain | 340 microstrain | Corner solder ball cleavage |
| MLCC Capacitor | Format 1206 to 2220 | 500 microstrain | 300 microstrain | Diagonal ceramic flex fracture |
| MLCC Capacitor | Format 0402 to 0805 | 800 microstrain | 500 microstrain | Termination capsulation separation |
| QFP / SOIC | Gull-wing leads, all sizes | 1500 microstrain | 1000 microstrain | Heel solder joint shear fatigue |

Solder Joint Cracking and Pad Cratering Dynamics
Solder joint fracture dynamics under bed-of-nails loading depend on the microstructure at the joint interface. During reflow, tin in the solder reacts with copper pad metallization to form an intermetallic layer. This intermetallic zone provides the bond needed for electrical conductivity and mechanical attachment, but its brittle crystal structure lacks ductility.
When mechanical strain causes flexural deformation, stress concentrates at the interface between bulk solder and intermetallic layer, driving micro-cracks around the joint perimeter.
Pad cratering follows a distinct stress path inside the dielectric resin. Modern halogen-free laminates, chosen for high glass transition temperatures and thermal stability during lead-free reflow, often have lower fracture toughness than traditional dicyandiamide-cured FR-4. These brittle high-performance resins crack easily under tensile forces exerted by solder pads during bending.
Cracks initiate at the outer edge of the copper pad footprint where stress peaks, propagating horizontally under the pad before turning upward to detach it completely.
Detecting mechanical fractures during or immediately after testing requires advanced diagnostic protocols. Standard in-circuit testing can miss partial solder joint cracks or latent pad cratering if probe force squeezes the fractured surfaces together during the test cycle. The board passes electrical test while compressed in the fixture, only to go open-circuit when released and exposed to thermal expansion or vibration in the field.
Maximum Allowable Microstrain Envelopes across Component Families
Industry standards, primarily IPC/JEDEC-9704 and IPC-9701, define acceptable strain boundaries based on component sensitivity and strain rate. Rather than applying a single limit across an entire assembly, strain limits form a step-down curve that scales inversely with strain rate. Below 100 microstrain per second, components tolerate higher absolute strain because materials relax under load.
Above 10,000 microstrain per second, allowable strain drops sharply to guard against brittle fracture.
Setting component-specific strain limits requires evaluating package dimensions, substrate thickness, solder alloy, and surface finish metallization. Organic Solderability Preservative (OSP) over copper offers higher pad cratering resistance than Electroless Nickel Immersion Gold (ENIG), because the nickel layer in ENIG forms a hyper-brittle nickel-tin intermetallic compound (Ni3Sn4) that lowers the threshold for joint cleavage. Boards using ENIG require a twenty to thirty percent reduction in maximum allowable microstrain thresholds across all BGA footprints.
- Substrate flexure induces high tensile stress at the outer corner terminations of surface-mounted components.
- Stress concentrates at the interface between the surface metallization pad and the underlying glass-resin dielectric matrix.
- Micro-voids present within the brittle intermetallic layer coalesce under dynamic loading to form a continuous crack tip.
- The crack tip propagates laterally across the solder joint or down into the dielectric laminate structure.
- Complete mechanical separation occurs, leaving latent electrical opens or intermittent high-resistance short circuits.
Formulations incorporating nickel-immersion gold surface finishes reduce allowable strain thresholds by twenty-five percent compared to organic solderability preservatives due to brittle nickel-tin intermetallic boundaries.
In some production environments, test engineers raise vacuum levels or pneumatic pressure to overcome worn probe springs or dirty contact tips. This increases the force applied to the board, pushing peak microstrain past damage thresholds. While immediate contact yield improves, the hidden cost emerges later as high field return rates driven by latent micro-cracking.
Exceeding allowable microstrain envelopes during probing causes latent micro-cracks in ceramic capacitors and BGA pad structures, driving up field returns and creating unrecoverable warranty liabilities for the factory.
Guard
Preventing damage during bed-of-nails testing takes comprehensive verification bridging predictive modeling and physical strain measurement. Finite Element Analysis (FEA) software simulates board deflections and stress fields early in fixture design, letting engineers optimize push pin and support pin locations before cutting metal plates. But numerical models rely on idealized material properties and uniform boundary conditions that seldom capture actual board assembly behavior.
Empirical strain gauge testing on physical boards inside production fixtures provides the definitive proof needed to certify a process for volume manufacturing.
Empirical qualification requires bonding triaxial strain gauge rosettes to functional or scrap assemblies built to production specifications. Using bare, unpopulated boards yields misleading results because surface-mounted components ~ especially thick copper shields and rigid ceramic substrates ~ stiffen the board locally. Solder joints serve as structural anchors that alter flexural behavior.
Valid strain data demands fully populated assemblies processed through the standard reflow profile so local stiffness matches volume production units.
Guard-banding creates a safety margin between measured peak strain and maximum allowable industry limits. Guard bands account for measurement uncertainty, gauge alignment tolerances, fixture wear, and normal variations in board thickness or warp. Standard engineering practice applies a twenty to thirty percent margin.
If a fine-pitch BGA package has an IPC/JEDEC-9704 limit of 500 microstrain at a given strain rate, the practical approval threshold drops to 350 or 400 microstrain. Any trial producing strain readings above the guard-banded limit triggers mandatory fixture redesign.
Finite Element Modeling against Empirical Strain Mapping
Structural simulation tools use 3D CAD geometry and layer stackup data to predict mechanical deformation under probe loading. The finite element mesh represents the substrate as shell or solid elements, assigning orthotropic properties to model the directional stiffness of woven glass FR-4 laminates. Probe forces enter the model as point loads or localized pressure grids matching pin spring parameters.
Software then calculates stress distributions, principal strain contours, and localized curvature radii across the assembly footprint.
Comparing finite element predictions with empirical strain gauge readings reveals systematic discrepancies that highlight simulation limits. Numerical models frequently under-predict strain peaks near board corners and cutouts because structural meshes average steep gradients over element boundaries. In addition, simulations treat support pins as perfectly rigid, ignoring mechanical compliance in fixture plates, pin flex, and tolerance stackups in the actuation frame.
Physical strain testing remains the essential calibration tool that grounds analytical models in reality.
| Measurement Location | FEA Predicted Strain | Empirical Gauge Strain | Variance Percentage | Root Cause of Discrepancy |
|---|---|---|---|---|
| Primary BGA Center | 320 microstrain | 345 microstrain | +7.8 percent | Minor substrate thickness tolerance variations. |
| Primary BGA Corner | 410 microstrain | 585 microstrain | +42.7 percent | FEA mesh averaging missed steep localized strain gradient. |
| Edge Connector Header | 210 microstrain | 380 microstrain | +80.9 percent | Fixture edge guide binding introduced un-modeled shear force. |
| Isolated MLCC Region | 180 microstrain | 195 microstrain | +8.3 percent | Model accurately captured broad structural bending. |
Guard Banding and Fixture Acceptance Verification
Fixture qualification follows a multi-stage protocol before any test system is released to the floor. The process begins with a static strain pass, lowering the fixture head slowly by hand or at reduced pressure to check pin alignment and baseline response. The system then moves to dynamic testing, running twenty to fifty consecutive automated clamping cycles at full speed.
Data acquisition hardware records continuous strain signatures across all active channels to capture transient variations caused by mechanical vibration and pneumatic hysteresis.
Statistical evaluation of recorded strain data establishes fixture capability. Engineers calculate mean strain, maximum strain, and standard deviation for each gauge site across all runs. The upper specification limit adds a three-sigma or six-sigma spread to the mean, ensuring that ninety-nine point nine percent of production cycles stay within safe mechanical boundaries.
If that upper limit touches the guard-banded threshold, the fixture fails qualification and goes back to the shop for modification.
- Raw Telemetry Collection records time-series microstrain data from all active rosette elements across full actuation strokes.
- Strain Rate Calculation derives instantaneous strain slopes to select the appropriate failure limit threshold curve.
- Statistical Process Mapping calculates mean strain and standard deviation values over multiple test cycles to evaluate fixture repeatability.
- Guard Band Application subtracts measurement uncertainty and manufacturing variability margins from baseline component limits.
- Dossier Compilation archives physical gauge locations, time-series data, and mathematical conversions as proof of test conformity.
Modifying a non-compliant fixture takes targeted mechanical intervention guided by strain gauge data. If readings indicate board twisting, engineers add stiffening ribs to the top plate or re-synchronize pneumatic cylinders. If the strain profile shows sharp bending around a specific BGA, extra support pins are installed directly under the component, or push pins are moved to balance upward probe force.
After any mechanical change, the entire strain qualification sequence must be rerun from baseline zero.
Per IPC/JEDEC-9704 Clause 6.2, a test fixture design is certified as compliant only when empirical strain gauge measurements demonstrate that maximum principal strain values, inclusive of three-sigma process variance, remain below the guard-banded threshold across all qualified operational speeds.

Settlement
Unmanaged strain during bed-of-nails testing creates financial and operational consequences across the entire supply chain. When test fixtures cause latent micro-cracks, immediate costs show up as scrap at downstream test stations or yield loss in final assembly. Far worse is the financial exposure when damaged assemblies pass factory screens and reach end users.
Field failures trigger recalls, warranty claims, liquidated damages, and reputational loss that dwarfs the cost of initial fixture qualification.
Commercial contracts between Original Equipment Manufacturers (OEMs) and Electronics Manufacturing Services (EMS) providers increasingly make strain limits a mandatory quality metric. Contracts specifying compliance with IPC/JEDEC-9704 shift financial liability for strain defects to whoever designed and maintained the fixture. If an EMS provider operates a fixture that exceeds agreed strain limits, the OEM has clear grounds to reject production lots, demand full reimbursement for scrap, and enforce cost-recovery penalties for line downtime.
Resolving disputes over defective boards hinges on the strain qualification dossier. Without documented strain reports generated using calibrated rosettes on fully populated assemblies, a factory cannot defend its process against claims of mechanical damage. An incomplete qualification file shifts legal presumption toward process negligence, leaving the assembler exposed to warranty claw-backs and lot rejections.
Commercial Liability for Fixture Induced Board Damage
Proving root cause requires forensic microsectioning, Scanning Electron Microscopy (SEM), and Energy Dispersive X-ray Spectroscopy (EDS). When field returns undergo failure analysis, metallographic cross-sections through fractured BGA joints or cratered pads reveal geometric patterns that distinguish mechanical shock and bending fractures from thermal fatigue or assembly defects. A clean 45-degree diagonal crack through a capacitor or a smooth cleavage plane along an intermetallic interface points straight to dynamic mechanical strain from testing or handling.
Quantifying the total cost of strain escapes means comparing factory yield data with field returns. An unqualified fixture running just 50 microstrain over limit might crack only two percent of boards. In a 500,000-unit production run, that small percentage represents 10,000 latent defects shipped to customers.
Replacing a failed module in the field ~ factoring in reverse logistics, labor, support, and hardware ~ routinely costs twenty to fifty times the original board assembly cost.
Contracts must define clear batch containment protocols when strain audits fail. If periodic re-verification shows a fixture has drifted out of compliance from bent support pins or worn vacuum seals, every batch processed since the last passed audit must be quarantined immediately. Quarantined units undergo non-destructive acoustic microscopy or high-resolution X-ray inspection to check for internal delamination before release.
Batch Release Criteria and Defect Allocation
Clear batch release criteria prevent ambiguous quality declarations that stall shipments at borders or receiving docks. Dossiers should bundle raw strain data, sensor calibration certificates, push pin drawings, and statistical summaries into a permanent technical record. This documentation provides verifiable proof that every released batch met structural integrity standards and purchase agreements.
Defect allocation frameworks divide responsibility between fabricators, component suppliers, and test houses. If failure analysis shows pad cratering at strain levels well below standard limits, investigation shifts upstream to the fabricator’s laminate selection and resin cure. If cratering happens only at elevated strains exceeding test limits, liability stays with the test facility for running non-certified hardware.
Auditing strain records prior to lot sign-off prevents shipping latent mechanical defects that manifest as field returns costing up to fifty times the original board assembly value.
Commercial negotiations frequently fail because purchasing departments treat bed-of-nails fixtures as consumable tooling rather than precision mechanical equipment. Cutting fixture budgets leads to cheap frames, low-grade probe plates, and skipped strain qualification runs. Short-term savings on fixture procurement vanish the moment a volume lot is quarantined for strain-induced solder failures.
Proper fixture validation matches probe forces with balanced support structures so structural board flexure remains imperceptible to the eye while rigorously verified by calibrated strain sensors.