Stencil Thickness Selection for Surface Mount Solder Printing
Stencil thickness selection balances aperture area ratios above 0.66 with component paste volume demands to eliminate SMT print defects and maximize yield.

Mechanics
In surface-mount solder printing, deposit volume comes down to how paste rheology, aperture geometry, and foil thickness work together. As the stencil lifts off the circuit board following the squeegee stroke, opposing forces act on the paste packed into each aperture. Adhesion to the copper pad pulls the solder brick down, while friction and surface tension along the aperture’s sidewalls hold it back.
Reliable printing requires pad adhesion to reliably overcome that wall retention during snap-off.
This release behavior is governed by the area ratio, standardized in IPC-7525. The ratio compares the surface area of the aperture opening against the surface area of its internal walls. For a rectangular aperture of width W and length L etched into a foil of thickness T, the calculation balances those surfaces directly:
Area Ratio = fracW × L2 × (W + L) × T
When width equals length in a square aperture, the math simplifies to width divided by four times the stencil thickness. For a circular aperture of diameter D, it reduces to diameter over four times the foil thickness:
Area Ratiocircle = fracD4 × T
For standard laser-cut stainless steel stencils, 0.66 has long served as the baseline limit for consistent paste release. Apertures at or above an area ratio of 0.66 yield transfer efficiencies ~ the volume deposited on the pad relative to theoretical aperture volume ~ between 80 percent and 105 percent under normal printing conditions. Drop below that 0.66 threshold, however, and release quickly grows erratic, transfer efficiency plummets, and deposit volumes swing unpredictably.
Surface Area Balance inside Stencil Apertures
Foil thickness sits directly in the area ratio’s denominator. Thicker stencils expand the sidewall area without providing any extra landing pad surface. A 150-micrometer foil with a 0.25-millimeter round aperture yields an area ratio of 0.417, resulting in complete release failure.
Thinned to 100 micrometers, the area ratio climbs to 0.625, bringing transfer back toward a usable window. Setting foil thickness therefore starts with the smallest aperture on the board, ensuring every pad stays above acceptable limits.
Electroformed stencils sustain acceptable paste release at an area ratio of 0.55 under controlled ambient humidity.
Particle size distribution and binder chemistry also influence where that minimum threshold sits. Solder pastes are grouped by IPC Type based on particle dimensions. Type 3 paste, with particles between 25 and 45 micrometers, creates high internal resistance in tight channels; below 250 micrometers, those particles wedge against aperture walls and prevent complete packing during the stroke.
Finer Type 4 (20 to 38 micrometers) and Type 5 (15 to 25 micrometers) formulations flow far more easily into narrow openings, restoring predictable release.
Under severe clogging conditions, paste transfer collapses completely.
Squeegee motion dynamically alters paste viscosity because solder paste is non-Newtonian and thixotropic. Under blade pressures between 0.15 and 0.30 kilograms per linear centimeter, high shear thins the paste so it flows readily into aperture cavities. Once the blade passes and shear drops to zero, the material must rebuild viscosity quickly enough to resist slumping before snap-off.
If snap-off happens faster than the paste can recover, the paste mass tears internally, leaving part of the deposit in the aperture and the rest on the board.
Mathematical Boundaries of Paste Release
Aspect ratio ~ aperture width divided by foil thickness (W/T) ~ was historically kept at 1.5 or higher as a rule of thumb. Fine-pitch assembly now relies far more on area ratio, which accounts for the full three-dimensional contact area rather than ignoring aperture length. On long, narrow pads like those on QFN packages, aspect ratio numbers often look deceptively clean while hiding significant friction along the side walls.
Excessive wall friction directly inhibits clean paste release.
Optical inspection data from initial print runs across varying foil thicknesses maps the exact transfer efficiency curve for a given paste chemistry. The transition between clean release and total clogging happens over a narrow window. Between 0.66 and 0.70, release remains stable, keeping volume variance (CV) under 10 percent.
Between 0.60 and 0.65, results become sensitive to wall smoothness, print speed, and paste freshness. Below 0.60, standard laser-cut stencils build up paste quickly on sidewalls, forcing frequent manual wipes and producing high rates of insufficient solder defects.
The central engineering dilemma is how to manage this physical area ratio limit on boards that combine micro-scale components needing thin foils with large power pads that require heavy solder volume.
Compromise
Mixed-technology layouts regularly place competing demands on solder volume. Tiny surface-mount parts ~ like 0201 and 01005 passives, 0.4-millimeter wafer-level chip-scale packages, and 0.3-millimeter BGAs ~ need thin stencil foils to maintain workable area ratios. At the same time, power transistors, D2PAK devices, power inductors, edge connectors, and shield cans need generous paste deposits to form proper fillets, meet IPC-A-610 standards, and ensure mechanical strength.
Picking a single foil thickness across the entire panel forces hard compromises. A 150-micrometer foil provides plenty of solder for power connections and ground pads, but drops the area ratio on a 0.22-millimeter round BGA pad to 0.36 ~ causing instant clogging and open joints. Switching to a 100-micrometer foil lifts fine-pitch BGA area ratios to 0.55 or higher, but starves larger power joints, leaving thin fillets, voided thermal pads, and assemblies vulnerable to vibration failure.
Pitch Reduction against Volumetric Demands
Fine-pitch passives require precise volume budgeting to avoid bridging on one end and opens on the other. A 0402 pad using a 0.50 by 0.55 millimeter aperture on a 127-micrometer foil yields an area ratio of 0.98, offering comfortable margin. A 0201 component, with apertures around 0.28 by 0.32 millimeters on that same 127-micrometer foil, drops to an area ratio of 0.58 and risks print instability.
Downsizing to 01005 passives shrinks apertures to 0.18 by 0.20 millimeters, requiring an 80-micrometer foil just to keep the area ratio above 0.58.
If volume control drifts on fine pitch, solder bridges form instantly.
Bottom-terminated devices like QFNs and DFNs combine fine perimeter pins with large center thermal pads. Perimeter signal pads often run at 0.4 or 0.5 millimeter pitch with aperture widths of 0.20 to 0.25 millimeters. The ground pad sits on the same plane but covers far more area.
Printing a solid, unsegmented brick of paste on that center pad floats the component, tilts the package, and causes heavy solder balling during reflow. Outgassing flux becomes trapped under the large package body, pushing voiding levels above 40 percent.
Despite voiding risks, thermal pads still require higher paste volume than signal pins.
When Should Stepped Foils Replace Uniform Stencils?
Balancing board geometry starts with mapping component footprints against prospective foil thicknesses. The table below outlines typical component pitch setups, minimum aperture sizes, target foil thicknesses, and resulting area ratios across common paste classes.
| Component Class | Pitch (mm) | Aperture Size (mm) | Foil Thickness (µm) | Area Ratio (AR) | Compatible Paste Class |
|---|---|---|---|---|---|
| Standard SMT / 0805 | 1.27 | 1.20 x 1.40 | 150 | 1.07 | Type 3, Type 4 |
| Fine Pitch QFP / 0402 | 0.65 | 0.32 x 1.40 | 127 | 1.03 | Type 3, Type 4 |
| Ultra Fine QFP / 0201 | 0.50 | 0.25 x 1.10 | 127 | 0.80 | Type 4 |
| Micro BGA / WLCSP | 0.40 | 0.22 Round | 100 | 0.55 | Type 4, Type 5 |
| Nano BGA / 01005 | 0.30 | 0.17 Round | 80 | 0.53 | Type 5 |
| D2PAK Power MOSFET | N/A (Power) | 6.50 x 7.00 Pad | 150 | 10.87 | Type 3, Type 4 |
Running fine-pitch components on stencils that are too thick produces predictable defects on the assembly line:
- Perimeter Signal Bridging happens when excessive paste volume on fine-pitch QFP or QFN pins overflows pad boundaries during placement and merges during reflow.
- Solder Balling and Outgassing occurs when large center ground pads receive solid, unsegmented deposits that trap volatile flux solvents under the package.
- Component Tombstoning takes place when uneven paste volume or thermal imbalance generates unequal surface tension across passive terminations as the solder melts.
- Mid-Chip Solder Beading occurs when excess paste beneath 0402 or 0603 bodies squeezes out during placement, forming loose solder spheres along the sides of the part.
- Insufficient Joint Filleting occurs when stencil thickness is thinned globally for micro-BGAs, leaving power connectors without enough solder volume for proper mechanical strength.
Using a uniform stencil always involves trade-offs: foil thickness is constrained by the smallest area ratio on the panel, while larger pads are accommodated through modified aperture shapes and volume controls.

Step
When component pitches on a single panel vary widely, multi-level or step stencils allow local foil thickness to vary across the board. Relief zones are created using chemical etching, laser milling, or micro-machining. A step-down stencil thins specific areas for fine-pitch BGAs or CSPs while keeping a thicker baseline foil across the rest of the board.
A step-up stencil adds thickness over power devices, shield frames, and heavy connectors while maintaining a thinner baseline suited for fine-pitch passives.
The manufacturing process determines aperture wall finish, dimensional tolerance, and release characteristics. Standard laser-cut stencils use fiber lasers on cold-rolled stainless steel sheets. This leaves a micro-ridge surface along aperture walls and a 1 to 2 degree taper where the beam exits slightly wider than it enters.
Electropolishing removes burrs and smoothes wall roughness from around 0.8 micrometers Ra down to roughly 0.4 micrometers, improving paste release.
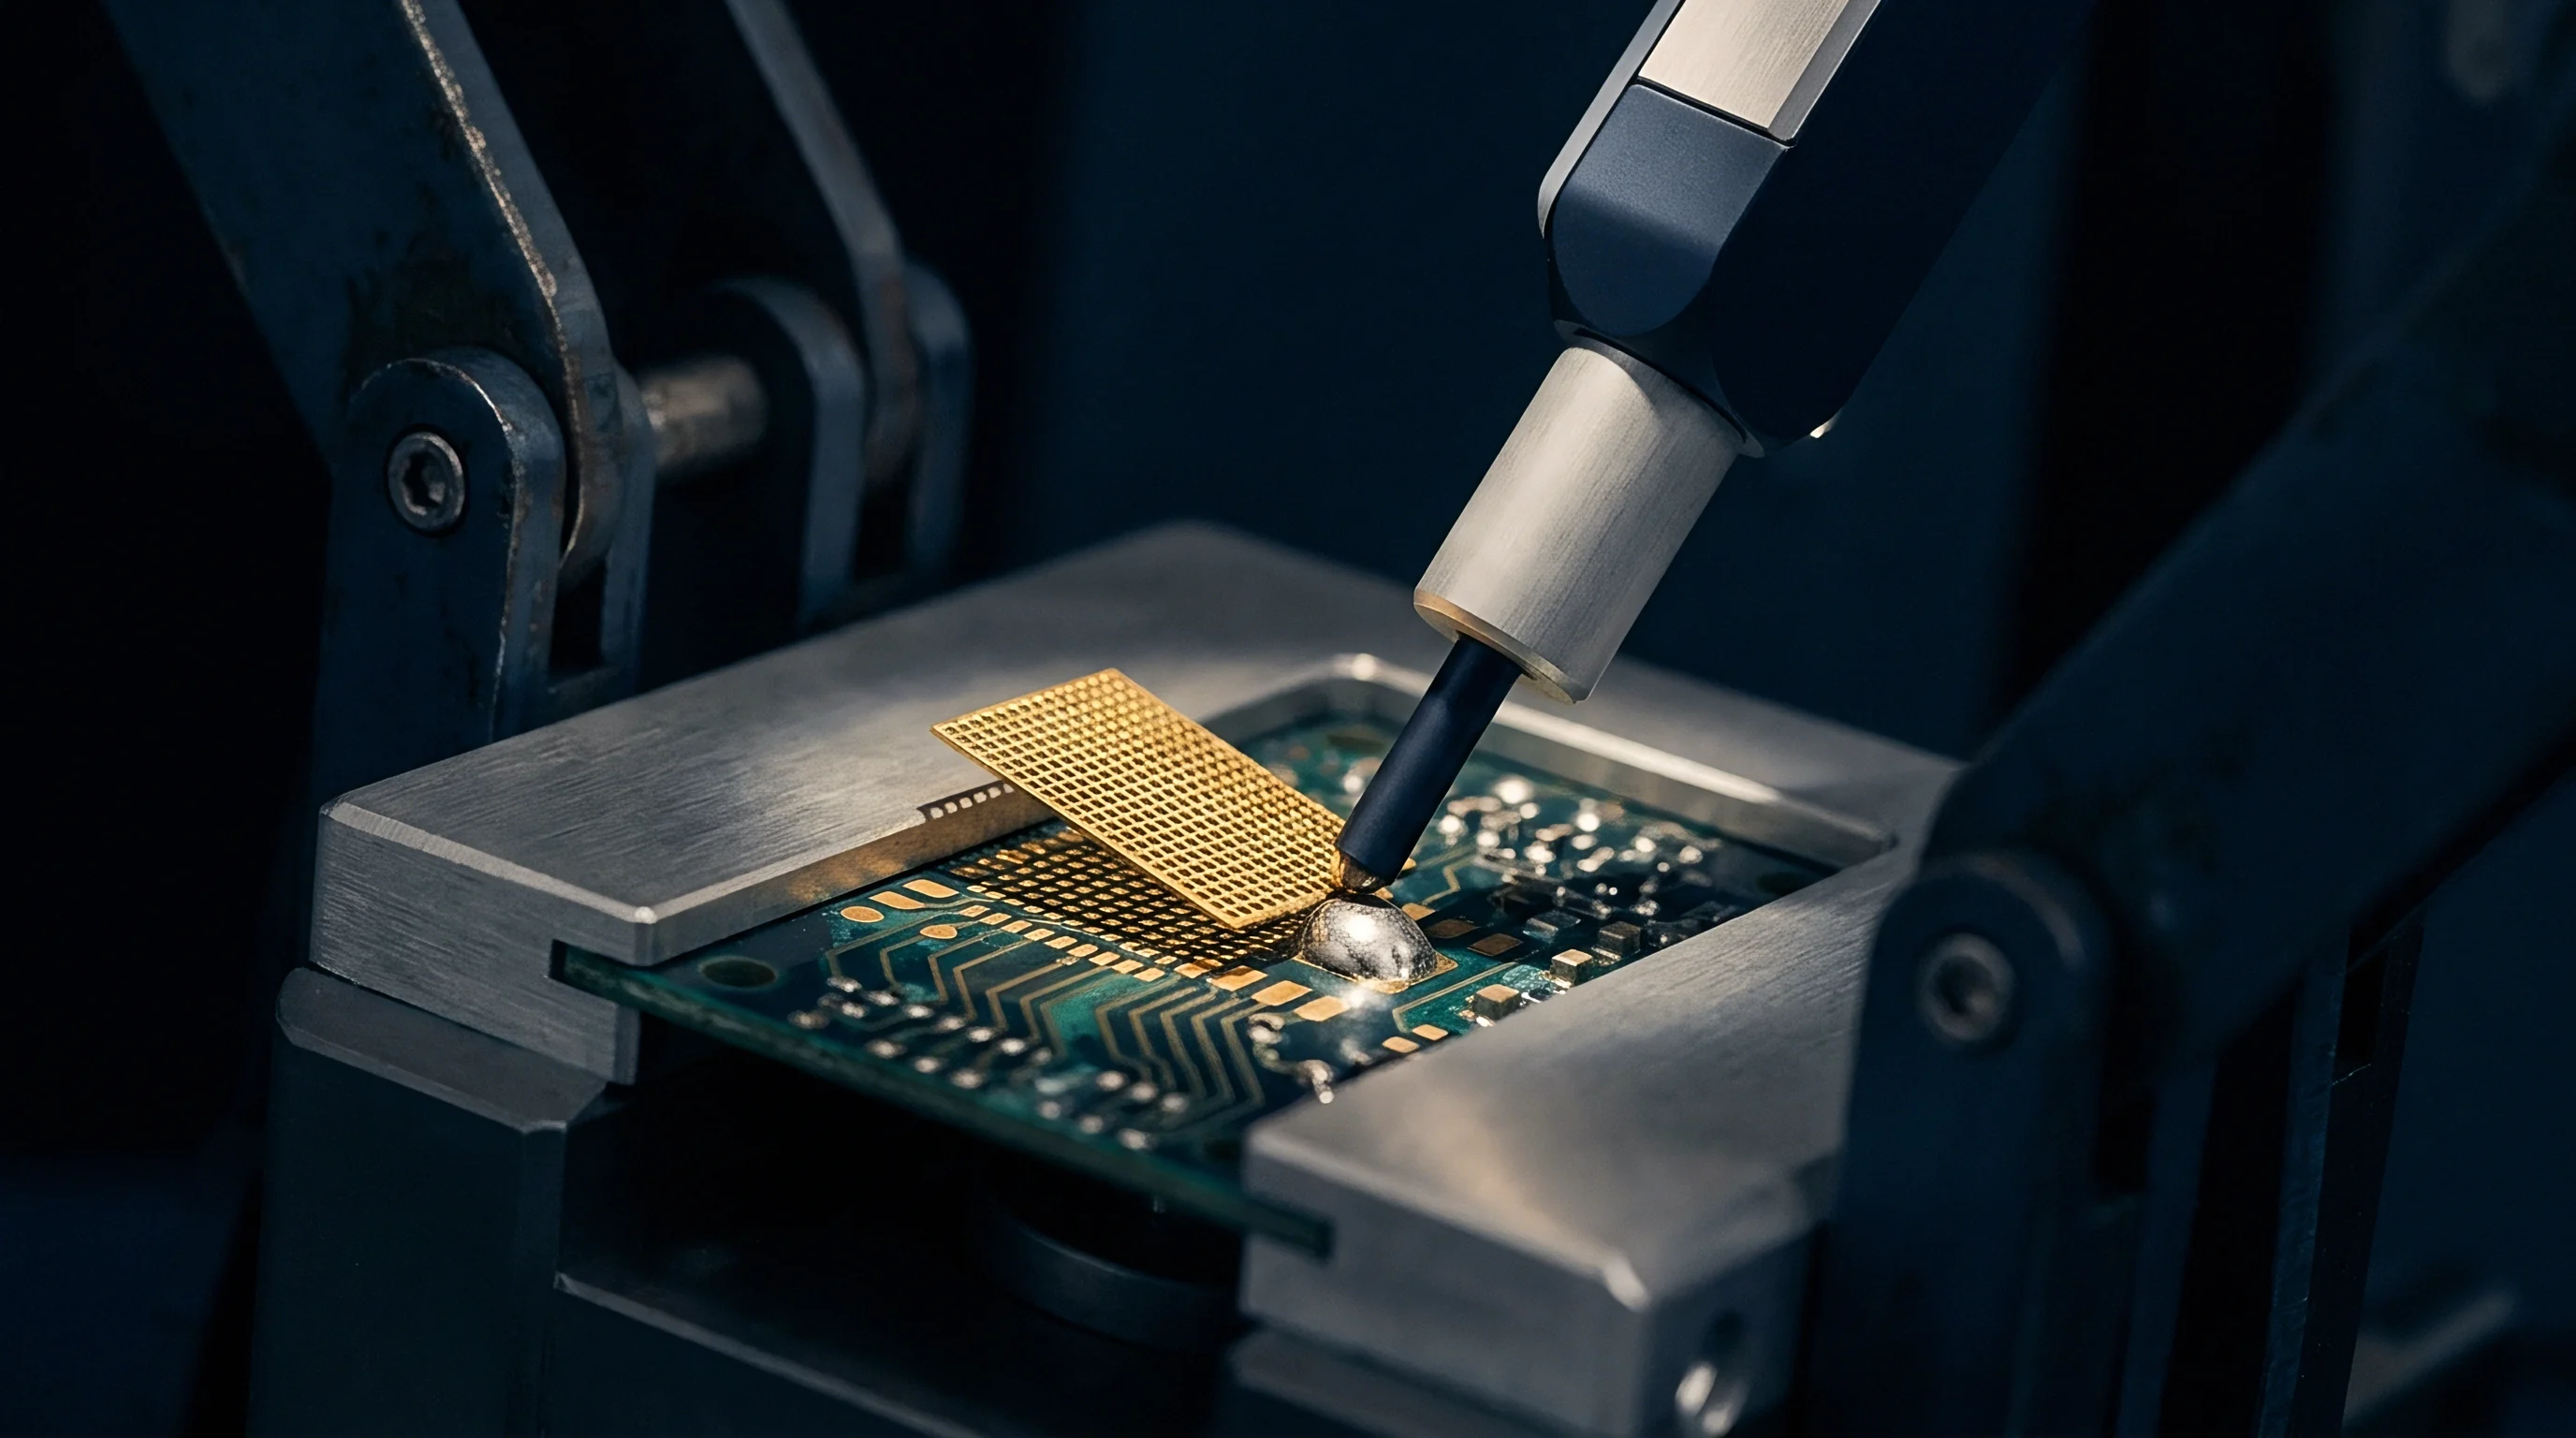
Topographical Foil Modifications and Transition Distances
Electroformed nickel stencils offer the highest precision. Built additively by electrodepositing nickel over a photo-patterned mandrel, they feature smooth, vertical walls with minimal friction. This low sidewall drag enables clean release at area ratios down to 0.55 without secondary coatings.
Thickness uniformity remains tight, typically within plus or minus 2.5 micrometers across the foil.
Failing to maintain the mandated thirty-six-to-one keep-out ratio along step transitions leads to severe squeegee hover and incomplete paste deposition across adjacent apertures.
Stepped stencils require strict spatial keep-outs because of squeegee dynamics. As a flexible metal blade moves over a step edge, it deflects. If an aperture is placed too close to that transition, the squeegee can lift clear of the foil or gouge into the step, creating uneven paste deposits.
The necessary clearance depends on whether the step is on the squeegee side or the board side, and whether it steps up or down.
Transition distance rules mandate a minimum clearance ratio relative to step height difference. For steps located on the squeegee side of the stencil, the keep-out distance must equal or exceed 36 times the step height change:
Keep-Out Distancesqueegee ge 36 × Δ T
A 25-micrometer (1 mil) step-down requires at least 0.90 millimeters of clearance between the step edge and the nearest aperture along the stroke path. Steps placed on the board side can use a tighter 10 to 1 ratio, since the squeegee rides across a flat top surface while the relief pocket sits underneath.
Proper transition distances ensure continuous squeegee contact across the stencil.
Nano-Coating Chemistry and Surface Energy Manipulation
Nano-coatings modify the stencil’s surface energy at a molecular level to boost paste release. Bare stainless steel has high surface energy, attracting flux chemistry and encouraging paste to cling to aperture walls and the stencil underside. Applying hydrophobic and oleophobic nano-coatings lowers surface energy, raising liquid contact angles from roughly 35 degrees up to 110 degrees.
By reducing surface tension, nano-coatings noticeably improve paste release.
Two main nano-coating types are widely used in SMT production: fluoropolymer self-assembled monolayers and organo-silanes. Fluoropolymer monolayers bond as an ultra-thin layer (usually 2 to 4 nanometers) across the steel and aperture walls. Repelling flux vehicles stops paste from bleeding underneath, stretching wipe intervals from every 3 prints out to every 20 prints.
Organo-silane coatings go on thicker (1 to 3 micrometers), filling micro-voids on laser-cut walls to leave a smooth, glass-like finish.
| Fabrication Process | Wall Roughness Ra (µm) | Minimum Area Ratio | Thickness Tolerance (µm) | Underside Wipe Interval | Relative Cost Index |
|---|---|---|---|---|---|
| Standard Laser-Cut Stainless Steel | 0.80 | 0.66 | ± 7.5 | 3 – 5 Prints | 1.0 |
| Laser Cut + Electropolish | 0.40 | 0.62 | ± 7.5 | 5 – 8 Prints | 1.3 |
| Laser Cut + Fluoropolymer Nano-Coating | 0.35 | 0.55 | ± 7.5 | 15 – 25 Prints | 1.6 |
| Additive Electroformed Nickel | 0.15 | 0.55 | ± 2.5 | 10 – 15 Prints | 2.8 |
| Step-Down Laser Cut + Nano-Coating | 0.35 | 0.55 | ± 5.0 (Step Zone) | 15 – 20 Prints | 2.2 |
Ignoring step transition clearances or neglecting nano-coating care quickly degrades print performance. When squeegee blades ride over poorly cleared step edges, paste deposit volumes can drop by up to 50 percent on neighboring fine-pitch pads, triggering instant SPI stops.
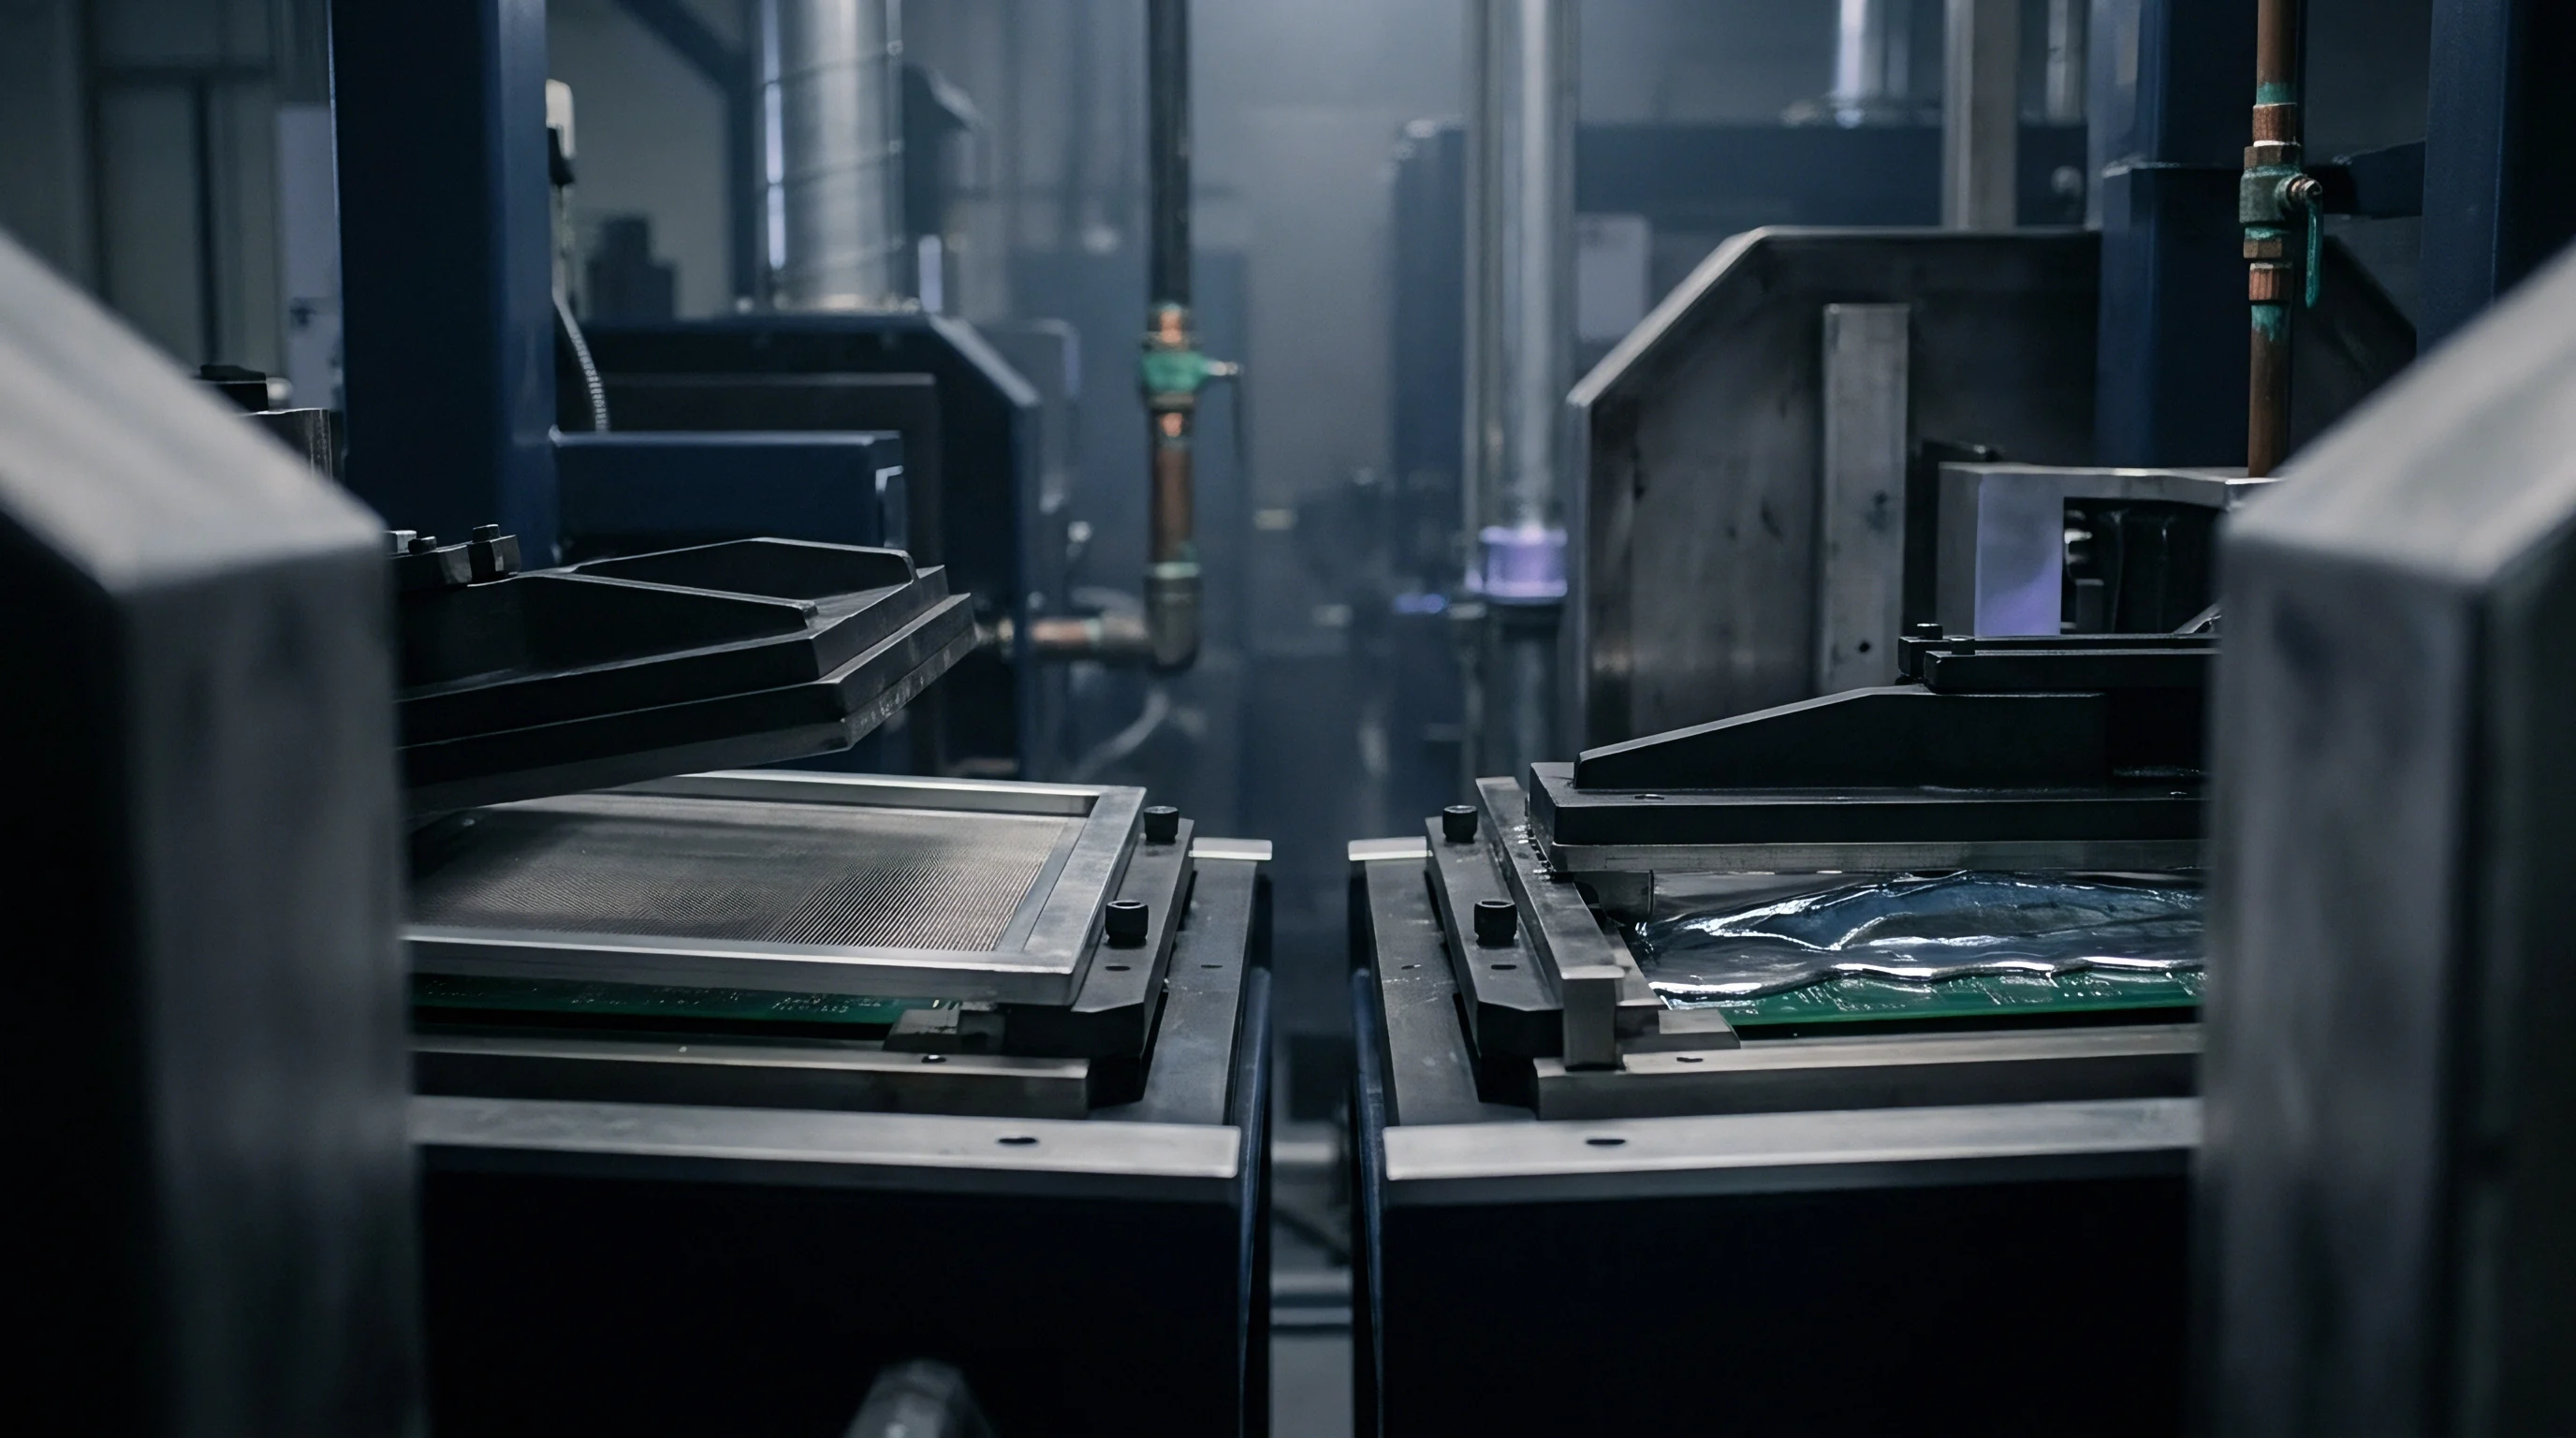
Volume
Modifying aperture shapes allows volume control across individual pads without requiring stepped foils. Trimming aperture area relative to copper land area reduces deposit volume, helping prevent bridging, solder beads, and component floating. Any shape modification should maintain symmetric flux outgassing paths and align neatly with component terminals during reflow.
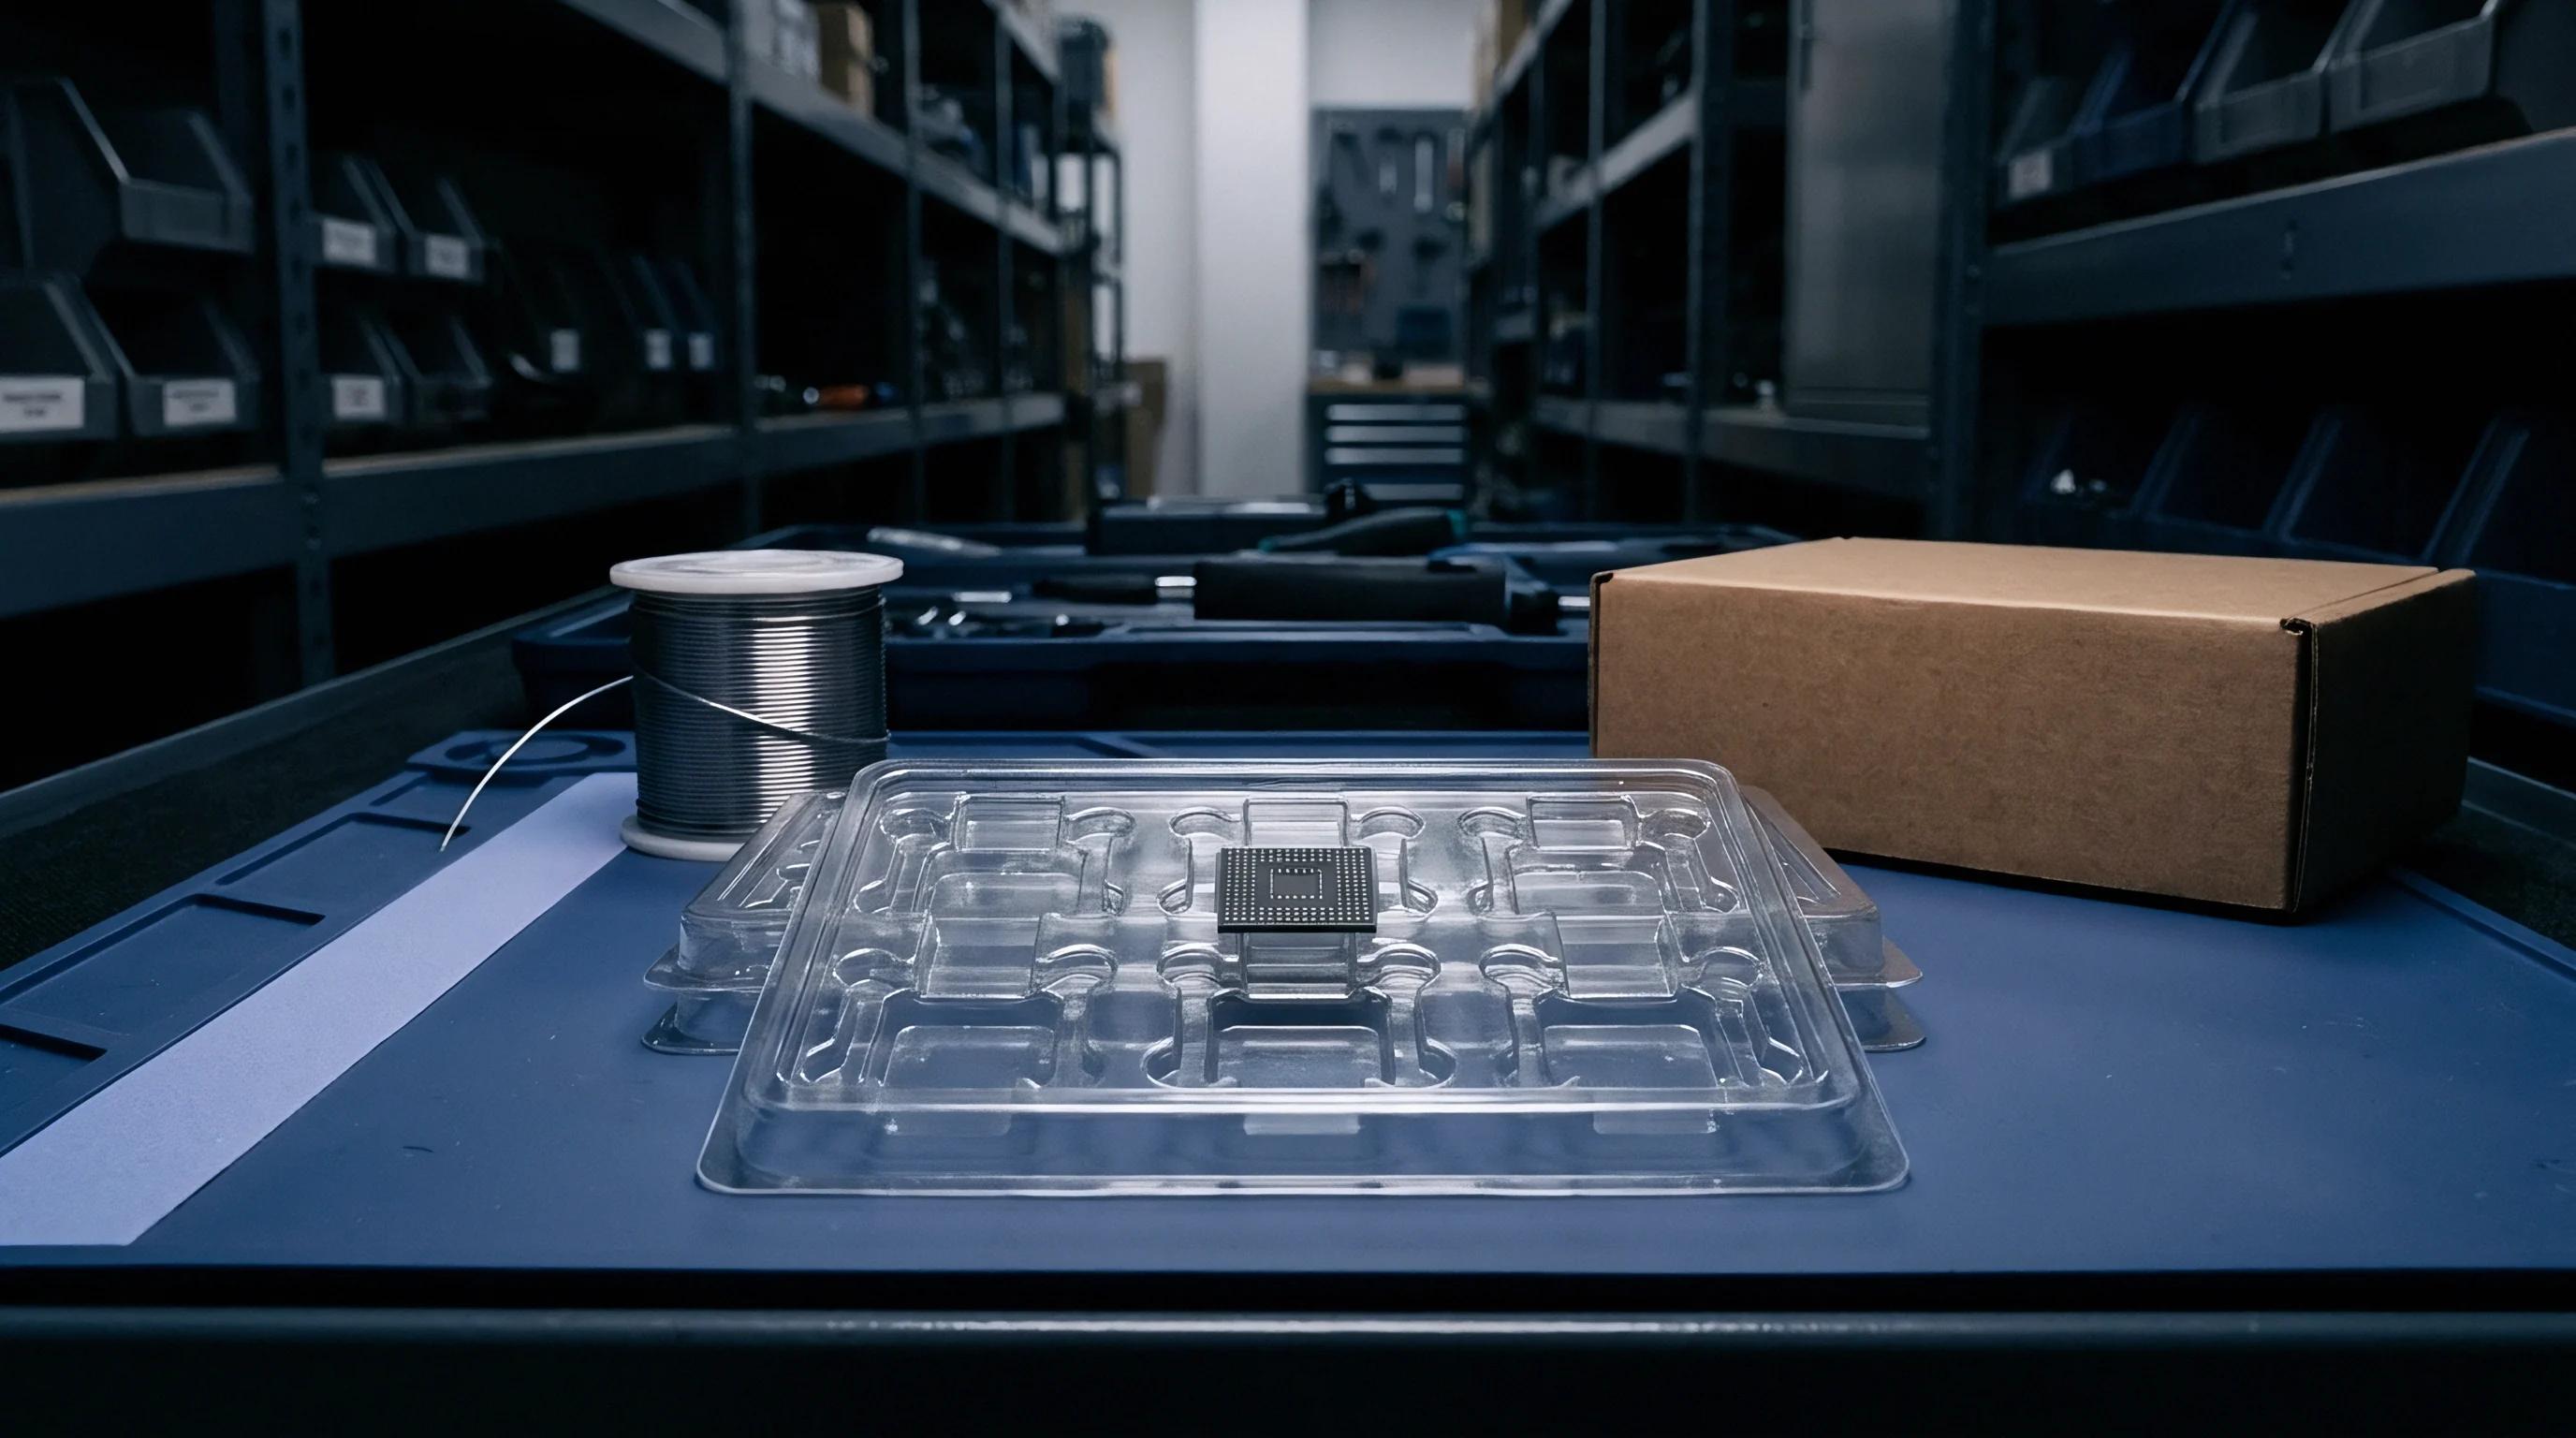
Aperture Windowing and Shape Modification Geometry
Large ground pads on QFNs and power MOSFETs require window-pane aperture patterns. Printing one solid paste deposit over a 6.0 by 6.0 millimeter ground pad causes serious defects: surface tension in the molten solder floats the package, lifting perimeter leads off their pads, while trapped flux gases push voiding above 35 percent. Splitting that single large aperture into a grid of smaller windows (like a 3 by 3 array) separated by 0.25-millimeter webs prevents these issues.
Aperture windowing creates clear pathways that reduce solder outgassing.
Windowing patterns typically reduce paste coverage to between 65 percent and 80 percent of the pad area. During reflow, the printed paste melts and bridges across the bare web channels, forming a continuous joint. The open spaces let flux gases vent before the solder fully liquidates, keeping package floating in check, holding thermal voids below 15 percent, and meeting IPC-7093 standards.
Home-plate and C-shape modifications improve paste placement on chip passives and QFPs. Standard rectangular apertures on 0402 and 0603 passives put too much paste near the inner edge of the pad. Placement pressure squeezes that excess under the component body, generating solder beads during reflow.
Trimming the inner corners creates a home-plate pentagon that draws paste away from the center. Adding a 0.05-millimeter radius to square aperture corners also prevents paste from sticking in 90-degree turns, boosting transfer consistency by up to 12 percent.
Segmenting large ground pad apertures into grid arrays prevents paste outgassing and stops component floating during reflow.

Mathematical Design of Mixed-Pitch Solder Deposits
Designing an effective stencil involves checking every land pattern on the board step by step:
- Extract all component footprint land pattern geometries from Gerber layer data, recording pad length, pad width, component pitch, and thermal pad dimensions.
- Select a baseline stencil foil thickness by identifying the dominant component population on the board, temporarily choosing 127 micrometers as the default evaluation baseline.
- Calculate the area ratio for the smallest component land pattern on the assembly using the circular or rectangular area ratio formulas.
- Evaluate the calculated area ratio against the maximum threshold permitted by the selected stencil manufacturing technology, confirming an area ratio equal to or greater than 0.66 for standard laser-cut steel or 0.55 for nano-coated steel.
- Reduce global stencil foil thickness to 100 micrometers or 80 micrometers if the smallest component area ratio falls below the technology limit.
- Recalculate area ratios for all component footprint pads using the revised global stencil thickness to confirm universal compliance across fine-pitch geometries.
- Calculate required paste deposit volume for power components, large connectors, and thermal ground pads under the reduced global foil thickness baseline.
- Apply area expansion modifications or specify localized step-up stencil zones over power component pads where reduced foil thickness provides insufficient solder volume.
- Apply window-pane reductions (65 to 80 percent coverage) on large QFN ground pads, home-plate reductions on chip passives, and corner rounding radii across all rectangular apertures.
- Export revised aperture layer data to CAD CAM software, generating final Gerber file packages accompanied by stencil fabrication specifications.
Controlling paste volume remains key to overall joint reliability.
Local stencil thickness modifications are derived from the fine-pitch components on the board, with each aperture reduction verified against historical transfer efficiency curves before releasing CAD files to the fabricator. On dense panels combining 0.4-millimeter BGAs with high-current power stages, uniform aperture scaling eventually hits a limit. Expanding power pad apertures to compensate for an 80-micrometer foil can push paste beyond pad borders and onto bare solder mask.
Aggressive aperture windowing cannot always replace local foil steps on power components. When aperture dimensions are widened beyond copper boundaries to make up for a thin foil, molten solder may fail to pull back cleanly to the pad, leaving permanent solder spheres stuck to the surrounding mask.
Scan
Inline 3D Solder Paste Inspection (SPI) provides quantitative verification of print quality before components are placed. Using optical fringe projection or structured blue-light triangulation, SPI systems measure the shape and height of every printed solder brick across the board. Algorithms evaluate deposit height, area coverage, total volume, and alignment relative to copper pads, catching print defects early before boards move to pick-and-place and reflow.

Volumetric Telemetry and Inspection Thresholds
Setting realistic upper and lower specification limits in SPI recipes prevents false alarms while catching actual process escapes. These limits define allowable percentage deviations from target volume (100 percent), calculated as aperture width times length times nominal foil thickness. For standard Class 2 commercial electronics, acceptable volume usually spans 70 percent to 140 percent of target.
Calibrated inspection limits reliably catch volume defects before reflow.
Class 3 automotive, aerospace, and medical builds use narrower tolerance bands. Lower volume limits rise to 75 or 80 percent, while upper limits drop to 130 percent. Height windows typically run within plus or minus 20 percent of nominal foil thickness, and alignment limits cap print displacement at less than 25 percent of pad width to avoid bridging or opens during reflow.
Excessive false calls fatigue operators and slow throughput.
Statistical Process Control Limits for Stencil Release
Evaluating print capability relies on tracking Cpk indices calculated from SPI telemetry across consecutive runs. Cpk measures how well the process stays centered within spec limits relative to natural variation, using mean volume mu and standard deviation sigma:
Cpk = minleft( fracUSL – μ3σ, fracμ – LSL3σ right)
A Cpk of 1.33 or higher indicates a capable process, translating to fewer than 64 defect parts per million. High-reliability lines often target a Cpk of 1.67 or better, requiring tight enough control to yield under 0.5 defects per million opportunities.
| Assembly Class | Target Cpk Limit | Volume Min LSL (%) | Volume Max USL (%) | Height Limits (µm) | Max Offset (µm) |
|---|---|---|---|---|---|
| Standard Commercial (Class 1) | 1.00 | 60% | 150% | Nominal ± 30% | Pad Width x 0.35 |
| Industrial Electronics (Class 2) | 1.33 | 70% | 140% | Nominal ± 20% | Pad Width x 0.25 |
| Automotive / Mission-Critical (Class 3) | 1.67 | 80% | 130% | Nominal ± 15% | Pad Width x 0.15 |
| Ultra Fine Pitch Micro-BGA Zone | 1.67 | 75% | 125% | Nominal ± 12% | Pad Width x 0.10 |
Engineers audit SPI alarm data during line release using systematic checks:
- Volumetric Trend Analysis tracks average transfer efficiency over successive prints to catch gradual clogging before defects occur.
- Height Profile Verification compares center and edge deposit heights to identify squeegee scooping from heavy blade pressure.
- Gasket Seal Assessment checks for paste bleed around pad edges to verify board support and underside wiping performance.
- Positional Drift Telemetry tracks X and Y offset trends to spot mechanical wear in printer tooling or camera alignment.
- False Call Escalation Auditing manually reviews flagged boards to adjust optical thresholds whenever false alarms exceed 0.1 percent of inspected pads.
Line release specifies a minimum transfer efficiency threshold of eighty percent, relying on 3D SPI volume histograms to confirm that fine-pitch apertures remain within stable statistical limits.
Under IPC-A-610 Section 5.2.1, paste deposits falling below lower volume limits represent a non-conforming condition that requires halting the line to address root causes before reflow.
Billing
Foil thickness, fabrication method, and framing options directly drive tooling fees and setup economics. Initial tooling costs are charged as non-recurring engineering fees during project launch. A basic laser-cut stainless steel stencil in a cast aluminum frame serves as the baseline, costing between 250 and 450 dollars.
Electropolishing adds 50 to 100 dollars, while factory fluoropolymer nano-coatings add another 150 to 300 dollars.
Frameless vector-tensioning systems change the cost model. Products like Tetra, ZelFlex, and Magna-Print use reusable master frames mounted directly in the printer. Buyers order unmounted foil sheets with perimeter mounting holes, which run 120 to 250 dollars each.
These frameless foils lower tooling expenses, require 80 percent less storage space, and reduce freight costs when shipping globally.
Setup fees increase noticeably when complex stencils require extra alignment time.
Changeover time adds substantial operational expense. SMT lines typically run between 150 and 350 dollars per hour, depending on machine speed, inspection capabilities, and shop overhead. Installing the stencil, loading paste, adjusting board support, setting up SPI programs, and verifying first-article prints takes between 0.5 and 1.5 hours per job change.
Without heavy metal frames, frameless stencils also lower shipping expenses.
Choosing the wrong stencil setup drives up costs through mid-run downtime. Running a standard laser-cut stencil on a 0.4-millimeter pitch board often forces operators to pause every 3 to 5 prints for manual underside wiping. At 45 seconds per wipe, that adds 45 minutes of downtime across a 300-panel run.
On a line billing 200 dollars an hour, cleaning pauses add 150 dollars in lost machine time per batch.
| Stencil Configuration | Initial NRE Cost ($) | Re-order Foil Cost ($) | Setup Changeover (Hours) | Underside Wiping Downtime per 1,000 Panels (Hours) | Net Tooling and Operational Cost per 1,000 Panels ($) |
|---|---|---|---|---|---|
| Standard Framed Laser Steel | 350 | 350 | 0.75 | 4.15 | 1,330 |
| Framed Laser + Nano-Coating | 600 | 600 | 0.75 | 0.83 | 916 |
| Frameless Vector Laser + Nano | 380 | 220 | 0.50 | 0.83 | 646 |
| Step-Down Framed Laser + Nano | 850 | 850 | 1.25 | 1.00 | 1,300 |
| Electroformed Nickel Framed | 950 | 950 | 0.75 | 1.25 | 1,350 |
Investing in nano-coatings or vector-tensioned frameless foils pays off quickly on medium and high-volume runs. Pushing cleaning intervals from 3 prints out to 20 prints reclaims more than 3 hours of billable machine time for every 1,000 panels printed. Higher initial NRE charges for premium stencils are quickly recovered through fewer stops, lower scrap rates, and steady throughput.
Frequent line changeovers directly consume valuable billable hours.
Contracts between buyers and assembly providers should clearly assign responsibility for re-tooling when designs change. Engineering change orders that modify land patterns or component pitch usually require a new stencil. Specifying clear transfer efficiency expectations and Cpk criteria in purchasing terms ensures tooling investments directly support product quality.