Solder Paste Rheology and Stencil Aperture Transfer Metrics
Optimizing solder paste rheology and stencil area ratios above 0.66 drives transfer efficiency stability and eliminates fine-pitch assembly defects.

Flow
Non-Newtonian behavior governs how solder paste transitions from a stiff bank in the squeegee well into a workable fluid that wets stencil walls and fills micro-apertures. Formulations consist of dense Type 3, Type 4, or Type 5 SAC307, SAC305, or SnPb powder suspended within a liquid rosin, resin, or water-soluble flux carrier. At rest, high zero-shear viscosity prevents the metal spheres from settling out and arrests slump across printed land patterns.
When the squeegee sweeps the stencil, local shear rates spike into the 100 to 1000 reciprocal seconds range. That mechanical energy disrupts the network formed by thixotropic agents, dropping apparent viscosity by up to two orders of magnitude within milliseconds.
Shear thinning depends on flux chemistry, metal volume fraction, and powder size distribution. Standard SAC305 Type 4 paste maintains solid loading around 88.5 to 90 percent by weight, or roughly 50 percent by volume. Once applied stress clears the paste’s lower yield point, the solder spheres slide past one another through the lubricated vehicle.
The rate of this breakdown determines whether the roll turns smoothly ahead of the blade and fills fine apertures cleanly. Sluggish thinning creates high roll resistance, incomplete cavity filling, and skipping on fine pitches. Conversely, excessive thinning without rapid structural recovery lets paste bleed beneath the stencil gasket, causing bridging and solder balls during reflow.
Thixotropic Breakdown and Shear Thinning Rheology
Dynamic viscosity measurements typically rely on controlled-stress rheometers with parallel plate or cone-and-plate geometries running at 25 degrees Celsius. Controlled shear rate sweeps trace the thixotropic loop by ramping shear from 0.1 to 100 reciprocal seconds and back to baseline. The area enclosed between the ascending and descending flow curves quantifies the thixotropic energy dissipation of the formulation.
Pastes showing a steep slope on a log-log viscosity-versus-shear-rate plot thin readily under blade motion, entering narrow apertures down to 150 micrometers wide. If recovery lags, the deposit remains soft for tens of seconds post-print, risking collapse under component placement pressure.
Ambient temperature swings on the factory floor shift paste rheology just as dramatically. A jump from 21 to 27 degrees Celsius lowers the rest viscosity of standard SAC305 Type 4 formulations by approximately 15 to 25 percent. The lower viscosity speeds up flow under the squeegee, but weakens the yield stress needed to resist post-print slump.
Without environmental enclosures around the print zone, deposit heights drift between morning cold starts and afternoon heat peaks. Managing ambient room temperature within plus or minus 1.5 degrees Celsius proves essential for holding Cpk values above 1.66 on 0.4 millimeter pitch wafer-level chip-scale package land arrays.
At a shear rate of 10 reciprocal seconds under 25 degrees Celsius, Type 4 SAC305 paste exhibits an apparent viscosity between 180 and 220 Pascal-seconds.
Yield Stress Thresholds and Slump Resistance
Static yield stress marks the minimum shear force needed to initiate plastic flow in an unworked paste sample. Below this threshold, the paste acts as an elastic solid, absorbing mechanical deformation without continuous flow. Controlled-stress rheometer ramps locate this point where the storage modulus drops below the loss modulus.
Sufficient yield stress prevents lateral slump once the stencil lifts clear of the printed circuit board. Cold slump testing under IPC-TM-650 Method 2.4.35 tracks pad spread after twenty minutes at room temperature, while hot slump testing evaluates paste stability up to 150 degrees Celsius before reflow profiling begins.
Slump resistance is tied directly to sphere packing density inside the flux matrix. Type 5 powders (15 to 25 micrometers) present higher specific surface area than Type 4 powders. That extra contact area requires adjusted flux rheology to maintain printability without driving yield stress past what the squeegee can break down.
Excessive yield stress prevents the paste from rolling smoothly, forming bridges that lift off the stencil surface and leave empty apertures across the board.
The table below summarizes key rheological metrics, test standards, and baseline operating windows for standard SMT solder pastes.
| Parameter | Test Method Standard | Measurement Conditions | Typical Target Range | Impact on Assembly Yield |
|---|---|---|---|---|
| Static Yield Stress | IPC-TM-650 2.4.34.8 | Stress ramp 0.1 to 500 Pa at 25 °C | 150 – 350 Pa | Prevents post-print cold slump and pad bridging |
| Thixotropic Index | JIS K 2220 / Rheometer | Ratio of viscosity at 1.8 vs 18 s⁻¹ | 0.50 – 0.70 | Determines paste roll and aperture fill capability |
| Apparent Viscosity | IPC-TM-650 2.4.34.4 | Malcolm viscometer at 10 rpm (10 s⁻¹) | 160 – 240 Pa·s | Controls squeegee hydraulic pressure generation |
| Creep Recovery Rate | Controlled Stress Oscillatory | Instantaneous stress unload post-shear | > 75% in 30 s | Governs deposit edge definition after stencil separation |
| Paste Tack Force | IPC-TM-650 2.4.44 | 5 mm stainless probe at 1.0 mm/s speed | 0.8 – 1.5 g/mm² | Prevents component shifting during high-speed placement |
Viscosity Recovery Kinetics during Rest
Post-print structural reconstitution follows an exponential recovery curve governed by interactions between thixotropic thickeners, polymer resins, and surfactant cross-linking. Once the stencil lifts from the substrate, the shear rate plummets from hundreds of reciprocal seconds to zero. Within the first two seconds, the paste must recover enough yield strength to resist gravity and hold crisp aperture outlines.
Sluggish recovery lets the print footprint spread into adjacent inter-pad spacing gaps before inspection or component placement occurs.
Shear history during continuous line operation also alters recovery behavior. Paste rolling continuously on a high-speed printing line for eight hours absorbs substantial mechanical work. Prolonged shear gradually breaks down organic thickeners, permanently shifting the baseline viscosity curve.
This degradation lowers rest yield stress over time, leaving aging paste banks vulnerable to bridging on fine-pitch components. Line abort protocols should set hard time limits on stencil paste bank residence times to protect print yield metrics.
Rheological failures during stencil printing generate specific defects that degrade first-pass solder assembly yield:
- Unstable paste roll occurs when low shear thinning response prevents the paste bank from rotating smoothly ahead of the squeegee blade, resulting in localized print skips and voiding.
- Post-print cold slump occurs when low yield stress allows deposit edges to expand laterally into adjacent solder masks prior to reflow heating.
- Bleed under stencil occurs when low rest viscosity allows fluid flux vehicle to seep between the stencil underside and the solder mask web during squeegee sweeps.
- Incomplete aperture separation occurs when slow thixotropic recovery leaves paste in a low-viscosity state during vertical stencil snap-off, causing paste tailing and peak formations.
Continuous shear over multi-shift operations breaks down organic thixotropes, permanently altering the microstructural network and chemical cohesion of the flux matrix.
Blade
Squeegee mechanics translate blade travel into hydraulic pressure within the solder paste roll. As the trailing edge sweeps across the stencil foil, it applies downward vertical force and lateral horizontal shear to the paste bank. The angle between the blade face and the stencil plane determines the balance between downward compression and forward roll.
Standard metal blades ~ typically polished spring steel or nickel-coated alloys ~ mount at a nominal 60-degree tilt, though dynamic forces during high-speed strokes flex the blade and alter fluid flow across fine-pitch aperture fields.
Hydraulic downward pressure inside the paste roll forces material down into open aperture cavities. This pressure scales with paste velocity, paste density, and the cosine of the blade attack angle. Increasing squeegee speed from 25 to 100 millimeters per second elevates hydraulic pressure sharply.
If downward mechanical pressure is set too low for a given speed, hydraulic lift forces push the blade edge off the stencil surface, leaving a paste haze across the foil that degrades print resolution and soils subsequent circuit boards.
Squeegee Angle and Hydrodynamic Pressure Generation
Blade deflection under mechanical load alters the working attack angle against the stencil foil. Even when blade holders clamp securely at 60 degrees, overhang lengths of 15 to 25 millimeters allow slight structural flex under 5 to 15 kilograms of applied downward force. Excessive downward force bows the steel blade outward, flattening the effective attack angle to 50 or 45 degrees.
A lower attack angle generates higher hydraulic down-thrust, pushing paste under stencil aperture edges and scooping paste out from wide aperture centers.
Paste bank diameter also governs hydrodynamic pressure generation. A fresh, fully loaded paste bank maintains a diameter of roughly 15 to 20 millimeters, rolling cleanly in a smooth continuous cylinder ahead of the blade stroke. As printing proceeds and paste deposits land on successive circuit boards, the paste bank diameter shrinks.
When the paste roll drops below 8 millimeters in diameter, the rotational mass decreases, diminishing the hydraulic pressure generated at the blade tip. Operators add fresh paste periodically to maintain uniform paste roll volume and consistent aperture filling across extended production shifts.
Speed and Force Parameter Interaction Window
Finding the operational balance between print speed and squeegee pressure requires systematic qualification on the active SMT printing line. Modern high-speed printers run stroke velocities between 20 and 150 millimeters per second. High speeds increase line throughput, but they reduce the dwell time available for paste to flow down into high-aspect-ratio aperture cavities.
For aperture volumes below 0.005 cubic millimeters, dwell times under 10 milliseconds often result in incomplete cavity filling unless paste viscosity thinning characteristics match printer speed acceleration profiles.
Printer calibration requires precise adjustment of print speed, squeegee pressure, and stencil snap-off distance to achieve full deposit heights without surface scooping. The following step-by-step setup procedure establishes baseline operational parameter limits for broad-scale SMT production runs:
- Mount the laser-cut stainless steel stencil into the rigid printer frame and verify alignment tension reads between 35 and 45 Newtons per centimeter across the foil surface.
- Install nickel-plated steel squeegee blades matching board substrate print width with a maximum overhang extension of 5 millimeters past the circuit edge boundaries.
- Dispense a continuous bead of Type 4 solder paste across the forward squeegee stroke width to form a uniform rolling bank measuring 15 millimeters in diameter.
- Set initial squeegee downward force to 0.15 kilograms per linear centimeter of blade length and set stroke speed to 30 millimeters per second.
- Perform test print sweeps while incrementally increasing down-force by 0.02 kilograms per centimeter until the top surface of the stencil foil clears cleanly behind the trailing blade edge.
- Increase print speed toward target production rate while adjusting downward squeegee force proportionally to balance hydraulic lift and prevent paste residue retention.
- Program zero-gap contact printing parameters with a controlled stencil separation snap-off speed between 0.1 and 1.0 millimeter per second to maximize volume transfer.
Print variation spikes whenever paste rests unworked for more than forty-five minutes. Print pause limits programmed into automated line software must trigger an automatic underside wipe and fresh paste replenishment before the printer restarts. Leaving paste idle on the foil allows volatile flux solvents to evaporate, shifting local viscosity and causing immediate skips on the first board through.
Increases in squeegee downward force beyond the threshold required to scrape the metal foil clean only serve to accelerate blade edge wear and scoop paste out of larger aperture pads.

Aperture
Geometrical design of stencil apertures directly determines the boundary conditions for paste deposit volume, edge definition, and volumetric repeatability. Standard stencil foils are manufactured from fine-grain stainless steel, nickel alloys, or electroformed nickel sheets with thicknesses ranging from 80 to 150 micrometers. Laser cutting remains the dominant aperture fabrication technology, using focused fiber lasers to cut pad outlines into the metal foil.
Laser cut walls present micro-step ridges and oxide residues that resist paste release unless smoothed by chemical etch polishing or electropolishing operations. Stencil wall finish quality determines the magnitude of wall friction forces opposing paste ejection during stencil snap-off.
Sub-micron nano-coatings applied over electro-polished stainless steel foils modify the surface energy of stencil walls and land surface planes. Hydrophobic and oleophobic fluoropolymer coatings reduce surface energy from over 40 dynes per centimeter down to under 20 dynes per centimeter. Lower surface energy prevents flux vehicle binder elements from adhering to metal aperture walls.
Nano-coatings improve solder paste volume transfer metrics on ultra-fine pitch components by 10 to 20 percent, allowing successful printing through small aperture geometries that would otherwise clog under standard metal wall friction conditions.
Area Ratio and Aspect Ratio Mathematical Bounds
Geometric constraints governing paste release rely on two dimensionless engineering ratios calculated from aperture dimensions and foil thickness. Area ratio compares the surface area of the open aperture cross-section to the total surface area of the vertical aperture walls. Aspect ratio compares the width of a rectangular aperture to the foil thickness dimension.
Historically, SMT assembly standards recommended maintaining an aspect ratio greater than 1.5 and an area ratio greater than 0.66 to guarantee full paste release. As component package dimensions scaled down to 0201 metric chips and 0.3 millimeter pitch micro-BGAs, area ratio calculations became the primary metric for print qualification.
Calculating the area ratio for a round aperture of diameter D in a stencil foil of thickness T yields the simplified expression of D divided by four times T. For a square aperture of width W, the area ratio simplifies to W divided by four times T. Rectangular apertures use the opening surface area divided by the perimeter multiplied by thickness. When area ratio calculations drop below 0.66, paste release behavior transitions from dependable release to erratic wall retention. Below an area ratio of 0.50, adhesion forces binding the paste to stencil sidewalls exceed the cohesive internal forces of the paste and the adhesion forces binding paste to the copper land pad.
The area ratio of a stencil aperture must equal or exceed 0.66 to maintain a volume transfer efficiency above 80 percent on un-coated stainless steel foils.
The table below presents minimum area ratio limits, maximum recommended stencil foil thicknesses, and volume release performance metrics across standard component package sizes.
| Component Package Type | Nominal Pad Width (mm) | Foil Thickness (µm) | Calculated Area Ratio | Target Transfer Efficiency |
|---|---|---|---|---|
| 1206 Chip Component | 1.60 | 127 | 3.15 | 95% – 105% |
| 0603 Chip Component | 0.80 | 127 | 1.57 | 90% – 100% |
| 0402 Chip Component | 0.50 | 127 | 0.98 | 85% – 95% |
| 0201 Metric (0603 Imperial) | 0.25 | 100 | 0.625 | 75% – 90% |
| 0.4 mm Pitch CSP / BGA | 0.22 (Round) | 100 | 0.55 | 65% – 80% |
| 0.3 mm Pitch Wafer-Level BGA | 0.18 (Round) | 80 | 0.56 | 70% – 85% (Nano-coated) |

Wall Friction and Surface Treatment Metallurgy
Surface roughness parameters along aperture sidewalls directly influence fluid drag during stencil separation. Standard laser cutting without secondary finishing leaves periodic vertical striations with average roughness Ra values exceeding 0.5 micrometers. Electropolishing dissolves high-spot microscopic peaks, reducing surface roughness Ra to below 0.15 micrometers and rounding sharp internal corner edges.
Smooth walls decrease physical mechanical anchoring points for solder powder particles, permitting cleaner paste detachment during vertical separation strokes.
Aperture corner geometry modifications further alter paste release mechanics. Sharp 90-degree internal corners on square apertures trap solder powder grains, creating localized stagnant zones that build up hard paste residue over time. Applying rounded corner radii equal to 10 to 25 percent of the aperture width eliminates right-angle dead zones.
Rounded corners promote uniform velocity distribution across the entire aperture boundary, raising paste transfer efficiency while decreasing required stencil clean frequencies.
Aperture design decisions require systematic evaluation during initial PCB land pattern layout releases. SMT tooling specifications draw on specific design checks to verify printability:
- Aperture reduction strategy scales home-plate and C-shape apertures down by 10 to 20 percent on bottom-terminated component thermal pads to prevent solder balling and excessive component floating height.
- Corner radius modification replaces sharp 90-degree aperture corners with minimum 60-micrometer radii to reduce paste retention in corner vertices.
- Foil thickness optimization balances the heavy solder volume requirements of large power transistors against the thin-layer requirements of 0.4 millimeter pitch micro-BGAs on mixed-technology boards.
- Step-stencil integration incorporates local step-down zones created by micro-milling or chemical etching to provide thin foils for fine-pitch components alongside standard foils for passives.
Specifying stencil aperture area ratios below 0.55 without nano-coated electroformed foils leads to volumetric transfer decay below 50 percent, introducing severe solder joint dry opens, high rework rates, and catastrophic line yield losses.
Deposit
Volumetric characteristics of printed solder deposits represent the primary quality indicator for surface mount line performance. Automated Solder Paste Inspection systems use 3D laser triangulation or structured blue light fringe projection to measure three-dimensional height profiles across printed solder deposits. Inspection software compares measured deposit volumes against nominal aperture CAD volume models to calculate transfer efficiency.
Transfer efficiency represents the percentage ratio of actual deposited solder volume to theoretical aperture volume. Standard process windows target transfer efficiency values between 80 and 120 percent with volume coefficient of variation values held under 10 percent across the entire circuit board panel.
Height distribution profiles across printed deposits must maintain flat top surfaces and vertical side walls to ensure stable component seating during high-speed placement. Peak formations, tailing, and slanted deposit crowns indicate poor paste release kinetics or improper stencil snap-off parameters. When high placement forces strike irregular, crowned solder deposits, components tilt or squeeze paste outward onto raw solder mask substrate, generating solder bridges beneath hidden component bodies during reflow profiling.
Transfer Efficiency Distribution and SPI Metrics
Statistical distribution of transfer efficiency across millions of printed apertures follows a normal Gaussian curve under stable process conditions. Shifts in mean volume or widening standard deviation signal process degradation, such as stencil aperture clogging, paste drying, or mechanical printer misalignments. Process Capability Index Cpk evaluates how reliably the printing process stays within upper and lower specification limits.
Lower specification limits for standard SMT lines set minimum transfer efficiency at 70 percent, while upper specification limits capped maximum deposit volume at 130 percent. Achieving a Cpk greater than 1.66 requires keeping volume standard deviations below 6 percent of target nominal values.
Adjusting the area ratio from 0.62 to 0.71 on fine-pitch QFN pads cuts solder bridging by 14 percent. This change pairs a reduction in stencil foil thickness from 127 micrometers down to 100 micrometers with expanded internal corner radii. The resulting gains in transfer stability tighten the 3D SPI volume distribution, eliminating low-volume outliers that previously caused electrical joint opens.
Production specifications require a minimum transfer efficiency of 80 percent on all 0201 component lands.
The following worked calculation demonstrates the mathematical relationship between aperture dimensions, stencil foil thickness, theoretical volume, measured height profiles, and statistical transfer efficiency metrics for a 0.4 millimeter pitch QFN pad land array.
Worked Scenario ~ A quad flat no-lead QFN component features peripheral lead lands requiring individual stencil apertures measuring 0.22 millimeters wide by 0.80 millimeters long. The assembly facility uses a laser-cut, electropolished stainless steel stencil foil with a measured thickness of 100 micrometers (0.100 millimeters).
Step 1: Calculate Theoretical Aperture Volume (V_nominal)
V_nominal = Length × Width × Foil Thickness
V_nominal = 0.80 mm × 0.22 mm × 0.100 mm = 0.0176 mm³ (or 17.6 nanoliters)
Step 2: Calculate Area Ratio (AR) to Predict Release Probability
Opening Area (A_open) = 0.80 mm × 0.22 mm = 0.176 mm²
Wall Area (A_wall) = 2 × (Length + Width) × Thickness = 2 × (0.80 mm + 0.22 mm) × 0.100 mm = 0.204 mm²
Area Ratio = A_open / A_wall = 0.176 mm² / 0.204 mm² = 0.863
The calculated area ratio of 0.863 comfortably exceeds the standard 0.66 threshold, indicating high theoretical probability of successful paste release.
Step 3: Process 3D Solder Paste Inspection (SPI) Measurement Sample
The 3D SPI system scans fifty consecutive deposit prints on this QFN pad land pattern, measuring deposit height arrays across a 50-micrometer sampling grid. The aggregated volumetric data set yields the following summary values:
Mean Measured Volume (V_mean) = 0.0162 mm³
Standard Deviation of Volume (σ_volume) = 0.00088 mm³
Mean Measured Height (H_mean) = 0.095 mm (95 micrometers)
Step 4: Calculate Mean Transfer Efficiency (TE_mean)
TE_mean = (V_mean / V_nominal) × 100%
TE_mean = (0.0162 mm³ / 0.0176 mm³) × 100% = 92.05%
Step 5: Calculate Process Capability Index (Cpk) for Deposit Volume
Upper Specification Limit (USL) = Nominal Volume + 30% = 0.0176 mm³ × 1.30 = 0.02288 mm³
Lower Specification Limit (LSL) = Nominal Volume – 30% = 0.0176 mm³ × 0.70 = 0.01232 mm³
Cpu = (USL – V_mean) / (3 × σ_volume) = (0.02288 – 0.0162) / (3 × 0.00088) = 0.00668 / 0.00264 = 2.53
Cpl = (V_mean – LSL) / (3 × σ_volume) = (0.0162 – 0.01232) / (3 × 0.00088) = 0.00388 / 0.00264 = 1.47
Cpk = Min(Cpu, Cpl) = 1.47
The calculated Cpk of 1.47 indicates a capable process, though below the 1.66 gold standard for ultra-high-reliability automotive applications. The lower capability index is driven primarily by volume drift toward the lower specification limit, suggesting subtle aperture clogging or slight paste drying over the evaluation run.
How Does Aperture Geometry Drive Volume Variability?
Geometry modifications, such as converting sharp rectangular corners to radiused outlines or reducing aperture length relative to pad land length, shift the volume distribution curve. Rectangular apertures with long aspect ratios tend to release paste first from the center of the aperture, leaving thin residual paste rings along the narrow end walls. Square and circular apertures present isotropic wall drag forces, producing more symmetric deposit releases and tighter volume standard deviations under production line vibrations.
Offset errors in stencil-to-board alignment degrade transfer metrics even when area ratios are favorable. A registration mis-alignment of 25 micrometers on a 0.20 millimeter wide pad aperture forces solder paste to print onto raw solder mask surrounding the copper land pad. Solder mask height steps create separation gaps between the stencil underside and the PCB surface.
Gap formation allows paste to bleed laterally, causing volume variations across adjacent pads and increasing height standard deviations.
The table below outlines standard SPI metric inspection windows, alarm thresholds, and corrective line control triggers implemented on high-yield production lines.
| Inspection Metric | Target Nominal Value | Warning Alarm Limit | Process Stop Limit | Root Cause Action Item |
|---|---|---|---|---|
| Volume Transfer Efficiency | 100% | < 75% or > 125% | < 60% or > 140% | Clean stencil underside; check paste bank loading |
| Deposit Average Height | 100 µm (Foil thickness) | < 80 µm or > 120 µm | < 70 µm or > 135 µm | Adjust squeegee force; inspect blade tip wear |
| Area Coverage Ratio | 100% of copper pad land | < 85% coverage | < 75% coverage | Verify printer vision registration calibration |
| X/Y Registration Offset | 0.00 mm center offset | > 25 µm vector offset | > 40 µm vector offset | Perform printer optical fiducial recalibration |
| Bridge Detection Distance | Full pad separation space | < 50 µm spacing left | 0 µm (Active bridge) | Trigger immediate stencil wipe; check paste slump |
When paste volume drops below specified limits on fine-pitch components despite the lot meeting Malcolm viscometer standards, volume loss typically traces back to mechanical squeegee clamp wear or incorrect snap-off speeds rather than alloy chemistry.
Per IPC-A-610 Class 3 acceptance criteria, solder paste deposit mis-registration extending beyond 25 percent of the component pad land width requires immediate process halt and stencil clean intervention.


Defect
Flaws originating at the stencil printing stage account for over 60 percent of all end-of-line SMT soldering defects observed post-reflow. Inadequate rheological control, improper aperture geometry, or incorrect squeegee parameter selection create process non-conformances that pass down the assembly line. Defect formation follows physical thermal mechanisms inside the reflow convection oven.
Uneven deposit volumes across paired component pads generate unequal surface tension pulling forces during liquidus phase transitions, pulling components off-center or lifting one terminal into the air.
Excessive solder deposit volume leads directly to solder bridging, mid-chip solder bead formation, and large void clusters inside bottom-terminated component thermal pads. Solder bridging occurs when adjacent deposits coalesce during preheat slump or liquidus phase reflow. Mid-chip solder beads form when excess paste squeezed under small passive chip components gets forced out into the lateral space between terminals, forming isolated solder spheres that detach and float across the circuit board surface during reflow profile peaks.
Solder Bridging and Mid-Chip Bead Mechanics
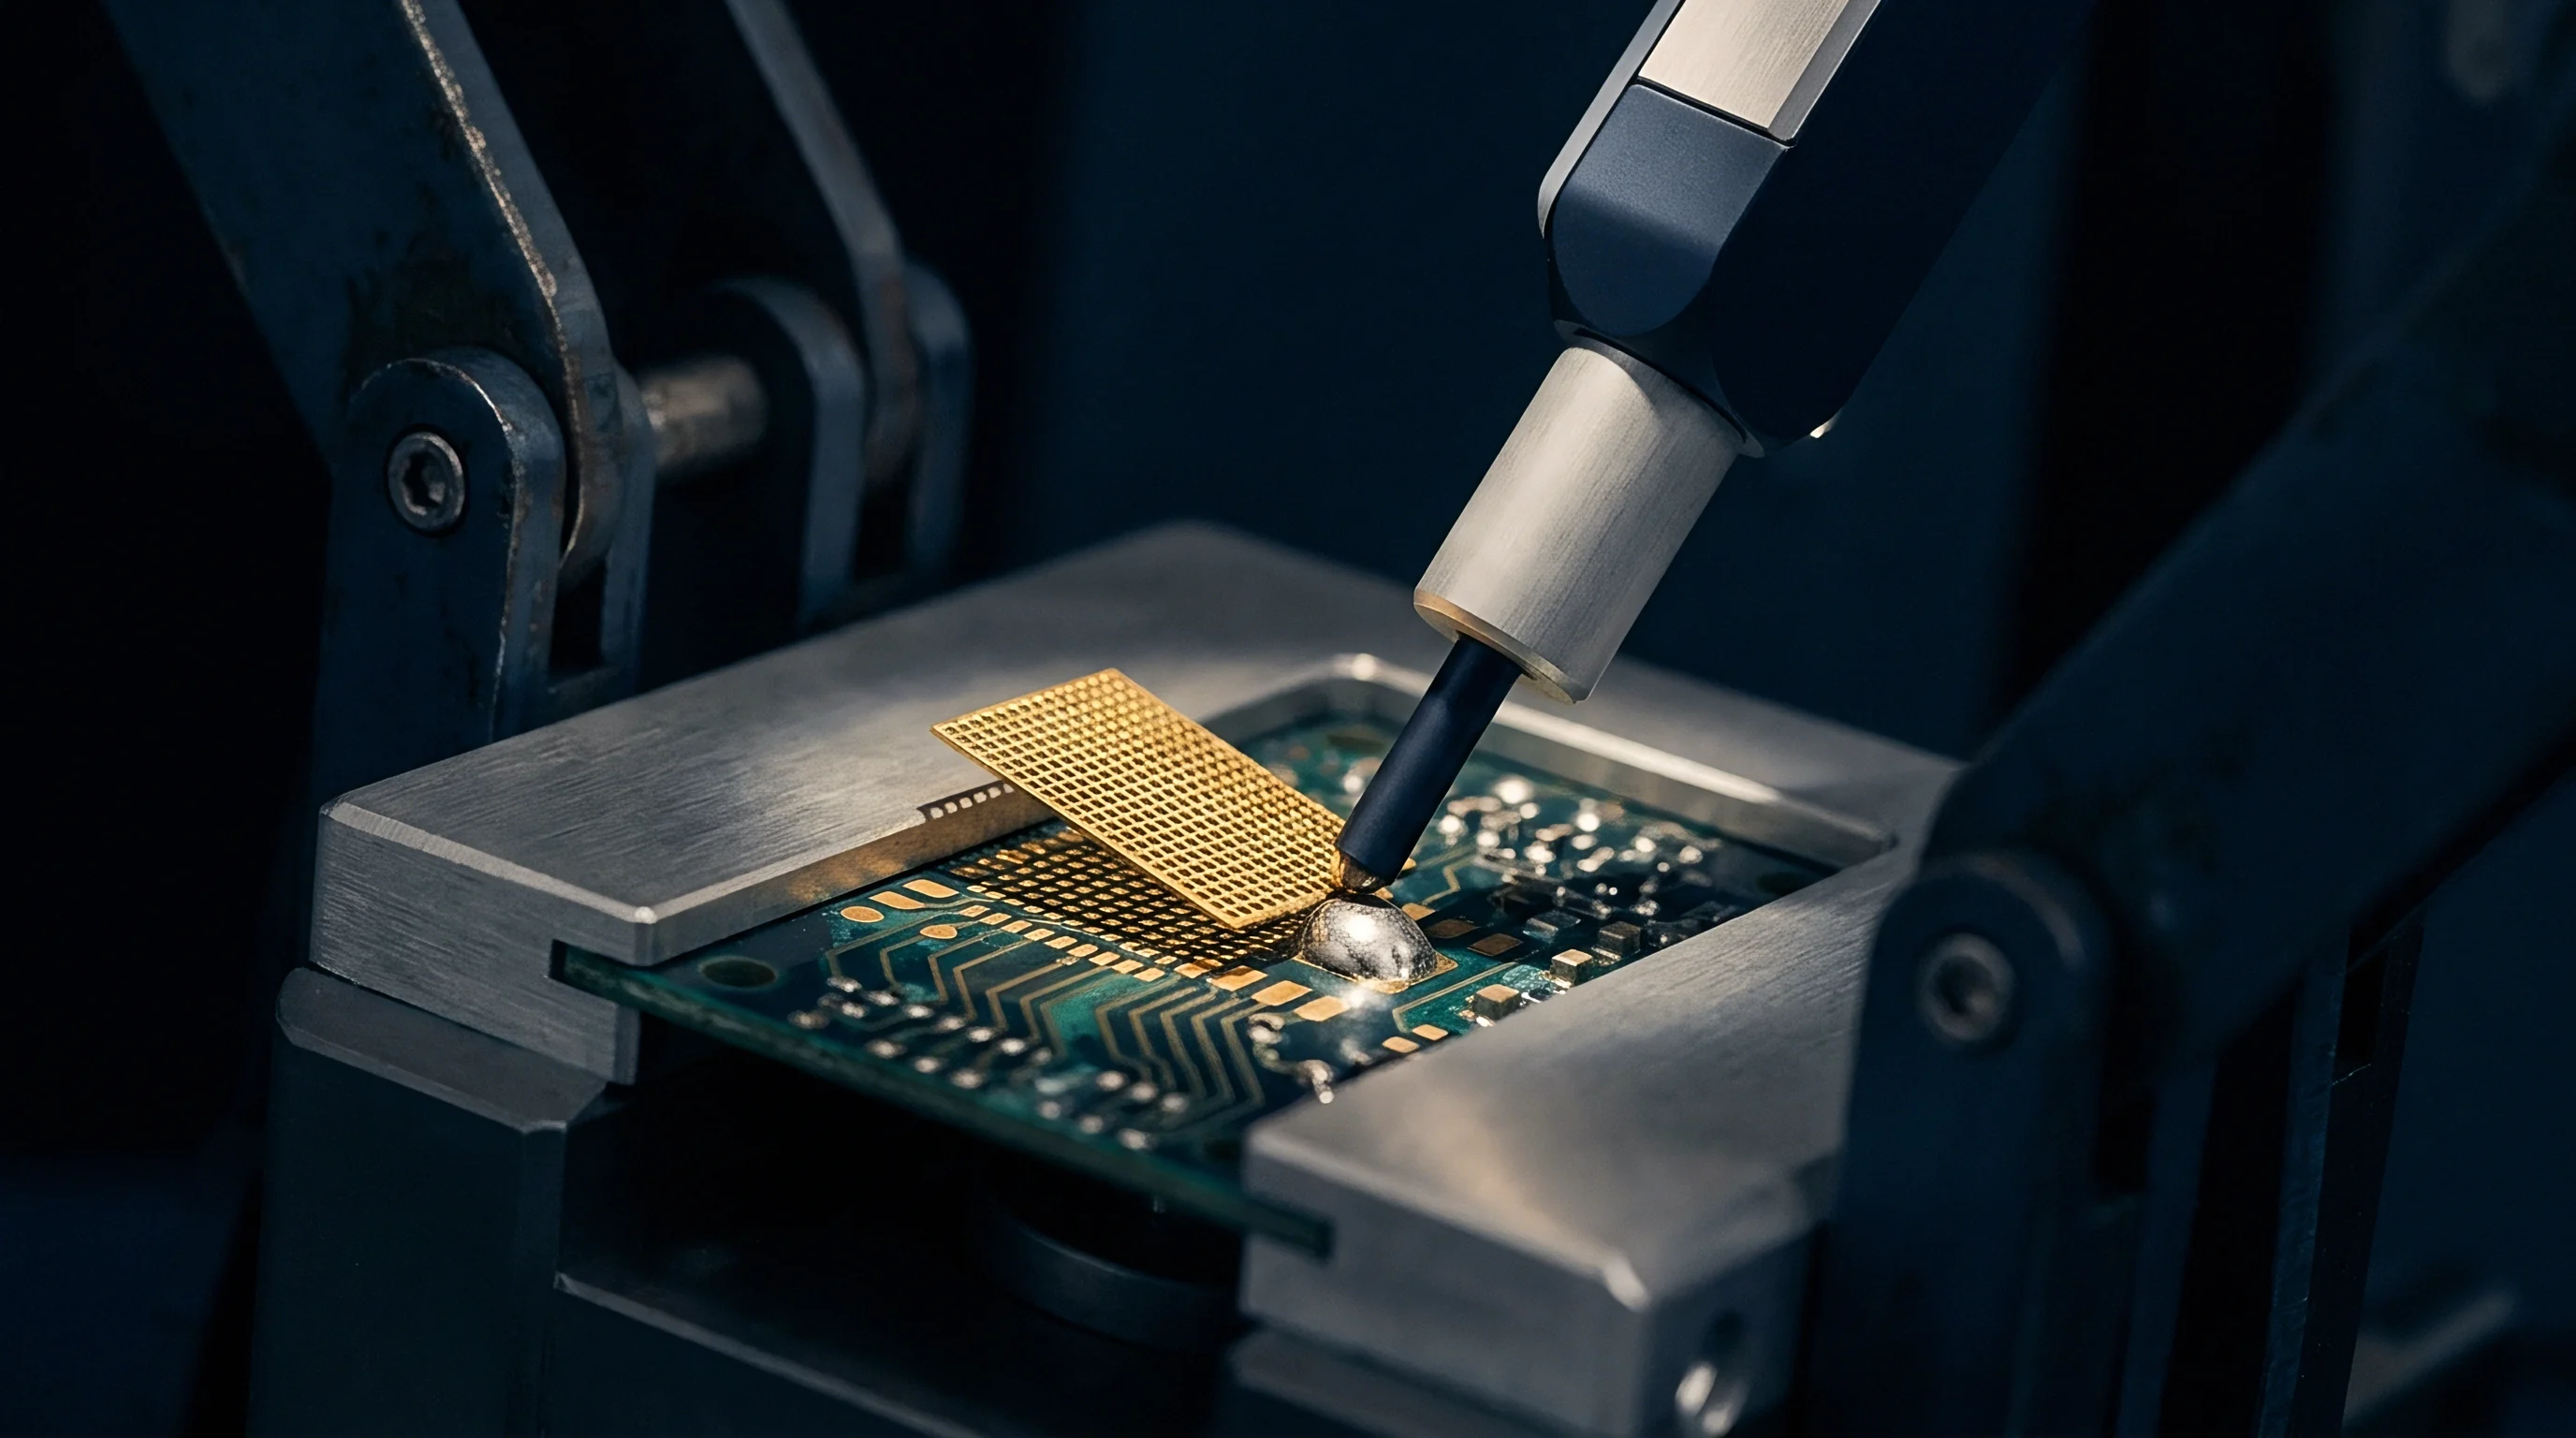
Solder bridging on fine-pitch QFP, QFN, and BGA components stems from paste bleeding under the stencil frame combined with excessive hot slump. As printed circuit panels pass through the preheat zone of a reflow oven, temperatures rise to between 150 and 200 degrees Celsius. Heat lowers the viscosity of the flux vehicle before activator compounds fully engage, causing weak paste banks to slump into inter-pad spacing gaps.
When metal powder grains touch between adjacent pads prior to reaching alloy melting points, molten solder flows along the continuous metal bridge during liquidus transitions, forming permanent short circuits.
Mid-chip bead formation under 0805, 0603, and 0402 passive components results from paste extrusion during component placement. Placement machines push component bodies down into soft printed paste deposits to guarantee lead contact. If paste volume is too high or placement force exceeds target bounds, paste squeezes inward under the central body of the chip component.
Surface tension forces during reflow cannot pull this isolated paste mass back into the main terminal solder fillets. The isolated deposit melts into a discrete solder bead that remains trapped alongside the component body, threatening electrical shorting across trace routing.
Tombstoning and Voiding Interlocks
Tombstoning defects occur when a two-terminal passive component lifts vertical on one end, leaving an open circuit at the unattached terminal. Unequal solder deposit volumes represent the primary catalyst for tombstoning. The terminal receiving the larger or better-defined paste deposit wets first during reflow, creating a rotational torque about the component center of mass.
If this surface tension torque exceeds the combined gravitational weight of the component and the sticky hold of un-melted flux on the trailing pad, the component rotates upright into a vertical tombstone configuration.
Voiding inside large ground plane joints of QFNs, DPAK devices, and power MOSFETs links back to volatile entrapment within the flux vehicle matrix. Large continuous thermal apertures print substantial volumes of solder paste over broad copper surfaces. During reflow heating, solvent carrier liquids evaporate rapidly while activator chemicals decompose, generating organic gas bubbles.
If the solder paste volume covers the thermal pad without outgassing channels, expanding gas bubbles remain trapped within the molten solder bath during cooling, forming macro-voids that exceed IPC Class 3 limits of 25 percent total area coverage.
Assembly line release specifications require full compliance with international standards documents before commercial production runs begin:
- IPC-A-610 Class 3 compliance enforces strict visual acceptance criteria for solder joint fillet height, end alignment, and maximum allowable internal void area fractions.
- J-STD-001 solderability mandates mandate minimum wet surface area coverage and component terminal alignment parameters across all reflowed interconnections.
- IPC-7093 design guidelines specify mandatory aperture segmenting and matrix windowing patterns for bottom-terminated component land patterns to facilitate flux outgassing.
- IPC-TM-650 test protocols define standardized laboratory procedures for measuring solder paste tackiness, slump resistance, powder particle size, and corrosion propensity.
Section 4.3.2 of the quality purchase agreement dictates that any production lot demonstrating post-reflow electrical bridging defect rates exceeding 50 parts per million shall be quarantined immediately at the supplier assembly facility for mandatory stencil aperture redesign and SPI limit recalibration.

Qualification
Formal validation of solder paste rheology, stencil aperture design, and deposit repeatability forms the baseline requirement for signing production line acceptance dossiers. Process capability evaluation requires running full statistical characterization trials using calibrated test vehicles prior to launching high-volume assembly contracts. Qualification trials establish the stable operating window for print speed, squeegee pressure, snap-off velocity, and stencil clean frequencies under real factory floor environmental conditions.
Line qualification programs integrate automated 3D SPI tracking data directly into Statistical Process Control software platforms. Control charts monitor real-time transfer efficiency trends, height standard deviations, and registration offsets across continuous multi-shift production runs. Identifying minor process drifts before deposits violate specification limits allows line engineers to execute targeted maintenance, such as cleaning stencil underside wipes, adding fresh paste to squeegee banks, or adjusting ambient HVAC controls, maintaining first-pass assembly yield targets.
Process Window Index and Statistical Process Control
Process Window Index calculations consolidate complex multi-parameter SPI metrics into a single non-dimensional performance score. PWI quantifies how closely a given print parameter set sits to the exact center of the allowable engineering process window. A PWI value of 100 percent indicates that the process operates at the absolute outer boundary of specified tolerances, while a PWI value below 50 percent proves that the process functions comfortably within the safe operational envelope.
Line qualification standards require achieving PWI metrics below 70 percent for all critical fine-pitch component deposits across three consecutive validation runs.
Statistical process control protocols set hard control limits based on historical line performance rather than broad catalog drawings. Upper control limits and lower control limits calculated at plus or minus three standard deviations from the operational mean identify special-cause process variations. When three consecutive circuit board prints display rising deposit height trends exceeding two standard deviations, the SPC software triggers an automated line hold, preventing non-conforming paste prints from advancing to downstream high-speed component placement stations.

Line Acceptance Protocols and Commercial Release Limits
Commercial contracts governing outsourced assembly services place explicit financial liability on solder paste print performance metrics. Turnkey assembly quotes include fixed setup hours, stencil fabrication tooling fees, and first-article qualification sign-off milestones. Qualification dossiers present full SPI volume distributions, Cpk calculation sheets, and cross-sectional microsection reports confirming zero inter-metallic voiding or pad lifting defects on initial sample runs.
Line qualification requirements extend to environmental stability testing over extended shifts. Solder paste formulations must demonstrate stable print performance across eight-hour working shifts without requiring mid-shift paste replacement or frequent manual stencil wiping. Paste tackiness tests confirm that printed circuit boards held in line buffer racks for up to four hours post-printing retain sufficient tack force to hold 0201 passive components in place during rapid conveyor transport and placement acceleration.
The practical release sequence finishes with sign-off on the formal engineering dossier, certifying that all physical print metrics, inspection control limits, and commercial warranty boundaries align with buyer assembly requirements. The process engineer locks the machine printer parameters into the line software job file, records the baseline SPI control limits in the central quality database, and releases the assembly line for continuous commercial board production.