Surface Mount Stencil Aperture Design Principles
Optimizing surface mount stencil apertures demands balancing area ratios above 0.66, foil wall smoothness, and pad reductions for repeatable paste volume.
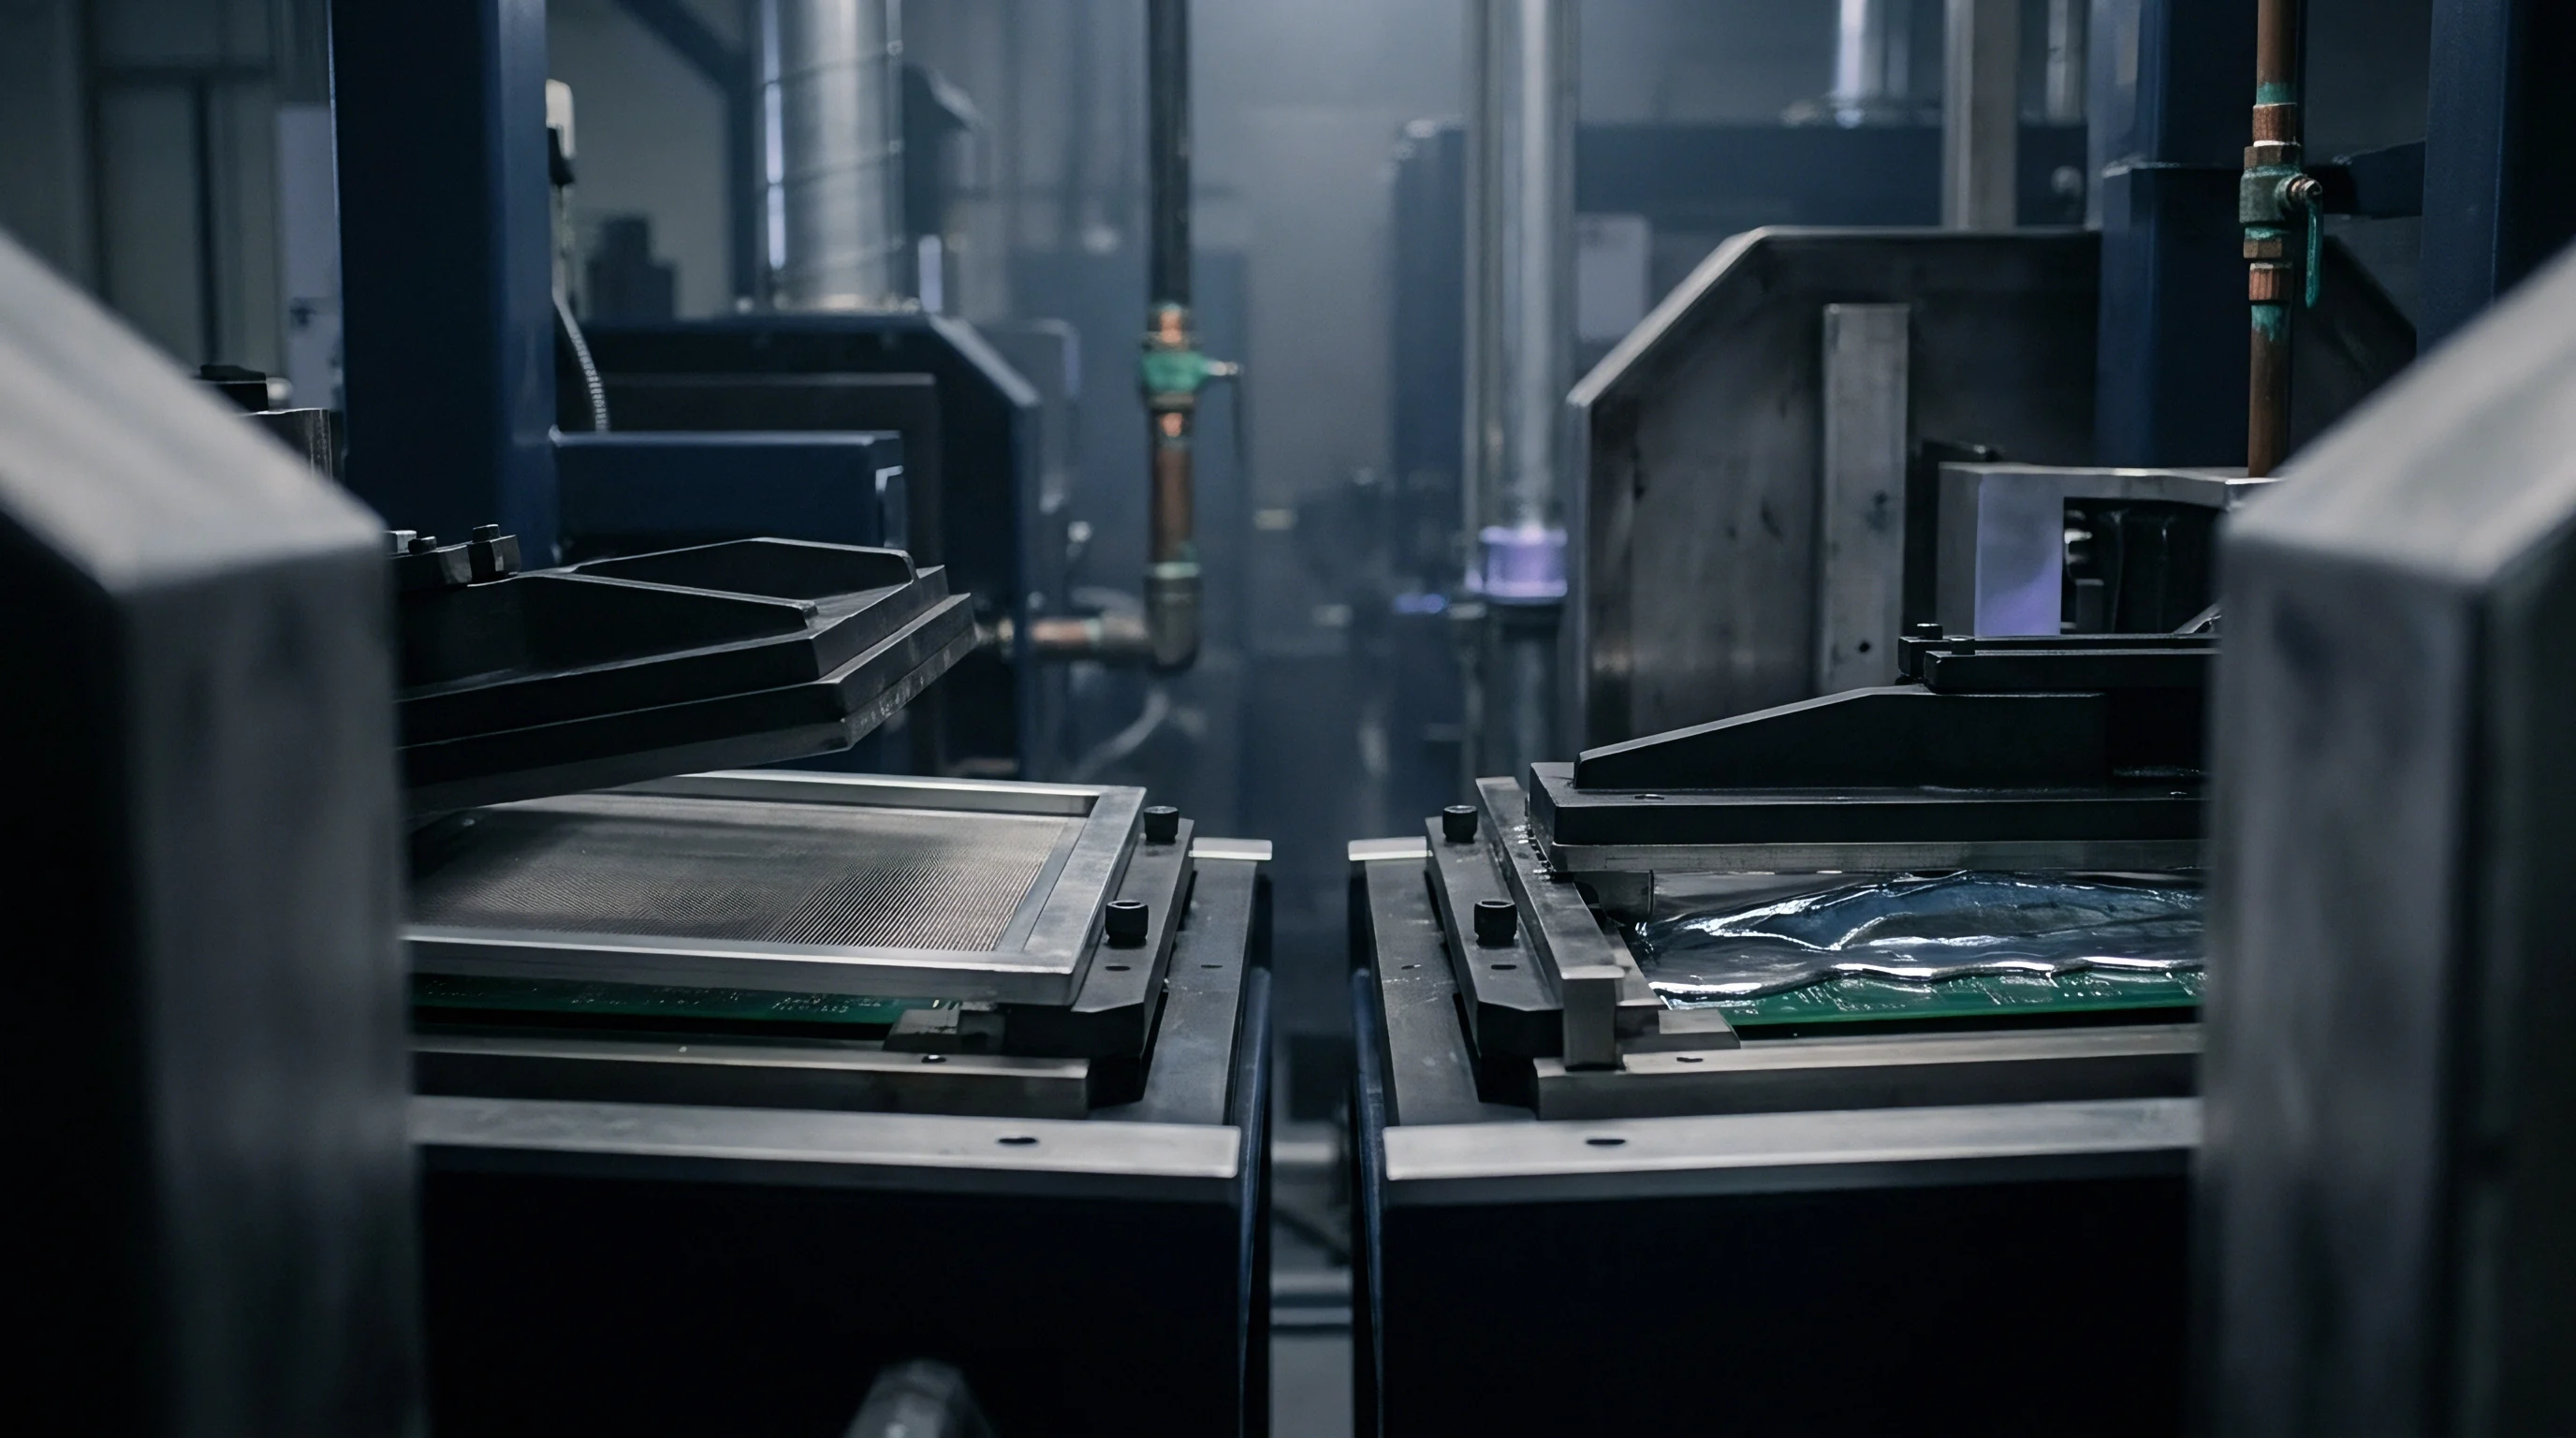
Geometry
Solder paste deposit volume governs joint formation, structural integrity, and electrical reliability across surface mount assemblies. The stencil aperture sets the initial volume of paste transferred to the PCB land pattern before reflow, while deposit height determines the final volume. When calculating aperture dimensions, process engineers compare the internal surface area of the stencil aperture wall to the surface area of the board pad.
The area ratio provides the baseline metric for predicting paste transfer efficiency and preventing print defects.
The area ratio is the area of the aperture opening divided by the total surface area of its side walls. For a standard rectangular aperture with length L, width W, and stencil foil thickness T, the area ratio equation calculates as AR = (L × W) / (2 × T × (L + W)). For circular apertures with diameter D, the formula simplifies to AR = D / (4 × T).
Older SMT assembly rules relied on aspect ratio ~ width divided by thickness, W / T, with a minimum threshold of 1.5. Fine-pitch packages make aspect ratio obsolete because it ignores aperture length and corner geometry. IPC-7525B dictates a minimum area ratio of 0.66 for conventional laser-cut stainless steel stencils using Type 3 or Type 4 lead-free solder pastes.
Area ratios below 0.66 lead to incomplete paste release, high volume variability, and dry deposit defects.
Volume release drops off sharply below critical limits. When the area ratio falls under 0.66, wall surface tension holding the paste inside the aperture overcomes the adhesion pulling paste onto the copper pad during separation. The paste shears inside the cavity, leaving a significant portion behind in the aperture.
This trapped paste builds up over successive print strokes, quickly ruining deposit height repeatability.
| Component Footprint | Land Dimensions (mm) | Foil Thickness (µm) | Calculated Area Ratio | Recommended Powder Type | Nominal Deposit Volume (nL) |
|---|---|---|---|---|---|
| EIA 0805 (2012 Metric) | 1.00 × 1.25 | 127 | 1.09 | Type 3 / Type 4 | 158.75 |
| EIA 0603 (1608 Metric) | 0.80 × 0.90 | 127 | 0.97 | Type 3 / Type 4 | 91.44 |
| EIA 0402 (1005 Metric) | 0.50 × 0.60 | 100 | 0.68 | Type 4 | 30.00 |
| EIA 0201 (0603 Metric) | 0.25 × 0.35 | 100 | 0.44 | Type 4 / Type 5 | 8.75 |
| EIA 0201 (0603 Metric) | 0.25 × 0.35 | 75 | 0.58 | Type 4 / Type 5 | 6.56 |
| QFN 0.40 mm Pitch | 0.20 × 0.80 | 100 | 0.80 | Type 4 / Type 5 | 16.00 |
| BGA 0.35 mm Pitch | 0.22 (Circular) | 75 | 0.73 | Type 5 | 2.85 |
Powder particle size distribution directly affects aperture filling and release. Solder paste classifications define particle sizes by mesh filtration counts: Type 3 paste contains alloy spheres from 25 to 45 microns, Type 4 spans 20 to 38 microns, and Type 5 ranges from 15 to 25 microns. When designing aperture geometry, process engineers use the five-ball rule, which requires at least five solder spheres of maximum mesh diameter to fit side-by-side across the narrowest aperture dimension.
Using Type 3 paste on an EIA 0201 pad with a 0.25-millimeter aperture width allows only five maximum-sized particles across the gap, pushing filling mechanics to the limit. Switching to Type 4 or Type 5 paste increases particle density in the aperture volume, stabilizing shear under the squeegee blade and yielding cleaner release.
Volumetric calculations show the boundary conditions that guide foil selection. Consider a 0.40 millimeter pitch Quad Flat No-Lead (QFN) terminal pad measuring 0.20 millimeters wide by 0.80 millimeters long. With a standard foil thickness of 120 microns (0.12 millimeters), the aperture area is 0.16 square millimeters.
Side wall surface area calculates as 2 × 0.12 × (0.20 + 0.80) = 0.24 square millimeters, yielding an area ratio of 0.16 / 0.24 = 0.667. This sits right on the IPC-7525B limit. In production, operating at this threshold results in a volume transfer efficiency standard deviation over 12 percent.
Dropping stencil thickness to 100 microns (0.10 millimeters) cuts side wall area to 0.20 square millimeters and raises the area ratio to 0.800. That wider process margin brings volume variation below 5 percent while leaving enough paste volume for complete solder fillets.
Aperture area ratios above 0.75 give consistent paste transfer efficiency across extended high-speed runs.
Fine-pitch Ball Grid Array (BGA) components with round pads need modified circular or rounded-square aperture shapes. Circular apertures distribute separation stress evenly around the perimeter. However, a 0.25-millimeter circular aperture on a 100-micron foil gives an area ratio of 0.625, which falls below the release threshold.
Switching to a square aperture with 0.25-millimeter sides expands the opening area from 0.049 to 0.062 square millimeters, raising the area ratio while increasing total transferred volume. But sharp square corners create friction pockets where paste gets trapped in 90-degree apexes. Radiusing the corners to 25 percent of aperture width combines the fill performance of a square with the clean release of a circle, optimizing transfer volume and stopping paste from accumulating in corners.
Apertures below the critical area ratio release paste inconsistently, pushing quality control off the printer and onto manual rework.

Wall
The surface topography of aperture walls directly determines how much force it takes to pull solder paste out of the stencil foil. Laser cutting is the primary method used to manufacture SMT stencils. High-power fiber lasers driven by CNC vectors from PCB layout files melt and ablate stainless steel sheet metal.
The focused beam leaves a micro-scale kerf with inherent roughness. These rough wall perimeters act as mechanical anchors that catch solder paste particles during stencil separation, hurting transfer efficiency on fine-pitch components.
Laser cut quality depends on pulse frequency, cutting speed, assist gas, and beam focus alignment. Cutters use oxygen or nitrogen assist gas to clear molten metal from the kerf. Nitrogen prevents oxidation on the stainless steel edge, producing a smoother wall than oxygen.
Laser focus also controls wall taper. Focusing near the top surface of the foil creates a trapezoidal cross-section where the opening on the board side is larger than on the squeegee side. Friction drops during separation because the opening widens along the ejection path.
Wall taper angles typically run between 1 and 3 degrees, though excessive taper distorts deposit geometry, widening the base and increasing bridging risks on 0.4-millimeter pitch leads.
Smoother walls release paste more easily, which makes post-cut polishing a common step. Electropolishing immerses the stainless steel stencil in an acid electrolyte bath under electrical current. Selective anodic dissolution strips away micro-burrs and high spots, dropping average surface roughness from 0.8 ~ 1.2 microns down to 0.2 ~ 0.4 microns.
Chemical etching also smoothes walls uniformly, but unmonitored etching rounds the top and bottom aperture edges, leading to paste bleed beneath the stencil during printing.
| Fabrication Process | Foil Material | Wall Roughness Ra (µm) | Aperture Dimensional Tolerance (µm) | Minimum Pitch Capability (mm) | Relative Tooling Cost Index |
|---|---|---|---|---|---|
| Standard Laser Cut | 304 Stainless Steel | 0.80 ~ 1.20 | ± 6.0 | 0.50 | 1.0 |
| Electropolished Laser Cut | 304 Stainless Steel | 0.20 ~ 0.40 | ± 4.0 | 0.40 | 1.3 |
| Electroformed Nickel | Pure Nickel Grid | 0.05 ~ 0.15 | ± 2.0 | 0.30 | 2.8 |
| Direct Laser Fine-Grain | Fine-Grain Steel Alloy | 0.15 ~ 0.30 | ± 3.0 | 0.35 | 1.6 |
Electroformed nickel stencils offer an additive alternative that skips laser ablation altogether. The stencil is built by electrodepositing nickel onto a photo-patterned mandrel, where photoresist pillars define the aperture cavities. Nickel builds up atom by atom around the resist, forming smooth walls with surface roughness under 0.1 microns.
This growth process naturally produces a slight trapezoidal taper and rounded inner corners. Nickel also has a lower friction coefficient against flux vehicles than stainless steel does. That friction reduction enables reliable paste release at area ratios down to 0.55, making it possible to print 0.30-millimeter pitch BGAs and 01005 passives without resorting to ultra-thin foils that starve larger components.
Applying polymeric nano-coatings to the board side and inner walls of a stencil alters surface energy. These coatings fall into two categories: liquid fluoropolymer coatings and physical-vapor-deposited (PVD) organosilicon films. Both are hydrophobic and oleophobic, dropping stencil surface energy from roughly 40 mN/m to under 20 mN/m.
The high contact angle stops flux from spreading across the underside of the foil. Unchecked flux migration forms bridges between adjacent pads and forces frequent cleaning cycles, whereas nano-coated foils contain flux creep, keeping print definition sharp and extending wipe intervals from every 3 prints to every 20 prints during continuous runs.
Applying a hydrophobic nano-coating to electropolished stencil walls cuts under-stencil cleaning frequency by over 60 percent on high-density assemblies.
Step stencils accommodate board designs that put components with vastly different solder volume requirements on the same surface. A step-up stencil increases foil thickness locally where large power devices, high-current connectors, or D-PAKs need thick solder deposits for mechanical strength. A step-down stencil thins target areas to reduce paste volume for micro-BGAs or fine-pitch QFPs while leaving the rest of the foil at standard thickness.
Fabricators create these steps by chemical etching or laser milling the steel before cutting apertures.
Step stencils require strict clearances around stepped contours to prevent squeegee blade deformation and incomplete filling. Metal squeegee blades have limited flexibility; when riding over a step transition, the blade bridges the boundary, lifts off the foil, and leaves paste residue on nearby pads. The standard keepout rule requires 10 millimeters of clearance for every 25 microns of step height.
For a 50-micron step-up around a power inductor, surrounding components need at least 20 millimeters of clearance from the step edge. Ignoring these keepout boundaries causes severe paste smearing and deposit height variation.
Fabricators often blame poor paste release at area ratios below 0.66 on degraded paste rheology rather than kerf taper variation across the laser-cut foil.

Transfer
Transfer efficiency measures actual printed paste volume against theoretical aperture volume as a percentage. Theoretical volume is simply aperture length times width times foil thickness, with 100 percent representing perfect transfer. In real production, transfer efficiency fluctuates due to paste rolling hydrodynamics, filling mechanics, and separation speed.
Modern automated SMT lines target a transfer efficiency window of 80 to 120 percent across standard footprints.
Dynamic forces inside the solder paste bead drive cavity filling during the squeegee stroke. As the blade rolls the paste bead across the stencil, mechanical shear thins the thixotropic material, dropping its viscosity from a static 800 Pa·s down to 100 ~ 200 Pa·s. Downward hydraulic pressure within the rolling bead forces this conditioned paste into the apertures.
Squeegee speed, downforce pressure, and blade angle dictate how effectively this filling occurs.
Squeegee speed depends on component pitch and paste rheology, with standard SMT lines running between 25 and 150 millimeters per second. High speeds shorten hydraulic dwell time over aperture openings, preventing fine-pitch cavities from filling completely and causing low transfer efficiency and voiding. Slower speeds give the paste more time to fill, but risk scooping paste out of wide openings.
Downforce must clean the top of the stencil without dipping into apertures. Standard settings run from 0.15 to 0.30 kilograms per linear centimeter of blade length. Too much pressure deforms polyurethane or thin steel blades, forcing the edge into wide apertures and scooping out paste.
Inspecting apertures under 50x optical magnification during line qualification confirms edge wear stays within tolerance.
Separation speed controls board withdrawal kinetics from the stencil foil once the squeegee pass finishes. Automated printers lower the board along the Z-axis using controlled vertical descent tables, with speeds ranging from 0.1 to 3.0 millimeters per second. Slow separation (0.2 to 0.5 mm/s) gives liquid flux and suspended alloy spheres time to detach cleanly from aperture walls via capillary action.
Fast separation creates high shear stress at the walls, tearing paste deposits, forming dog-ear peaks, and scattering micro-solder balls onto solder mask edges.
Controlling the environment inside the printer enclosure protects paste stability over long production runs. Paste rheology is sensitive to temperature and humidity. Ideal operating temperatures sit between 21 and 25 degrees Celsius.
Higher temperatures thin the paste, causing slump and pre-reflow bridging, while lower temperatures raise viscosity, hindering aperture filling and lowering transfer efficiency. Relative humidity should stay between 30 and 60 percent. High humidity causes hygroscopic flux to absorb moisture, leading to flux breakdown, reflow spatter, and solder balling; low humidity accelerates solvent evaporation, shortening stencil life and clogging apertures.
Aperture clogging steadily degrades transfer efficiency over repeated print cycles. Paste left in aperture corners dries out, reducing the effective cross-sectional area for subsequent prints. Automated under-stencil cleaners control this buildup with programmable wipe cycles using solvent, vacuum extraction, and lint-free paper.
- Incomplete Cavity Filling occurs when squeegee velocity exceeds the hydraulic fluid limit of the paste bead, leaving air voids at the base of fine-pitch aperture walls.
- Paste Scooping occurs when excessive downforce or flexible blades deflect into apertures wider than 5.0 millimeters, scooping paste from the center.
- Post-Print Slump happens when low paste viscosity or temperature spikes cause printed paste edges to collapse outward before placement.
- Under-Stencil Bleeding stems from poor gasketing between foil and board substrate, letting liquid flux wick laterally across solder mask borders.
- Bridging Failures occur when excessive paste release bridges adjacent deposits across narrow dielectric spaces during the print stroke.
IPC-7525B specifies that total volume transfer efficiency variations across fine-pitch arrays must not exceed a standard deviation of 10 percent from nominal targets.
Large surface apertures, like thermal ground pads on QFNs or power transistors, require segmentation to keep the stencil flat and distribute paste evenly. Openings larger than 5.0 millimeters in any dimension let squeegee blades dip into the center, scooping paste and leaving a concave deposit profile. Dividing broad openings into a matrix of smaller sub-apertures ~ a technique called window-paning ~ supports the squeegee blade, maintaining uniform deposit height across the pad while controlling total solder volume.
Whether dynamic squeegee pressure feedback can truly eliminate volume variance across warped substrates remains a point of debate among process engineers.
Compensation
PCB land patterns require specific aperture modifications to prevent common reflow soldering defects. Linear scaling applies percentage reductions or shifts to Gerber pad dimensions. Standard land patterns designed to IPC-7351 optimize copper geometry for iron access and optical inspection, so using raw copper pad dimensions as aperture templates often deposits too much paste, causing bridging, solder balls, or floating components.
Quad Flat No-Lead (QFN) packages present severe volume management challenges because of their large central ground pads and dense perimeter signal leads. Surface tension from liquid solder on an un-segmented ground pad floats the component during reflow, causing it to tilt or lift perimeter leads off their pads and create open circuits. Trapped flux volatiles under large dies also create massive voids in the thermal pad interface, hurting heat dissipation.
Window-pane aperture patterns eliminate this by splitting the central tab opening into a grid of smaller apertures separated by solid web bridges.
Designing a QFN window-pane pattern means setting paste coverage between 50 and 70 percent of the copper pad area. Web bridge widths between panes must be at least 0.15 to 0.25 millimeters to prevent the foil from tearing during laser cutting or handling. For example, a 5.0 mm × 5.0 mm QFN center tab printed with a 100-micron foil typically uses a 3 × 3 window pane matrix: nine 1.33 mm square apertures separated by 0.25 mm webs give 63.3 percent coverage.
During reflow, the individual deposits melt and flow together across the copper tab, forming a thin, void-free joint without lifting the package.
When Should Step Tooling Replace Uniform Foils?
Step tooling becomes necessary when a board layout places ultra-fine-pitch devices near high-mass power components. If 0.3-millimeter pitch BGAs sit within 30 millimeters of D-PAK power transistors, a uniform foil thickness simply will not work. A 127-micron foil gives an unworkable area ratio of 0.43 on the BGA pads, leading to severe release failures.
On the other hand, a 75-micron foil starves the D-PAK connections, causing low shear strength and thermal fatigue cracks. Applying a localized step-down to 75 microns at the BGA site while leaving 127 microns across the power circuitry provides reliable process margins for both component types.
Small passives like EIA 0402, 0201, and 01005 resistors and capacitors tend to tombstone when solder forces act unevenly during reflow. Tombstoning occurs when surface tension on one end pulls the component upright, breaking contact on the opposite pad. Asymmetric thermal sinking from unequal copper trace widths often causes paste on one pad to melt first, allowing the wetting force on that side to lift the lightweight component.
| Component Category | Original Pad Size (mm) | Aperture Modification Profile | Area Reduction (%) | Primary Defect Elimination |
|---|---|---|---|---|
| QFN Exposed Ground Pad | 6.00 × 6.00 (Solid) | 3 × 3 Window-Pane Grid (0.20 mm Webs) | 35 ~ 45 | Component Float & Die-Attach Voiding |
| EIA 0402 Chip Passive | 0.60 × 0.70 (Rect) | Home-Plate Reduction | 10 ~ 15 | Solder Beading & Mid-Chip Balling |
| EIA 0201 Chip Passive | 0.30 × 0.35 (Rect) | Reverse Home-Plate / Inverted Trapezoid | 15 ~ 20 | Tombstoning & Asymmetrical Wetting |
| SOIC / QFP Fine Pitch | 0.22 × 1.40 (Rect) | Oblong Radiused Corner Reduction | 10 ~ 15 | Inter-Lead Solder Bridging |
| Micro-BGA 0.40 mm Pitch | 0.22 (Circular) | Square with 25% Corner Radius | -10 (Expansion) | Low Transfer Efficiency & Incomplete Fill |
Anti-tombstoning geometries modify paste deposit shape and placement on chip land patterns. The home-plate design reduces paste volume along the inner edges of the pad while maintaining full coverage on outer edges. Trimming the inner corners reduces surface tension under the component body so wetting forces do not push it upward.
Reversed home-plate shapes reduce inner-edge paste even further, pulling the center of gravity of the liquid solder outward. U-shaped and C-shaped reductions remove paste from pad centers and concentrate it along outer edges to absorb thermal timing differences across pads.
Fine-pitch gull-wing leads on Quad Flat Packages (QFP) require narrowed apertures to prevent bridging. High pin-count QFPs with 0.50 or 0.40 millimeter pitch have tight inter-lead copper spacing, where paste slump across solder mask webs can fuse adjacent deposits during preheat. Reducing aperture width by 10 to 15 percent relative to pad width creates a clearance gap that accommodates printer alignment tolerance and lateral slump.
During reflow, liquid solder wicks onto the lead metallization and pulls back onto the pad area.
- Extract original Gerber land pattern files from the CAD layout package.
- Import land geometries into stencil design software to run area ratio validation scripts across all components.
- Flag component footprints with area ratios below 0.66 for foil thickness review or aperture modification.
- Apply window-pane array patterns to exposed ground pads larger than 4.0 millimeters on a side.
- Apply home-plate volume reductions to 0402, 0201, and 01005 chip passive land patterns.
- Narrow perimeter gull-wing lead aperture openings by 12 percent to increase inter-lead clearance.
- Export finalized Gerber X2 aperture files to stencil fabricators alongside panel alignment fiducial layers.
Fine-pitch BGA packages with non-solder-mask-defined (NSMD) pads require their own compensation strategy. NSMD copper pads sit exposed on the substrate with surrounding mask clearance, and standard practice matches aperture openings 1:1 to pad diameter. When area ratios hover near 0.60 on 0.35-millimeter pitch arrays, process engineers widen circular apertures into rounded squares.
Expanding aperture area by 10 percent raises the area ratio above critical thresholds, restoring full paste release without causing bridging across mask dams.
Applying a 15 percent home-plate reduction to 0402 stencil apertures eliminates mid-chip solder beading on high-density assemblies.
Skipping footprint-specific area reductions on ground pads leads to component float, excessive voiding under thermal tabs, and expensive manual rework.
Inspection
Solder paste inspection systems verify paste deposit metrics immediately after printing, catching process errors before component placement. Running 3D optical inspection right downstream of the printer avoids having to tear down boards with bad print deposits. Modern 3D SPI platforms combine high-resolution digital cameras with structured light projectors to map the volume of every printed pad on the panel.
Optical laser triangulation and white-light fringe projection measure paste deposit height, coverage area, volume, and registration alignment. Fringe projection casts moiré light patterns onto the deposits, and camera sensors detect phase shifts in the reflected light to calculate Z-axis height profiles at high speed. Software then integrates height across the X-Y footprint area to calculate total printed volume, comparing measured height, area, volume, and offset against CAD parameters.
Volume Transfer Efficiency (VTE) is the main statistical metric for verifying print quality. SPI systems calculate VTE by dividing measured paste volume by theoretical aperture volume, expressed as a percentage. Upper and lower limits define the process window, with standard assembly specs setting a lower specification limit (LSL) of 75 percent VTE and an upper specification limit (USL) of 125 percent VTE.
SPC engines track VTE trends continuously; a steady drop in mean VTE across consecutive panels indicates aperture clogging, triggering automated cleaning alerts before defects occur.
Height profile monitoring flags squeegee deformation, paste scooping, and stencil lift-off errors. Paste height targets tie directly to foil thickness: a 100-micron foil sets nominal paste height at 100 microns. Upper specification limits are typically set around 130 microns to catch excessive height from stencil lifting or wicking, while lower limits sit at 70 microns to catch paste scooping or under-filling.
Height variations across a panel point to mechanical printer alignment issues, board warpage, or uneven squeegee pressure across the blade.
Registration offset metrics quantify positional misalignment between paste deposits and underlying copper pads along X and Y axes. Offsets stem from table play, board clamping displacement, panel stretch, thermal expansion, or fiducial recognition errors. Fine-pitch components require tight alignment tolerances ~ for 0.4-millimeter pitch QFNs and BGAs, maximum registration offset cannot exceed 25 microns from pad center.
Larger offsets cause paste to overhang solder mask edges, leading to solder balling, bridging, and placement failures during reflow.
- Statistical Capability Index (Cpk) measures print process stability by comparing natural process variation against upper and lower VTE limits.
- Volume Transfer Efficiency (VTE) measures actual printed paste volume against theoretical aperture volume to verify deposit mass.
- Registration Offset Threshold limits positional variance between paste centers and copper pad centers along X and Y axes.
- Height Profile Uniformity tracks deposit peak-to-valley variance across individual pads to spot paste scooping or dog-ear cresting.
- Bridge Detection Windows scan dielectric spaces between adjacent pads for paste smearing or flux wicking.
Setting process capability targets relies on calculating Cpk metrics from SPI data. High-reliability electronics assembly (IPC-A-610 Class 3) requires a Cpk of at least 1.67 across critical solder joints, while standard consumer products (IPC-A-610 Class 2) require a 1.33 Cpk. Reaching a 1.67 Cpk means the natural 6-sigma variation of the printing line takes up less than half of the engineering tolerance band.
Area ratios dropping below 0.58 drag Cpk values under 0.90 on high-density builds.
Suppressing false calls is a constant priority when programming SPI systems. Overly tight inspection limits cause high false-call rates, stopping lines and forcing manual operator reviews that introduce human error. Board warpage also distorts optical height measurements.
Modern 3D SPI platforms use dynamic warpage compensation to map Z-height planes across local regions using reference points on the laminate. As paste viscosity drops during a run, monitoring release behavior allows local threshold windows on fine-pitch arrays to be adjusted dynamically.
Writing IPC-7525B Class 3 volume release limits into assembly purchase agreements assigns financial liability for bridge rework directly to the SMT contractor.
Margin
Foil material selection, fabrication method, aperture modifications, and inspection rules drive total manufacturing costs in SMT assembly. Stencil tooling is a small upfront expense compared to overall production run costs, yet aperture design decisions directly govern throughput, first-pass yield, manual rework, and long-term joint reliability. Balancing initial tooling outlay against operating line costs is a central part of NPI engineering.
Tooling expenses scale with technology. A basic laser-cut stainless steel stencil costs between $150 and $250. Electropolishing adds $50 to $100 to the bill, while a permanent hydrophobic nano-coating brings the total to $450 ~ $650.
Electroformed nickel stencils carry a premium, running $600 to $1,200 depending on panel size and foil complexity. Step stencils require extra etching or laser milling, pushing tooling costs past $800.
Choosing the right stencil option means weighing line yield losses against tooling amortization over projected volumes. High-speed SMT lines run $150 to $350 per hour in operating costs, so a line halted by recurring solder bridging or volume dropouts loses hundreds of dollars an hour in wasted capacity. On a 50,000-unit run, spending more for an electropolished, nano-coated stencil adds less than a penny per board upfront while saving dozens of hours in line stoppages and manual rework.
| Stencil Technology Class | Initial Tooling Cost (USD) | Wipe Interval (Prints) | First-Pass Yield Impact (%) | Breakeven Volume (Units) |
|---|---|---|---|---|
| Standard Laser-Cut Stainless | $150 ~ $250 | 3 ~ 5 | Baseline (92.5%) | 1 ~ 500 |
| Electropolished Laser-Cut | $250 ~ $350 | 8 ~ 10 | + 2.8% Yield Gain | 500 ~ 2,500 |
| Nano-Coated Electropolished | $450 ~ $650 | 15 ~ 25 | + 4.5% Yield Gain | 2,500 ~ 10,000 |
| Electroformed Pure Nickel | $600 ~ $1,200 | 20 ~ 30 | + 5.8% Yield Gain | 10,000+ |
Under-stencil cleaning wipe cycles eat up productive line time during continuous runs. A standard automated wipe cycle (wet wipe, vacuum, dry wipe) takes 15 to 45 seconds. Cleaning every 3 prints on a 40-second machine cycle adds 13.3 seconds of dead time to every board printed.
Over a 1,000-board run, that cleaning consumes nearly 3.7 hours of pure line time. Switching to a nano-coated stencil stretches wipe intervals to once every 20 prints, cutting total wipe overhead for 1,000 boards to under 35 minutes and reclaiming over 3 hours of line capacity.
First-pass yield (FPY) drives overall profitability in contract SMT assembly. Industry data shows that up to 65 percent of all SMT defects originate at the printing stage. Solder bridges, insufficient solder, tombstoned passives, and mid-chip beads stem directly from flawed aperture geometry, poor transfer efficiency, or improper paste volume.
Fixing a defect post-reflow requires manual technician rework, costing anywhere from $2.00 to $15.00 per defect in labor, flux materials, X-ray inspection, and potential substrate degradation.
- Gerber Aperture Sign-Off Sheet documents exact dimensional modifications, area reductions, and window-pane web rules agreed upon by buyer and factory.
- Foil Thickness Certification Log records optical micrometer verification of raw steel or nickel foil thickness across five panel locations.
- Laser Cut Quality Inspection Certificate provides high-resolution optical scans verifying cut wall squareness, kerf taper, and edge finish.
- Nano-Coating Integrity Receipt certifies surface energy contact angle test results following chemical deposition or PVD film application.
- First-Article Inspection Dossier pairs initial 3D SPI volumetric scan data with post-reflow X-ray and automated optical inspection results.
Turnkey assembly contracts must clearly assign financial liability for stencil optimization between the design owner and the contract manufacturer. When design teams specify fixed PCB land geometries without allowing aperture modifications, the CM cannot assume financial responsibility for print-induced yield drops. Experienced buyers include engineering release protocols in procurement packages, giving assembly engineers approval to adjust area ratio scaling, add window-pane arrays, or apply anti-tombstoning home-plate reductions during stencil tooling.
First-article sign-off procedures validate stencil performance before releasing a design for full-scale production. The engineering team prints a test batch of five panels using production paste, squeegee speed, and downforce settings. A 3D SPI system scans 100 percent of the printed deposits on the sample, generating capability reports for every footprint.
Passing requires a 100 percent yield across volume, height, area, and registration metrics with zero bridge warnings. This inspection dossier, alongside laser cutting logs and foil thickness certificates, goes into the permanent build quality record.