Lamination Shear Stress Mechanics in Heavy Copper Printed Circuit Boards
Heavy copper lamination shear stress stems from CTE mismatch and trace height steps, requiring controlled press ramps, high-resin prepregs, and optimized surface treatments to prevent delamination.
Foil
Thick copper planes and traces over 105 micrometers leave deep structural steps inside a multilayer PCB laminate. When high-density paths call for heavy metal like 3, 6, or 10-ounce copper, conductor heights match or exceed the thickness of individual prepreg plies. During vacuum lamination, molten epoxy resin must flow hydrostatically into these deep channels under press pressures of 200 to 350 pounds per square inch before crosslinking sets the matrix, permanently altering the laminate’s baseline stress dynamics.
The boundary between copper and cured resin marks a sudden jump in both elastic modulus and thermal expansion. Electrodeposited copper carries an isotropic coefficient of thermal expansion around 16.5 to 17.5 parts per million per degree Celsius and an elastic modulus near 110 gigapascals. By comparison, unreinforced cured epoxy shows an isotropic CTE of 50 to 70 parts per million per degree Celsius below its glass transition temperature, while its modulus plummets from 3.5 gigapascals at room temperature to under 0.5 gigapascals above Tg. As the press pack cools from 180 degrees Celsius down to room temperature, this contraction mismatch induces heavy residual shear stresses along trace edges.
Mechanics of Corner Stress Concentration
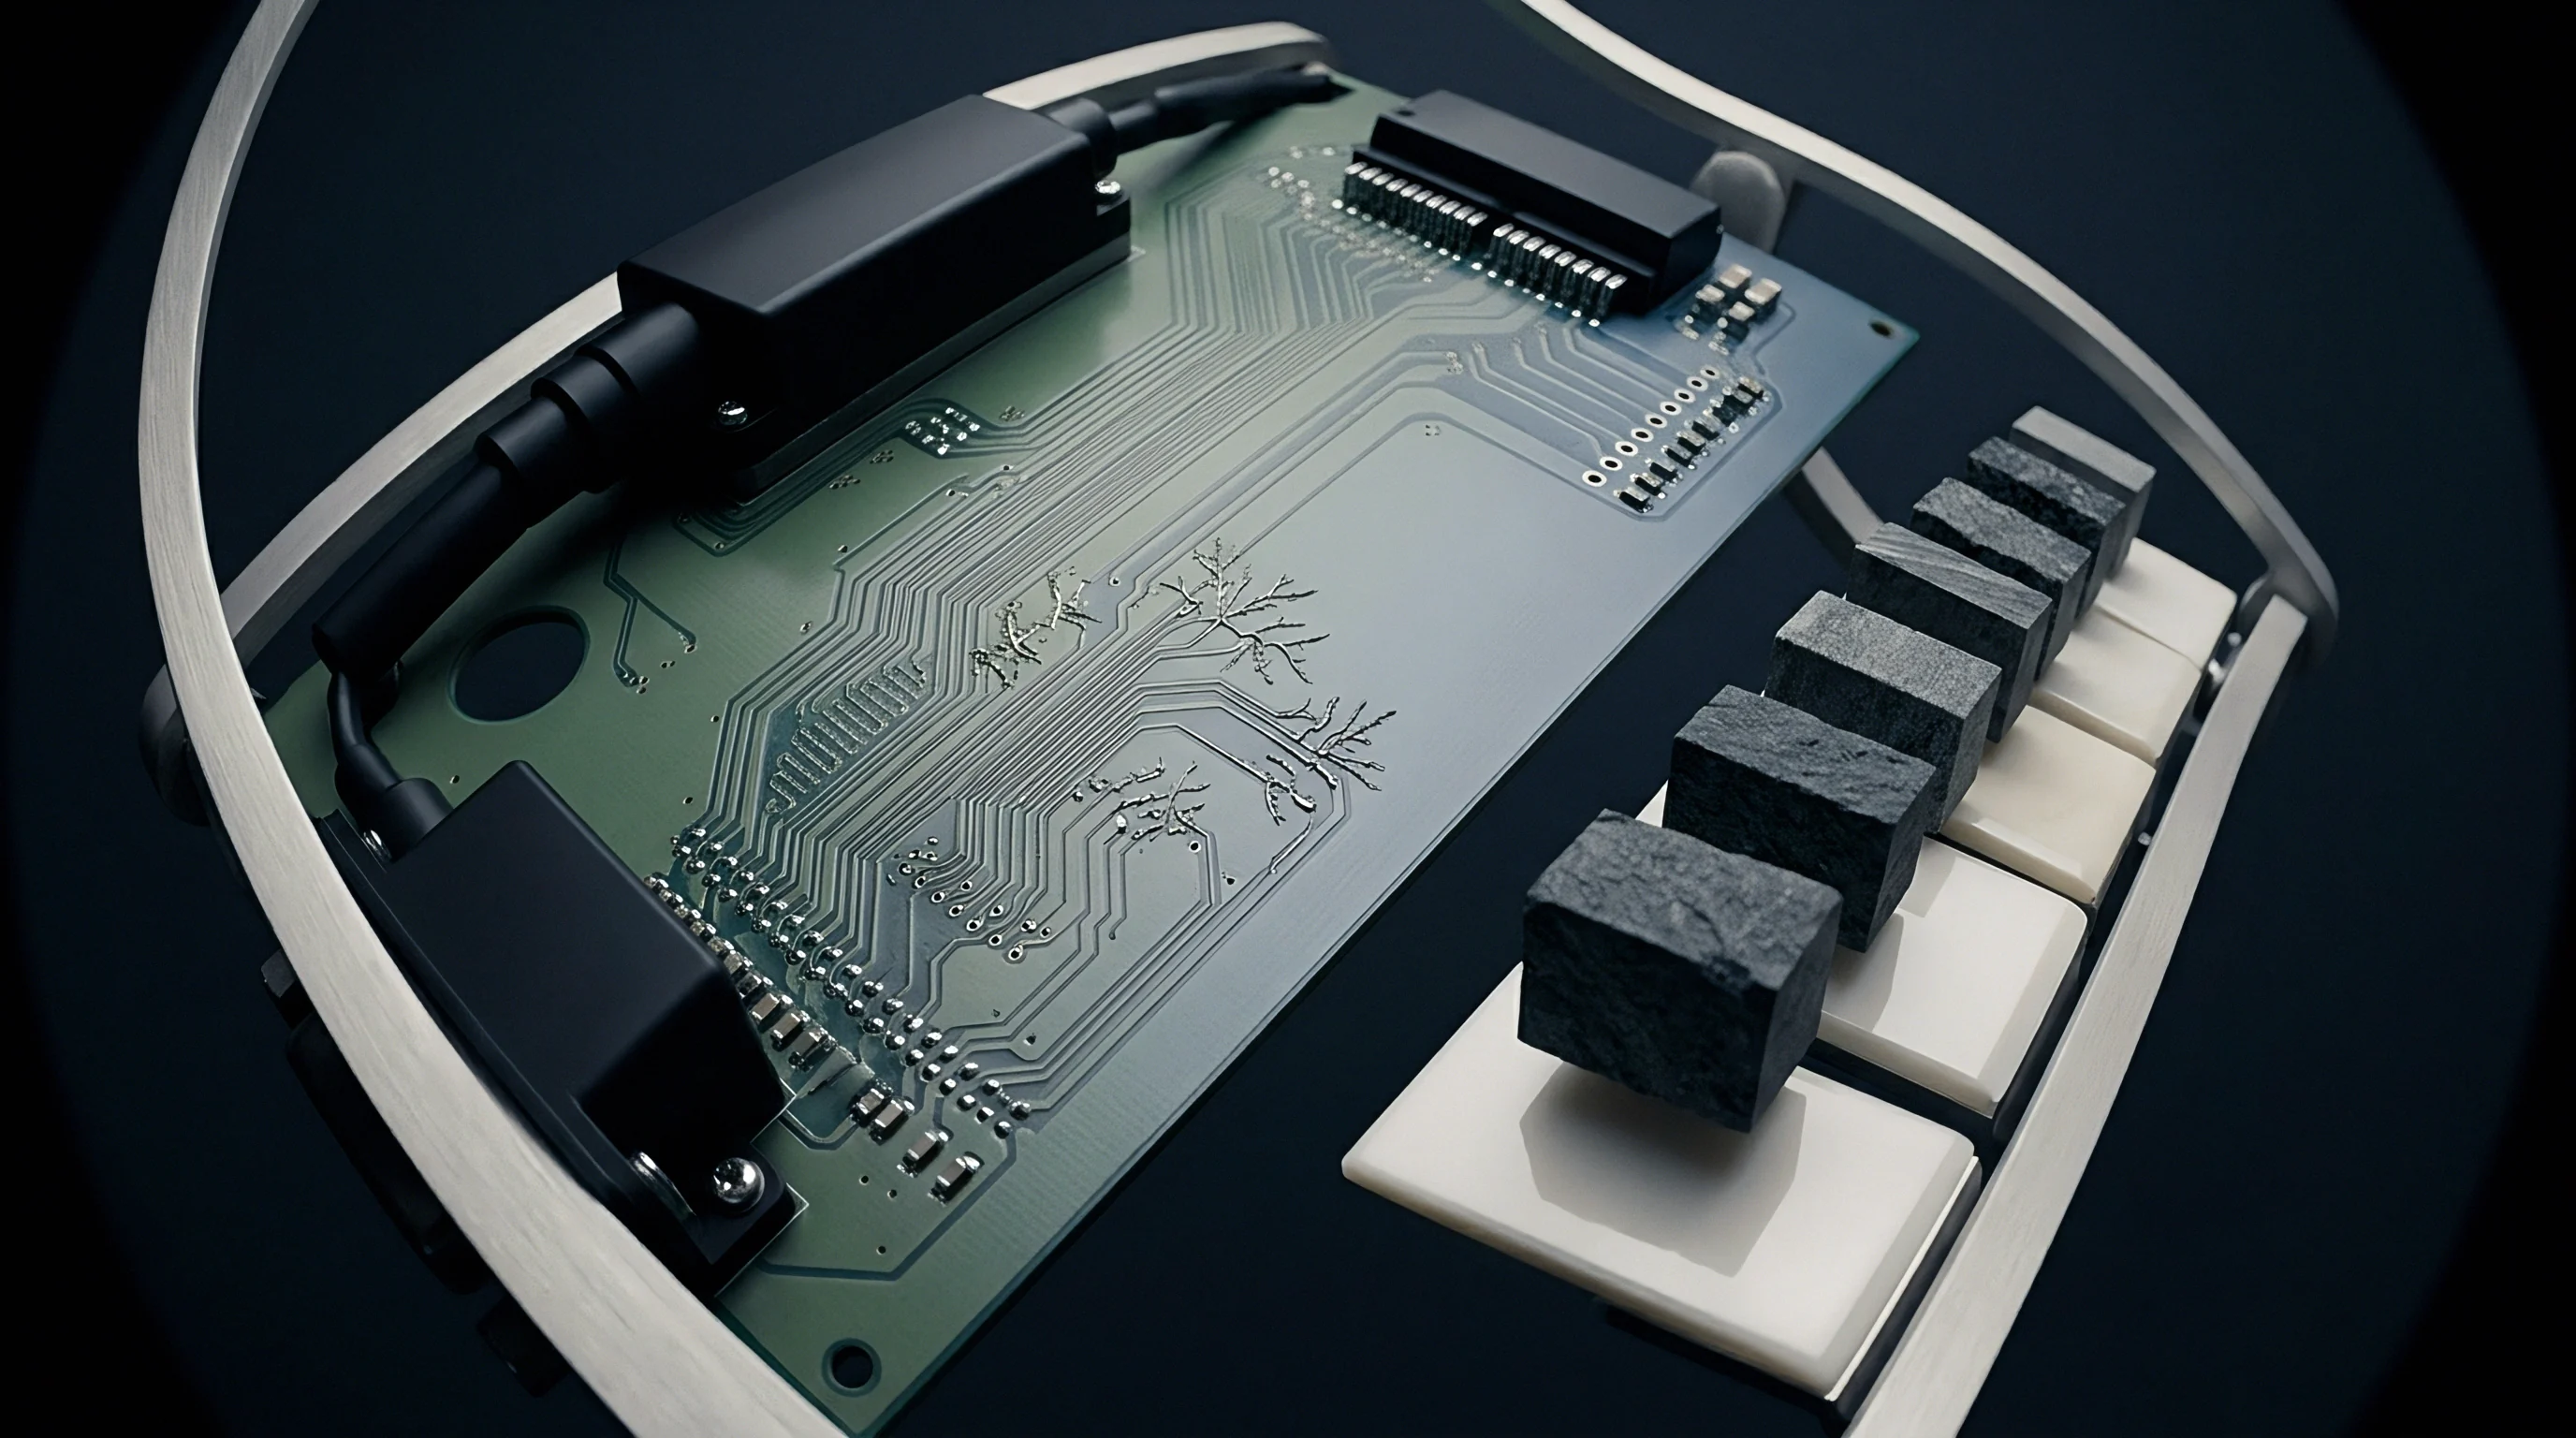
Stress peaks sharpest at the top and bottom corners of etched conductor walls. Chemical etching leaves a trapezoidal trace cross-section described by its etch factor ~ the ratio of downward etch depth to lateral undercut. Low etch factors produce steep, near-vertical sidewalls that concentrate shear stress spikes during thermal cycling, aligning the primary shear vector parallel to the inner-layer copper plane.
Resin shrinkage during polymerization combines with thermal contraction during press cool-down to generate localized shear stresses exceeding 45 megapascals at the square corners of 6-ounce copper features.
Calculating localized shear at the conductor boundary means tracking differential thermal strain across the entire cooling cycle. Cooling from a 175 degree Celsius cure down to 25 degrees Celsius generates a strain difference of roughly 0.65 percent between unreinforced resin and copper. Where rigid metal prevents resin contraction at trace corners, normal and tangential stress fields overlap, creating a peak shear tensor along the interface between the top edge of the trace and the covering glass cloth ply.
Trapezoidal Edge Profiles and Vector Shear
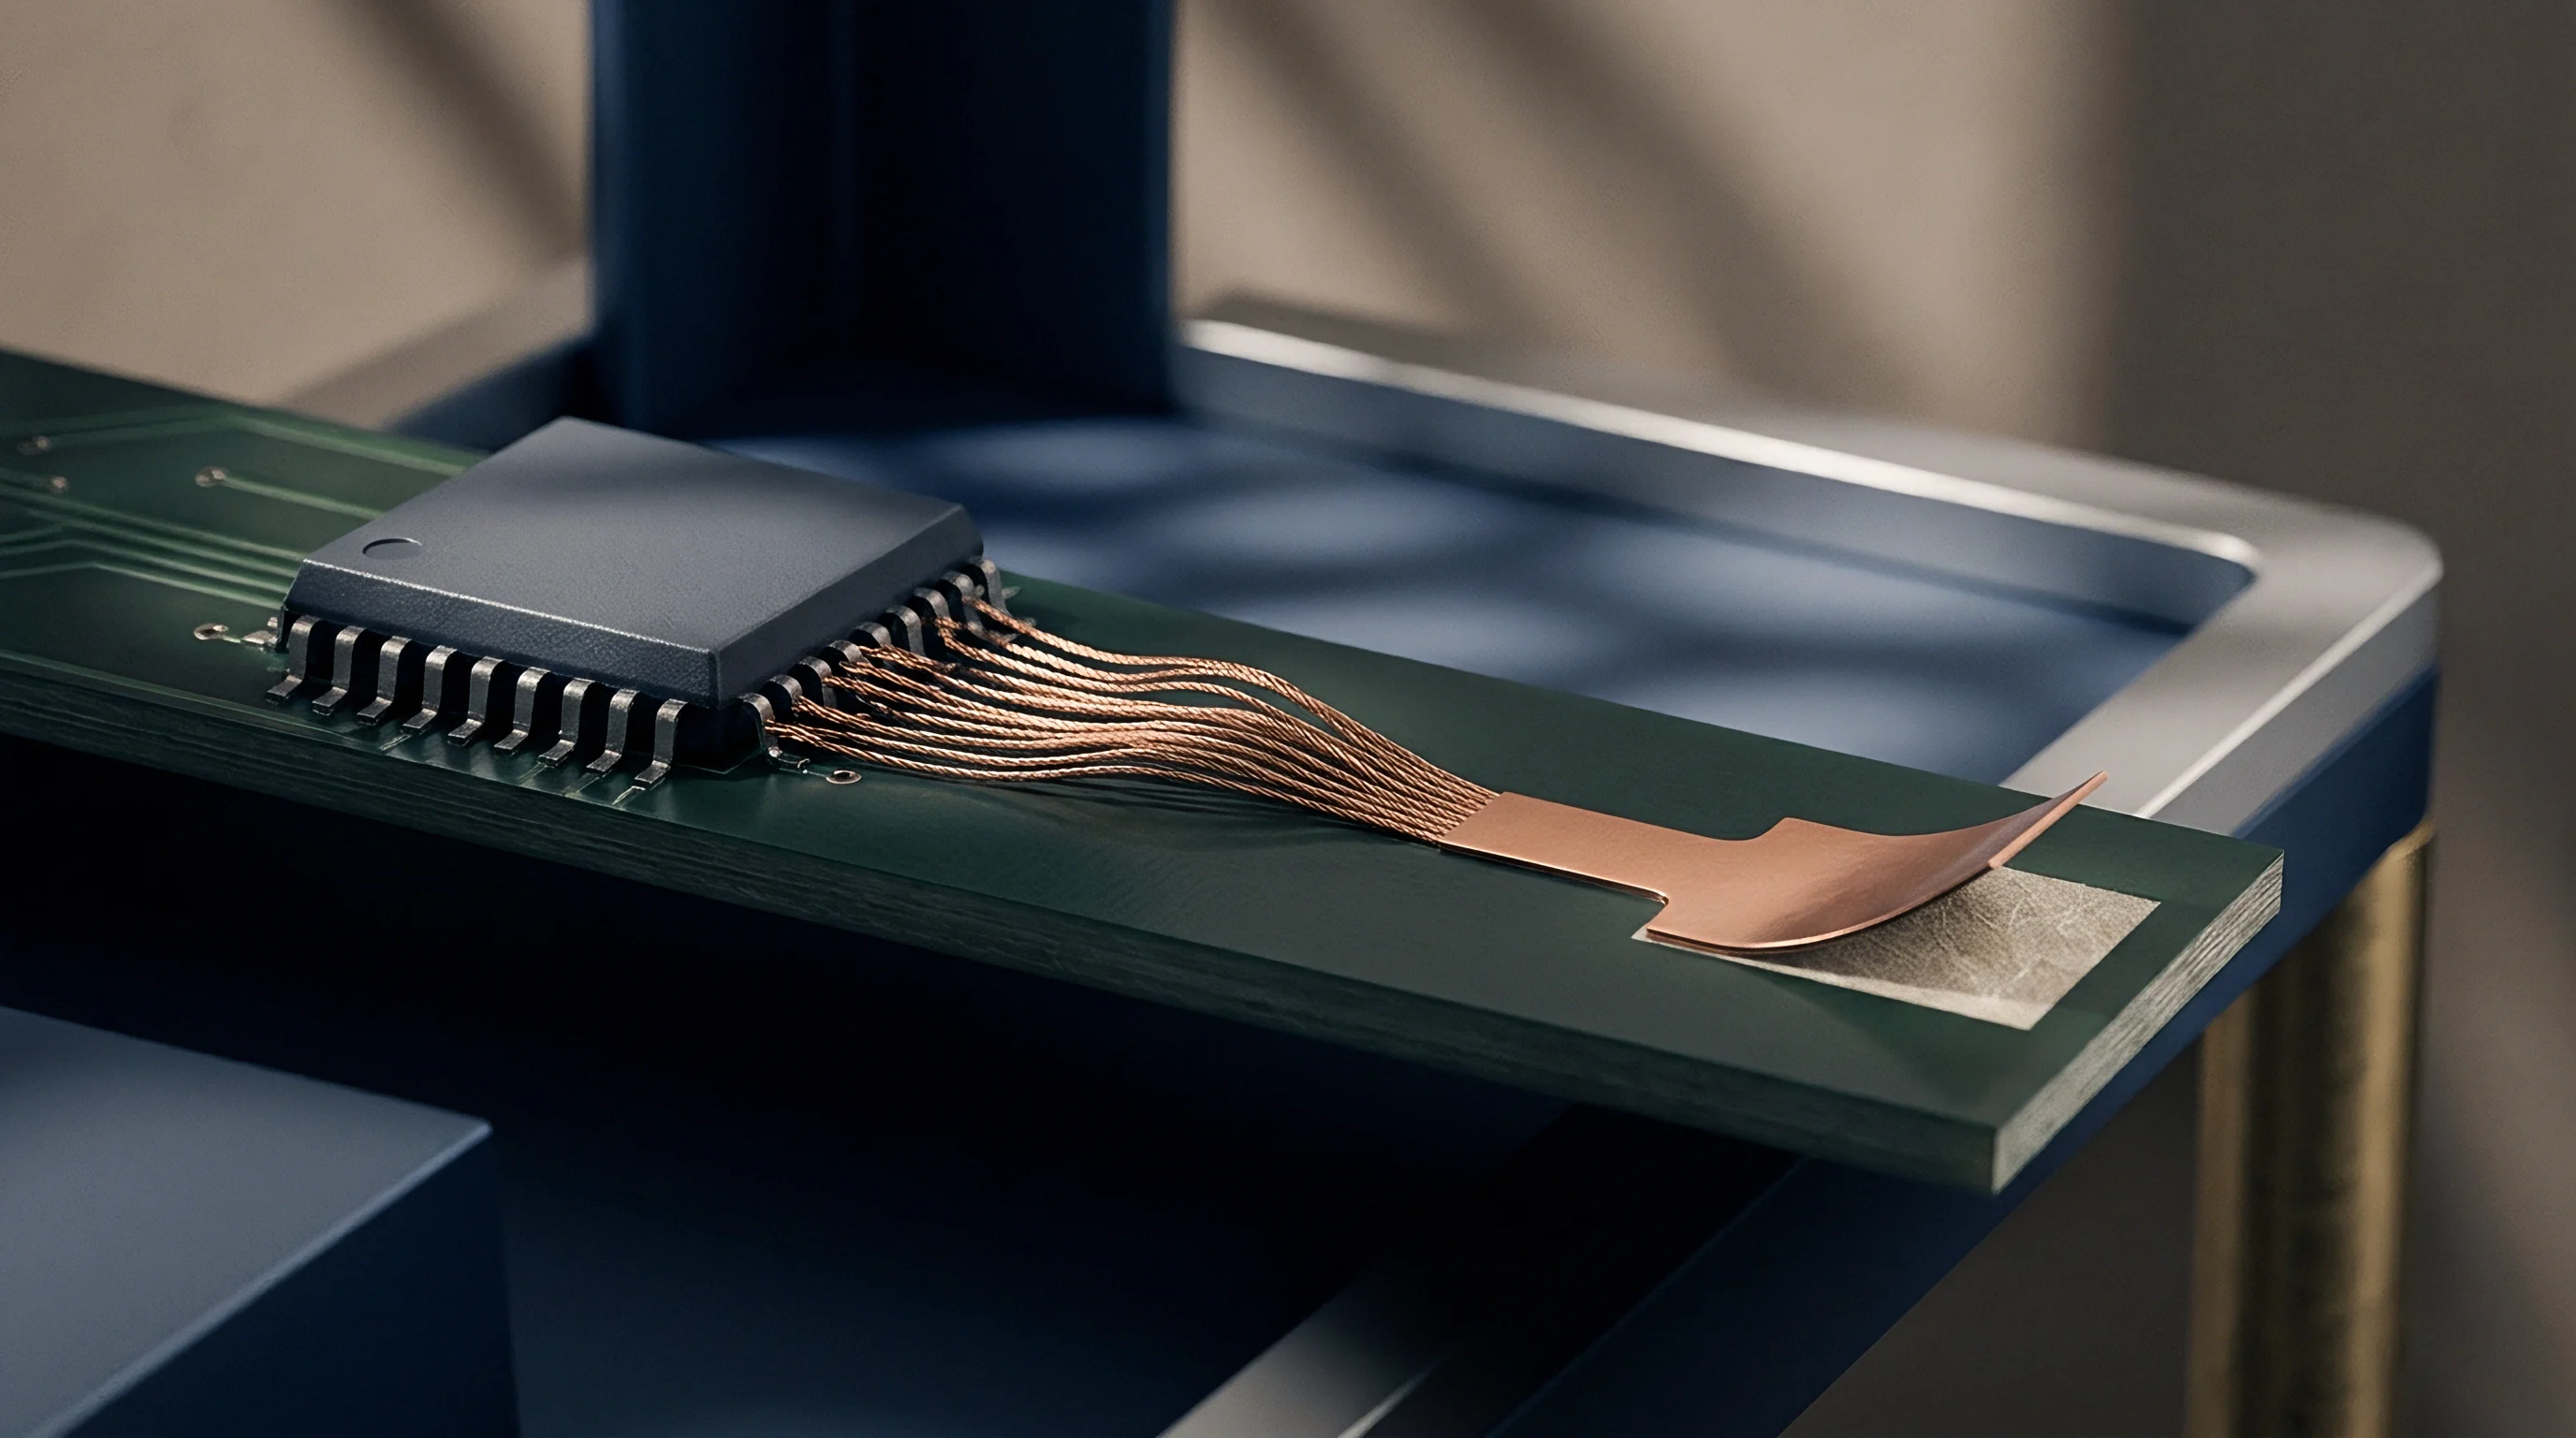
A gentler sidewall slope spreads shear forces over a larger surface area. Keeping trace slope angles between 45 degrees and 60 degrees cuts peak edge shear by up to 35 percent compared to steep 80-degree sidewalls, converting pure interfacial shear into a combination of normal compression and distributed shear along the sloped copper face.
When heavy copper features align vertically on adjacent inner layers, their stress fields overlap. Stacking 6-ounce traces directly above one another across a thin dielectric layer concentrates shear energy inside an unreinforced resin pocket, raising the risk of cohesive resin failure during reflow. Microsection shear strength drops by 18 percent when heavy copper traces on layer two and layer three are laid out with zero lateral offset instead of being staggered by at least twice the copper thickness.
Offsetting these traces separates the stress peaks and protects the dielectric.
Trace density and overall foil thickness set the baseline stress distribution that persists through a board’s operating life. How low-profile electrodeposited foils with micro-treatments handle these edge shear vectors under simultaneous vibration and thermal shock remains less clear.
Creep
Residual stress from vacuum pressing drives continuous viscoelastic deformation in cured B-stage epoxy. Because thermosetting polymers are not purely elastic, their mechanical behavior shifts with temperature, stress level, and load duration. High-performance glass-reinforced laminates stay stiff enough at room temperature to resist shear distortion, but operating temperature spikes or secondary reflow soften the matrix, accelerating time-dependent strain along heavy copper boundaries.
How effectively the dielectric transfers load across heavy copper interfaces comes down to the temperature response of its shear modulus. Below the glass transition temperature, crosslinked polymer chains stay locked and resist shear displacement. As internal heat approaches Tg, storage modulus falls by up to two orders of magnitude while loss modulus spikes, letting sustained residual stress drive irreversible shear strain along trace edges and open sub-micron voids that can trigger delamination.
Viscoelastic Relaxation in Unreinforced Resin Pockets
Resin-rich pockets between thick copper features carry no direct glass fiber reinforcement. Continuous glass filaments in style 7628 or 2116 fabrics cannot bend into narrow channels between 210-micrometer-tall conductors, leaving these spaces filled with neat resin ~ zones with low shear modulus and high thermal expansion. When cycled between minus 40 degrees Celsius and 125 degrees Celsius, this pure resin undergoes cyclic shear deformation against both the rigid glass weave and the copper walls.
Absorbed moisture depresses the glass transition temperature of epoxy and speeds up viscoelastic relaxation. Water molecules plasticize the crosslinked network, breaking hydrogen bonds and expanding free volume between polymer chains. Soaking up 0.5 percent moisture by weight drops Tg by 15 to 20 degrees Celsius ~ pulling the transition temperature down into the normal operating range of high-power industrial electronics, where sustained loads accelerate shear relaxation and fatigue cracking.
Interfacial Shear Stress during Assembly Reflow
Lead-free reflow subjects the laminate to peak temperatures around 260 degrees Celsius, pushing the dielectric far past its Tg where the z-axis expansion coefficient leaps from 45 ppm/°C to over 250 ppm/°C. Solid copper traces do not match this rapid expansion, generating severe z-axis and in-plane shear forces at interface corners as the rigid metal holds while surrounding resin expands.
| IPC-4101 Slash Sheet | Resin System Chemistry | Glass Transition Tg (°C) | Decomposition Temp Td (°C) | Z-Axis CTE Above Tg (ppm/°C) | Delamination Time T260 (Minutes) |
|---|---|---|---|---|---|
| /24 | Standard FR-4 Multifunctional Epoxy | 150 | 310 | 300 | 10 |
| /126 | High-Tg Filled Polyfunctional Epoxy | 170 | 340 | 250 | 30 |
| /130 | Non-Filled High-Tg Epoxy | 175 | 335 | 270 | 15 |
| /131 | Filled High-Tg Low-CTE Epoxy | 180 | 350 | 210 | 60 |
Inorganic fillers blended into high-performance resins suppress z-axis expansion and limit strain buildup. Silica particles added at weight fractions between 20 percent and 40 percent displace polymer volume, lowering the CTE of unreinforced resin pockets down to 35-45 ppm/°C below Tg. This restriction curtails shear movement along heavy copper sidewalls during 260 degree Celsius reflow passes.
Selecting laminate grades with high decomposition temperatures and low post-Tg expansion rates prevents early interlaminar separation. Standard FR-4 degrades quickly and undergoes heavy shear creep under repeated high-power thermal cycles in thick copper layouts. Upgrading to an inorganic-filled, high-Tg matrix extends fatigue life by restricting viscoelastic movement around trace corners.
Laminates with low post-transition expansion rates resist interfacial shear failure far better than unfilled options, regardless of their nominal glass transition temperature.
Rheology
The flow behavior of thermosetting epoxy during lamination decides whether resin fully encapsulates thick copper traces or leaves voids. As cool prepreg plies warm in the press, heat melts the solid B-stage resin into a liquid. Viscosity drops rapidly until advancing crosslinking takes over and drives it back up toward gelation.
Cavity filling must finish entirely within this short window of minimum viscosity.
The minimum viscosity must drop low enough for resin to wet and flow around tall copper traces under hydraulic pressure ~ typically 10 to 30 pascals-second for heavy copper. If the thermal ramp rate is too slow, premature crosslinking raises minimum viscosity and prevents resin from penetrating narrow gaps. Too fast a ramp rate shortens the flow window before gelation, trapping outgassed volatiles and leaving voids along trace edges.
Fluid Flow Dynamics during Thermoset Curing
Hydrostatic pressure inside the press pack pushes molten resin along paths of least resistance. Wide gaps fill easily, but tight conductor spaces demand steep pressure gradients to force the polymer melt through. As resin flows past sharp copper corners, local shear rates spike, disrupting the Newtonian flow behavior of filled resin systems and causing filler particles to cluster, which alters local viscosity and leaves micro-voids along trace sidewalls.
Thicker foil demands greater resin volume. Encapsulating a 6-ounce copper trace 210 micrometers tall requires a prepreg stack that delivers enough resin to fill conductor channels without starving the surrounding glass plies. Resin starvation occurs whenever the available resin fraction drops below the threshold needed to saturate glass yarns and submerge metal features at the same time.
Glass Fabric Styles and Hydrostatic Resin Pressure
Glass weave geometry dictates how resin redistributes under pressure. Fine glass styles like 106 and 1080 use thin, pliable yarns and carry high resin contents ~ typically 65 to 75 percent by weight. These light fabrics deform around thick copper, allowing resin to flow into deep channels, though they offer little support against lateral copper movement, raising the risk of foil distortion or layer misregistration under press force.
Coarser fabrics like 7628 deliver strong mechanical stability and high glass volume, but their tightly woven yarn bundles resist shifting around 210-micrometer trace steps. Building a heavy copper stackup solely with 7628 prepreg causes severe resin starvation and air entrapment along trace sidewalls. Placing a light, high-resin prepreg ply directly against heavy copper and backing it with a heavy glass core balances flow requirements against dimensional stability.
- Interfacial Voiding along lower conductor edges caused by insufficient resin flow before gelation occurs under fast thermal ramp rates.
- Resin Starvation in dense conductor fields resulting from low overall prepreg resin fraction relative to total copper volume.
- Glass Wash Distortion where high resin flow velocity shifts thin conductor lines laterally out of registration tolerance.
- Micro-Sieve Layering caused by tight glass filaments filtering out inorganic filler particles, creating non-uniform CTE zones in resin pockets.
If hydraulic pressure drops too low during the melt window, outgassed volatiles and trapped air leave permanent voids along trace sidewalls that break down under thermal shock.
Bond
Chemical micro-roughness treatments on electrodeposited copper surfaces create mechanical anchor sites for crosslinked epoxy chains. Smooth copper provides poor adhesion, delaminating under minimal shear stress. Older black oxide treatments created fragile dendritic needles prone to acid attack and mechanical shear failure, whereas modern organo-metallic processes micro-etch the surface to enhance mechanical keying without forming brittle oxide layers.
Micro-etching multiplies the total effective surface area of copper features by three to five times over smooth planar dimensions. Etching along copper grain boundaries creates microscopic anchor points 1.0 to 2.5 micrometers deep. During lamination, hydraulic pressure forces liquid epoxy into these micro-cavities, where crosslinking locks the polymer into the metal topography, converting macroscopic shear loads into millions of localized micro-anchor stress vectors.
Surface Topography and Chemical Anchor Mechanics
Foil profile geometry directly governs interface bond strength. Electrodeposited copper foil has a smooth drum side and a matte treated side. Standard high-profile foils carry a surface roughness Rz between 6 and 10 micrometers, delivering strong adhesion but degrading high-frequency signal integrity.
Very low profile foils keep roughness below 2 micrometers to minimize skin effect losses, but the reduced surface area cuts mechanical bond strength on heavy copper layers.
Applying low-profile copper treatments to 6-ounce current-carrying inner layers drops interlaminar shear capacity by 40 percent compared to standard high-profile treatment regimes.
Peel strength measured via IPC-TM-650 Method 2.4.8 contrasts sharply with short-beam shear strength evaluated under IPC-TM-650 Method 2.4.40. Standard peel testing applies a perpendicular 90-degree pull force to a narrow copper strip, measuring surface adhesion in N/mm. While peel testing offers a quick incoming quality check, it fails to recreate the complex multi-axial shear state along inner-layer trace corners.
Short-beam shear testing applies pure in-plane shear through the laminate, demonstrating that treatments optimized for high peel strength do not necessarily maximize resistance against high-temperature shear fracture.
Shear Force Calculation for High Current Bus Structures
High-power electronics subject heavy copper bus lines to severe thermal and electromagnetic stress. Consider a 6-ounce copper trace 10 millimeters wide carrying a continuous 80-ampere DC current, driving a localized temperature rise of 80 degrees Celsius above ambient. The trace expands both laterally and longitudinally against the constraining dielectric.
Determining the resulting interface shear stress requires analyzing the expansion strain constrained by the bonded epoxy interface.
Across an 80 degree Celsius temperature rise, the longitudinal thermal strain difference between copper and surrounding glass-epoxy reaches roughly 0.00032. With cured FR-4 epoxy exhibiting a shear modulus of 1.2 gigapascals at elevated temperature, nominal interface shear stress along flat conductor faces equals approximately 0.38 megapascals. Near trace ends and corner steps, stress concentration factors raise peak interface shear above 8 megapascals.
If improper bath chemistry or thermal degradation weakens the inner-layer surface treatment, micro-fracturing begins at trace terminations.
Why Do High Copper Weights Reduce Adhesive Shear Strength?
Thicker copper foils require longer etch times during inner-layer processing. Extended chemical etching creates pronounced undercut and alters the grain structure along trace sidewalls. At the same time, high copper mass acts as a local heat sink in the press, slowing the heating rate right next to metal features.
This localized thermal lag alters polymerization kinetics at the metal-epoxy interface, creating a zone of lower crosslink density and reduced shear strength compared to regions over thin copper planes.
Comparing a 2-ounce inner-layer trace against an 8-ounce trace under identical thermal excursions illustrates how copper weight impacts shear margins. A 2-ounce trace (70 micrometers tall) generates an edge shear concentration factor of 1.4 under a 100 degree Celsius thermal delta. An 8-ounce trace (280 micrometers tall) increases that factor to 2.8, pushing peak edge shear from 4.2 megapascals up to 11.8 megapascals.
During 260 degree Celsius reflow, this peak stress exceeds the hot-shear yield strength of standard FR-4 epoxy, driving micro-delamination along trace corners.
| Surface Treatment Process | Roughness Rz (µm) | 90-Degree Peel Strength (N/mm) | Short Beam Shear Strength (MPa) | Acid Resistance Retention (%) |
|---|---|---|---|---|
| Standard Reduced Black Oxide | 4.5 | 1.45 | 38 | 60 |
| Organo-Metallic Alternative (Micro-Etch) | 2.2 | 1.20 | 42 | 98 |
| High-Roughness Silane Coupling Agent | 6.0 | 1.60 | 45 | 85 |
| Smooth Low-Profile Micro-Etch | 1.1 | 0.75 | 24 | 95 |
Assumptions that organo-metallic bonding processes match aggressive oxide treatments in mechanical shear strength across all copper weights ignore how reduced surface roughness weakens mechanical anchoring in heavy copper applications.
Relief
Balancing copper density across all layers reduces residual interlaminar shear vectors before lamination pressure is applied. Uneven metal distribution generates uneven thermal expansion across the panel, causing severe bow, twist, and internal shear stress during cool-down. When one side of a stackup carries solid 6-ounce copper planes while the opposite side contains sparse signal traces, asymmetric thermal contraction bends the panel, a problem made worse when absorbed moisture weakens the cured matrix.
Adding copper thieving to open dielectric areas equalizes layer density across the panel. Non-functional thieving ~ such as hatching or dot arrays placed on sparse signal layers ~ establishes uniform metal coverage in every quadrant. Keeping overall copper area fractions balanced within 10 percent across all layers stabilizes press pressure during lamination, preventing localized resin squeeze-out and maintaining uniform dielectric thickness.
Sequential Lamination and Sub-Composite Mechanics
Ultra-heavy copper designs over 8 ounces benefit from sub-composite build strategies. Trying to laminate a complex 12-layer board with multiple 10-ounce inner layers in a single press cycle often results in registration errors, severe voiding, and high internal shear stress. Sequential lamination divides fabrication into two or more separate press runs, producing sub-composites that are cured, inspected, and processed prior to final assembly.
Sub-composite processing stabilizes inner-layer features before final assembly. Laminating thick inner-layer copper to core dielectrics first ensures complete resin encapsulation, allowing the fabricator to planarize the surface by grinding or brushing. These planarized sub-composites are then laminated together using standard B-stage prepreg plies, reducing shear displacement on delicate outer-layer features during the final press run.
- Encapsulate tall metal sidewalls using a dedicated high-resin sub-composite press cycle to planarize inner-layer heavy copper features.
- Brush or grind the cured resin flush with top copper faces to eliminate residual height steps.
- Apply micro-etching and chemical surface treatment to the planarized sub-composite to establish anchor sites for subsequent bonding.
- Laminate outer dielectric layers to the planarized sub-composite under controlled pressure and reduced heating ramp rates.
- Perform post-lamination thermal stress relief annealing at 150 degrees Celsius for four hours to relax frozen-in structural stresses.
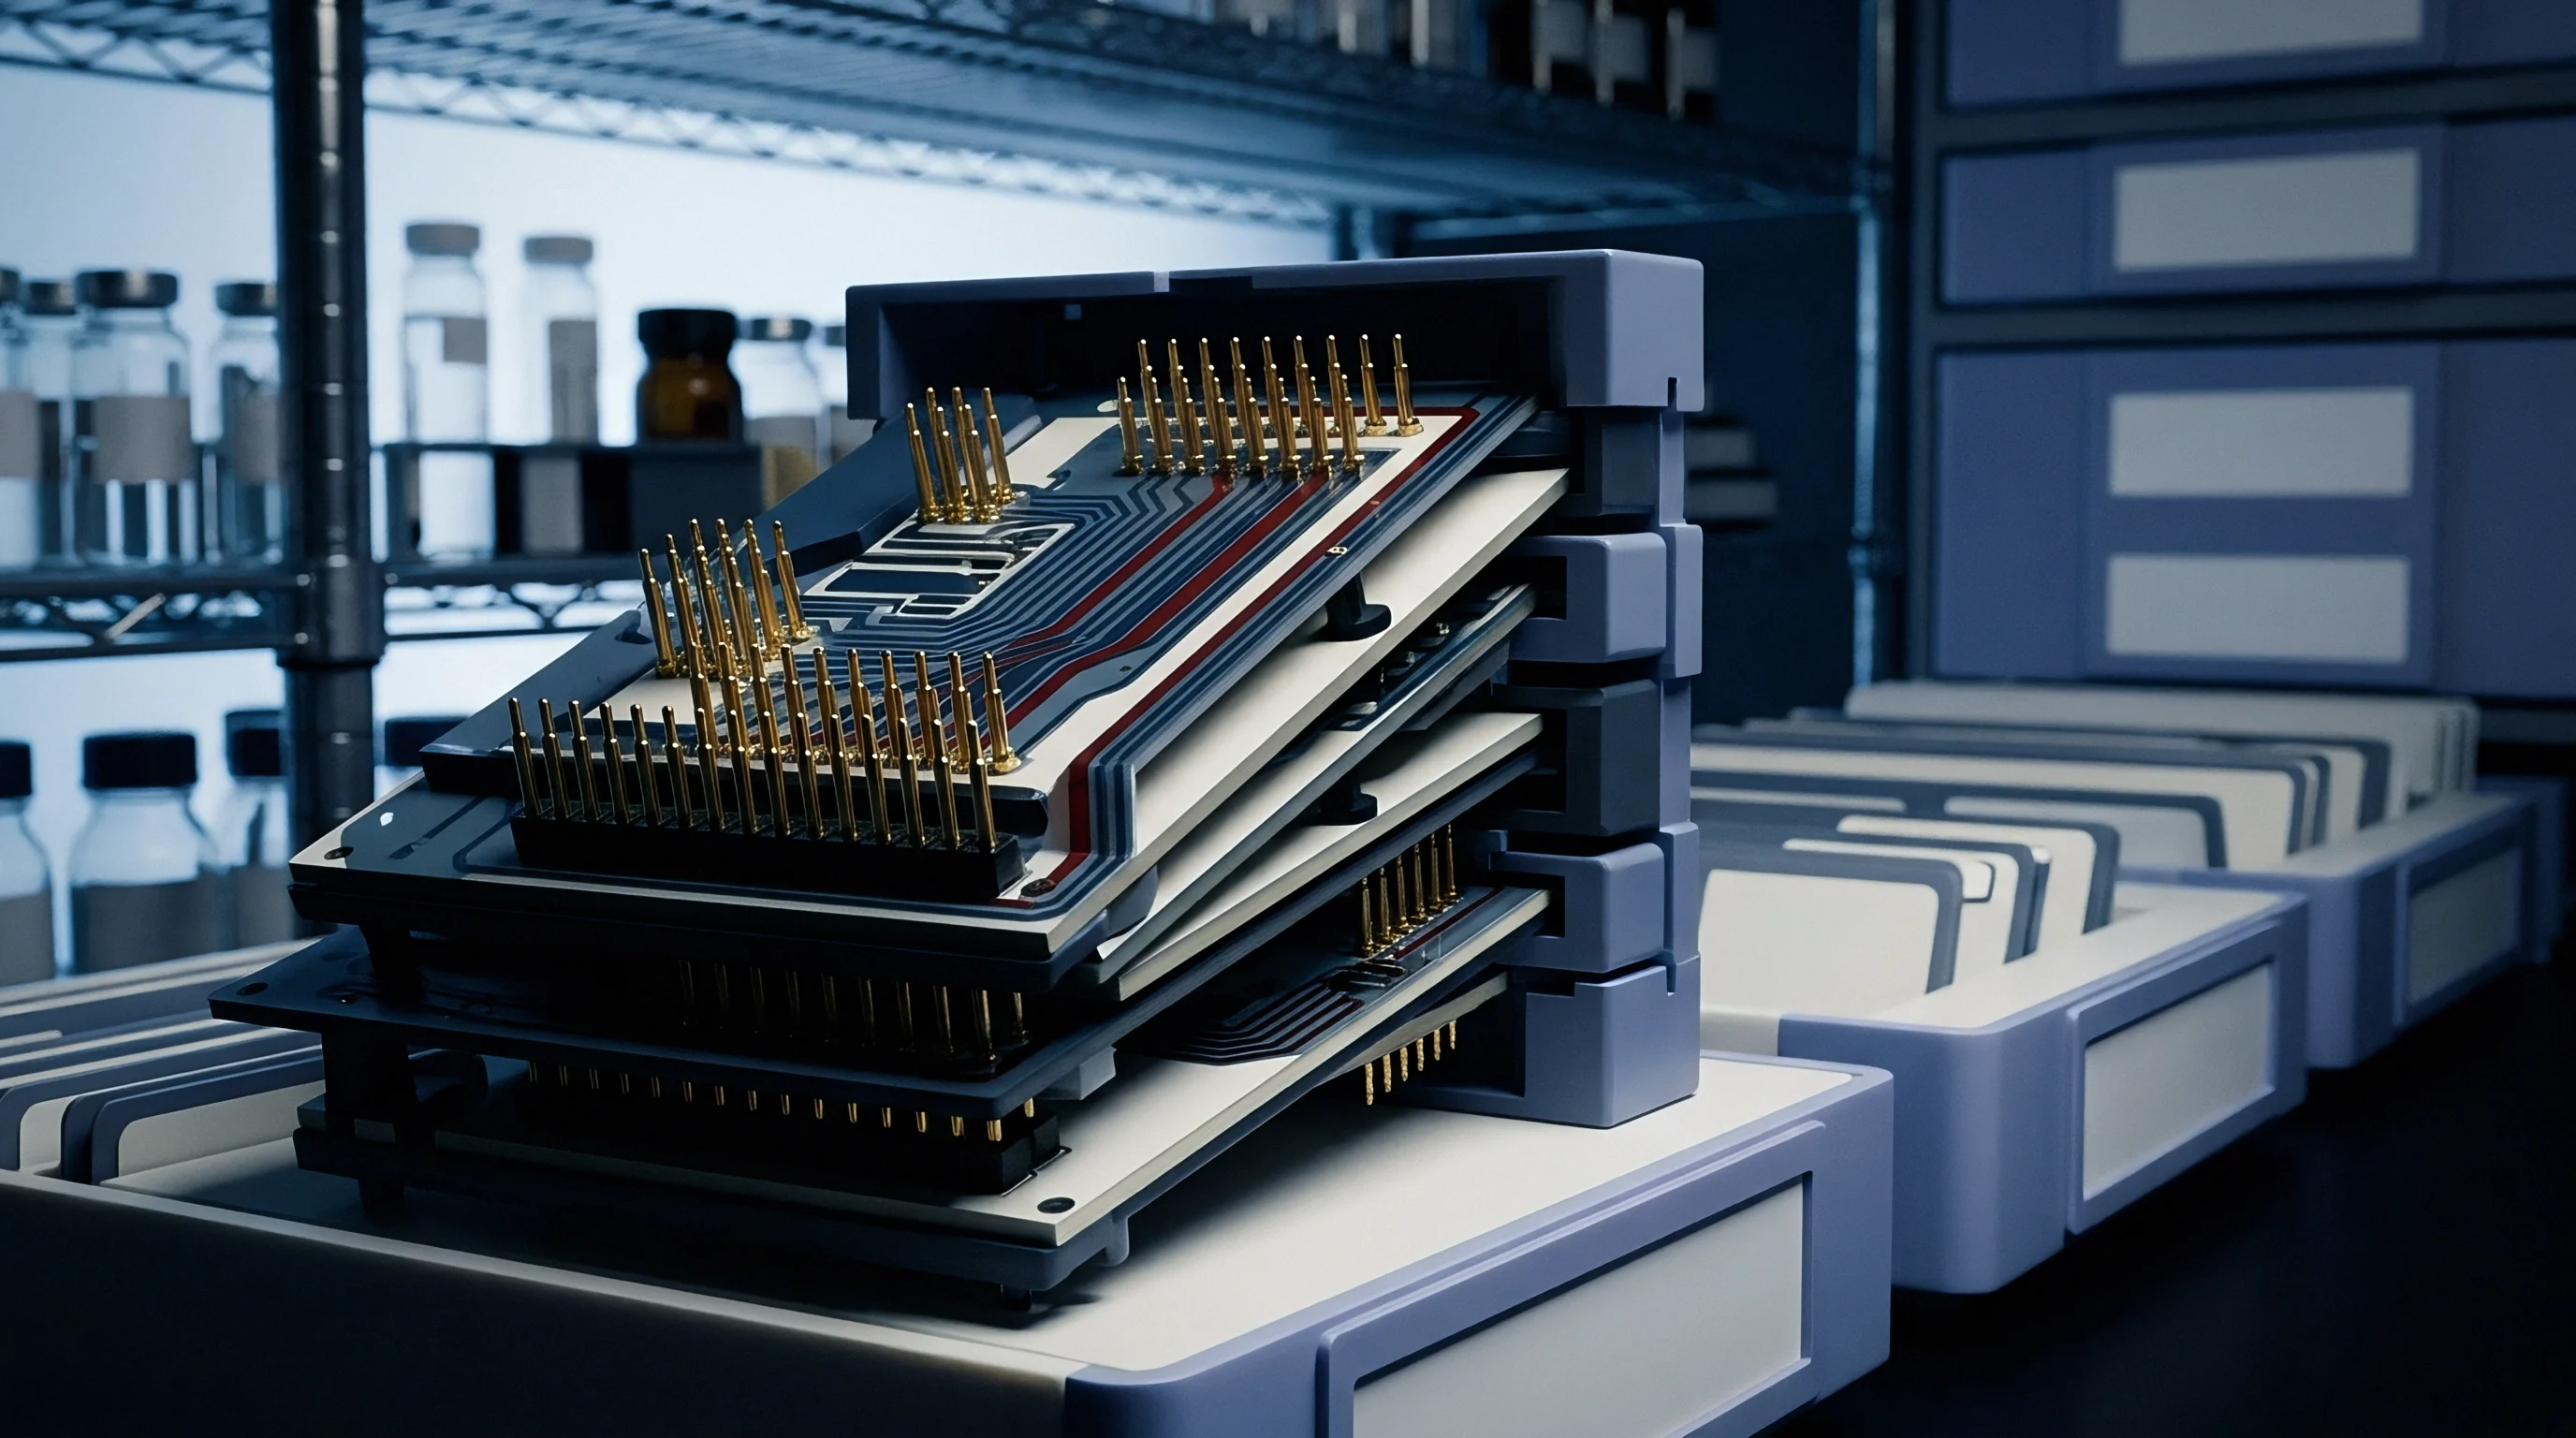
Copper Thieving Pattern Architecture
Thieving pattern geometry directly influences stress balance. Solid thieving blocks create rigid, unyielding zones that distort local resin flow during lamination. In contrast, cross-hatched patterns with 0.5-millimeter lines on 0.5-millimeter grid spacing allow resin to flow smoothly between features while maintaining uniform coverage.
Relief slots etched directly into large copper planes cut thermal expansion forces without restricting current-carrying capacity. Continuous heavy copper planes exert huge lateral expansion forces during temperature swings, straining adjacent via barrels and dielectric interfaces. Strategically placing narrow relief slots parallel to main current paths splits the continuous plane into smaller mechanical sections, reducing expansion length and cutting peak interface shear stresses by up to 30 percent.
Design drawings calling for strict compliance with IPC-2221 Class 3 balance rules require fabricators to maintain cross-sectional symmetry around the stackup’s neutral axis, keeping panel bow and twist within 0.5 percent.
Audit
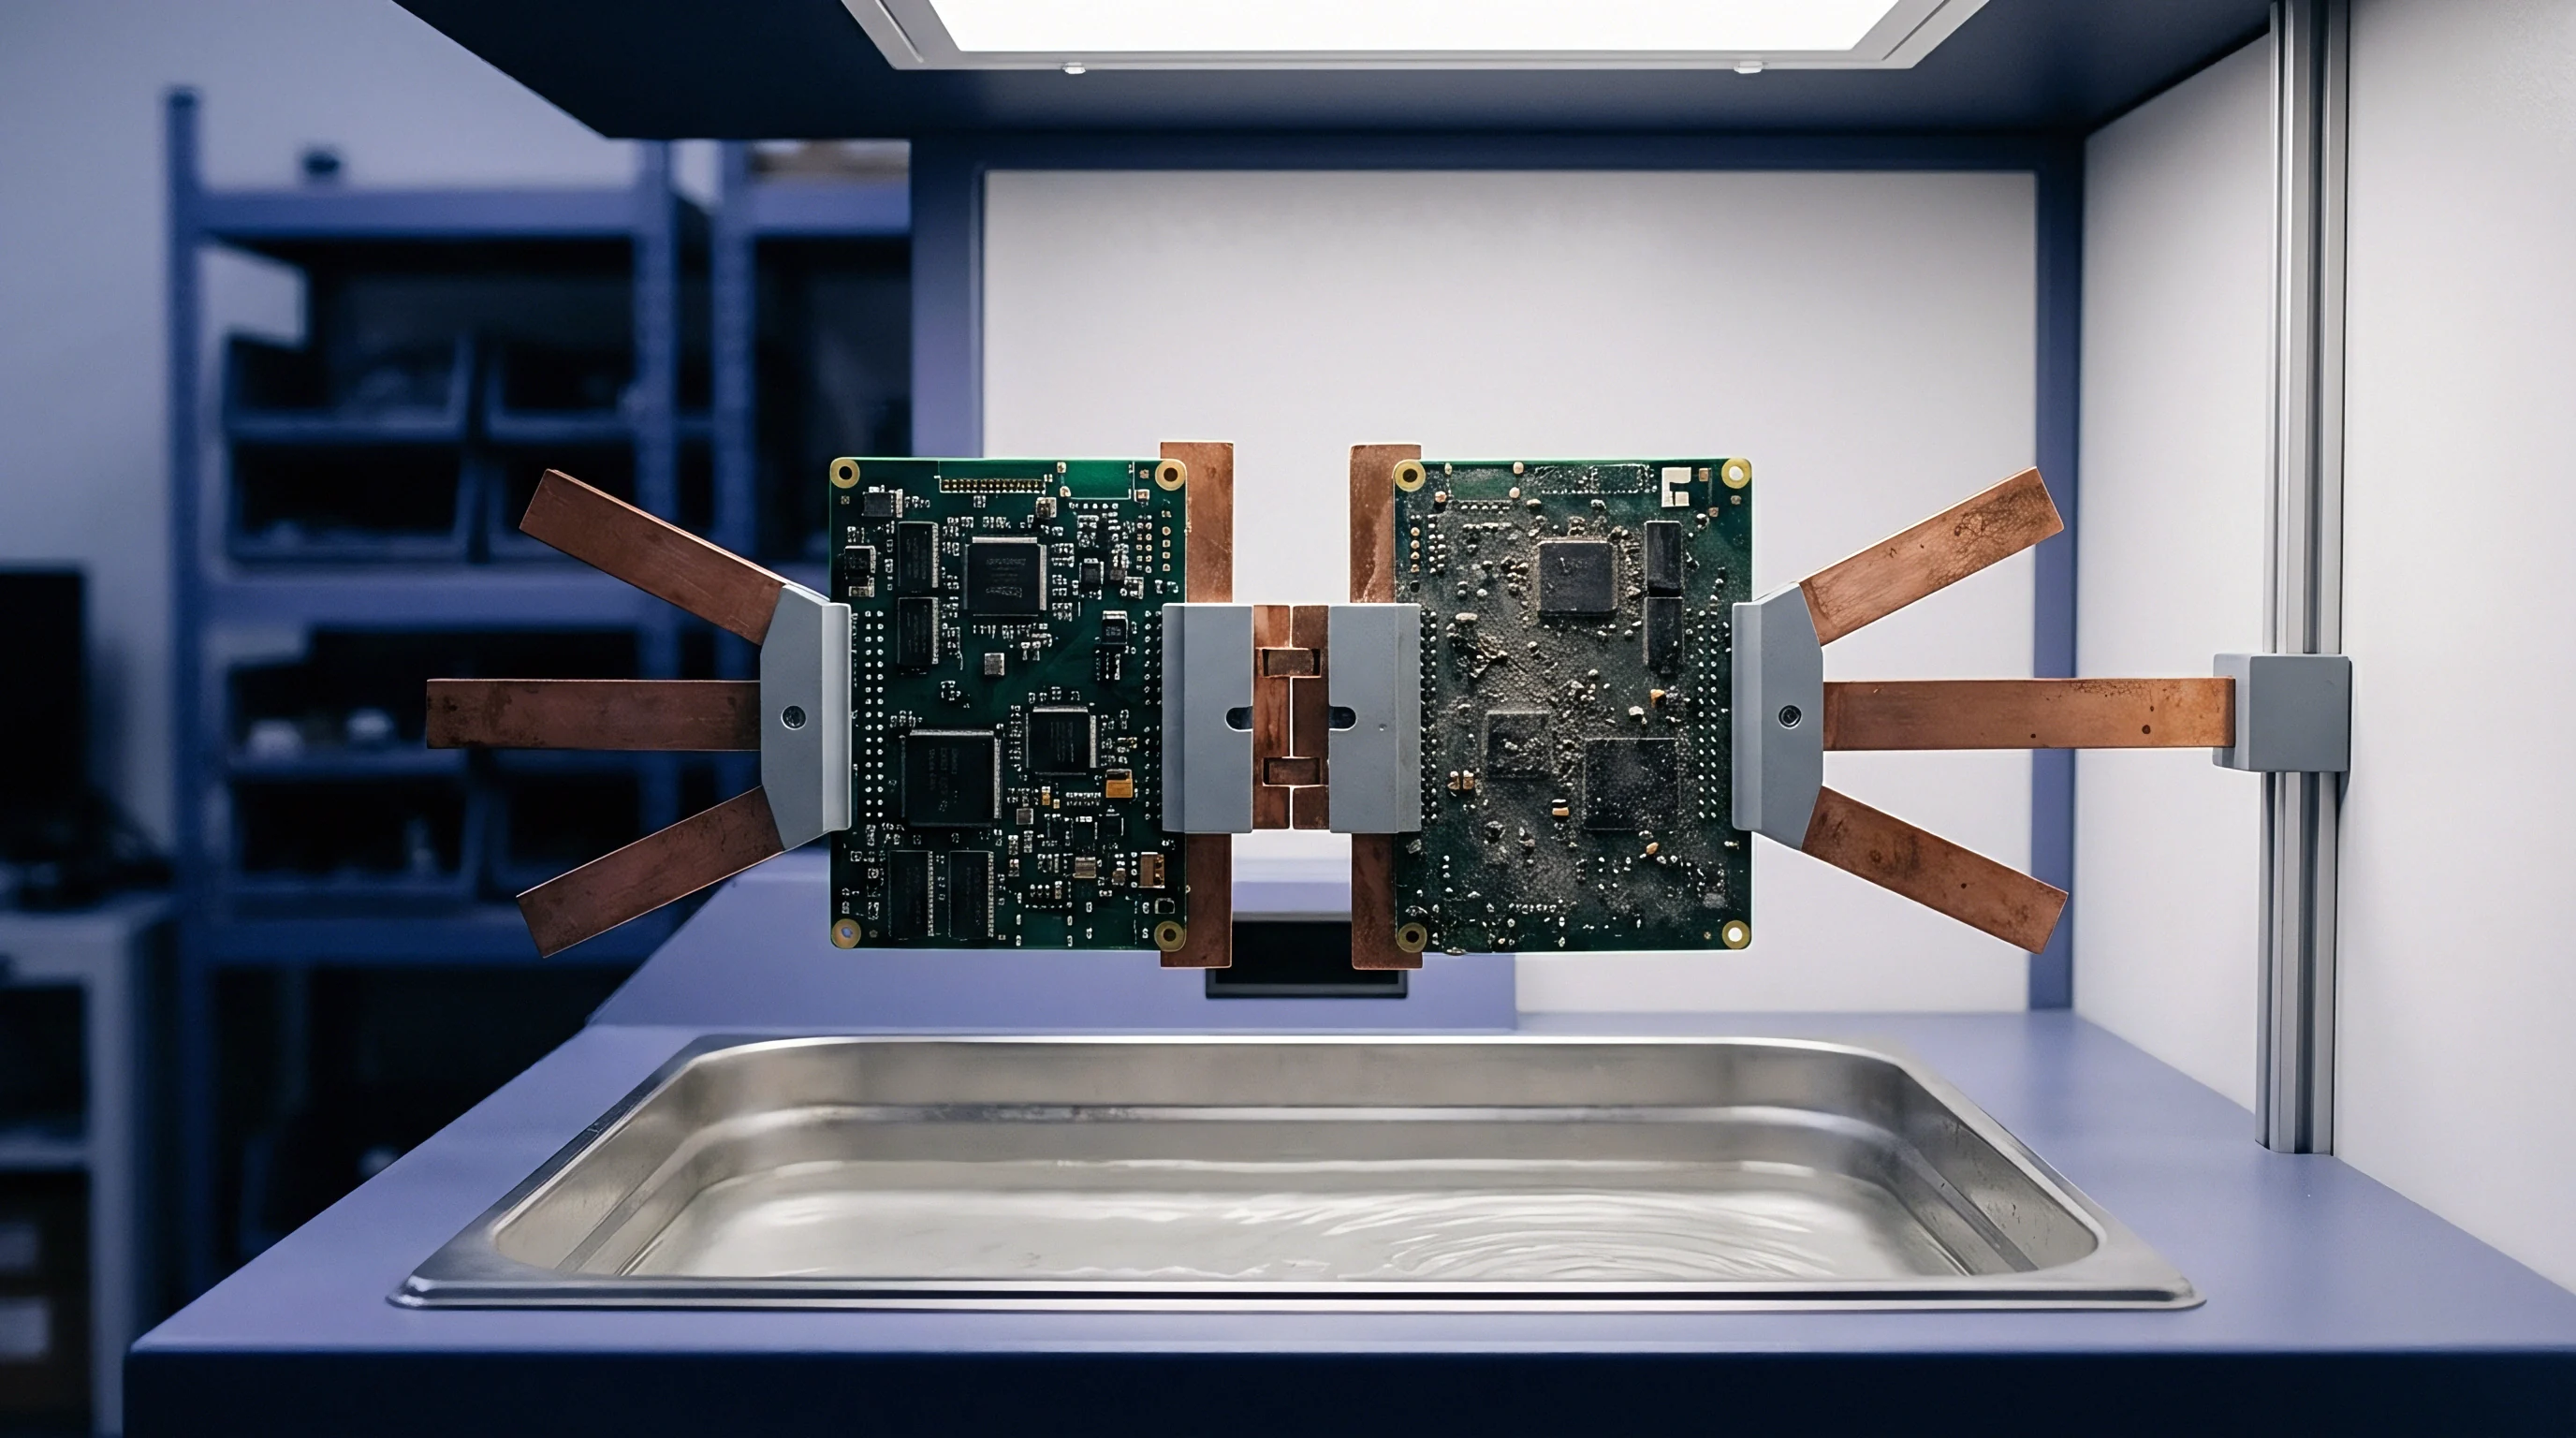
Destructive microsections examined under optical microscopy verify resin fill completeness and reveal interfacial micro-cracking at trace steps. Quality assurance for heavy copper multilayer boards cannot depend on electrical testing alone. A panel with micro-voids or heavy residual shear strain along copper sidewalls can pass initial continuity and isolation checks, only to suffer delamination or thermal fatigue once deployed in the field.
Preparing microsection samples from heavy copper laminates requires specialized metallographic polishing to prevent laboratory artifacts. Because copper is much softer than the surrounding glass-epoxy substrate, standard manual polishing smears copper across the interface, covering up resin voids and micro-cracks at trace edges. Automated polishing with diamond suspensions down to 1 micron, followed by light chemical etching, reveals clear cross-sectional geometry under 100x to 400x magnification.
Microsection Quality Verification and Acceptance Limits
IPC-6012 Class 3 evaluation criteria require complete resin fill around all inner conductors with zero voiding or delamination. On heavy copper layers over 3 ounces, Class 3 permits minor resin recession along vertical sidewalls only if the recess depth does not reduce minimum dielectric spacing by more than 20 percent. Micro-voids larger than 25 micrometers trapped in resin pockets between traces result in immediate panel rejection.
Evaluating via barrel integrity where plated holes pass through heavy copper inner layers is an essential part of microsection auditing. Severe z-axis expansion of thick copper during soldering puts heavy tensile strain on thin via walls. Class 3 standards mandate an average via plating thickness of at least 25 micrometers, with no single point dropping below 20 micrometers.
Via barrels intersecting 6-ounce copper planes must display complete metallurgical bonding without barrel cracks or corner crack initiation at the interface.
| Copper Thickness Option | Standard Panel Size (Inches) | Prepreg Fill Strategy | Lamination Press Cycle Count | Yield Percentage Range (%) | Relative Panel Cost Factor |
|---|---|---|---|---|---|
| 3 oz Inner Layers (105 µm) | 18 x 24 | Single High-Resin 1080 + 2116 | 1 (Standard) | 92 – 96 | 1.0x |
| 6 oz Inner Layers (210 µm) | 18 x 24 | Dual High-Resin 106 + 7628 Core | 1 (Controlled Ramp) | 84 – 90 | 1.8x |
| 8 oz Inner Layers (280 µm) | 12 x 18 | Multi-Ply High-Resin 106 Stack | 2 (Sequential) | 75 – 82 | 3.2x |
| 12 oz Inner Layers (420 µm) | 12 x 18 | Planarized Sub-Composite System | 2 (Sequential + Planar) | 65 – 74 | 5.5x |
Yield Economics and Panel Area Utilization
Manufacturing heavy copper multilayer boards carries significant panel area penalties and yield losses. As copper thickness grows, fabricators must widen the borders around working panel arrays. Standard 18 by 24 inch panels running 1-ounce copper require 1-inch borders for tooling pins and thief rings.
Running 8-ounce copper forces border clearances out to 2.0 or 2.5 inches to manage heavy resin squeeze-out and avoid edge starvation, reducing usable board area by 20 to 30 percent.
Sequential lamination cycles directly push up finished board unit costs. Adding a second press run doubles thermal exposure time, consumes extra prepreg, and requires labor-intensive surface grinding. A 4-layer board with 8-ounce inner layers built through sequential lamination costs more than three times as much per panel as an equivalent 4-layer board produced with standard 2-ounce copper in a single press cycle.
Scrap rates rise quickly once copper weight exceeds 6 ounces due to internal registration shift and localized voiding. High-volume buyers mitigate financial risk by requiring strict coupon sampling under IPC-6012, forcing fabricators to submit microsection coupons from all four panel corners alongside delivered bare boards.