Standard Microsection Inspection Procedures for Class Two and Class Three Annular Rings
Class 3 microsections require zero inner layer breakout and 0.050 mm minimum ring width, whereas Class 2 permits 90-degree breakout if conductor spacing holds.

Geometry
Evaluating internal and external lands on bare printed wiring boards depends on establishing an accurate cross-sectional reference plane relative to the drilled hole axis. IPC-6012 sets distinct structural thresholds for Class 2 commercial electronics versus Class 3 high-reliability equipment. Target land diameter, specified hole diameter, and laminate registration tolerances determine whether an annular ring retains sufficient structural width after drilling and plating.
On a microsection specimen, inspectors measure from the outer edge of the etched copper land to the drilled hole wall at the point of minimum remaining copper.
Lamination shifts move inner-layer copper features away from the primary drilling axis, while etchant undercut and foil variations alter land dimensions before drilling begins. Consequently, the cross-sectional cut plane must align within tight angular limits; otherwise the inspection yields a skewed, apparent ring rather than the true minimum. If a microsection misses the centerline of the drilled barrel, the land looks wider than it actually is, masking potential breakout.

Defining the Microsection Plane across Internal and External Layers
Analyzing multi-layer interconnects in cross-section requires cutting through the exact center of target holes on test coupons. IPC-2221 defines standard coupons, such as Coupon E and Coupon Z, placed on panel margins to track lamination shifts and etch variances across a production run. External annular rings include both the base copper foil and the electrodeposited copper plating, whereas internal rings consist only of the original inner-layer foil remaining after pattern etching.
If mounting resin lacks sufficient hardness, polishing can distort the copper through a pinch effect. External lands carry surface finishes like electroless nickel immersion gold or immersion tin; these add almost nothing to structural strength, but must be distinguished from base copper under the microscope. The junction where barrel plating connects to internal foil is a major stress point.
Internal rings are measured from the drilled hole wall edge to the outer tip of the copper land pad. If etch-back or solvent cleaning cleared out resin behind the barrel wall, the measurement is taken from the projected cylinder of the drilled hole wall rather than from the void left by etching.
IPC-6012 permits ninety degrees of breakout on Class Two inner layers provided min lateral conductor spacing remains intact.
Secondary electroplating on external layers adds conductor height and alters the edge profile of the outer land. Surface copper thickness also changes how etching behaves relative to inner layers. Heavy foil ~ such as two-ounce or three-ounce copper ~ creates sloped sidewalls on land pads, complicating the identification of the exact outer edge.
Inspectors take the narrowest part of the conductor land as the primary reference point for compliance.
| Feature Category | Class 2 Requirement | Class 3 Requirement | Measurement Reference Standard |
|---|---|---|---|
| Internal Annular Ring | 90-degree breakout permitted; 0.000 mm minimum ring when breakout occurs | 0.050 mm minimum continuous land required | IPC-6012 Section 3.6.2.1 |
| External Annular Ring | 90-degree breakout permitted; 0.000 mm minimum ring at pad edge | 0.050 mm minimum continuous land required | IPC-6012 Section 3.6.2.2 |
| Unsupported Holes | 0.050 mm minimum continuous ring surrounding hole | 0.075 mm minimum continuous ring surrounding hole | IPC-2221 Section 9.1.2 |
| Microvia Target Land | 0.025 mm minimum land around microvia wall | 0.038 mm minimum land around microvia wall | IPC-6012 Section 3.6.2.5 |
Mathematical Distortion of Annular Rings in Off-Center Cut Planes
Grinding past or stopping short of the exact centerline distorts cross-sectional geometry. Slicing a cylinder off-center shrinks its apparent inner diameter, while the visible width of the annular ring expands the further the cut deviates from true center. Determining the true annular ring width requires geometric correction factors based on the observed chord length of the drilled hole.
Let R represent the actual radius of the drilled hole, and let d represent the perpendicular offset distance from the true centerline to the polished plane. The observed hole radius in cross-section equals the square root of R squared minus d squared. When an inspector measures an annular ring on a section cut with a noticeable offset d, the apparent width land-prime relates back to true width through radial projection formulas.
Once offset d exceeds fifteen percent of radius R, apparent measurements overestimate true copper land width by over eight percent ~ easily masking breakout on the far side of the pad.
Precision grinding requires monitoring the exposed hole width during polishing. When the sample reveals the maximum internal diameter of the plated barrel, the plane sits on true center. Automated grinding mounts use mechanical stops set to halt polishing within twelve micrometers of the theoretical drill center.
Inspecting both sides of the barrel confirms whether the cut plane hits the axis; asymmetrical barrel wall measurements usually point to either registration bias or off-center grinding.
Misinterpreting an off-center microsection plane can easily lead to passing a bad panel or scrapping a good lot. Fabrication drawings specifying Class 3 standards require strict true-center sectioning to avoid approving marginal land geometries. If breakout occurs on one side of a land pad, the opposite side shows maximum clearance; missing the true center masks that breakout, letting boards prone to micro-voiding and conductive anodic filament growth slip through to final assembly.

Preparation
Microsection accuracy depends entirely on how coupons are extracted and polished. Removing test coupons from panel margins requires mechanical routing or a diamond saw cut to avoid micro-cracks in the copper plating and epoxy laminate. Punching or shearing introduces heavy mechanical shock that delaminates inner layers and distorts copper rings before encapsulation.
Technicians secure coupons in clips so target holes remain perpendicular to the polishing wheel.
Mounting resins require shrinkage properties that match the thermal expansion of FR-4 and copper. Cold-curing acrylics offer quick encapsulation without heating the specimen, avoiding thermal stress or artificial delamination. Epoxies provide better edge retention and shrink less, keeping the boundaries between copper foil and mounting resin sharp during coarse grinding.
Vacuum impregnation pulls trapped air out of small holes, ensuring complete fill inside microvias and high-aspect-ratio barrels.

Mounting Resin Selection and Specimen Encapsulation Protocols
Selecting an encapsulation medium comes down to cure time and required hardness. Room-temperature acrylics cure in fifteen minutes, fitting rapid turnarounds on the production line. However, acrylics shrink more than slow-curing epoxies, occasionally leaving microscopic gaps along the copper-resin interface.
Epoxy systems taking eight to twelve hours to cure provide far better support to delicate microvias and thin inner-layer foils.
Adding fillers such as glass micro-spheres or ceramic powder hardens the resin to match the wear rate of silica-filled laminates during hand polishing. Matching wear rates across resin, laminate, and copper prevents relief polishing, where softer media wears down faster than copper foil and creates out-of-focus edges under the microscope. Alignment clips keep the coupon oriented in its mold so target holes stay parallel to the grinding force.
Grinding Sequence and Diamond Micro-Polishing Procedures
Coarse grinding reduces the mount to the outer edge of target barrels using silicon carbide paper. Water lubricates the wheel, washing away debris and cooling the sample to prevent epoxy substrates from softening under friction. Preparation progresses from 240-grit down to 600-grit, removing deep scratches left by initial coupon sectioning.
- Extract the coupon from the panel edge with a diamond saw at a low feed rate to avoid shocking internal copper features.
- Encapsulate the coupon in high-density acrylic mounting resin inside a vacuum chamber to purge air from internal cavities.
- Grind the mount on 320-grit silicon carbide paper under continuous water flow until the outer copper boundary of the target holes appears.
- Move through 600-grit, 800-grit, and 1200-grit wheels, turning the specimen ninety degrees between steps to eliminate scratch patterns.
- Polish on napped cloth wheels loaded with three-micrometer and one-micrometer diamond suspensions until surface scratches vanish at fifty-times magnification.
Clean sectioning is vital to prevent copper smear. Transitioning from coarse silicon carbide paper to fine diamond pastes strips away the cold-worked layer on soft copper foil. High-purity alumina slurries on velvet cloths produce a mirror finish free of micro-scratches.
Over-polishing should be avoided, as it rounds edges and blurs the junction between internal land foil and the epoxy-glass substrate.
Micro-etching with ammonium hydroxide and hydrogen peroxide solution for three seconds at twenty degrees Celsius reveals grain boundaries without undercut.
Micro-Etching Agents and Microstructural Phase Reveal
Polishing leaves a thin, smeared layer of copper across the surface that hides grain structures, plating interfaces, and true boundaries. Chemical micro-etching dissolves this smear to reveal underlying electrodeposited grain boundaries, foil interfaces, and defects. Standard etchants combine ammonium hydroxide and hydrogen peroxide in water, applied by swabbing or brief immersion.
Etch duration dictates how clearly inner-layer interfaces appear. Swabbing or dipping for two to three seconds clears surface smear without undercutting beneath inner-layer lands. Over-etching dissolves fine copper features, artificially shrinking measured ring widths and producing false void signatures along hole walls.
Rinsing with isopropyl alcohol halts the reaction immediately prior to drying the surface under nitrogen.
Minor copper smear during preparation can obscure inner-layer land contact, giving the appearance of non-conformance until re-polishing exposes the underlying Class 3 geometry.

Optics
Measuring microsections accurately requires a calibrated microscope configured for brightfield illumination with a crosshair measurement reticle. Metallurgical microscopes use vertical illuminators that direct light down through the objective lens onto the sample surface, reflecting back into the optics. Magnifications between one hundred times and four hundred times provide the optimal balance between field of view and resolution when evaluating annular rings and plating thickness.
Is Reticle Calibration Required Prior to Dimensional Inspection?
Dimensional inspection begins by calibrating optical scales against a certified stage micrometer featuring laser-etched markings verified against national standards. Inspectors align eyepiece reticles or digital measurement grids with micrometer lines at each magnification setting to derive exact micrometer-per-pixel scale factors.
| Objective Magnification | Total Optical Magnification | Field of View Diameter | Reticle Scale Resolution | Expanded Measurement Uncertainty |
|---|---|---|---|---|
| 10x Objective | 100x | 2.20 mm | 0.005 mm | +-0.0025 mm |
| 20x Objective | 200x | 1.10 mm | 0.002 mm | +-0.0012 mm |
| 50x Objective | 500x | 0.44 mm | 0.001 mm | +-0.0006 mm |
Digital camera systems introduce additional scale factors based on sensor resolution and display size. Calibrating software tools directly through the optical path eliminates distortion from camera tilt or digital interpolation. Recalibration is necessary whenever objectives, camera mounts, or optical adapters are adjusted or replaced.
Correcting Radial Measurement Error from Off-Center Microsections
When a cut plane misses the exact centerline of a plated hole, measuring straight across with a reticle produces misleading values. The hole appears narrower than nominal drill size, making the measured land on one side look artificially wide while concealing breakout on the opposite side. Determining true centerline position depends on measuring the exposed chord length of the barrel.
Layer offset is evaluated by calculating true center distance from observed hole geometry. Let D represent actual drilled hole diameter and C represent the measured chord length of the barrel in the image. The offset distance d equals the square root of D squared minus C squared, divided by two.
If offset d exceeds ten micrometers, radial correction equations are applied to calculate true remaining land width land-true from observed width land-obs.
Grinding past the true center line artificially inflates the measured plating thickness while falsely reducing the apparent annular ring width.
Laminate expansion shifts hole positions. Precision optical software uses three-point circle fitting algorithms to reconstruct the true barrel center automatically. Measuring ring width along radial vectors from that calculated center out to the pad edge restores accuracy, preventing misclassification of marginal coupons.
Whether automated image analysis can completely replace manual crosshair alignment on microsections with heavy etching artifacts remains a subject of discussion among quality teams.
Calibration
Measurement traceability underpins both non-destructive and destructive testing in PCB fabrication. IPC-TM-650 Method 2.1.1 outlines standard procedures for microsection preparation and dimensional metrology. Calibration schedules mandate regular checks of optical stages, video capture cards, and reference scales against certified calibration blocks.
Documenting this history ensures test results withstand third-party audits and compliance reviews.
Thermal stress testing precedes microsectioning for Class 2 and Class 3 qualification. IPC-TM-650 Method 2.6.8 requires subjecting pre-conditioned coupons to a solder float at 288 degrees Celsius for ten seconds. This shock simulates wave soldering and reflow, driving thermal expansion along the laminate’s z-axis.
Microsections cut after thermal shock expose internal defects ~ such as resin recession, inner-layer separation, and barrel micro-cracking ~ that compromise ring performance in the field.
Verification of Magnification Scale Using Traceable Stage Micrometers
Stage micrometers used to verify optical systems carry serial numbers traceable to national standards institutes. Technicians place the micrometer on the stage and align reticle divisions directly against master lines. Any discrepancy between master scale dimensions and reticle readouts calls for optical adjustment or software recalibration.
Temperature fluctuations in quality control labs shift optical stage dimensions and affect camera sensor response. Environmental controls keep inspection rooms at twenty-one degrees Celsius plus or minus two degrees, and recording these conditions in measurement logs verifies test validity during lot audits.

Evaluating Thermal Shock Effects on Ring Geometry and Plating Integrity
Z-axis expansion during thermal stress places heavy tensile loads on plated through-hole barrels. Glass-epoxy laminates expand much faster through their thickness than copper plating does, concentrating strain right at internal land junctions. High thermal expansion in low-Tg materials accelerates copper fatigue, leading to pad lifting or foil tearing at internal rings.
- Resin Recession Behind Land occurs when severe thermal stress causes dielectric laminate to pull away from the copper barrel wall, leaving voids behind the annular rings.
- Barrel Wall Micro-Cracking starts in thin plating zones inside the hole, propagating outward under thermal strain and breaking electrical continuity at internal land junctions.
- Interconnect Target Failure happens when internal foil pads separate from electrodeposited barrel copper because of drill smear or insufficient micro-etching during hole wall preparation.
- Foil Separation at Inner Layer Land appears as detachment of internal pads from surrounding prepreg resin, creating gaps that encourage conductive anodic filament growth across tight inner-layer traces.
IPC-TM-650 Method two point one point one specifies calibration against a glass scale traceable to national standards at least once per calendar year.
Resin recession often appears after thermal shock. Inspecting microsections post-test reveals whether internal annular rings remained anchored within the dielectric matrix. Class 3 standards forbid internal foil cracking or copper separation past strict depth limits, preserving interconnect stability across military and aerospace operating temperatures.
Inspectors rely on guidance in established IPC standards to resolve discrepancies between optical reticle readings and digital software measurements.
Acceptance
Annular ring acceptance criteria vary by performance class, directly affecting yield and board cost. IPC-6012 defines requirements for rigid printed boards, designating Class 2 for Dedicated Service Electronic Products and Class 3 for High Reliability Electronic Products. The core difference comes down to breakout tolerance: Class 2 permits partial drill breakout on internal layers up to ninety degrees as long as minimum conductor spacing is maintained, whereas Class 3 forbids breakout on any layer, requiring a continuous annular ring around the entire hole.

Class Two Microsection Acceptance Limits and Conductor Breakout Allowances
Class 2 specifications accommodate expected manufacturing variation in drill wander and lamination registration. A ninety-degree breakout limit allows the hole to extend past the land pad boundary over up to a quarter of its circumference. If breakout occurs, inspectors check remaining conductor clearance to adjacent traces to confirm insulation spacing meets drawing rules.
Etchant undercut narrows the land. Etched features on Class 2 inner layers must maintain minimum land geometry where the trace joins the pad. This pad-to-trace entry point is a primary failure location if drill breakout cuts into the conductor path, so Class 2 rules mandate sufficient land material or teardrop extensions at trace junctions to preserve cross-sectional area.

Class Three Zero Breakout Mandate and Minimum Conductor Land Widths
Class 3 demands complete encapsulation of the drilled hole within the inner-layer pad. The minimum remaining internal ring for Class 3 boards is 0.050 mm after drilling and plating, measured from the hole wall to the nearest outer edge of the copper pad. Any point where the drill bit touches or crosses the pad boundary results in immediate lot rejection.
Class 3 leaves no margin for breakout. External layers require a minimum continuous annular ring of 0.050 mm, with base foil plus electrodeposited copper forming an unbroken ring around the hole rim. Microsection verification evaluates every internal land layer in the coupon stack to verify registration from top to bottom.
| Visual / Dimensional Feature | Class 2 Acceptance Limit | Class 3 Acceptance Limit | Evaluation Method |
|---|---|---|---|
| Internal Ring Breakout | Max 90 degrees breakout allowed; conductor spacing maintained | Zero breakout permitted; 0.050 mm continuous ring required | IPC-TM-650 Method 2.1.1 Optical Microsection |
| External Ring Breakout | Max 90 degrees breakout allowed; min conductor width maintained | Zero breakout permitted; 0.050 mm continuous ring required | IPC-TM-650 Method 2.1.1 Optical Microsection |
| Conductor Junction Land | 90 degrees breakout allowed if tear-drop extends pad entry | No breakout at junction; minimum 0.050 mm land required | Cross-sectional reticle measurement at 200x |
| Etch-Back Depth | 0.003 mm to 0.013 mm allowed when specified on drawing | 0.003 mm to 0.013 mm allowed; clean three-surface bond | Vertical scale optical reticle measurement |
| Note: All measurements apply after thermal stress testing per IPC-TM-650 Method 2.6.8. Etch-back requirements apply only when explicitly stated on fabrication drawings. | |||

Evaluating Inner Layer Etch-Back and Hole Wall Clearance
Etch-back processing uses chemical solutions or plasma to strip resin and glass fibers from hole walls prior to electroless copper plating. Controlled etch-back creates a three-surface mechanical interlock between the top, end-grain, and bottom of the internal land and the newly plated barrel copper. IPC-6012 sets acceptable etch-back depth between 0.003 mm and 0.013 mm for high-reliability designs.
Over-etching produces negative etch-back, where inner-layer copper recedes into the resin matrix, leaving narrow cavities that plating solutions struggle to penetrate. This leads to plating voids and weak joints at internal rings. Inspectors measure etch-back depth with vertical reticle scales aligned along the hole wall, confirming uniform resin removal without protruding glass fibers or copper undercut.
- Verify Center Line Accuracy by checking that opposing barrel wall plating thicknesses match within fifteen percent before logging ring dimensions.
- Measure Narrowest Annular Ring at the narrowest point of remaining copper land on each internal layer, taking the shortest distance from drilled wall to pad edge.
- Inspect Conductor Junction Integrity to confirm that pad-to-trace entry points retain full conductor width without drill breakout or etchant undercut.
- Check Dielectric Clearance Distance between exposed internal land copper and adjacent un-connected copper planes to verify insulation gaps meet drawing tolerances.
Standard fabrication contracts incorporating IPC-6012 Clause 3.6.2 override default Class 2 breakout allowances whenever Class 3 high-reliability annexes are invoked in purchase order documentation.
Margin
Achieving compliant annular rings on multi-layer PCBs comes down to managing tolerance stackups across film generation, inner-layer etching, lamination press cycles, and primary drilling. Calculations combine variation vectors using root-sum-square models or worst-case linear addition, requiring designers to balance board density against actual fabricator capabilities.
Stackup Tolerance Budgets and Layer Registration Drift
Lamination exposes inner-layer cores to heat and pressure, driving resin flow and dimensional shift in thin laminate substrates. While FR-4 shrinks predictably along the warp and weave of the glass during cure, batch-to-batch variations still introduce dimensional drift. Artwork scaling factors offset thermal shrinkage, but residual registration error always remains.
Consider an eight-layer stackup built on 0.100 mm inner-layer cores with 0.5-ounce copper foil. Film placement holds within plus or minus 0.012 mm, while lateral etch undercut adds plus or minus 0.010 mm. Lamination shift across a 457 mm by 610 mm panel adds another plus or minus 0.035 mm of error on outer panel features, and CNC drill wander contributes plus or minus 0.025 mm of radial displacement.
Combining these variation vectors with a root-sum-square model gives total positional uncertainty. Calculating total registration tolerance sigma-total yields the square root of 0.012 squared plus 0.010 squared plus 0.035 squared plus 0.025 squared, which works out to 0.046 mm. To guarantee a Class 3 minimum internal ring of 0.050 mm around a 0.300 mm drilled hole, minimum land pad diameter D-pad is calculated using worst-case parameters: D-pad equals drilled hole diameter plus twice the minimum annular ring plus twice total positional uncertainty.
Evaluating the terms gives 0.300 mm plus two times 0.050 mm plus two times 0.046 mm, totaling a minimum land pad diameter of 0.492 mm.
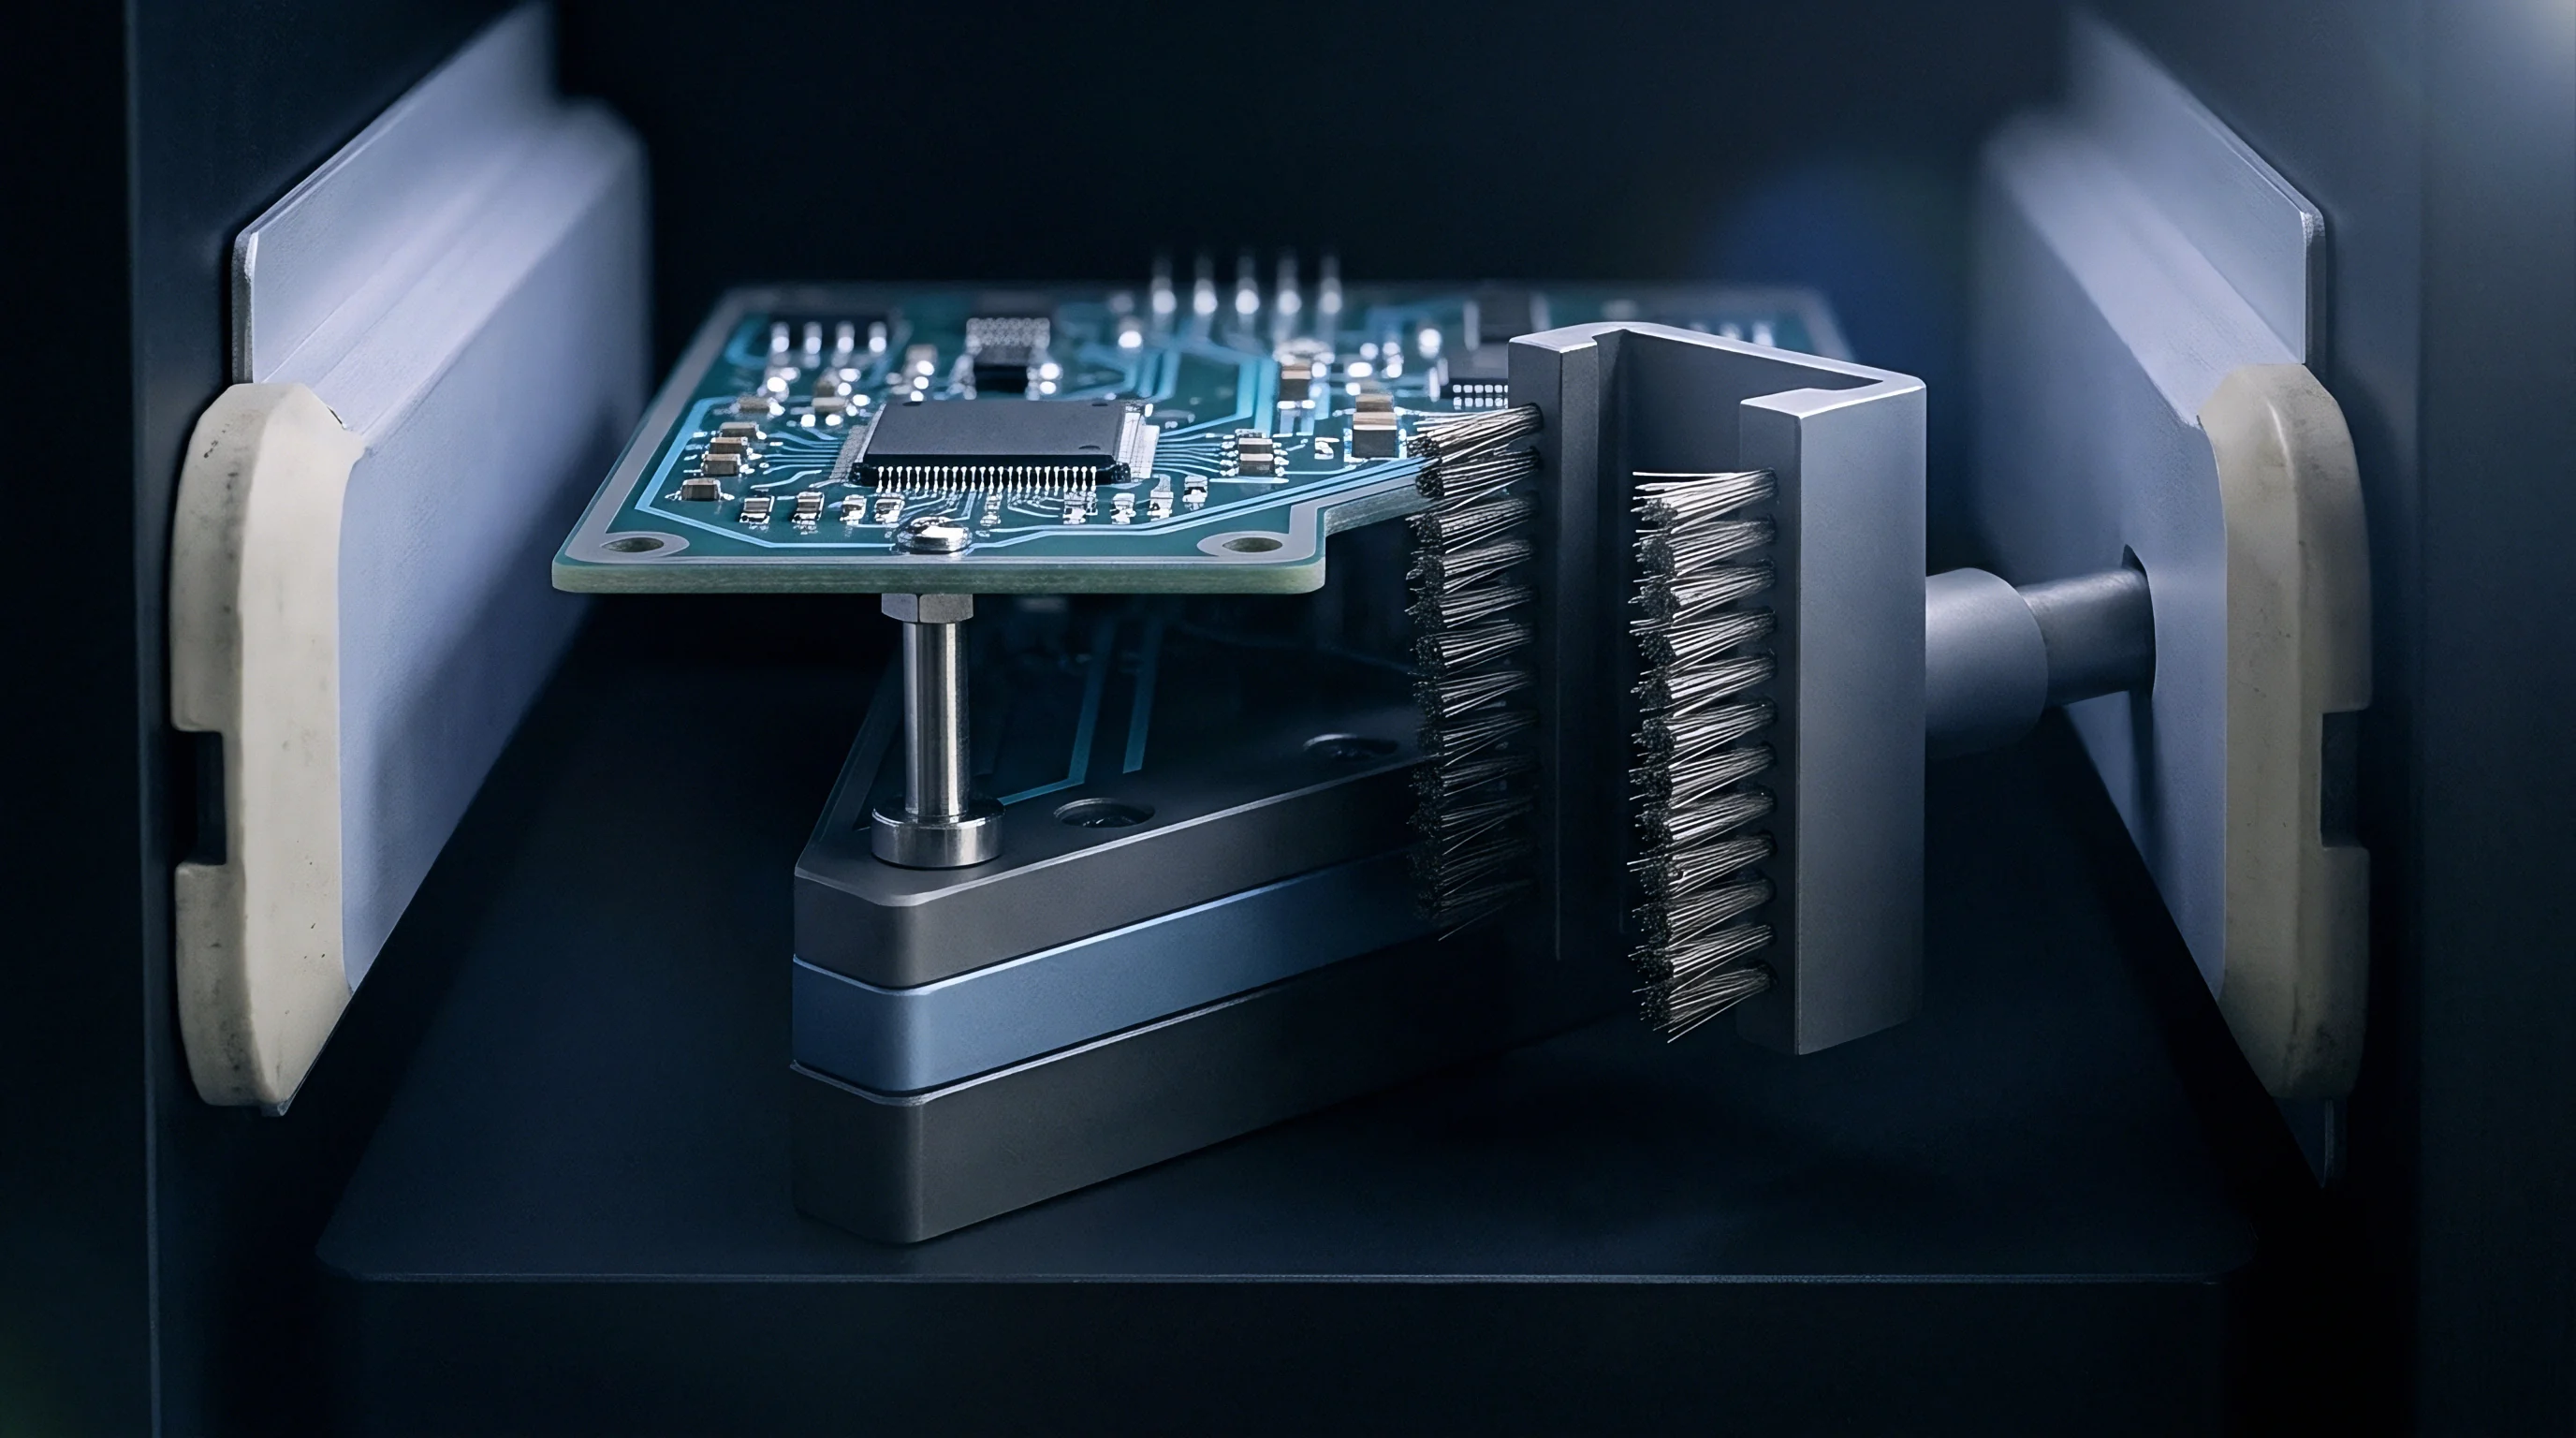
Drill Wander and Panel Image Distortion Dynamics
Drill bit deflection increases non-linearly as aspect ratio grows. High aspect ratios ~ board thickness divided by drill diameter ~ increase bending forces when the bit hits copper cladding. Worn bits or poor entry material aggravate drill wander, pushing entry and exit locations away from nominal grid coordinates.
Tooling pins wear over time. Panel distortion happens when lamination pressure squeezes resin unevenly between dense trace areas and open laminate. Dynamic registration systems use X-ray cameras to locate internal targets after lamination, adjusting drill coordinates for each panel individually.
This offset compensation mitigates lamination shift, letting fabricators hit Class 3 compliance on smaller land pads.
Calculating total tolerance stackups verifies whether a fabricator’s published capabilities can actually deliver Class 3 yields. A shop quoting 0.400 mm land pads for 0.200 mm drills on a twelve-layer board leaves a tolerance budget of just 0.050 mm. Subtracting the 0.050 mm required for Class 3 leaves zero allowance for lamination shift or drill wander, driving panel yields down to unusable levels.
Managing tolerance budgets through lamination dictates final panel yield ~ setting unit prices and panel utilization before laminates ever enter the production line.
Dossier
Thorough microsection documentation forms the foundation of lot acceptance packages for Class 2 and Class 3 PCB shipments. Quality assurance teams archive mounts, high-resolution images, and measurement reports for lifecycle traceability. Non-conforming microsections trigger immediate corrective action reports, requiring fabricators to isolate suspect lots and audit process parameters.
Microsection Audit Documentation and Certificate of Conformance Requirements
Inspection dossiers accompanying board shipments include microsection evaluation records tied directly to coupon serial numbers. Certificates of Conformance state compliance with the specified IPC class, detailing measured values for inner-layer rings, outer-layer lands, plating thickness, and etch-back depth. Digital images in test reports show crosshair reticles calibrated against stage micrometers.
Archiving physical microsection specimens allows re-inspection during field failure analysis or contract disputes. Acrylic mounts remain stable for decades in climate-controlled storage away from UV light. Quality protocols mandate keeping physical mounts for minimum retention periods set by aerospace, medical, or automotive contracts.
Commercial Impact of Class Three Yield Penalties on Board Unit Cost
Specifying IPC Class 3 annular rings increases bare board prices due to lower panel yield and tighter process controls. Panel utilization drops when fabricators expand land pads and widen drill-to-copper clearances to guarantee zero breakout. Larger pads take up routing space on inner layers, often forcing designers to add signal layers to achieve required density.
Yield drops immediately. Moving a design from Class 2 to Class 3 without enlarging land pads forces fabricators to absorb losses from normal drill wander and lamination shift. They pass those losses along by marking up panel prices, applying yield multipliers of fifteen to forty percent over standard Class 2 rates.
Buyers specifying Class 3 inspection criteria on drawings while leaving land pads sized for Class 2 trigger immediate engineering queries. Fabricators ask for permission to add teardrop extensions, drop drill sizes, or relax breakout rules on non-functional inner layers. Resolving drawing contradictions before releasing production tooling avoids delivery delays and receiving-inspection rejections.
Minor internal ring breakout on non-functional lands generally does not impair electrical performance, though accepting such features on Class 3 panels requires a formal commercial concession.