In-Circuit Test Fixture Push Pin Deflection Calibration and Strain Gauge Verification Procedure
In-circuit test fixture calibration requires force balancing push pins and verifying triaxial strain gauge rosettes below IPC-9704 microstrain limits.
Flexure
High-density in-circuit test fixtures routinely apply thousands of Newtons of total downward actuation force across populated circuit assemblies. As spring-loaded probes compress against test pads, their localized reaction forces set up mechanical shear and bending moments throughout the board. Boards with uneven test point distributions take these loads asymmetrically during closure.
Solder joints directly above or beside unsupported spans pull into severe tension, while ceramic chip capacitors positioned near fixture push pins encounter localized strain gradients steep enough to crack dielectric layers immediately or leave latent micro-fractures behind.
Fixture engagement depends on balanced force between the upper press assembly and the lower probe bed. Vacuum fixtures draw atmospheric pressure over the entire board area, whereas top-plate mechanical fixtures transmit force solely through discrete hold-down rods. Mechanical press fixtures concentrate load exclusively at the contact points of individual hold-down rods.
An uncalibrated push pin layout yields localized deflection zones where the printed circuit board bends past its elastic recovery limit while individual probes achieve electrical contact. Test coverage reporting frequently misinterprets successful electrical contact as mechanical compliance, obscuring the physical damage inflicted upon component terminations.
Push Rod Biasing and Vacuum Actuation Mechanics
Pneumatic and mechanical press fixtures rely on discrete hold-down pins to counteract the upward thrust of spring probes. Each spring probe exerts an upward reaction force ranging from 0.7 Newtons for fine-pitch 50-mil probes up to 2.5 Newtons for standard 100-mil probes. Across a fixture with 1,500 active test nodes, that sums to an aggregate upward thrust of approximately 2,250 to 3,750 Newtons.
Hold-down rods transmit top-plate mechanical forces directly to clear areas of the printed circuit board substrate, bridging the gap between active probing zones.
Vacuum fixtures pull atmospheric pressure across the board assembly, creating a uniform pressure field across open areas. Probe fields beneath the board, however, are rarely uniform. High probe concentrations under dense ball grid array footprints generate localized upward thrust that atmospheric pull cannot counter on its own, lifting the substrate away from the fixture bed.
The differential force between probe thrust and vacuum suction forces the board into S-bend or bowl deformations. Correcting these localized force imbalances requires rigid hold-down pins strategically aligned opposite high-density probe clusters.
| Actuation Method | Actuation Rate (mm/s) | Max Local Deflection (µm) | Peak Strain Gradient (µε/mm) | Crack Risk for 1206 MLCC |
|---|---|---|---|---|
| Atmospheric Vacuum Bed | 12.5 | 180 | 320 | Moderate |
| Mechanical Top Press Plate | 4.0 | 420 | 890 | Severe |
| Pneumatic Direct Push Ram | 25.0 | 650 | 1450 | Critical |
| Dual-Stage Combination Press | 2.0 | 110 | 210 | Low |
Mechanical Load Distribution across Unsupported Substrate Spans
Substrate thickness directly determines the structural stiffness of a printed circuit board under fixture loading. Mechanical stiffness scales cubically with board thickness according to classical plate bending theory. A 1.0 mm thick FR-4 substrate exhibits roughly one-fourth the flexural rigidity of a 1.6 mm assembly under identical push pin displacement.
Placing heavy components, high-pin-count connectors, or dense probe fields on thin substrates creates high vulnerability to localized structural deformation.
Push pins placed too far from heavy probe concentrations allow the substrate to span unsupported gaps like a beam under point loading. Maximum deflection occurs midway between support points or push rod contact zones. Deflection magnitudes as small as 200 micrometers across a 50 mm span produce sufficient curvature to tear copper land pads away from resin matrix materials.
Aligning push pins within 10 mm of high-density test point clusters minimizes unsupported beam lengths and stabilizes the board during full stroke engagement.
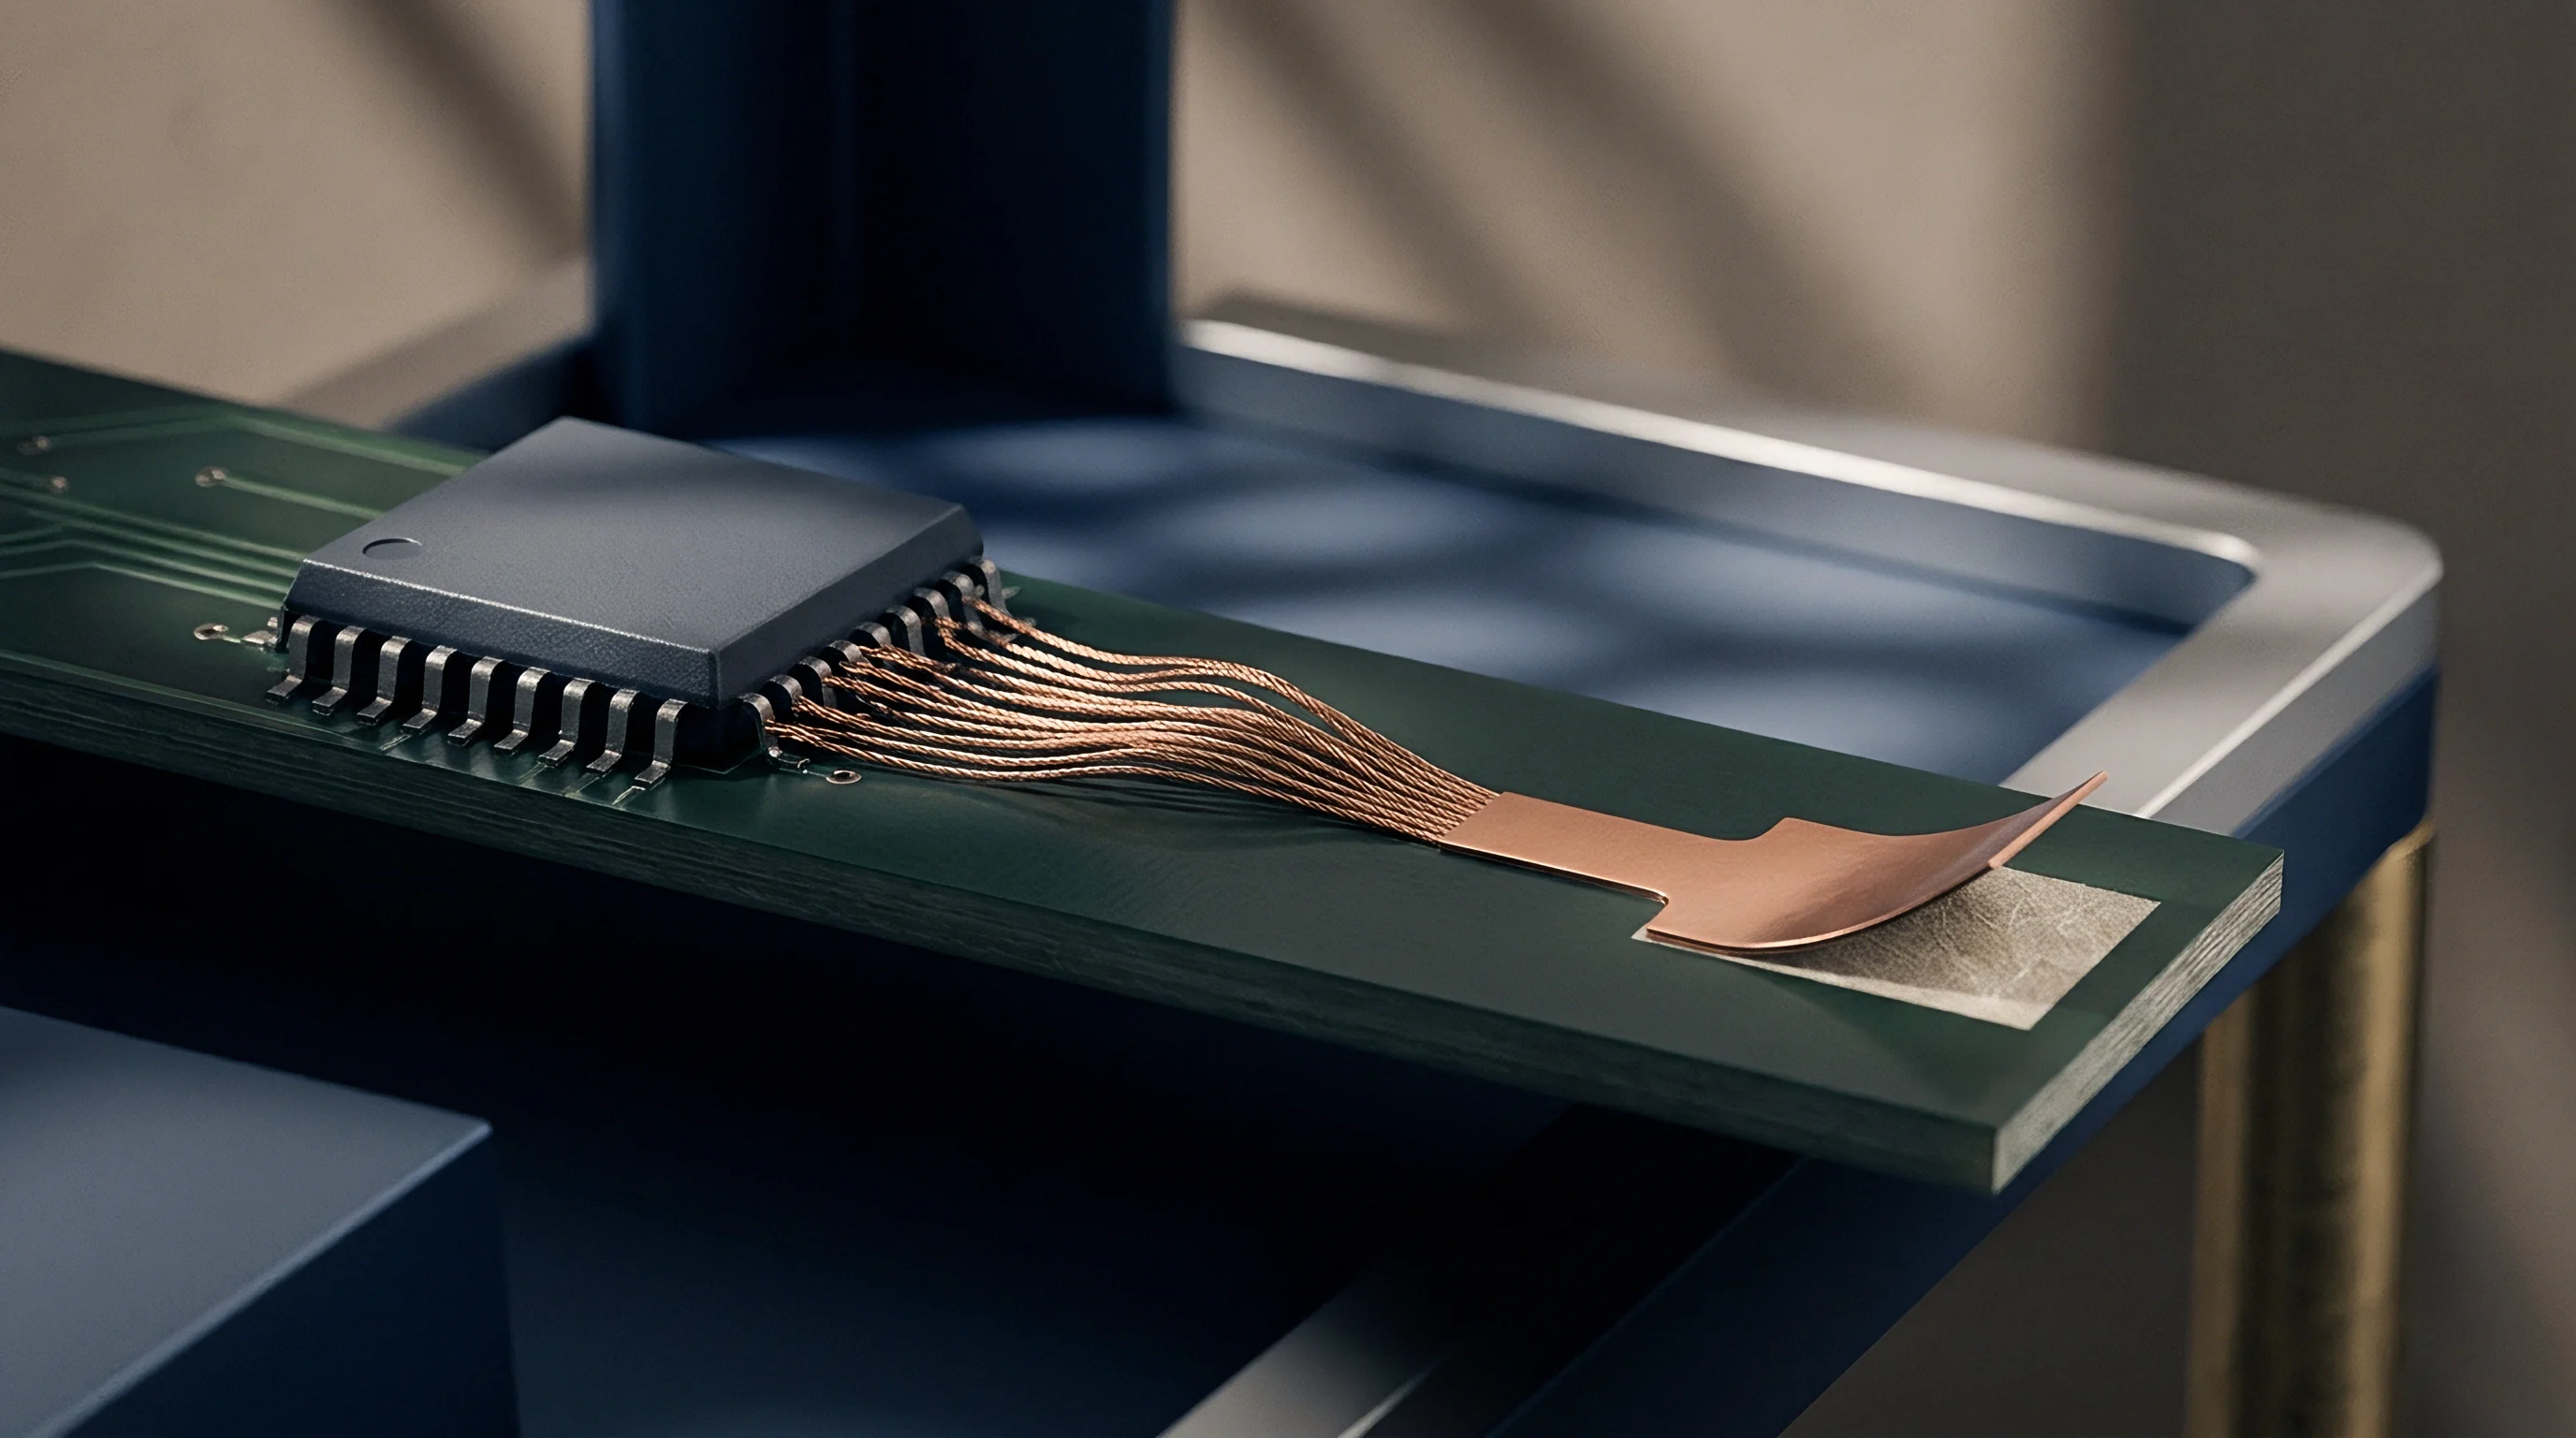
Substrate Bending Stresses during Probe Engagement
Because of manufacturing tolerances in probe height, stroke length, and spring rates, probes engage sequentially during fixture stroke travel. Initial contact generates transient point forces before the board rests flat against hard stoppers. Standard spring probes compress through 2.0 to 3.0 mm of travel before reaching nominal working position.
During this compression phase, localized force gradients peak as high-thrust probes contact the board ahead of neighboring pins.
Transient board bending during initial fixture closure accounts for the vast majority of mechanical strain fractures in surface-mount ceramic capacitors.
Differential contact timing flexes the printed circuit board dynamically before static load equilibrium settles. Bending forces peak precisely during the last 0.5 mm of fixture travel as the hold-down pins force the substrate against rigid mechanical stops. Micro-cracks formed during this momentary over-travel remain hidden beneath component end-metallization layers until field temperature cycling expands the internal fault lines.
Fixtures operating without precise push pin height adjustment continuously subject every production board to damaging flexural fatigue.
The cost of incorrect push pin positioning surfaces when populated assemblies undergo final product qualification. Fractured ceramic capacitors short-circuit power rails during thermal stress screening, causing complete module scrap. BGA solder joint cratering separates pad copper from the epoxy glass matrix, creating intermittent electrical opens during field vibration.
Neglecting fixture force balancing converts high-yielding test stages into primary sources of latent hardware degradation.
Rosette
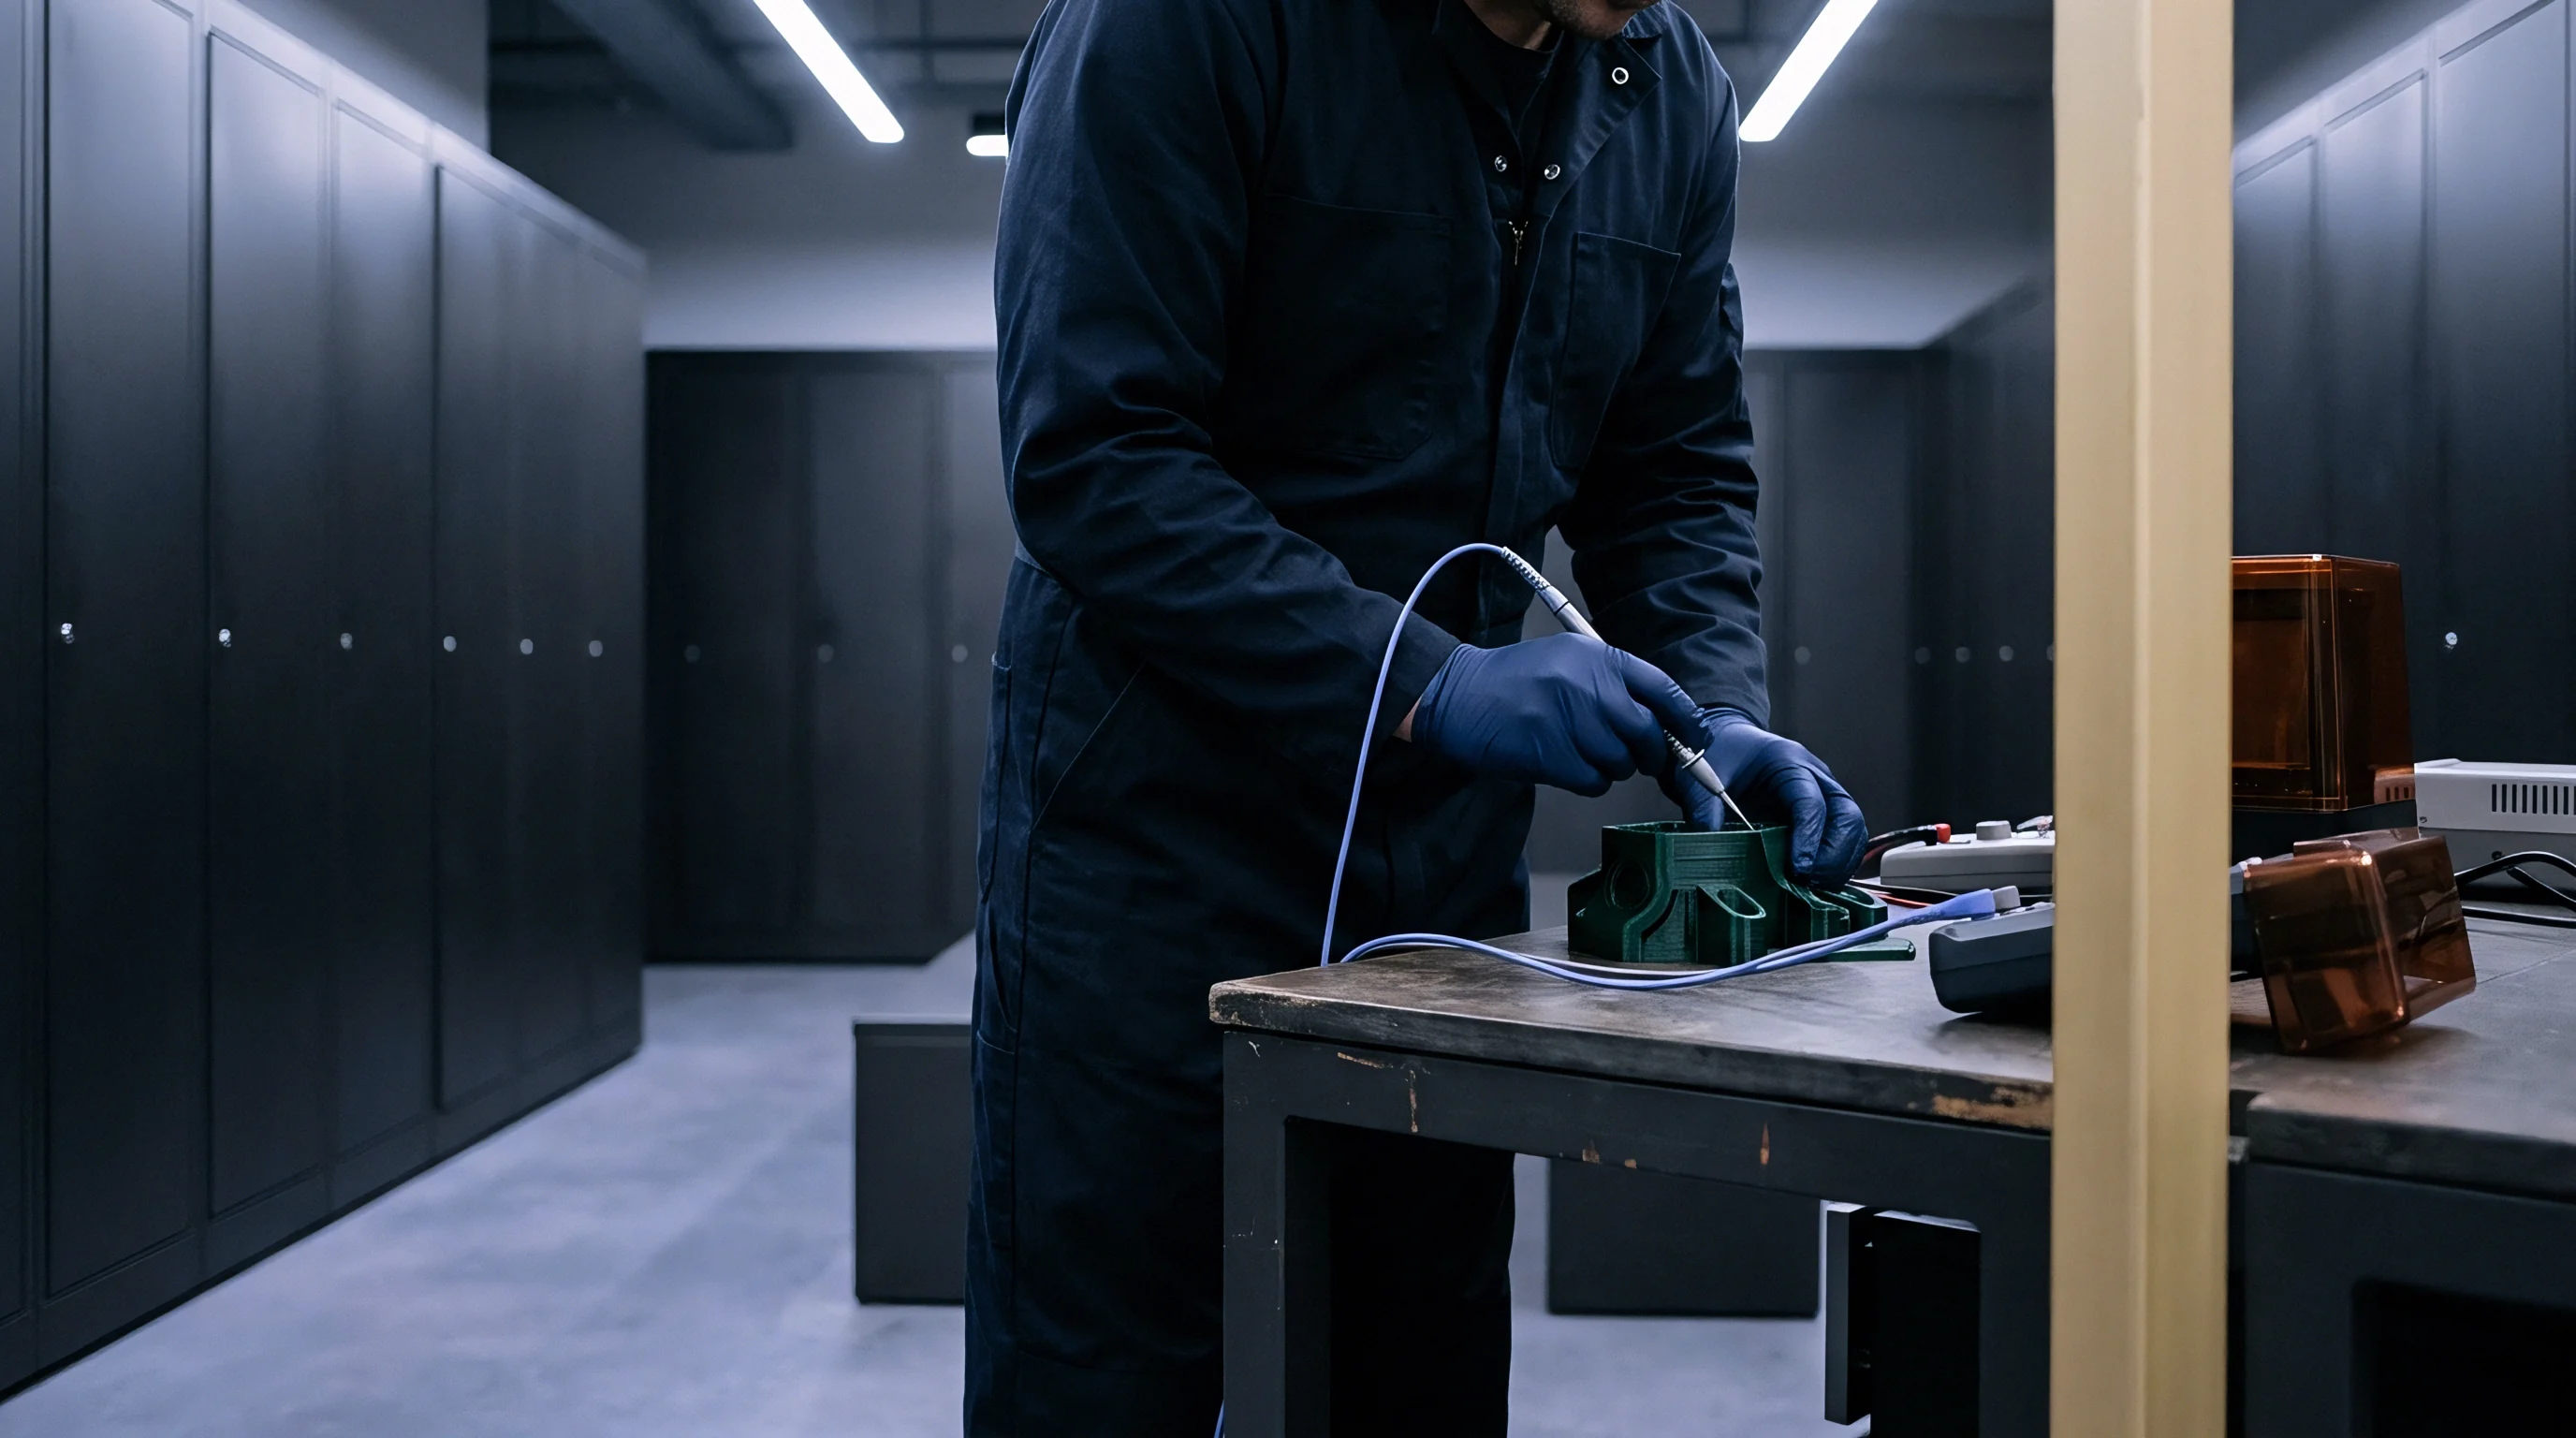
Accurate strain quantification across printed circuit board assemblies requires precision strain gauge sensors configured to measure multi-axial surface deformation. Standard single-axis strain gauges fail to capture principal strain magnitudes when the direction of maximum bending stress is unknown. A triaxial strain rosette integrates three independent gauge grids onto a single backing substrate, allowing real-time calculation of maximum principal strain, minimum principal strain, and principal angle.
Installing rosettes at vulnerable component locations provides empirical load profile data during full fixture actuation cycles.
Surface-mount component locations adjacent to push pins, board edges, fixture stoppers, and high-density probe fields represent primary measurement zones. Triaxial rosettes featuring stacked or planar grid configurations record surface elongation and compression during fixture closure. Planar rosettes place all three gauge elements in direct thermal contact with the board surface, eliminating z-axis thermal gradient errors.
Stacked rosettes reduce the required physical footprint on crowded boards, enabling measurements directly adjacent to 0402 component pads and ball grid array corner joints.
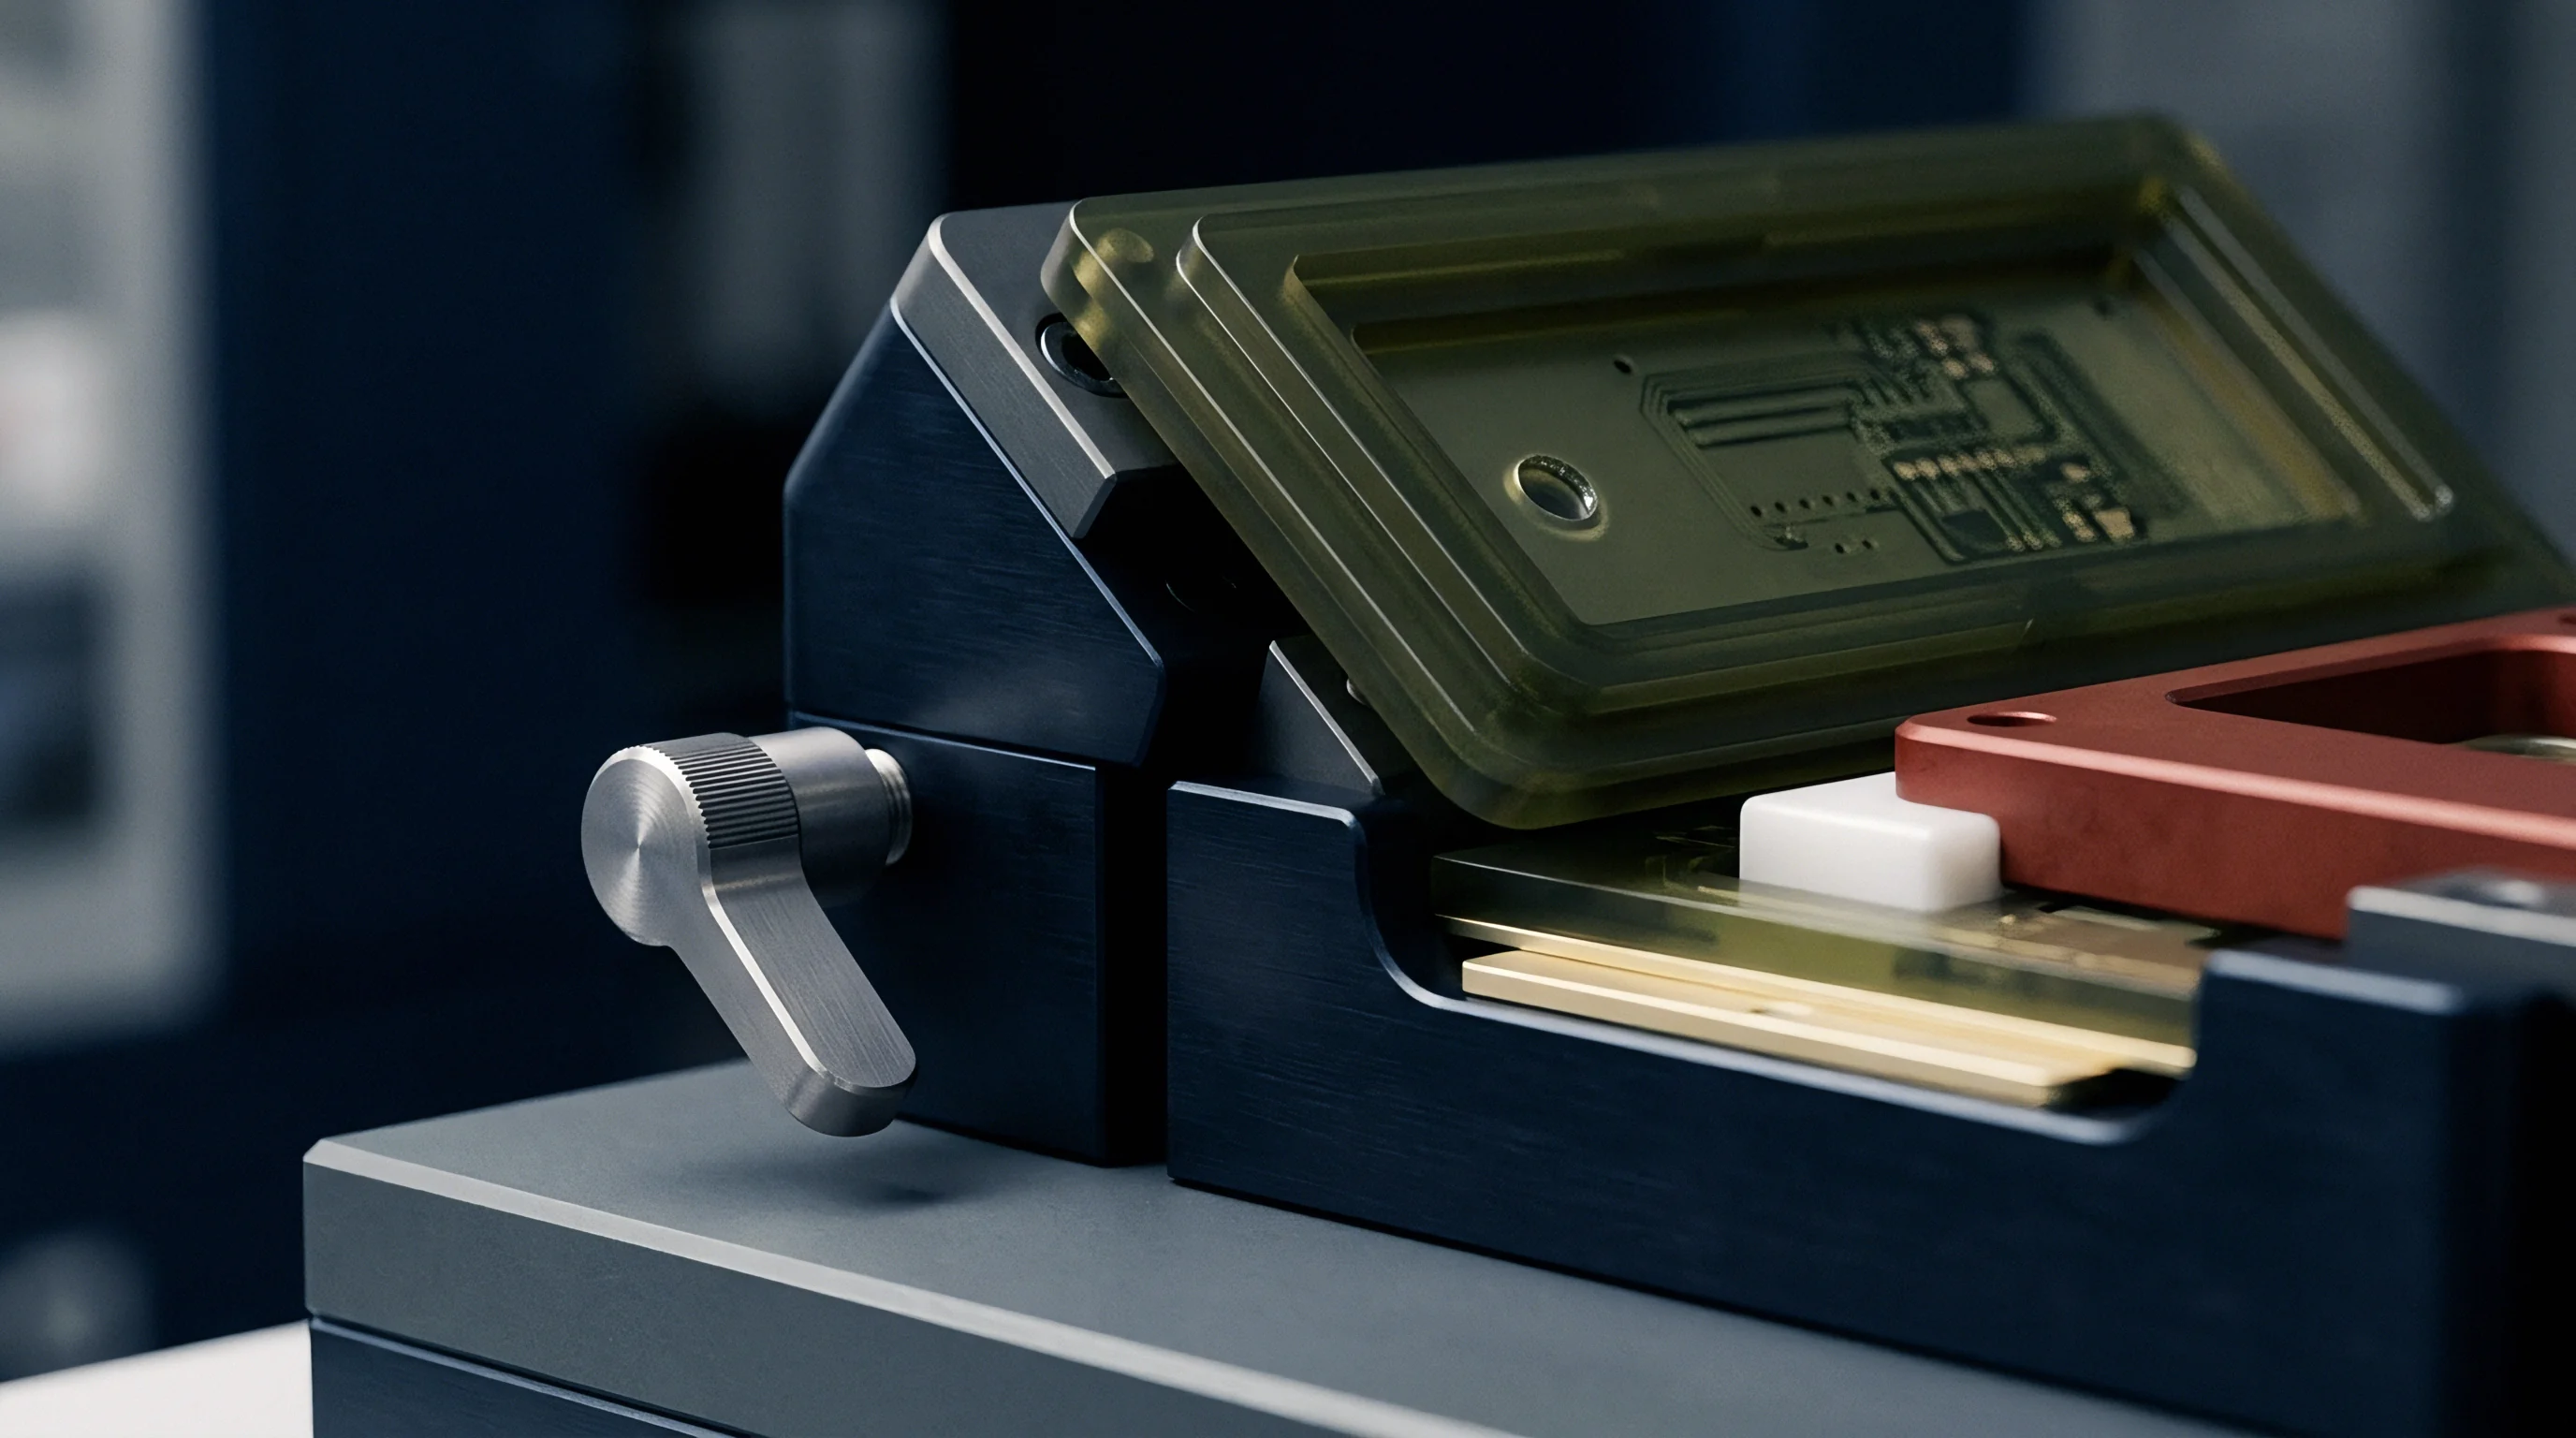
Triaxial Strain Gauge Selection and Substrate Preparation
Selecting appropriate strain gauge hardware depends on board layout density, thermal dissipation, and expected strain gradients. Gauge grid lengths of 0.8 mm to 1.5 mm provide high measurement accuracy on FR-4 laminates without spatial strain averaging errors. Larger gauge grids span regions of varying stress, underreporting localized peak strain values near push pin contact points.
Thermal expansion matching parameters must align with FR-4 substrate characteristics, typically specified at 16 microstrain per degree Celsius.
Surface preparation governs bond line integrity and sensor measurement fidelity. Technicians remove surface solder mask using fine-grit aluminum oxide abrasive paper to expose the underlying glass-epoxy matrix. Solvents clean organic residue, followed by acid etching and neutralizer application to stabilize substrate surface pH.
Cyanoacrylate adhesives secure the rosette grid under uniform thumb pressure, producing a thin glue line below 5 micrometers. Thick adhesive layers absorb mechanical shear, attenuating strain transmission from the board to the metallic foil grid.
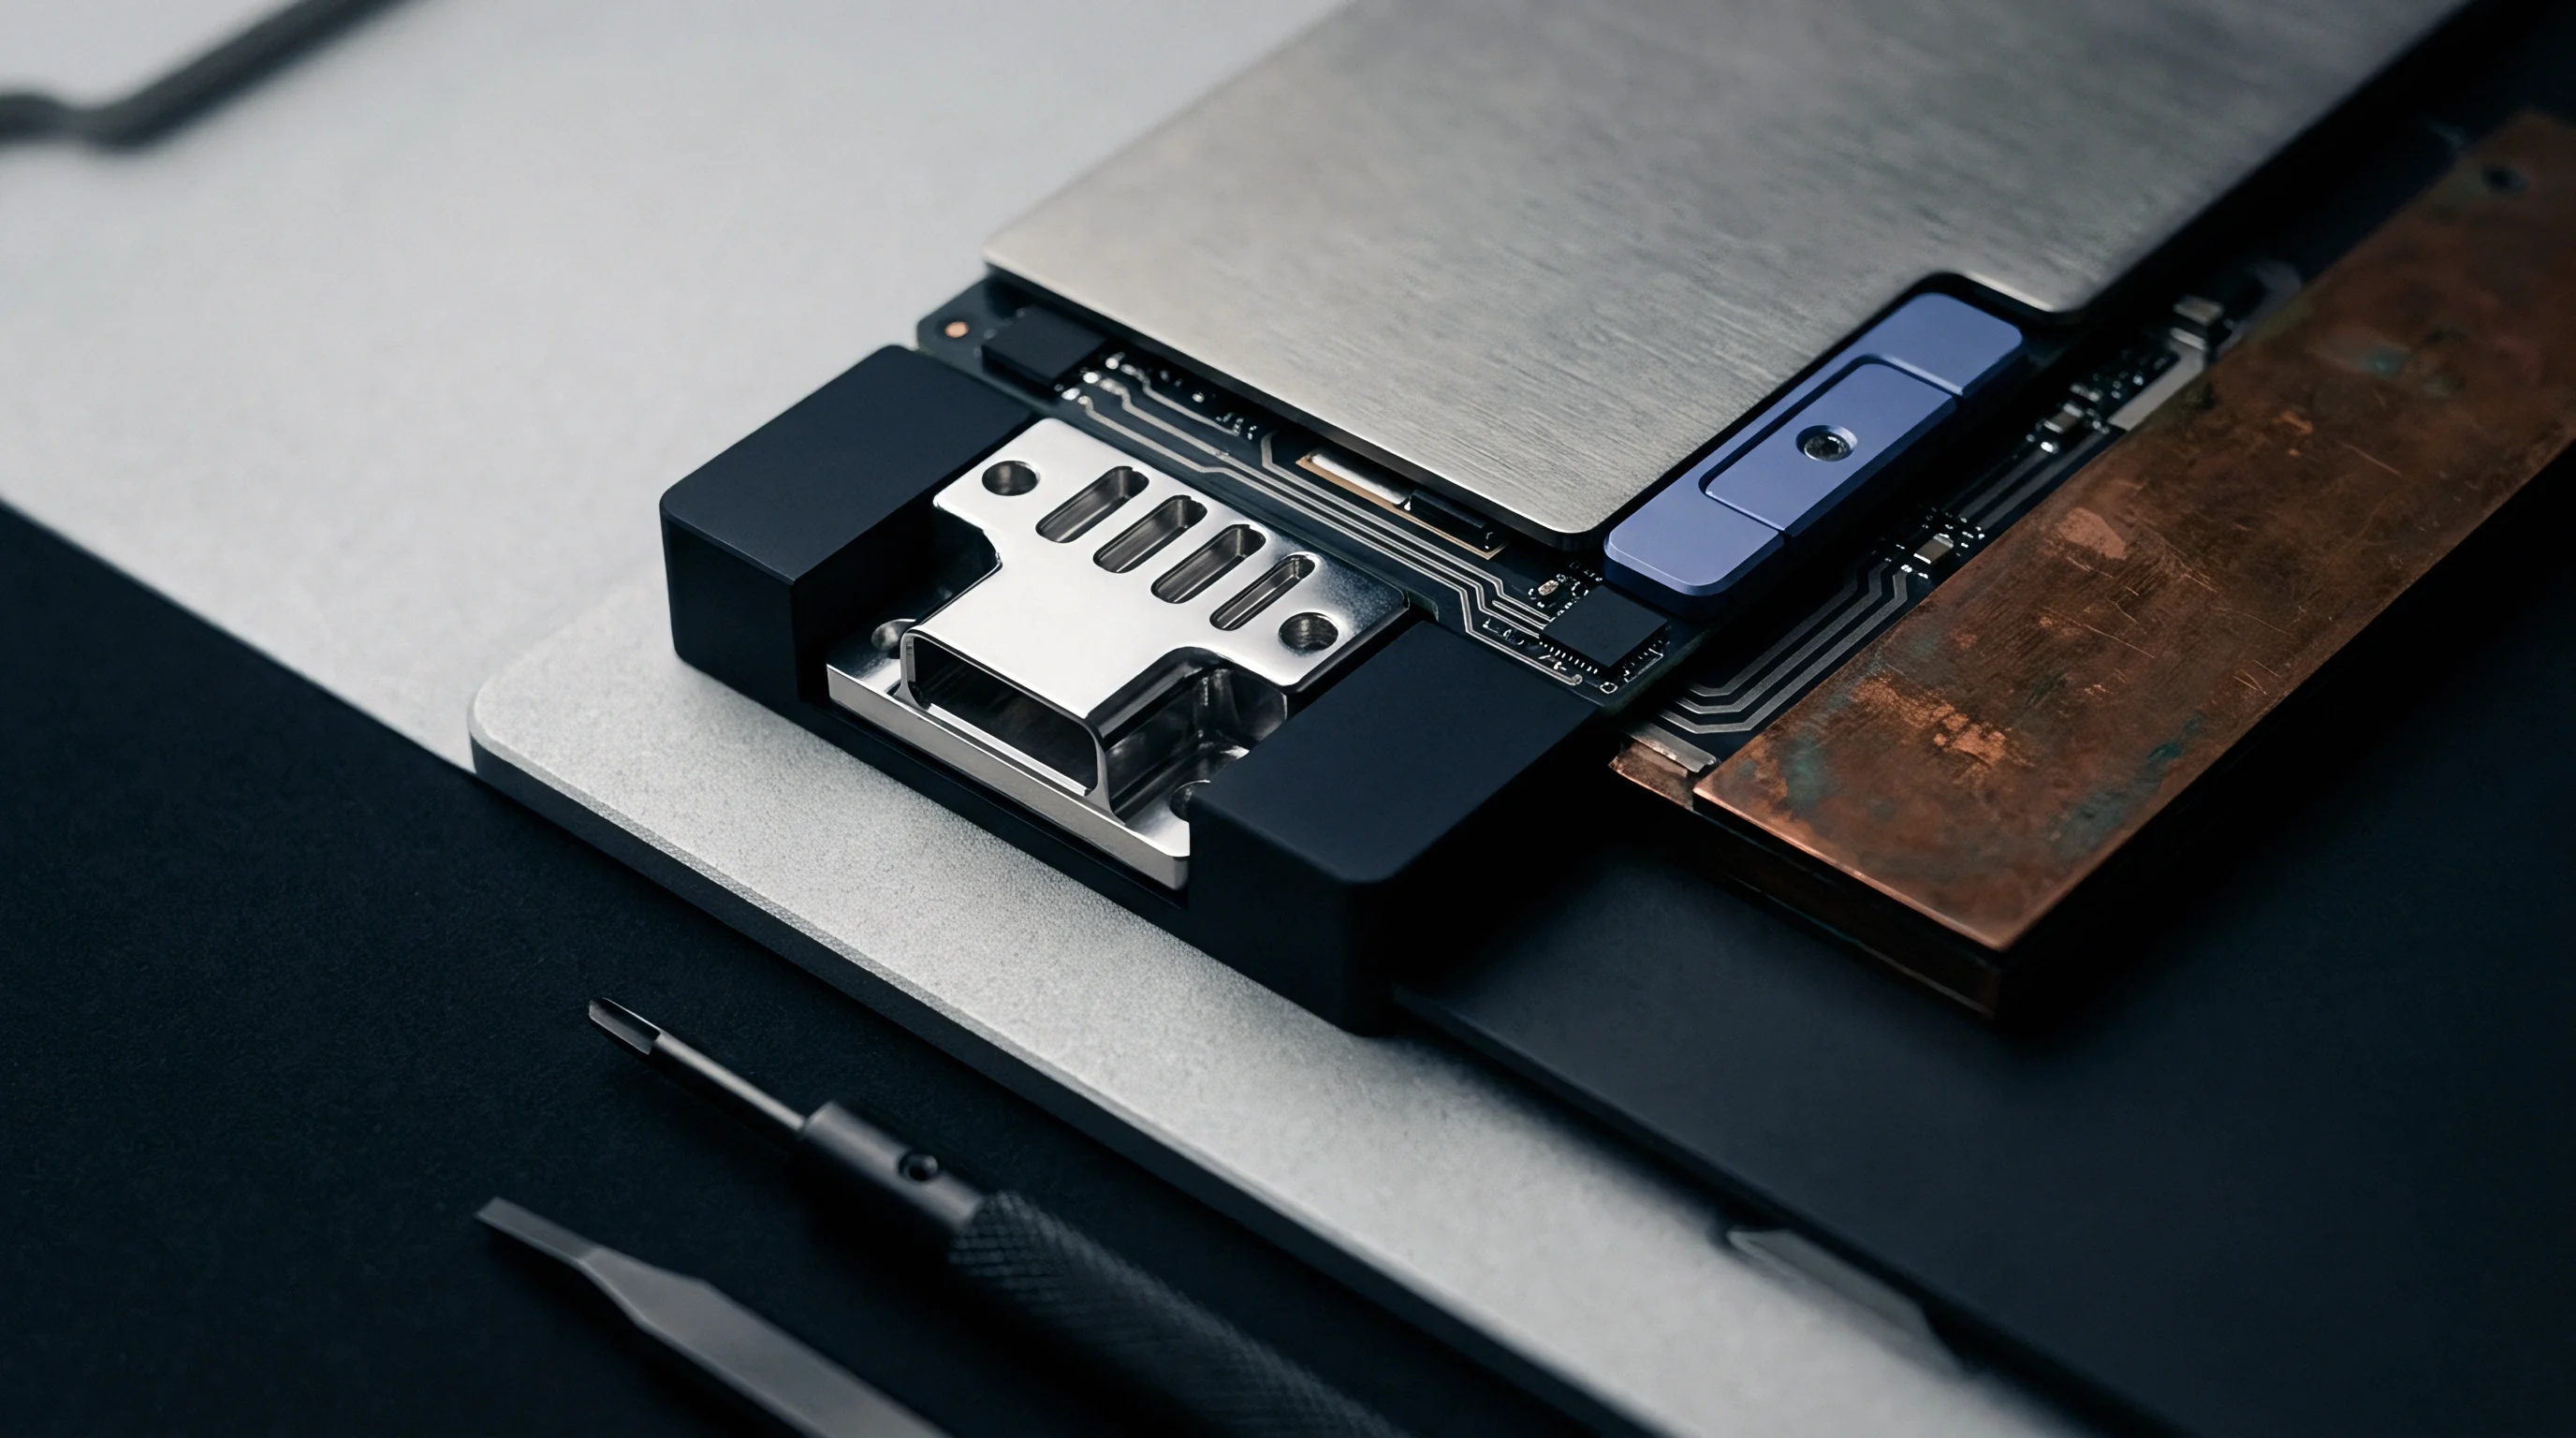
Wheatstone Bridge Signal Conditioning and Acquisition Mechanics
Strain gauge sensors convert minute dimensional changes into electrical resistance variations according to the sensor gauge factor. A typical gauge factor of 2.0 translates a 1000 microstrain surface deformation into a 0.2 percent resistance change. Quarter-bridge Wheatstone circuits convert these subtle resistance changes into measurable voltage output signal levels.
Precision excitation sources supply 1.5 Volts to 2.0 Volts across the bridge, balancing signal-to-noise requirements against localized self-heating on low-conductivity PCB substrate materials.
Data acquisition hardware must sample strain signals at rates exceeding 2,000 Hertz to accurately capture rapid transient stress events. Mechanical press closures and vacuum drawdown sequences create transient strain spikes lasting under 15 milliseconds. Low-frequency sampling filters truncate these sharp peak events, underreporting maximum principal strain magnitudes.
High-speed signal conditioning chassis incorporate simultaneous sampling analog-to-digital converters, anti-aliasing filters, and automated bridge balance circuits to maintain measurement accuracy across multi-channel test runs.
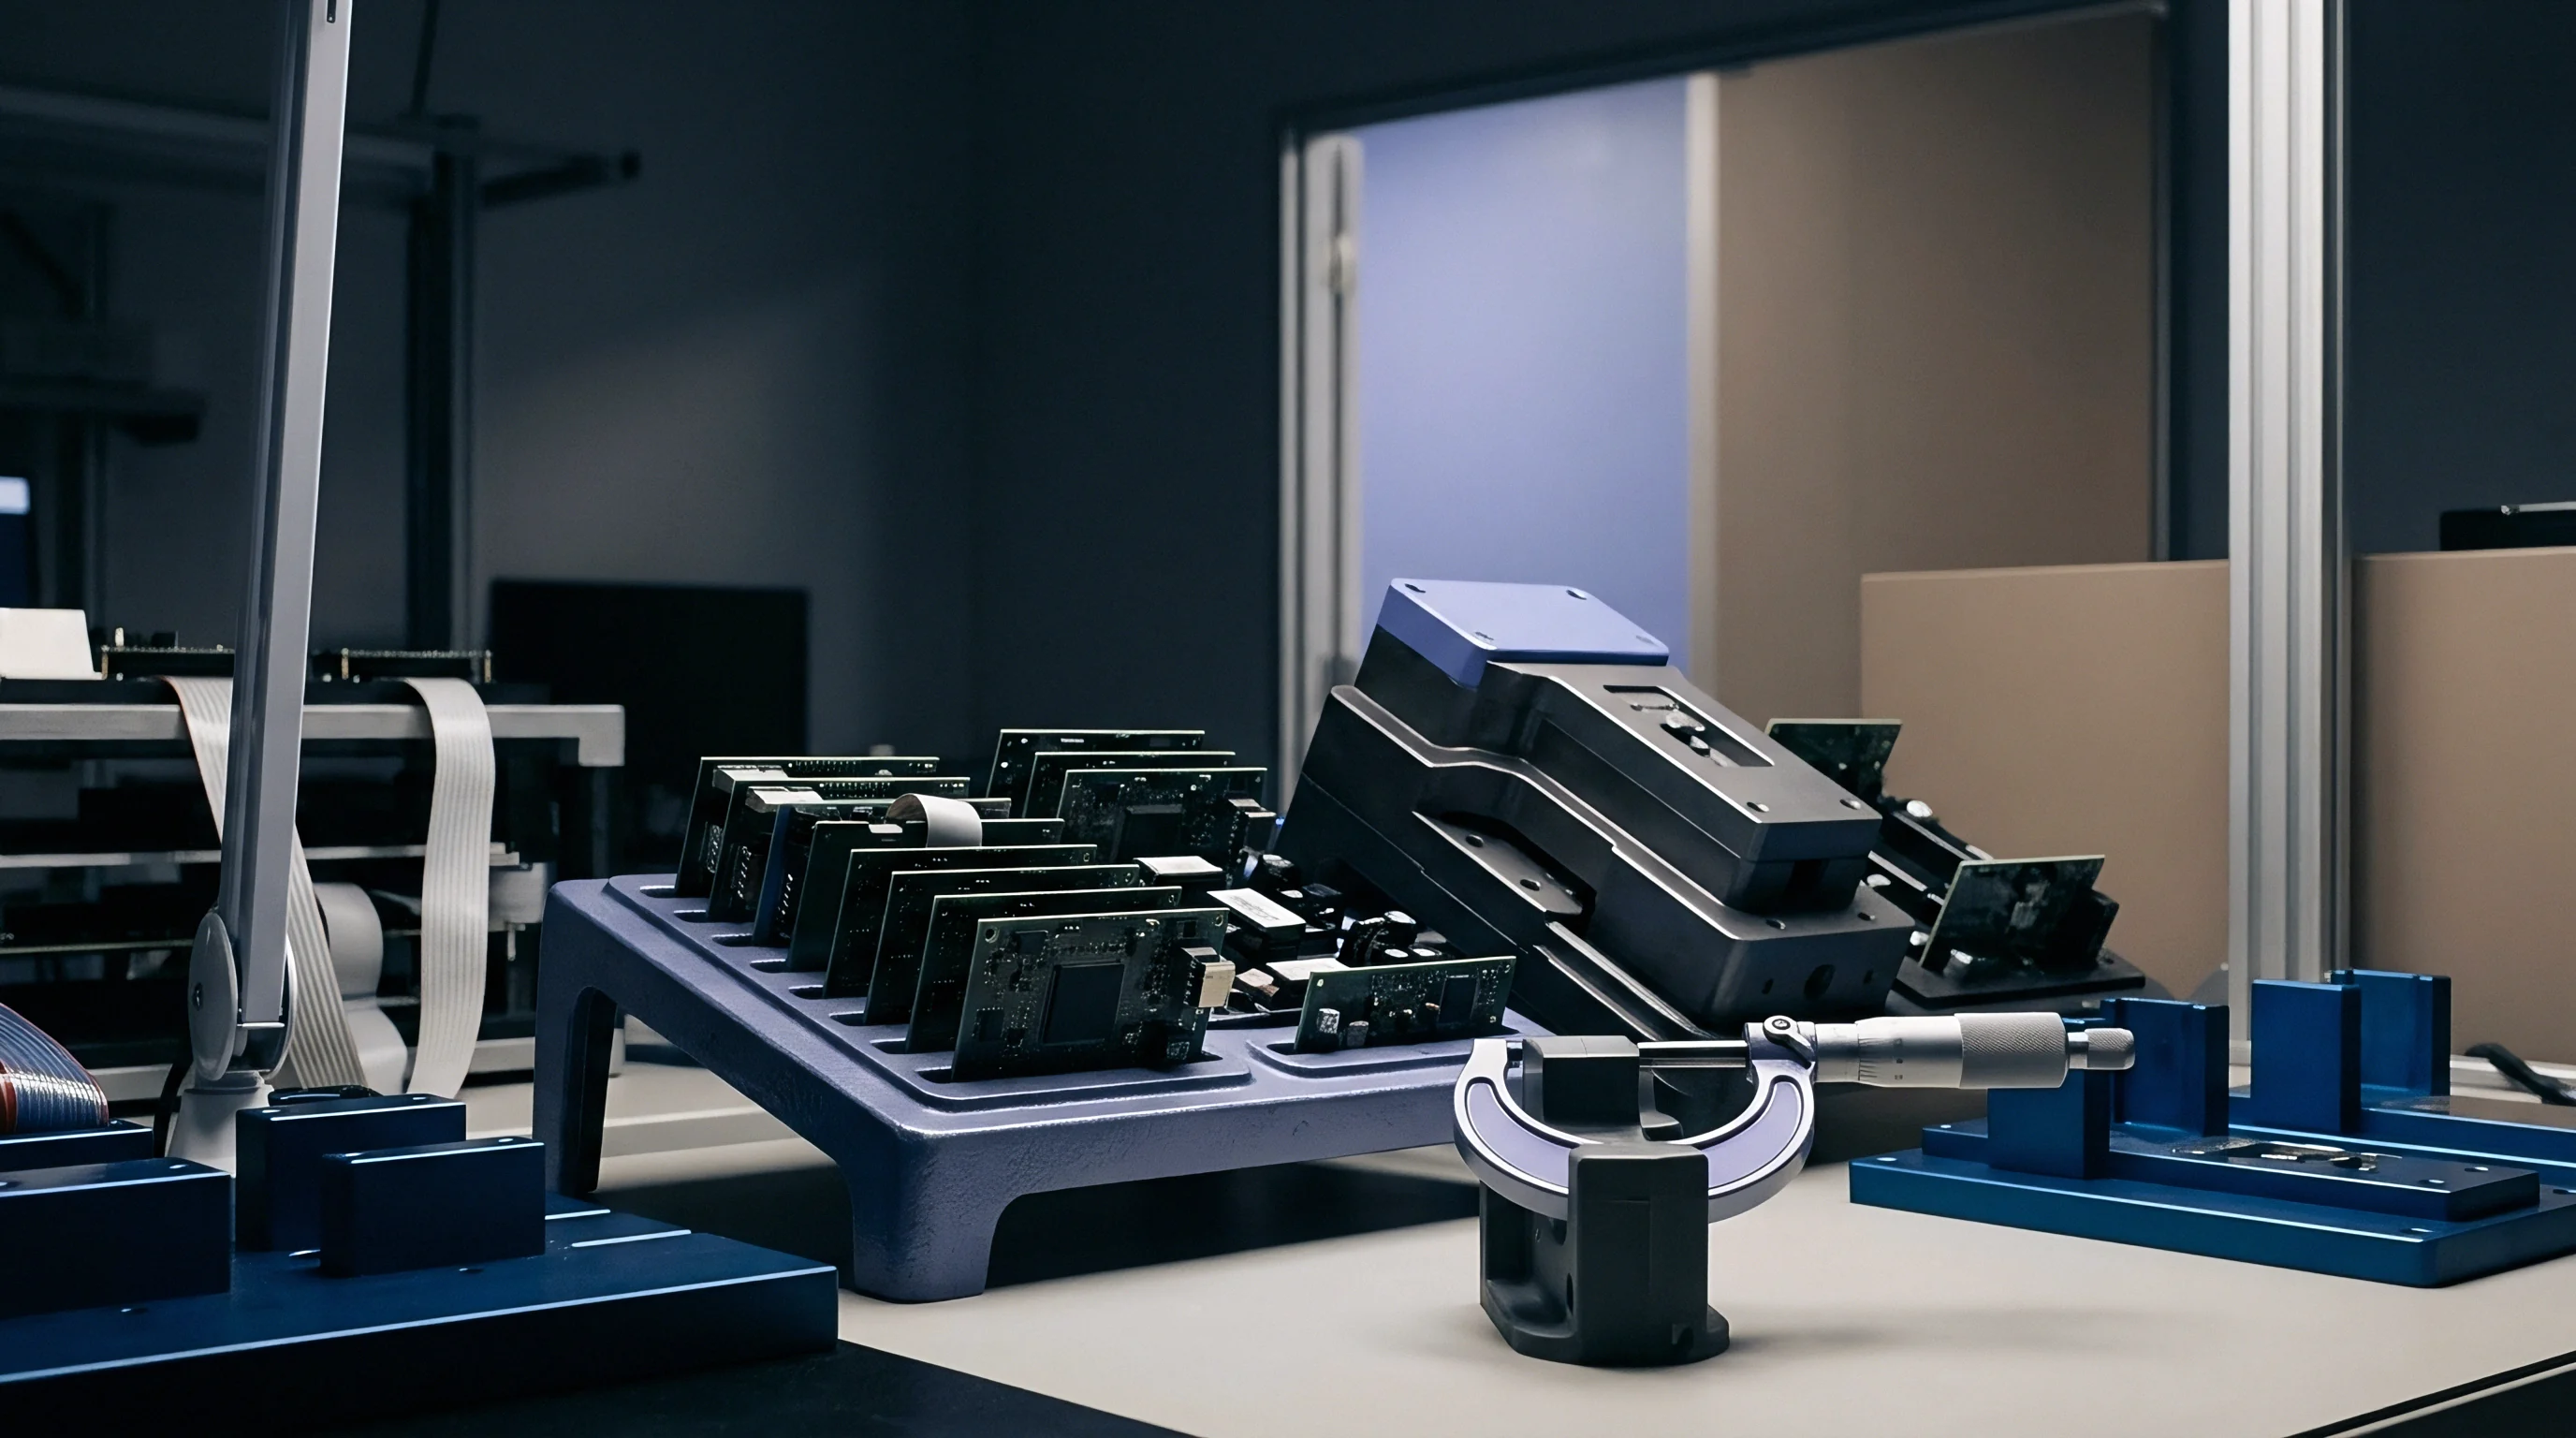
How Do Gauge Grid Geometry and Adhesive Thickness Distort High Gradient Measurements?
Gauge orientation errors introduce significant rotational bias into principal strain calculations. Aligning the primary axis of a triaxial rosette within 2 degrees of target component edge lines preserves mathematical accuracy during matrix transformations. Adhesive line variations introduce mechanical compliance, dampening peak strain measurements by up to 12 percent when glue lines exceed 15 micrometers.
Lead wire resistance adds uncompensated arm impedance, requiring three-wire quarter-bridge wiring or shunt calibration routines to maintain measurement accuracy.
Shunt calibration applies a known high-precision resistor across one arm of the Wheatstone bridge to simulate a precise strain input value. Connecting a 100-kiloohm precision shunt resistor across a 120-ohm strain arm simulates an equivalent strain shift of approximately 600 microstrain. Bridge amplifiers utilize this reference shift to calibrate system gain before recording fixture closure sequences.
Skipping shunt calibration allows amplifier gain drift and cable resistance attenuation to corrupt absolute microstrain data.
Calibrated triaxial strain gauge rosettes operating at 2.5 kHz sampling rates capture transient mechanical strain spikes during vacuum drawdown that low-speed logging equipment misses entirely.
Standard probe forces are frequently assumed to cause no substrate damage on 1.6 mm FR-4 materials. Fixture designs relying on uniform push pin spacing are similarly presumed to eliminate substrate damage without physical measurement. These generic assumptions ignore actual probe density variations, localized copper trace routing, component orientation, and mechanical fixture manufacturing tolerances.
Empirical strain gauge verification replaces generalized assumptions with definitive physical evidence.

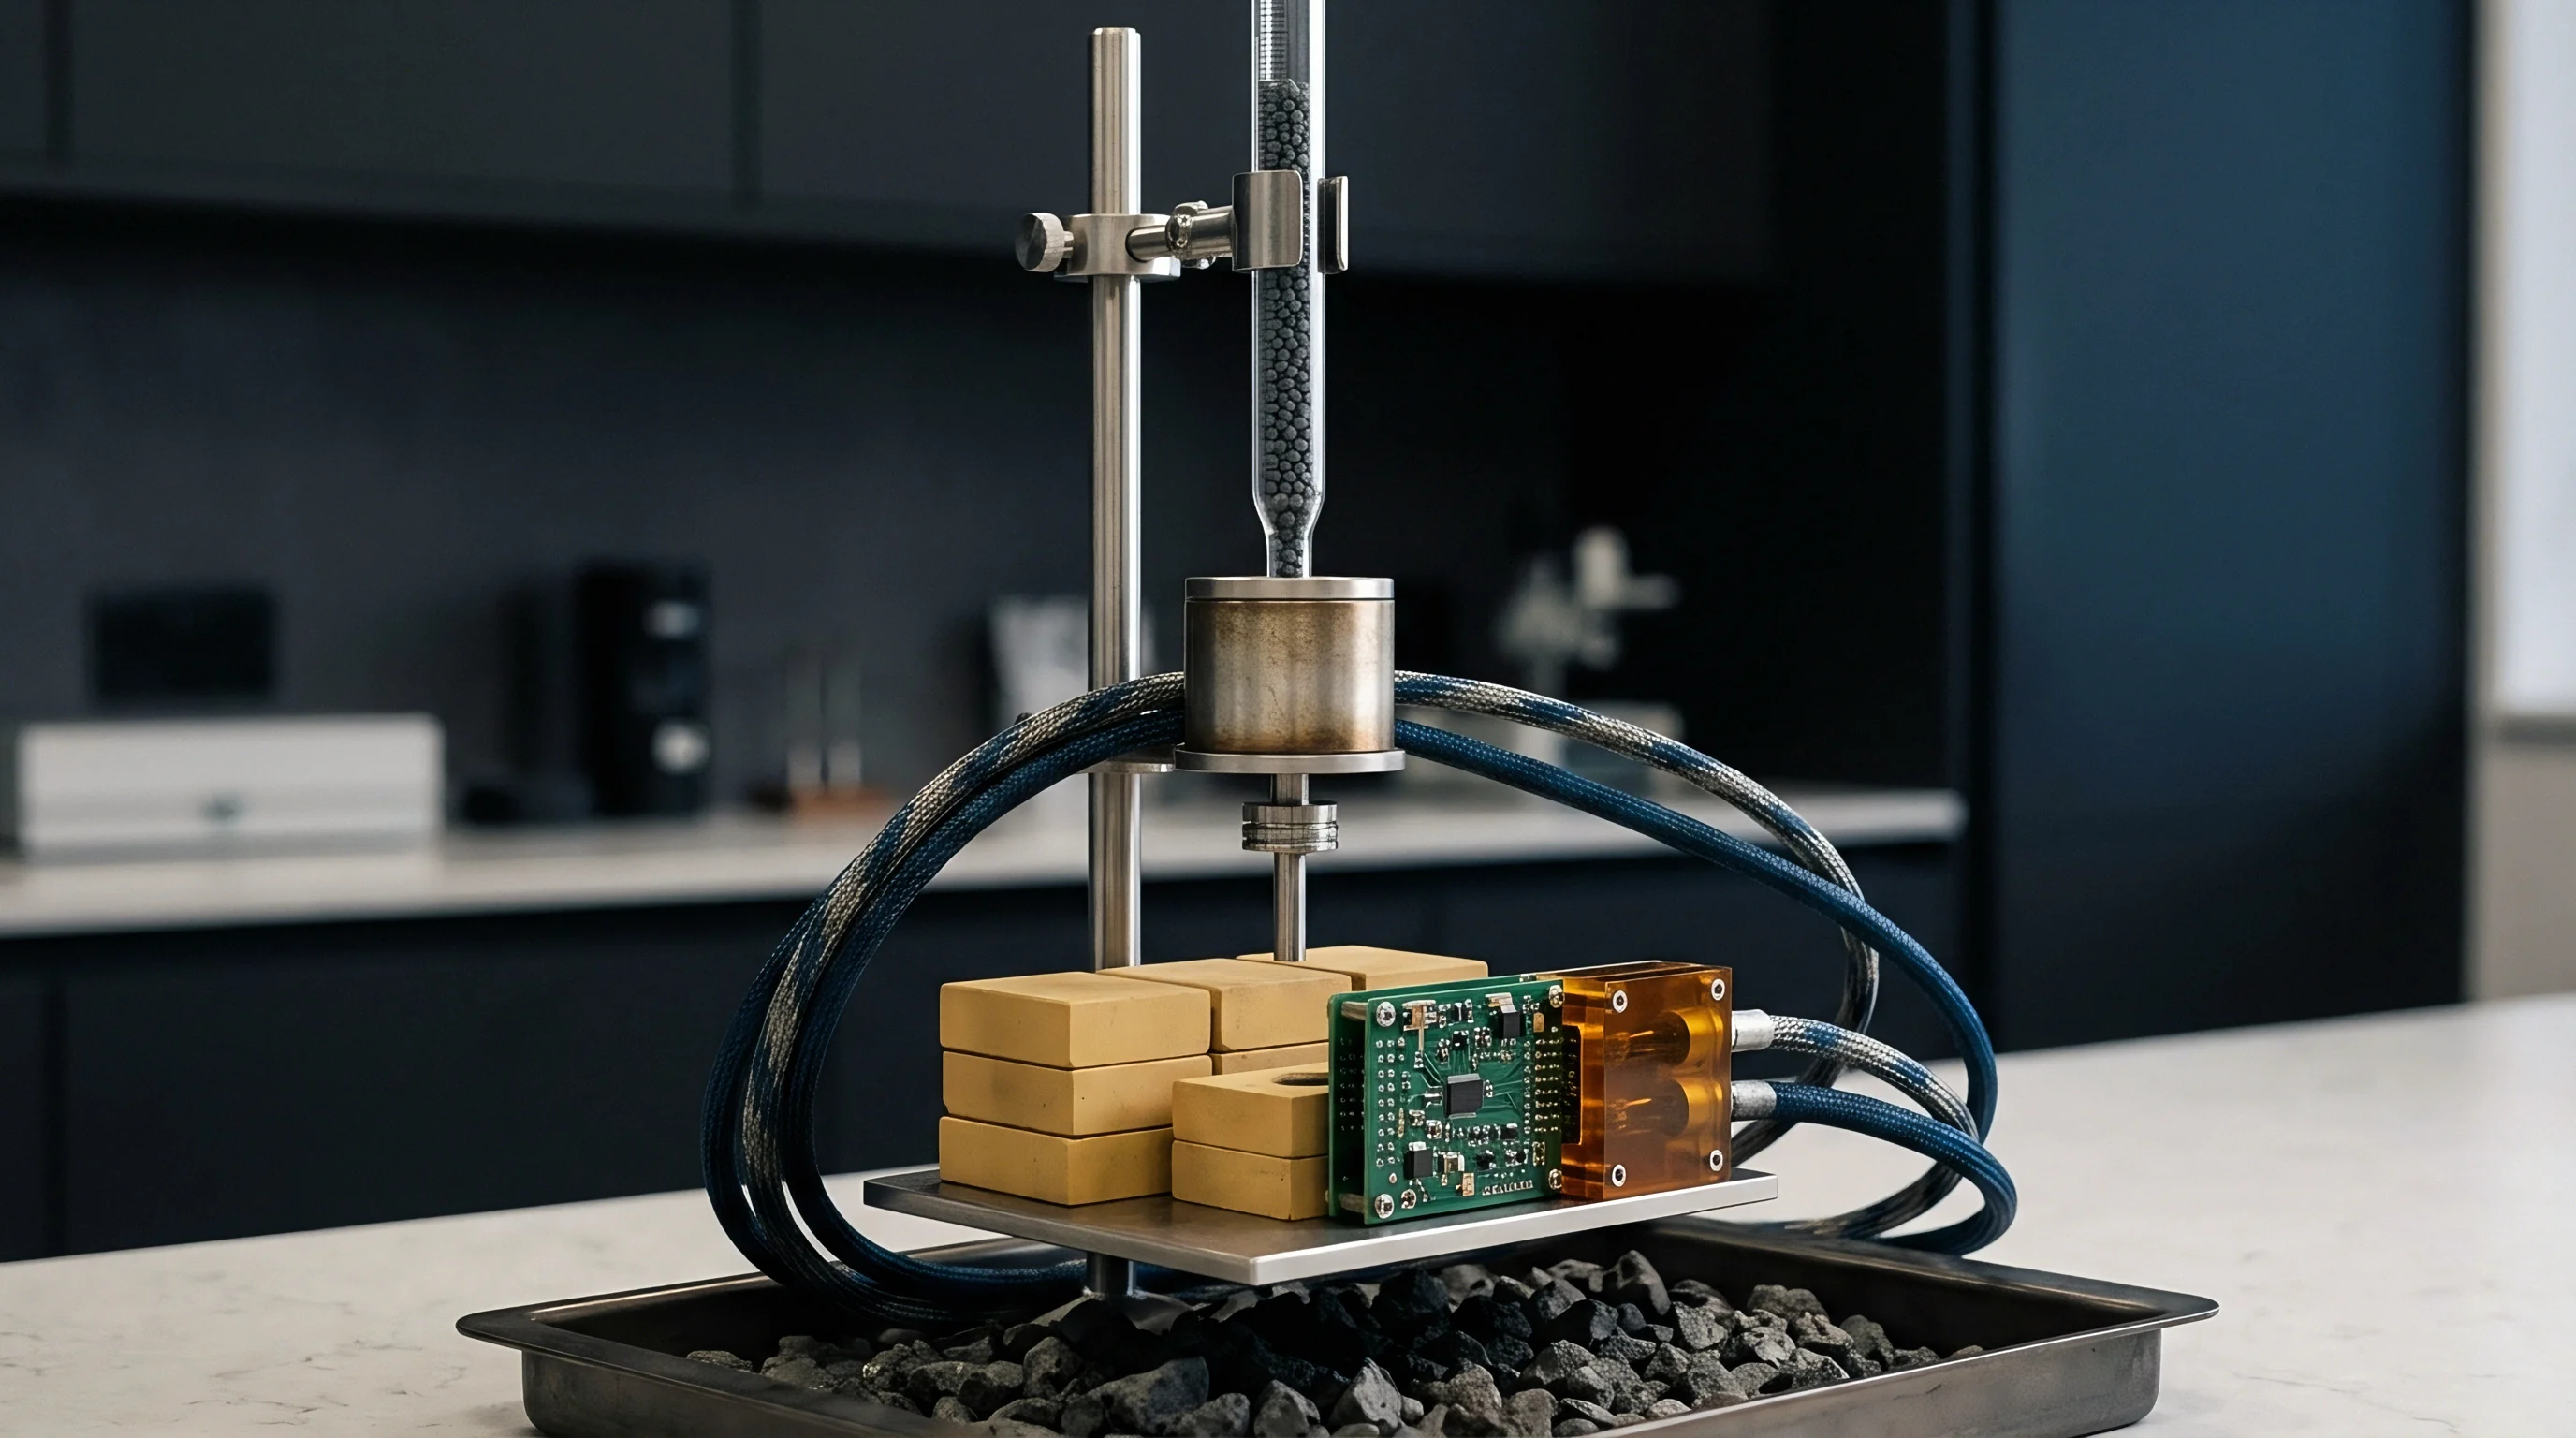
Load
Balanced force delivery across an in-circuit test fixture demands systematic mapping and push pin alignment. Every spring probe exerts a distinct upward force that shifts dynamically over its compression stroke. Push pins must apply counteracting downward forces aligned with the centroid of local probe resistance fields.
Unbalanced clearance holes or misaligned hold-down rods allow the press plate to tilt during closure, concentrating severe edge loads onto the circuit board assembly.
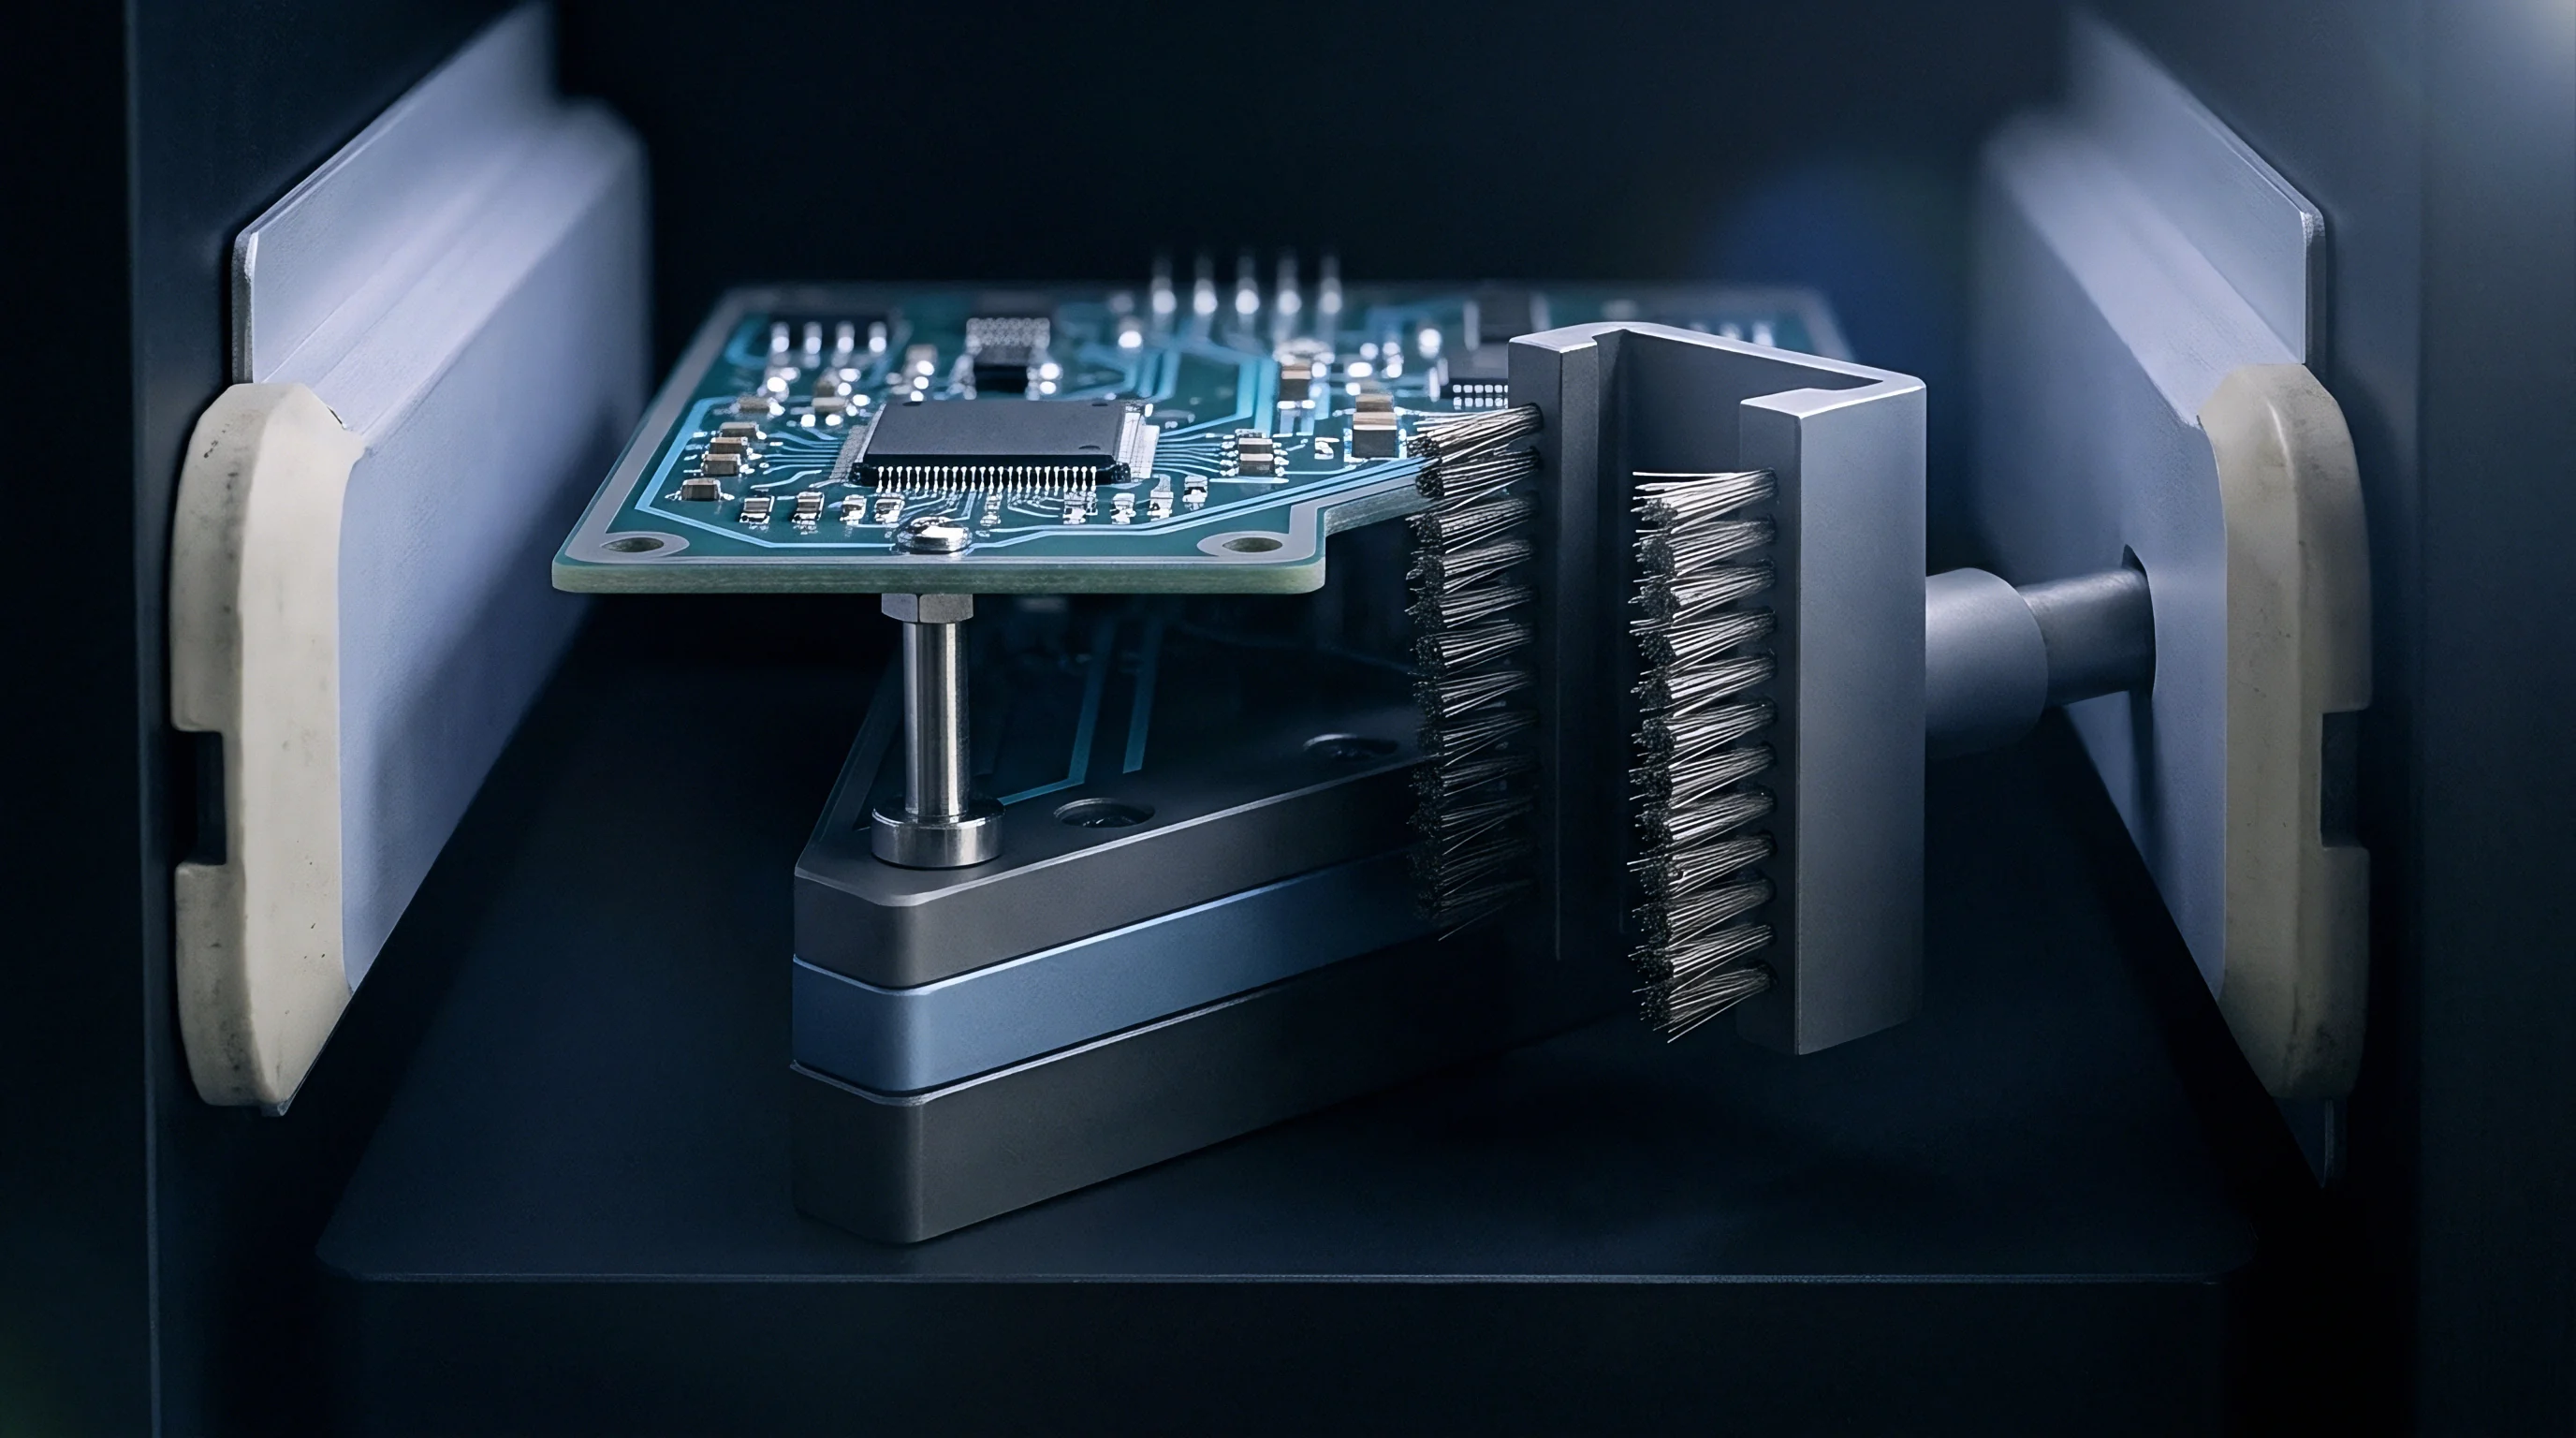
Push pin calibration establishes precise alignment between upper press structures and lower bed-of-nails assemblies. Technicians position hold-down rods directly opposite high-density probe fields while respecting component clearance zones. Keeping hold-down pin contact points within 5 mm of critical BGA corner balls or ceramic capacitor arrays prevents high-amplitude bending moments.
Adjusting push pin heights using precision shims or threaded adjustment locks guarantees flat, parallel contact against the substrate during full fixture engagement.
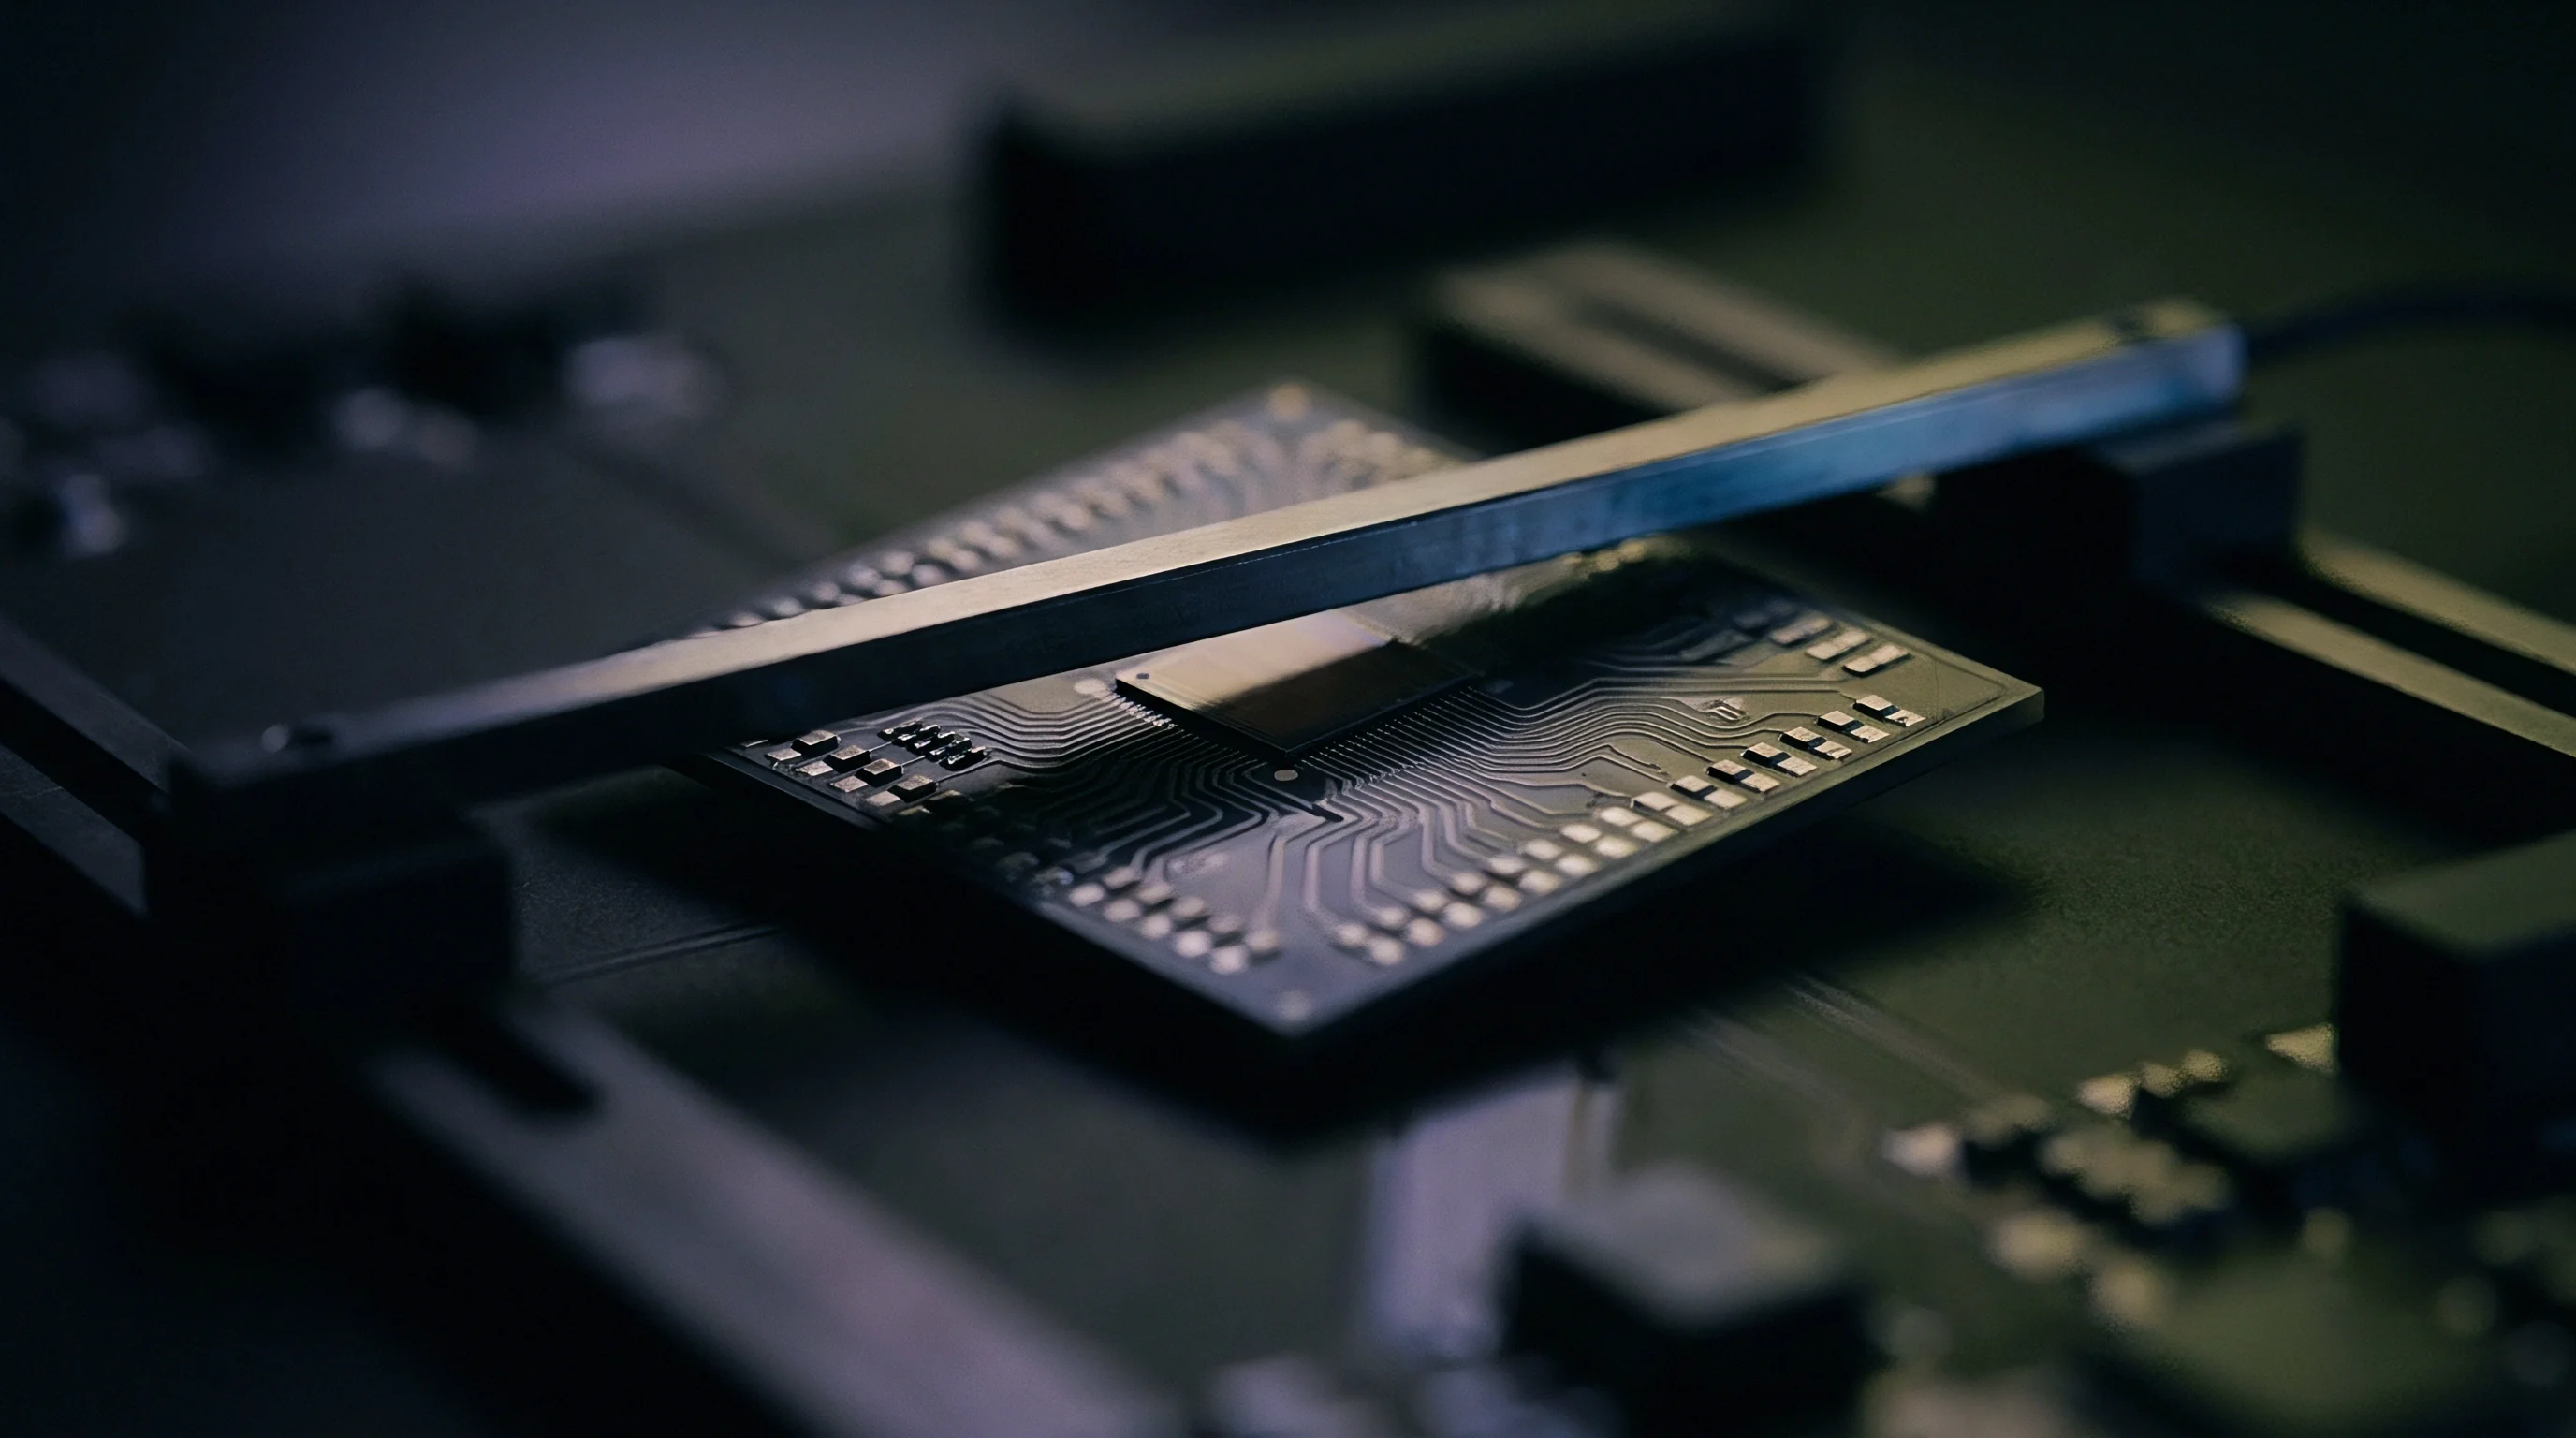
Force Balancing and Push Pin Spatial Calibration
Calculating the correct push pin layout requires summing total probe forces within localized grid sectors. A fixture division containing 200 active 100-mil probes exerts an upward reaction force of roughly 400 Newtons at nominal travel. Hold-down pins assigned to this sector must deliver counteracting force directly through cleared areas of the substrate.
Total hold-down capacity should exceed calculated probe resistance by 20 percent to maintain firm contact against mechanical hard stops.
Hold-down pin distribution rules require placing pins around the perimeter of dense functional blocks rather than relying on distant structural frame supports. Positioning push pins over component keep-out zones ensures direct contact with the epoxy-glass laminate rather than crushing component bodies or tall connectors. Solid push pin alignment preserves uniform substrate flatness throughout probe compression, eliminating localized oil-canning or flexural bowing across open board spans.
- Mount unpopulated circuit board substrate or rigid optical alignment plate onto fixture guide pins.
- Inspect push pin alignment relative to component clearance zones and keep-out boundaries using top-plate optical templates.
- Adjust individual push pin threaded bodies until all contact tips sit flush against a precision ground leveling plate.
- Install calibrated force load cells beneath push pin contact locations across the lower fixture plate.
- Execute mechanical fixture actuation cycle and record individual force values at full working travel.
- Adjust push pin shim thicknesses until contact force variations across all push pin positions remain within 10 percent.
- Set fixture mechanical hard stops to limit total press stroke to 66 percent of total probe travel length.
- Lock all push pin adjustment hardware using thread-locking compound and apply tamper-evident seals.

Deflection Mapping across High Density Probe Zones
Quantifying substrate deformation during fixture closure relies on mechanical dial indicators or non-contact laser displacement sensors. High-density probe zones exert concentrated upward pressure, lifting unsupported board areas during press travel. Laser displacement sensors mounted to upper press frames scan the substrate surface during full vacuum pull-down or mechanical actuation.
Deflection maps highlight steep displacement gradients, indicating structural stress concentrations before strain rosettes are bonded.
Acceptable substrate displacement limits remain tied to board thickness and component package sensitivity. Maximum allowable deflection between support points cannot exceed 0.5 mm per 100 mm of span under standard quality guidelines. Deflection gradients exceeding 0.005 mm per millimeter mark localized bending zones requiring additional hold-down support.
Inserting auxiliary push pins at peak displacement locations flattens substrate curvature and reduces mechanical strain on neighboring component leads.
| Substrate Thickness (mm) | Local Probe Density (probes/cm²) | Max Push Pin Pitch (mm) | Target Deflection Limit (µm) | Recommended Hold-Down Tip Material |
|---|---|---|---|---|
| 1.0 | > 40 | 25 | 75 | Soft Durometer ESD Polyurethane |
| 1.0 | 15 to 40 | 35 | 100 | ESD Delrin / POM |
| 1.6 | > 40 | 35 | 120 | ESD Delrin / POM |
| 1.6 | 15 to 40 | 50 | 150 | Anodized Aluminum with Nylon Tip |
| 2.4 | > 40 | 50 | 180 | Anodized Aluminum with Nylon Tip |
Mechanical Stopper Adjustment and Overstroke Prevention
Mechanical hard stops set the ultimate limit for upper press plate travel, preventing spring probes from bottoming out. Probe bottoming converts spring force resistance into rigid mechanical crushing force, instantly destroying board substrate materials. Hard stop blocks installed at fixture corners absorb excess actuation energy from pneumatic rams or mechanical clamps.
Precise stopper height adjustments stop press travel exactly when spring probes reach two-thirds of their maximum stroke rating.
Under IPC-9704 guidelines, fixture hard stops must prevent probe compression from exceeding 80 percent of maximum rated travel under maximum mechanical press force.
Setting stopper height requires feeler gauges or precision digital height indicators installed at four corner locations. Uneven stopper height settings tilt the press plate, causing asymmetrical push pin engagement and severe board twisting. Stopper alignment checks confirm that all hard stops make contact simultaneously within 0.025 mm.
Fixtures operating with unbalanced stoppers transfer thousands of Newtons of shear force directly into the printed circuit assembly.
Which operational parameters remain uncertain when push pin force mapping indicates balanced static load but transient high-speed camera logging reveals localized frame flexure during rapid pneumatic stroke engagement?
Threshold
Establishing physical pass/fail criteria for in-circuit test fixture qualification requires reference to international mechanical strain standards. Industry standard IPC/JEDEC 9704 provides specific guidelines for printed circuit board strain measurement during manufacturing and test assembly operations. The standard establishes maximum allowable principal strain limits based on component package technology, board thickness, strain rate, and substrate material characteristics.
Operating a fixture below these standardized thresholds prevents micro-structural damage to sensitive surface-mount components.
Allowable strain limits are non-linear functions of strain rate. During slow, controlled mechanical deformation, circuit materials deform elastically and stress relaxes across solder interfaces. Rapid transient strain events allow no time for stress relaxation, dramatically lowering the fracture threshold of brittle ceramic materials and intermetallic solder bonds.
Verification procedures evaluate raw microstrain readings against strain-rate-dependent limit curves rather than static numerical cutoffs.
Strain Limit Evaluation According to IPC JEDEC 9704 Specifications
IPC/JEDEC 9704 defines microstrain limits using diagonal strain and principal strain metrics derived from triaxial strain rosettes. For standard 1.6 mm thick FR-4 assemblies populated with ball grid array packages, maximum allowable principal strain drops significantly as strain rate rises. At low strain rates below 100 microstrain per second, allowable principal strain reaches 1,500 microstrain.
At high strain rates exceeding 100,000 microstrain per second, allowable strain limits drop to 500 microstrain to protect brittle BGA solder joint intermetallics.
Fine-pitch BGA packages, chip-scale packages, and 0201 ceramic capacitors demand tighter microstrain thresholds. Automotive and high-reliability aerospace assemblies often restrict maximum allowable principal strain to 300 microstrain across all fixture actuation phases regardless of strain rate. Fixture verification procedures enforce these restricted thresholds to eliminate latent field failures in high-consequence operating environments.
Principal Strain and Strain Rate Mathematical Derivation
Triaxial rosette strain gauge outputs require mathematical conversion to calculate principal strain magnitudes and maximum strain rates. Rosette grids labeled gauge A (0 degrees), gauge B (45 degrees), and gauge C (90 degrees) provide raw microstrain values denoted as εa, εb, and εc. Principal strains ε1 and ε2 represent maximum and minimum normal strain values occurring along orthogonal principal axes.
Calculations derive maximum principal strain ε1 using the Mohr circle transformation equations for plane strain:
ε1 = fracεa + εc2 + frac1sqrt2 sqrt(εa – εb)2 + (εb – εc)2
ε2 = fracεa + εc2 – frac1sqrt2 sqrt(εa – εb)2 + (εb – εc)2
The principal angle thη, representing the physical direction of maximum strain relative to gauge grid A, follows the relationship:
thη = frac12 arctanleft(frac2εb – εa – εcεa – εcright)
Strain rate calculations determine the time derivative of principal strain across consecutive data acquisition samples. Strain rate dotε equals the change in principal strain divided by the sampling time interval Δ t:
dotε = fracΔ ε1Δ t = fracε1(t) – ε1(t – Δ t)Δ t
A calculated principal strain shift of 200 microstrain occurring within a 2-millisecond acquisition window yields a strain rate of 100,000 microstrain per second (105,με/s). Plotting calculated principal strain against log-scale strain rate places each data point directly onto the IPC/JEDEC 9704 allowable limit boundary curves.
Substrate Micro-Damage and Component Failure Mechanics
Exceeding allowable strain thresholds induces distinct physical failure modes within printed circuit assemblies. Multilayer ceramic capacitors suffer Mode I tensile fractures running diagonally through ceramic dielectric layers. These micro-fractures remain non-conductive initially, escaping in-circuit electrical testing.
Subsequent ambient moisture absorption converts micro-cracks into low-resistance short circuits, destroying board power distribution networks during end-user operation.
Ball grid array packages experience solder joint cratering when substrate flexure exceeds mechanical limits. Cratering initiates as micro-voids and tear lines within the resin laminate directly beneath copper land pads. Mechanical fatigue expands pad craters until the copper pad separates cleanly from the PCB laminate.
Solder joint cratering causes intermittent functional opens that appear and disappear as operating temperatures shift, frustrating field diagnostic efforts.
| Substrate Thickness (mm) | Package / Component Type | Max Strain at Low Rate (< 100 µε/s) | Max Strain at High Rate (> 100,000 µε/s) | Critical Failure Mode |
|---|---|---|---|---|
| 1.0 | BGA Pitch < 0.8 mm | 1000 µε | 350 µε | Solder Pad Cratering |
| 1.0 | 0402 MLCC Ceramic | 1200 µε | 400 µε | Dielectric Layer Cracking |
| 1.6 | BGA Pitch > 1.0 mm | 1500 µε | 500 µε | Intermetallic Joint Shear |
| 1.6 | 1206 MLCC Ceramic | 1000 µε | 350 µε | End Termination Delamination |
| 2.4 | BGA / QFN Assemblies | 2000 µε | 700 µε | Trace Necking at Via Pads |
Evaluating strain verification results requires confirming compliance across all fixture operational phases. A complete test cycle includes manual loading, fixture clamp locking, actuation stroke engagement, probe contact duration, fixture release, and manual unloading. Strain spikes frequently peak during manual lever clamping or vacuum release cycles rather than during steady-state probing.
Failing to log transient strain during fixture release allows damaging mechanical stress to pass unnoticed into volume production.
- Triaxial Strain Rosette Placement Map detailing physical sensor coordinates, component proximity, and orientation relative to board reference datum lines.
- Data Acquisition Hardware Calibration File certifying signal conditioning amplifier linearity, shunt calibration verification, and trace accuracy.
- Raw Strain Time-History Plot recording continuous microstrain signals across all rosette channels throughout the complete fixture actuation cycle.
- Principal Strain and Strain Rate Matrix tabulating calculated peak values for ε1, ε2, and dε1/dt alongside IPC/JEDEC 9704 limit curves.
- Fixture Mechanical Pass Sign-Off documenting formal engineering approval and seal application prior to production line release.
According to standard quality provisions in high-reliability electronic manufacturing contracts, any test fixture operating without certified strain gauge documentation forfeits batch acceptance rights when field failure rates exceed baseline warranty allowances. Contractual terms shift full financial liability for unverified mechanical damage onto the test engineering facility. Quality agreements require keeping verified strain files available for auditor review throughout the production lifecycle of the assembly.
Filing
Systematic documentation converts fixture strain calibration into defensible conformity evidence. Test engineers compile a comprehensive technical dossier for every newly commissioned in-circuit test fixture before releasing the tooling to production. The dossier binds raw strain gauge data, push pin force maps, sensor calibration certificates, and formal engineering pass sign-offs into a traceable quality record.
Storage protocols archive fixture records alongside product assembly master drawings and batch manufacturing files.
Technical dossiers satisfy quality audit requirements under ISO 9001 and IATF 16949 standards. Regulatory assessors review strain verification reports when investigating field escape incidents or catastrophic component failures. A complete dossier proves that the manufacturing facility maintained rigorous process controls, protecting the circuit assembly from mechanical damage during electrical test operations.
Verification Report Compilation and Technical Dossier Requirements
A complete fixture verification report includes physical documentation of strain gauge selection, bonding procedures, and signal conditioning settings. The report records environmental test conditions, board substrate part numbers, and serial numbers of test instruments used during verification. High-resolution photos show exact strain rosette mounting locations relative to push pins, fixture stoppers, and vulnerable components.
Calculated principal strain values and strain rates appear in clear tabular format alongside applicable IPC/JEDEC 9704 standard limit curves. Graphs display microstrain traces across time, highlighting specific fixture actuation events such as vacuum drawdown, lock engagement, and lid release. The dossier closes with formal engineering sign-offs, unique tamper-evident seal identifiers, and recommended recalibration intervals.
Fixture Maintenance Recalibration Windows and Wear Tracking
Mechanical fixtures degrade through continuous production usage, shifting push pin alignment and probe spring forces. Wear on mechanical guide pins, bushings, and hold-down rods introduces play into top-plate movement, causing asymmetrical board pressing. Fixture recalibration policies establish mandatory re-verification intervals based on actuation cycle counts or elapsed calendar time.
Standard quality procedures require full strain gauge re-verification every 50,000 actuation cycles or twelve calendar months, whichever occurs first. Immediate re-verification triggers when technicians replace push pins, modify probe bed wiring, repair mechanical clamps, or revise PCB substrate designs. Logging actuation counts via mechanical cycle counters embedded inside the fixture chassis ensures timely preventive maintenance execution.
Financial accounting models weigh the modest expense of strain gauge verification against catastrophic product field escape liabilities. Conducting a complete triaxial strain gauge verification procedure costs approximately 500 to 1,200 US dollars per fixture, including labor and consumable sensor hardware. In contrast, a single field recall triggered by latent MLCC fractures in automotive or medical assemblies incurs costs exceeding 250,000 US dollars in scrap, replacement, freight, and customer warranty penalties.
Rigorous strain verification pays for itself by preventing latent mechanical escapes from ever leaving the factory floor.
As a rule of thumb, when fixture hold-down pins display visible surface wear or guide bushings develop detectable lateral movement, mechanical strain verification must take place immediately regardless of recorded cycle counts.