Calculating Pressed Prepreg Thickness Variations in Sequential Buildup Lamination
Calculating pressed prepreg thickness requires accounting for copper pattern density, foil height, glass style geometry, and resin flow during cure.

Calculus
Determining pressed prepreg thickness in sequential buildup stackups begins with the volumetric retention of resin within glass fabric substrates. Uncured prepreg consists of woven glass filaments suspended in solid B-stage epoxy matrix. Applying elevated temperature and hydraulic pressure forces this solid resin into a liquid phase before chemical cross-linking solidifies the matrix into C-stage dielectric.
During this fluid window, resin redistributes across the panel plane. Liquid epoxy migrates into interstitial spaces left by etched copper features on adjacent sub-composite layers. This displacement reduces the effective dielectric height above copper traces.
Dielectric spacing calculations must account for three distinct physical elements: raw prepreg nominal thickness, adjacent copper feature volumes, and glass bundle compaction under press mechanical loading. Manufacturers publish raw prepreg thickness values based on nominal glass basis weight and target resin weight percentage. The total volume of resin available within a given sheet area equals the panel area multiplied by the total raw sheet thickness minus the solid glass equivalent volume.
Glass filaments maintain structural stability, retaining their primary dimension along the x-y plane while flexing vertically under mechanical force.
Resin flows under pressure. Void volume drives squeeze. Mathematical modeling treats the resin fill process as liquid displacement into bounded micro-cavities.
When prepreg laminates against an etched copper pattern, liquid resin flows downward and lateral into the channels between traces. The dielectric height remaining above the top surface of a copper trace equals the original unpressed prepreg thickness minus the unetched void volume ratio multiplied by copper foil height, adjusted for glass cloth mechanical compression. Mathematically, the pressed dielectric thickness over copper features follows the relation:
t_pressed = t_raw – (1 / R_v) – delta_glass
In this governing equation, t_raw defines the unpressed prepreg sheet thickness supplied by the laminate mill. Parameters h_cu1 and h_cu2 represent the height of adjacent etched copper features on the upper and lower core surfaces bounding the prepreg ply. Area fractions C1 and C2 quantify the remaining copper pattern density on those respective layers, expressed as decimal values between zero and one.
Parameter R_v represents resin volume fraction within the prepreg ply, while delta_glass captures the permanent vertical yarn flattening occurring under high hydraulic loading.
A raw 1080 prepreg ply with 65 percent resin content compresses from 75 micrometers nominal raw height down to 52 micrometers over 70 percent copper coverage areas during standard lamination.

Volumetric Resin Balance Equation
Calculating exact resin distribution across non-uniform copper layouts demands localized volume balancing. Standard single-value stackup estimations assume uniform copper distribution across an entire panel. High-density interconnect designs feature dense ball grid array routing fields immediately adjacent to open power plane cutouts.
Liquid epoxy moves across distances bounded by resin gel time and melt viscosity limits. Localized low-density copper regions draw resin away from adjacent high-density trace clusters, producing height gradients across a single circuit layout.
| Glass Style | Nominal Raw Thickness (µm) | Resin Content Weight (%) | Dry Glass Height (µm) | Compressed Glass Factor (µm) |
|---|---|---|---|---|
| 106 | 33 | 72 | 9.2 | 2.1 |
| 1035 | 48 | 65 | 16.8 | 2.8 |
| 1078 | 75 | 62 | 28.5 | 3.4 |
| 2116 | 115 | 54 | 52.9 | 4.2 |
| 7628 | 180 | 43 | 102.6 | 5.8 |
Consider a 1078 prepreg sheet with 62 percent resin content laminating against a 1/2-ounce inner core copper layer having 18 micrometers nominal copper height. Assuming an inner core copper density of 60 percent, the unetched void volume fraction equals 40 percent. The volumetric clearance requirement per unit area demands 7.2 micrometers of liquid resin height to fill inter-trace channels completely.
The original 75-micrometer prepreg sheet contains 28.5 micrometers of dry glass structure and 46.5 micrometers of solid epoxy resin matrix. Subtracting 7.2 micrometers of resin consumed by copper fill, alongside 3.4 micrometers of glass bundle compression, yields a final pressed dielectric thickness over copper traces equal to 64.4 micrometers.

Glass Cloth Compression and Thread Geometry
Glass yarns do not behave as solid continuous plates. Woven fabric structures comprise twisted bundles of E-glass filaments separated by open interstitial windows known as fabric knuckles. Under hydraulic press forces exceeding 2.0 megapascals, individual filaments within yarn bundles shift laterally into empty weave openings.
Loose weave constructions experience greater vertical compaction than tightly woven, spread-glass fabrics.
Spread-glass styles utilize mechanically flattened yarns to create uniform dielectric distributions. Styles 1035, 1078, and 3313 employ spread-glass technologies that restrict vertical bundle displacement while reducing micro-cavity volumes. Standard non-spread styles like 106 and 2116 permit higher bundle movement, increasing thickness variability across dense trace fields.
Heavy copper demands higher resin. Selecting prepreg styles with resin content matched to adjacent copper volume prevents structural starve without forcing excess flow across panel borders.
Copper Pattern Density Variations
Inner layer pattern density dictates localized resin consumption across bare-board panels. Unetched copper areas retain full metal height, offering solid support to overlaying glass fabric. High-clearance regions present continuous open voids that absorb surrounding resin volume during the press fluid phase.
Fabricators evaluate pattern density using automated optical inspection software to calculate localized copper coverage percentages across discrete square-centimeter grid sectors.
- Core Copper Weight dictates total void volume height requiring liquid resin infill during hydraulic pressing operations.
- Pattern Density Area Ratio establishes localized volumetric resin demand based on etched trace spacing.
- Glass Fabric Weave Geometry determines mechanical resistance against localized vertical compression over open clearings.
- Resin Flow Index governs the lateral distance liquid epoxy travels prior to reaching cross-linking gelation.


Thrust
Hydraulic pressure profiles applied during vacuum lamination dictate the rate of resin squeeze-out and edge flash movement. Vacuum press equipment isolates sub-composite assemblies inside sealed chambers, evacuating trapped air before thermal ramps liquefy B-stage resin. Once temperature rises through the Tg degradation boundary, epoxy viscosity drops rapidly toward a minimum melt trough.
Applying hydraulic thrust during this specific viscosity window forces resin into micro-voids while expelling air bubbles to panel borders.
Press cycles govern prepreg thickness uniformity across large working panels. Excess hydraulic force applied while resin sits in its lowest viscosity state drives excessive resin out of the panel perimeter, a condition termed resin starvation. Inadequate pressure yields incomplete clearance filling, creating internal micro-voids and dielectric delamination under thermal stress.
Process engineers structure multi-stage pressure cycles to align hydraulic force escalation with resin cure kinetics.
Compliance with IPC-4101 slash sheet specifications requires laminate suppliers to report resin flow limits under method IPC-TM-650 2.3.17 to prevent dielectric starvation during buildup cycles.
Rheological Temperature Windows and Viscosity Troughs
Temperature rise rates control liquid resin lifecycle during lamination press passes. Standard high-Tg epoxy systems exhibit minimum melt viscosities between 10 and 50 pascal-seconds when heated at rates between 2.5 and 4.0 degrees Celsius per minute. Higher heating rates shorten the fluid window duration while lowering absolute melt viscosity values.
Lower heating rates prolong fluid duration but elevate minimum viscosity levels, restricting resin migration into narrow inter-trace channels.
Viscosity drops in the press. Vacuum prevents air entrapment. Precision thermal control ensures uniform melt profiles across internal book structures.
Panels located at the center of a lamination book experience delayed heat transfer relative to panels positioned adjacent to outer heating platens. Thermal lag differences cause center panel resin to remain fluid longer, driving greater edge squeeze-out and reduced center-to-edge dielectric thickness uniformity.
Lamination Press Pressure Profiles
Establishing process control across sequential buildup passes demands structured pressure profiling tailored to specific dielectric formulations. Engineers execute press profiles following defined sequential operational steps:
- Evacuate press chamber to absolute pressure levels below 15 torr to remove trapped atmospheric gases and volatile organics.
- Initiate low contact pressure below 0.5 megapascals to ensure thermal contact between platens, separator plates, and circuit book assemblies.
- Ramp platen temperatures at 3.0 degrees Celsius per minute until thermal sensors confirm stack temperatures reach 90 degrees Celsius.
- Apply full hydraulic pressure of 2.4 megapascals precisely as resin viscosity enters the fluid window between 110 and 130 degrees Celsius.
- Sustain maximum pressure and temperature at 185 degrees Celsius for 75 minutes to achieve complete chemical polymer cross-linking.
- Cool assembly under full hydraulic pressure at controlled rates below 2.5 degrees Celsius per minute to limit residual thermal stress.
Process parameter adjustments alter pressed dielectric dimensions directly. Increasing peak pressure by 0.5 megapascals compresses 1080 prepreg by an additional 2.5 micrometers per ply. Conversely, reducing thermal ramp rates reduces resin flash loss, increasing final pressed thickness.
Laminate vendors routinely attribute peripheral dielectric thinning to non-uniform hydraulic platen pressure rather than nominal resin content drift in the raw prepreg lot.
Gradient
Sequential buildup lamination exposes sub-composite cores to multiple thermal cycles and cumulative pressure exposures. High-density interconnect architectures utilize sequential layer addition, bonding microvia dielectric layers onto fully cured inner core assemblies. Core dielectrics re-enter elevated temperature environments during subsequent lamination cycles, undergoing stress relaxation and minor secondary compaction.
Multi-pass stackups accumulate dimensional variations across consecutive buildup operations.
| Buildup Stage | Target Dielectric Layer | Initial Pressed Thickness (µm) | Post-Pass 2 Thickness (µm) | Post-Pass 3 Thickness (µm) |
|---|---|---|---|---|
| Primary Core (Pass 1) | L3-L4 Sub-Composite | 100.0 | 98.2 | 97.5 |
| First Buildup (Pass 2) | L2-L3 Prepreg (1078) | 65.0 | 65.0 | 63.8 |
| Second Buildup (Pass 3) | L1-L2 Prepreg (1035) | 45.0 | 45.0 | 45.0 |
Sub-composites shrink across cycles. Planarization restores flat surfaces. Core dielectric layers undergo initial shrinkage during the primary lamination pass.
When subsequent buildup prepreg plies are laminated over the processed core, local topographic step heights across etched copper features transfer stresses into the new prepreg layer. Copper traces on sub-composite outer faces act as rigid stress risers, creating localized resin pressure spikes that force liquid epoxy away from trace crests.
Sequential lamination passes consistently increase resin squeeze-out at panel margins while compressing center core dielectrics.
Cumulative Shrinkage in Subcomposite Assemblies
Glass reinforced cores exhibit anisotropic mechanical properties along x, y, and z axes. Z-axis thermal expansion coefficients range from 40 to 60 parts per million per degree Celsius below glass transition temperature Tg, escalating to 250 to 300 parts per million above Tg. During sequential press cycles, core resin re-enters rubbery states above Tg, permitting structural compaction under applied hydraulic force. Cumulative z-axis compression reduces original core dielectric height by 1.5 to 2.5 percent across two subsequent buildup cycles.
Microvia drill depth targets rely on consistent dielectric thickness prediction. Laser microvia drilling relies on controlled pulse energy or fixed focal length optics to pierce buildup dielectrics, stopping precisely on internal copper capture pads. If cumulative sequential lamination compresses buildup dielectrics beyond calculated target limits, laser beams over-penetrate capture pads, burning into underlying core materials.
Conversely, excessive dielectric thickness leaves resin residues in microvia target bases, causing open-circuit defects after pattern plating.

Asymmetrical Core Planarization
Asymmetrical copper distributions between top and bottom sub-composite faces create severe panel bow and twist alongside uneven dielectric pressing. Solid ground planes on Layer 2 paired with sparse signal routing on Layer 3 force unequal resin displacement across central core dielectrics. Liquid resin flows toward the low-density signal layer, forcing the underlying core to tilt relative to the panel center line.
- Differential Copper Area Ratios generate uneven resin migration rates, distorting dielectric thickness balance across the panel plane.
- Pattern Distribution Asymmetry induces mechanical bending moments during cooling, altering localized dielectric thickness profiles under bow stresses.
- Resin Starvation Clearings occur when large core plane cutouts deplete adjacent trace fields of necessary liquid matrix.
- Sequential Thermal Excursions compound structural residual strain, shifting dielectric targets across successive circuit layers.
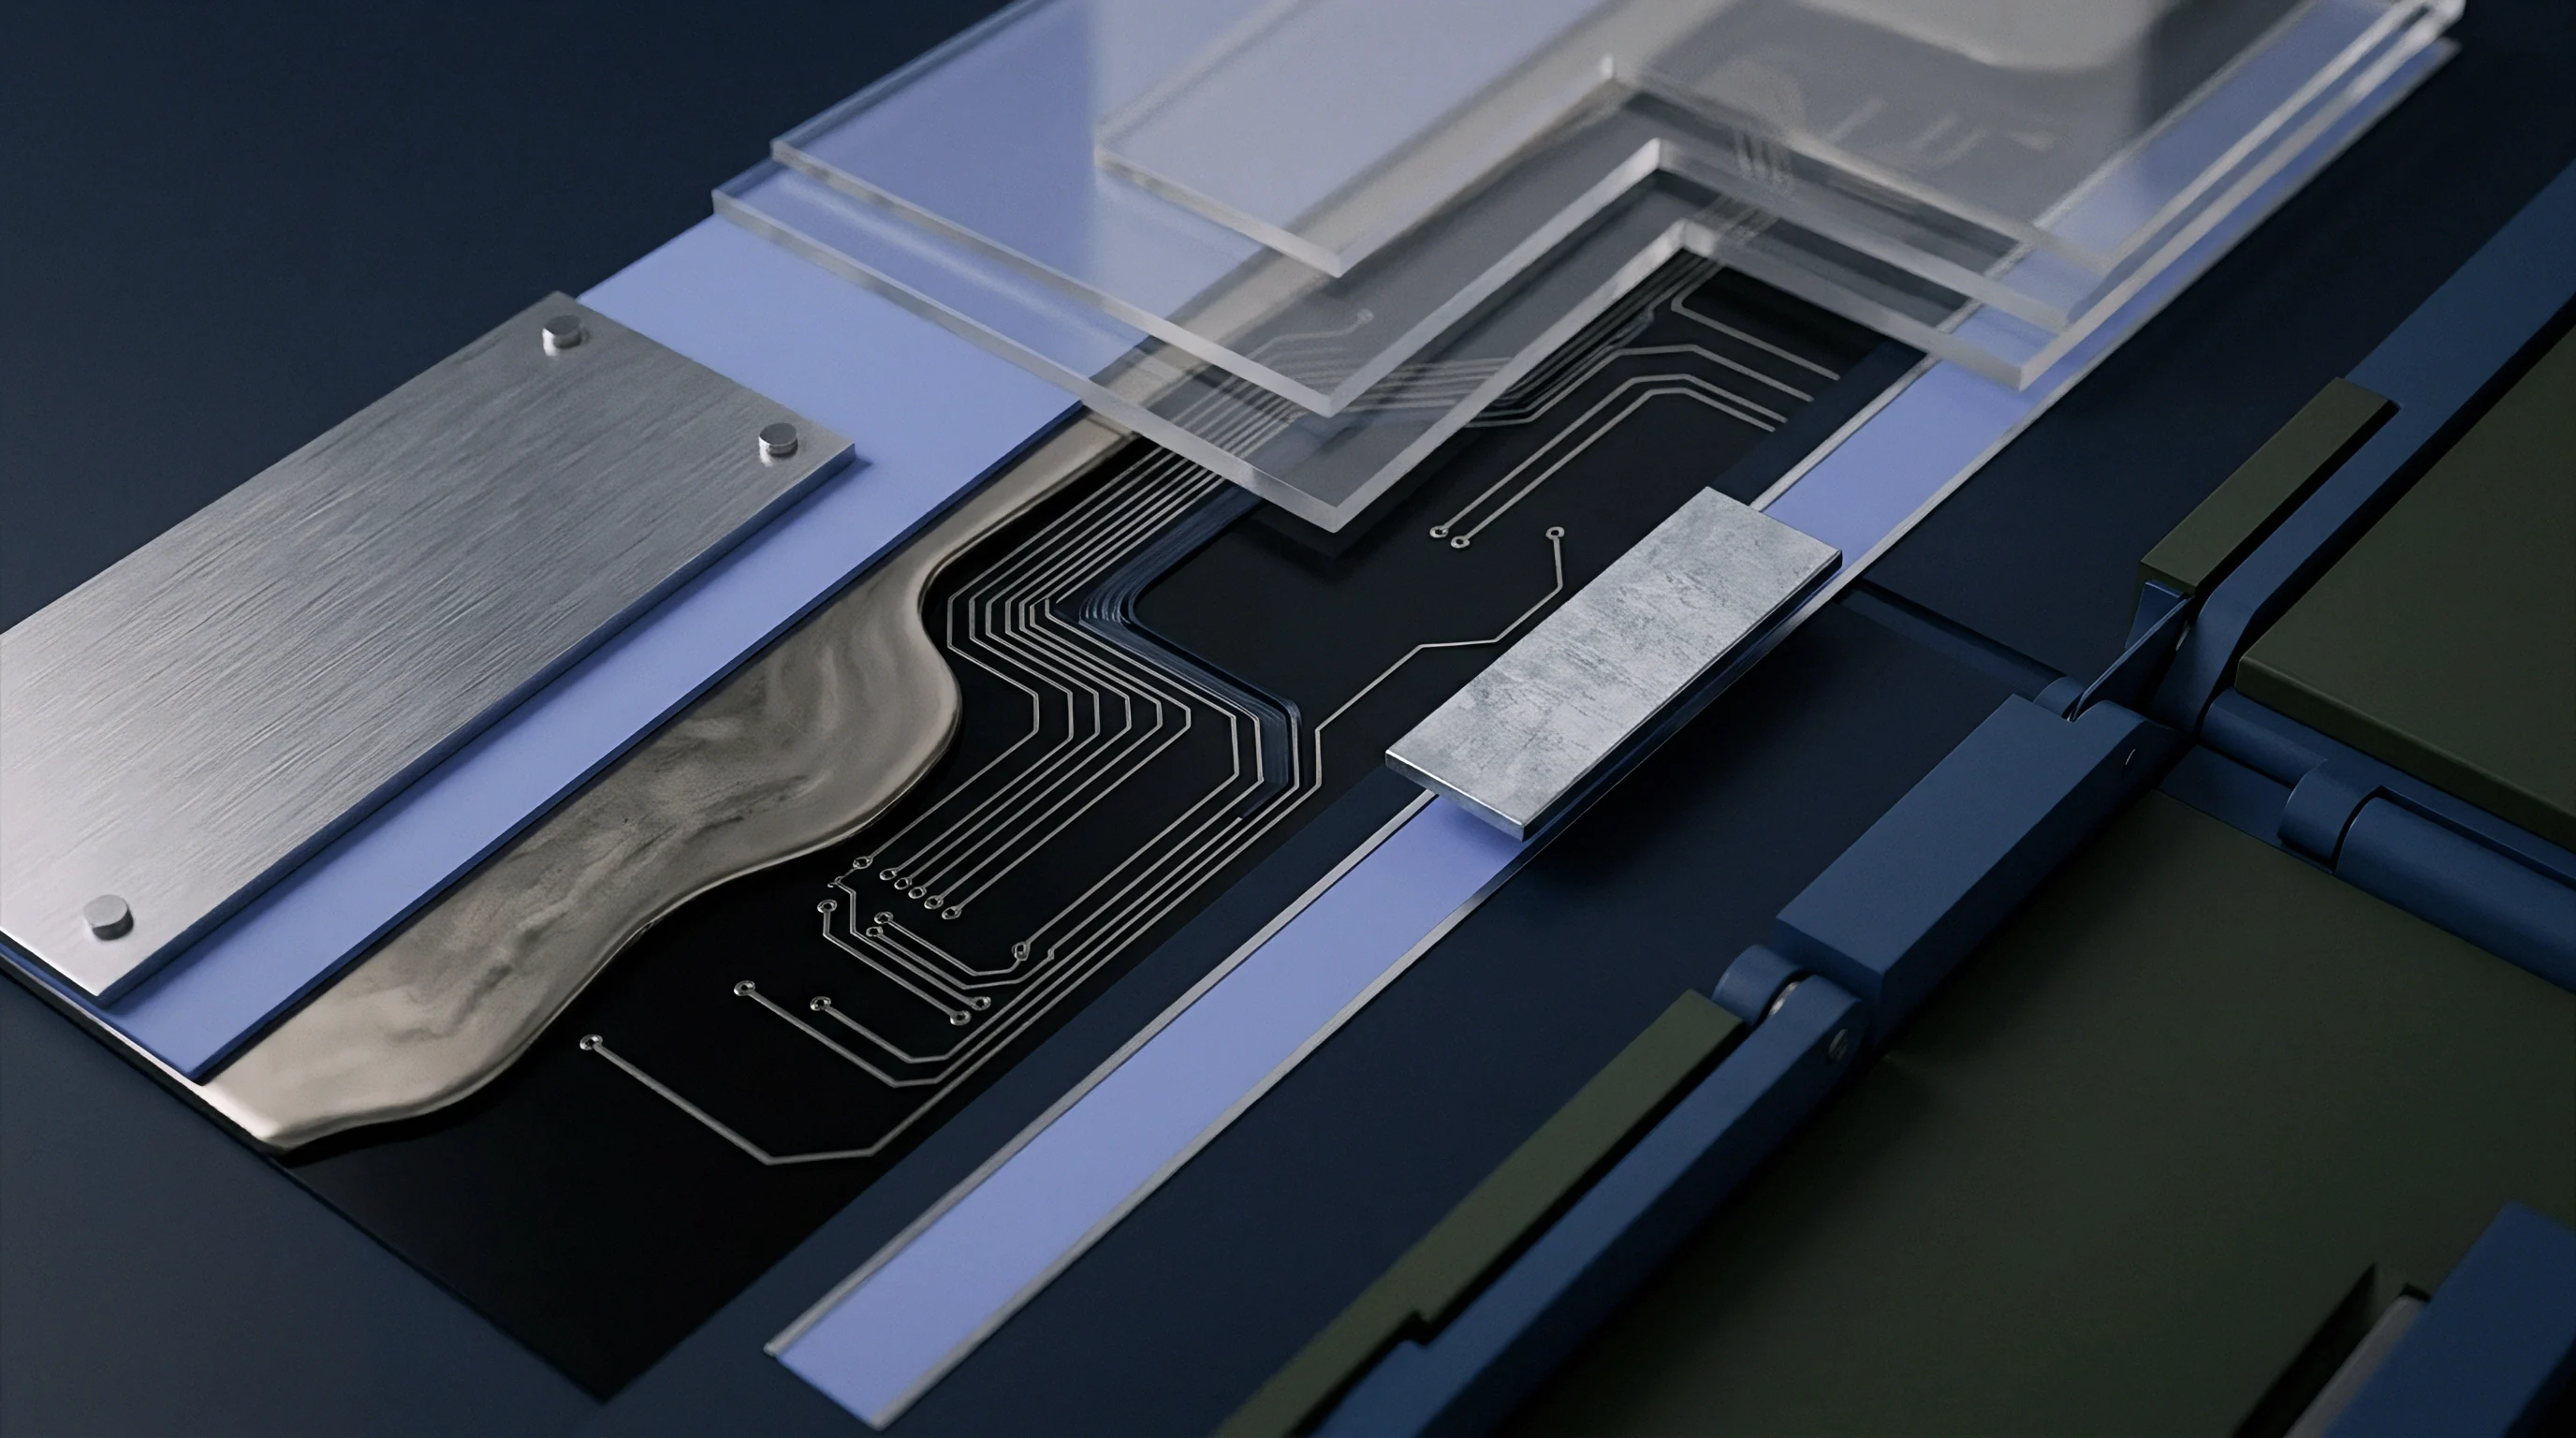
Correcting planarization errors requires balance adjustments during initial artwork creation. Designers add dummy copper flooding into open routing channels to equalize area density ratios across facing core surfaces. Uncorrected sequential dielectric contraction alters microvia drill depth targets, causing blind vias to under-penetrate internal capture pads or fracture thin core layers.
Verification
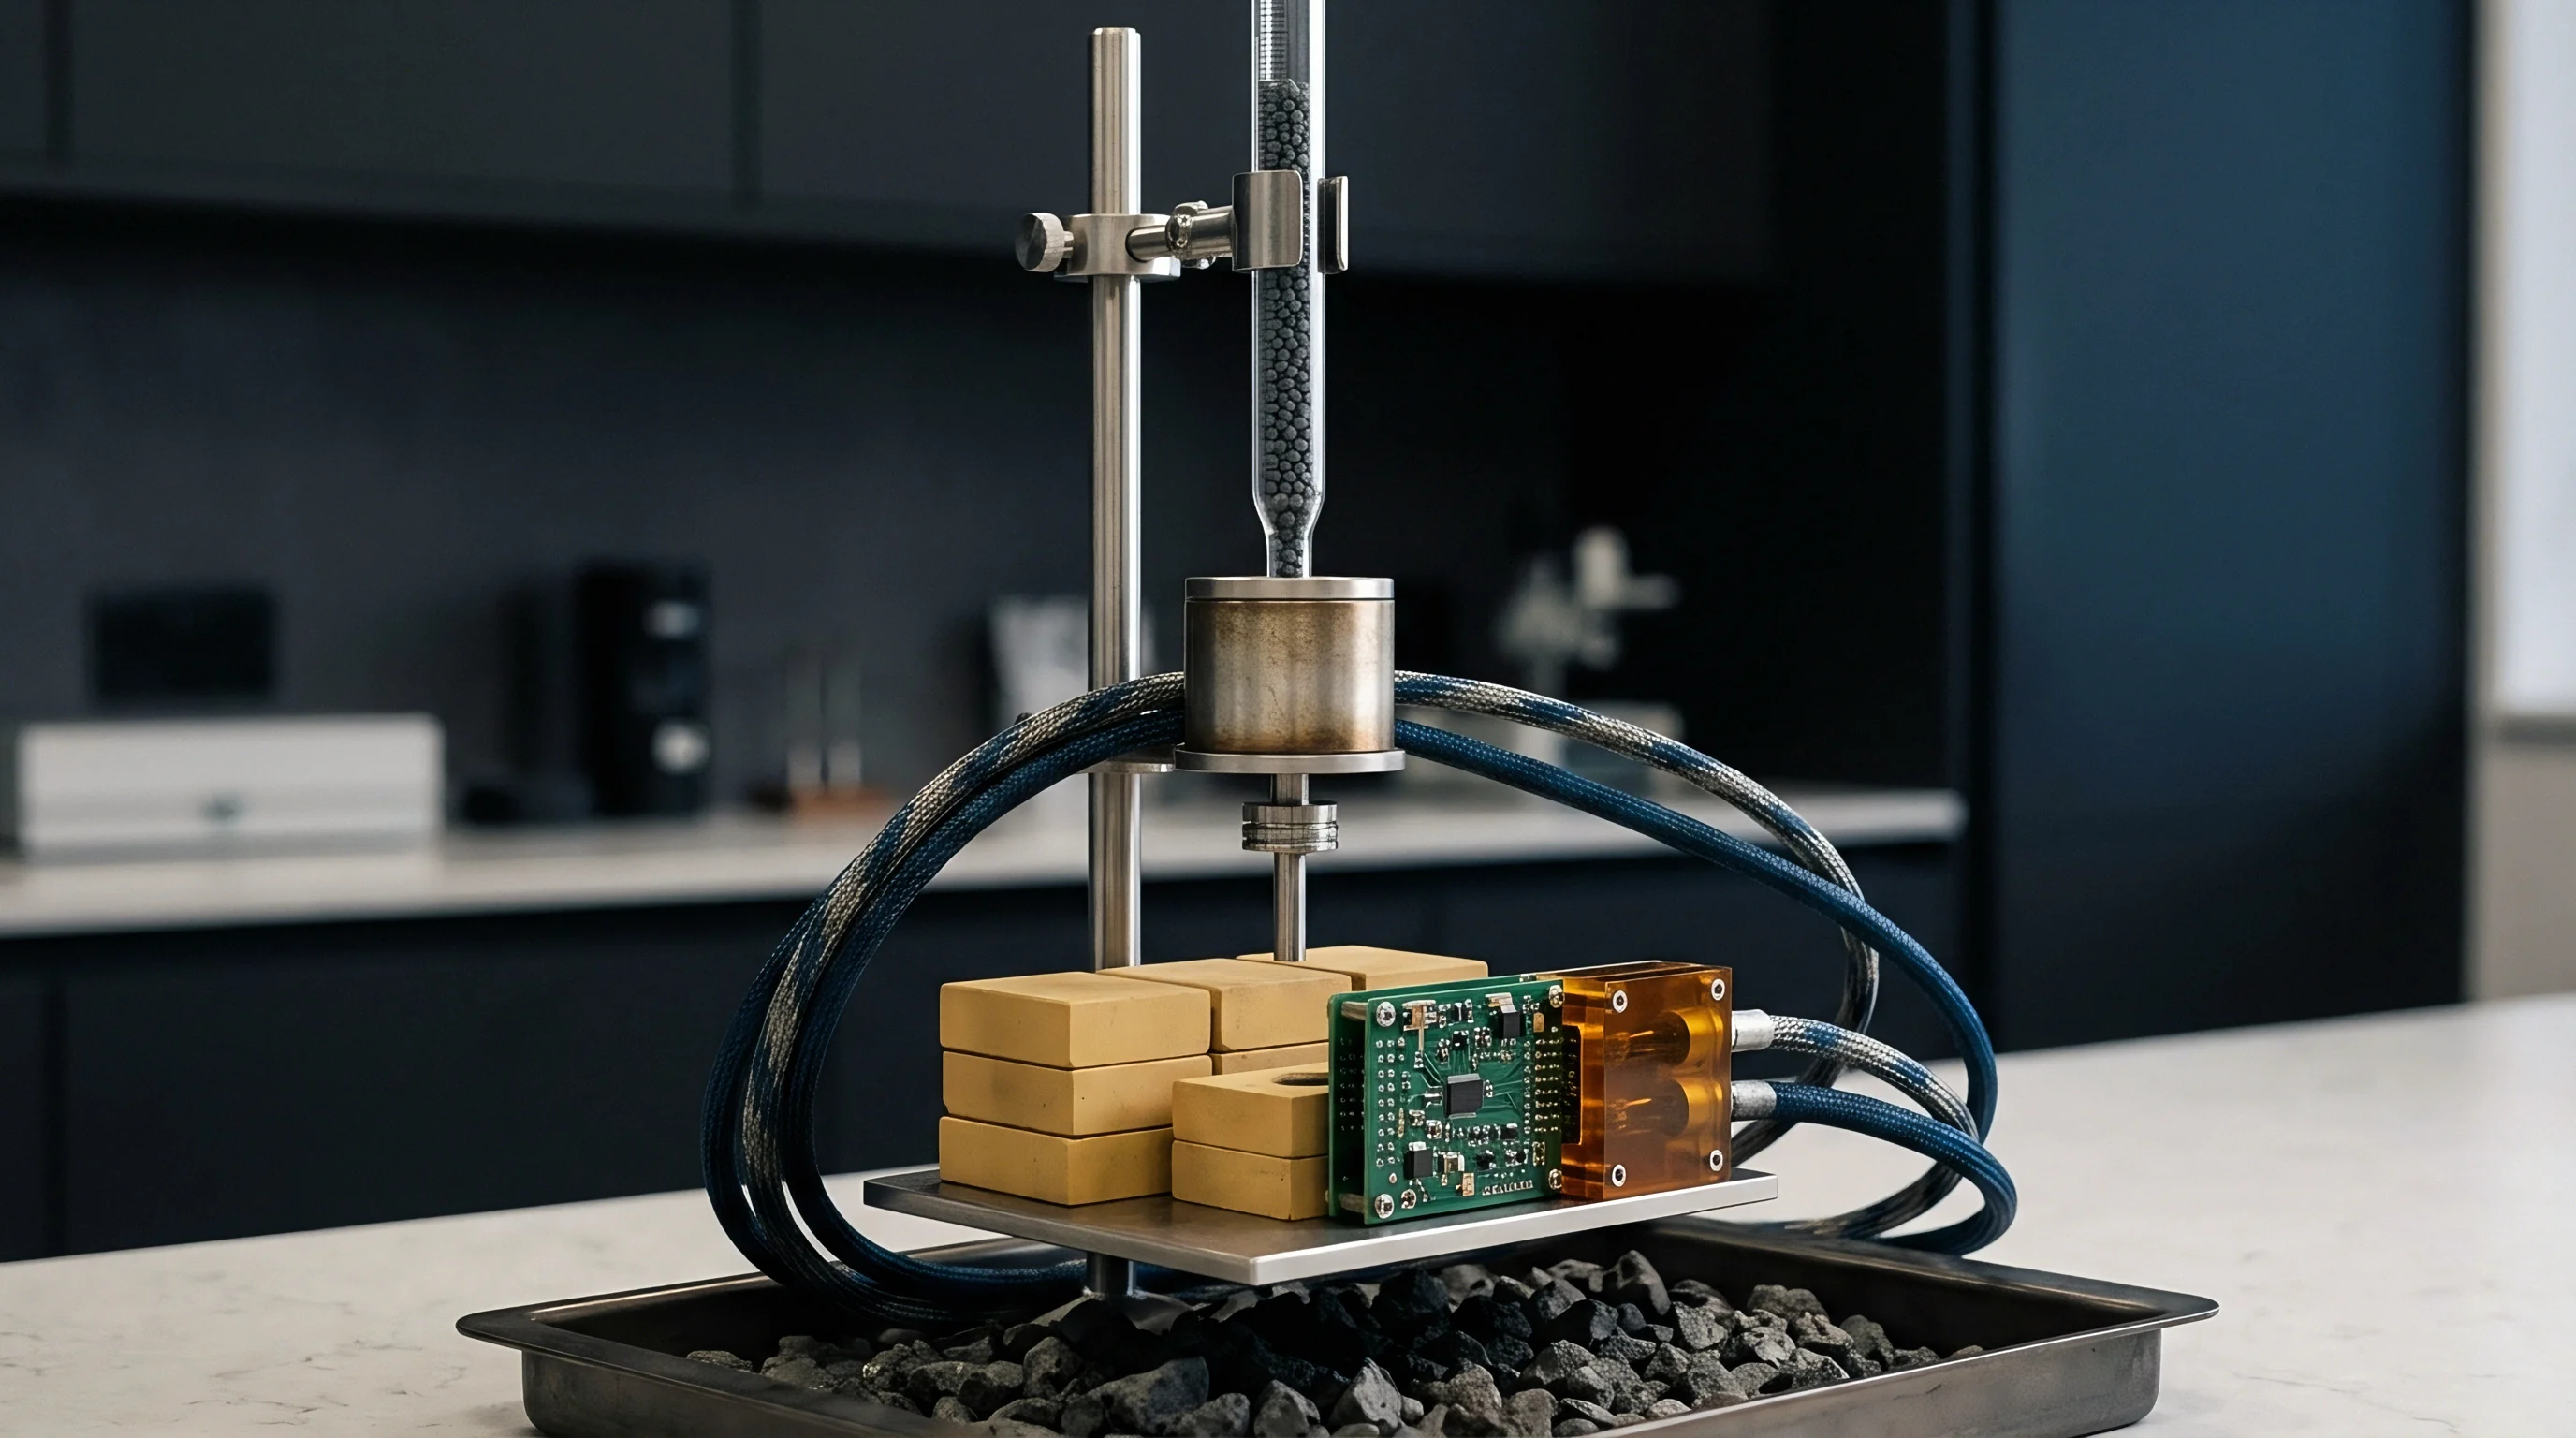
Cross-sectional microsectioning performed under optical or scanning electron microscopy serves as the referee method for embedded layer spacing. Laboratory technicians cut physical coupons embedded within panel scrap borders, potting samples in epoxy resins before polishing cut faces down to smooth 0.05-micrometer diamond slurry finishes. Optical measurement software measures vertical distances between copper trace plateaus and adjacent plane surfaces under high magnification.
Microsections reveal real geometry. Optical measurements carry limits. Physical cross-sections inspect discrete single-point locations across panel real estate.
Microsection preparation introduces micro-mechanical artifacts including edge rounding, copper smearing, and resin relief polishing errors. Microscopic evaluation confirms structural compliance with IPC-A-600 standards, but single-point inspection fails to map continuous thickness variations across an entire functional circuit area.
Reflected light microscopy systematically overestimates dielectric thickness due to copper trace edge smearing during metallurgical polishing.
Which Metrology Protocols Disambiguate Optical and Electrical Thickness?
Time-domain reflectometry provides non-destructive dielectric thickness verification based on electrical performance along controlled impedance transmission lines. Signal propagation velocity along microstrip and stripline traces depends directly on effective dielectric constant and physical distance to reference ground planes. By measuring signal reflection times and trace characteristic impedance, field solvers back-calculate the effective physical dielectric spacing along the entire length of embedded test coupons.
| Measurement Method | Sample Integrity | Spatial Resolution | Thickness Accuracy (µm) | Primary Measurement Output |
|---|---|---|---|---|
| Optical Microsection (IPC-TM-650 2.1.1) | Destructive | Localized Point (1 µm) | ±1.2 | Physical Mechanical Geometry |
| TDR Impedance Back-Calculation | Non-Destructive | Trace Averaged (100 mm) | ±0.8 | Effective Electrical Height |
| Eddy Current Non-Contact Gauging | Non-Destructive | Area Spot (5 mm) | ±1.5 | Overall Panel Thickness Profile |
| Scanning Electron Microscopy | Destructive | Sub-Micron Localized | ±0.2 | Interface Transition Layers |
Discrepancies arise between optical physical measurements and TDR electrical back-calculations. Optical microscopy measures physical distance from raw copper surface peaks to adjacent foil bases. TDR back-calculations report effective electrical thickness influenced by copper surface roughness profiles.
Standard foil treatments present surface micro-roughness peak-to-valley heights ranging from 2 to 6 micrometers. Signal currents flow along foil skin depths, effectively delaying wave propagation and making the physical dielectric layer appear 3 to 5 percent thinner electrically than optical measurements report.
Microsection Preparation and Microvia Measurement
Executing accurate dielectric measurement protocols demands rigorous metallographic sample preparation. Technicians implement control steps to eliminate polishing artifacts during cross-section evaluation:
- Section Cut Alignment requires sectioning blades to pass within 5 degrees perpendicular to target trace centerline axes.
- Potting Compound Selection mandates low-shrinkage epoxy resins to prevent gap formation along copper-dielectric interfaces.
- Gritting Sequence Progression utilizes successive silicon carbide papers down to 1200 grit prior to diamond polishing phases.
- Etch-Back Surface Treatment applies mild ammonium persulfate micro-etches to remove smeared copper from dielectric boundaries.
Microvia capture pad interfaces demand specific inspection parameters under IPC-6012 Class 3 rules. Inspectors record minimum dielectric clearance beneath target microvia bases to verify structural insulation integrity. Inserting standard IPC-6012 Class 3 microsection requirements into purchase agreements shifts financial responsibility for dielectric thickness non-conformance back to the fabricator.

Economics
Uncontrolled dielectric thickness variations directly impact bare-board manufacturing yields and raw panel scrap rates. Controlled impedance specifications demand characteristic impedance tolerances bounded within ±10 percent for standard designs, tightening to ±5 percent for high-speed differential pairs operating above 28 gigabits per second. Characteristic impedance scales proportionally with dielectric height.
A 10 percent variation in pressed prepreg thickness moves signal impedance by approximately 4.5 ohms on a 50-ohm single-ended design, consuming the entire customer tolerance window.
| Impedance Tolerance Band | Allowable Dielectric Spread (µm) | Fabrication Yield (%) | Laminate Cost Factor | Total Landed Cost Multiplier |
|---|---|---|---|---|
| ±10 Percent Standard | ±6.5 | 98.5 | 1.00 | 1.00 |
| ±7 Percent Tightened | ±4.2 | 94.2 | 1.15 | 1.18 |
| ±5 Percent High-Speed | ±2.8 | 86.0 | 1.40 | 1.55 |
| ±3 Percent Extreme | ±1.5 | 62.0 | 2.10 | 2.85 |
Yield loss alters board margin. Stackup drawings bind the shop. Narrow gaps trap liquid resin.
Heavy copper demands higher resin. Yield losses multiply rapidly across sequential buildup passes. A three-pass sequential buildup process exhibiting a 92 percent yield per press cycle yields a cumulative panel yield of only 77.8 percent prior to final outer layer processing.
Material scrap costs incurred during late-stage buildup operations carry all accumulated value from preceding inner core etching, lamination, and laser drilling processes.

Impedance Yield Loss Metrics
Financial risk management requires matching dielectric tolerances to realistic process capability indices Cpk. Fabrication shops holding standard hydraulic press controls achieve a 1.33 Cpk on dielectric thickness variations bounded within ±8 micrometers. Demanding ±3 micrometer dielectric tolerances forces fabricator process capability Cpk below 0.75, driving scrap rates above 30 percent.
Fabricators pass scrap costs directly to buyers through elevated square-meter base pricing and extended lead-time surcharges.
Specifying Stackup Notes for Fabricator Compliance
Clear fabrication drawing notes protect buyers from unauthorized material substitutions that alter pressed thickness behavior. Procurement documents must replace generic FR-4 designations with specific IPC-4101 slash sheet classifications and target construction parameters. Standardized engineering notes specify clear stackup constraints:
- IPC-4101 Slash Sheet Specification identifies baseline resin thermal stability and minimum Tg boundaries.
- Approved Glass Style Configurations restricts fabricators to verified weave styles, preventing high-variability substitutions.
- Controlled Dielectric Thickness Targets defines absolute trace-to-plane spacing tolerances alongside impedance targets.
- Reference Plane Copper Coverage Requirements mandates minimum copper density thresholds on internal layers facing buildup prepreg.
Specifying fixed prepreg constructions rather than relying on fabricator auto-routing stackups protects electrical performance parameters. Buyers who specify exact glass styles, target resin contents, and explicit press profiles maintain tighter control over landed unit pricing. The open question facing high-density interconnect buyers remains whether real-time optical thickness gauging can ever fully replace destructive microsectioning on production panels.