Test Point Access Argued before the Layout Is Released
Resolving test point access before layout release prevents costly PCB re-spins, ensures high fault coverage, and protects assembly yield.

Grid
Automated bed-of-nails fixtures require precise mechanical registration across the entire printed circuit board. When test points drop off the netlist during layout to make room for high-density routing, production-line defect detection takes an immediate hit. Test access cannot exist as an afterthought managed during prototype builds.
Settling target locations, pad diameters, keep-out zones, and grid spacing rules prior to layout release secures high structural fault coverage without forcing expensive circuit board re-spins later.
Every net on a printed circuit assembly can suffer a short circuit, an open trace, or a placement error during assembly. Electrically accessing these nets requires a physical landing pad where a spring-loaded probe tip makes solid ohmic contact. In-circuit testing relies on direct access to individual electrical nodes to isolate passive components, verify IC power rails, program onboard flash memory, and execute boundary scan vectors.
Stripping a test point off a net removes that node from direct fixture measurement, shifting the diagnostic burden onto downstream functional testing or optical inspection ~ both of which cost more and pinpoint faults with lower precision.
Design-for-testability guidelines published under IPC-9252 establish standard rules for probe target pitch, layout orientation, and board mechanical alignment. The standard defines access levels based on spatial distribution of test pads across the board layout. Ideally, primary test targets sit on a uniform grid on the secondary bottom side of the circuit board assembly.
Placing all test targets on one side allows the test house to construct single-sided bed-of-nails fixtures. Single-sided fixtures reduce mechanical complexity, simplify board loading mechanics, and lower fixture tooling costs by forty to sixty percent compared to dual-sided clamshell designs.

Layout Freeze Gates and Mechanical Access
Engineering teams run strict review checkpoints before releasing manufacturing databases to fabrication houses. The testability review gate sits right between routing completion and Gerber export. At this gate, automated design rule checks verify that every electrical net carries at least one accessible test point.
Net access metrics break coverage down into three values: total net coverage, signal net coverage, and power/ground coverage. Power and ground distribution networks require multiple test pads distributed across the board layout to handle current requirements during functional power-up sequences and to minimize ground bounce during fast digital switching tests.
Accurate mechanical alignment relies on dedicated tooling pins to hold the board rigid against the fixture.
Un-routed nets or nets terminating beneath micro-BGA packages present severe access obstacles. Routing micro-traces out from high-density ball grid arrays to dedicated test pads consumes valuable PCB surface area and increases layer count. When routing channels become congested, PCB designers frequently delete test pads on signal lines that appear low risk.
This practice introduces silent diagnostic blind spots. A single un-probed net connecting a microprocessor output to a peripheral input prevents the in-circuit tester from verifying trace continuity or detecting solder bridges under adjacent surface-mount pads.
Physical Spacing Rules for Bed of Nails Fixtures
Center-to-center pitch between test target pads dictates the diameter and spring force of probe assemblies. Standard test fixtures utilize probes mounted on a 2.54 millimeter center-to-center grid, corresponding to 100 mil spacing. Probes designed for 100 mil pitch feature robust barrel walls, high spring forces, and long operating lifetimes exceeding one million cycles.
As layout density forces tight component packing, test target centers compress to 1.27 millimeters or 0.90 millimeters, representing 50 mil and 39 mil spacing regimes.
Dedicated test pads demand physical board real estate that would otherwise go to component placement or signal routing.
Sub-millimeter probe pitch introduces severe mechanical vulnerabilities into the fixture assembly. Probes built for 50 mil pitch exhibit thinner barrel walls, fragile internal spring coils, and elevated electrical resistance. Nominal spring force drops from 2.5 Newtons per pin on 100 mil probes down to 0.7 Newtons on 39 mil probes.
Reduced contact force allows organic contaminants, flux residues, and surface oxides to block current flow, leading to false contact open calls on the factory floor. The table below outlines the mechanical parameters governing spring probe selection across standard target pitch regimes.
| Target Pitch Regime | Minimum Target Diameter | Probe Barrel Diameter | Nominal Spring Force | Location Tolerance |
|---|---|---|---|---|
| 2.54 mm (100 mil) | 0.89 mm (35 mil) | 1.37 mm | 2.0 to 2.8 N | +/- 0.05 mm |
| 1.91 mm (75 mil) | 0.76 mm (30 mil) | 1.02 mm | 1.4 to 2.0 N | +/- 0.04 mm |
| 1.27 mm (50 mil) | 0.64 mm (25 mil) | 0.68 mm | 0.8 to 1.2 N | +/- 0.025 mm |
| 0.99 mm (39 mil) | 0.48 mm (19 mil) | 0.51 mm | 0.5 to 0.7 N | +/- 0.015 mm |
Location tolerances tighten rapidly as pitch decreases. Fabricating a bed-of-nails fixture for 39 mil test target grids demands precision CNC drilling of probe socket plates, specialized guide plates, and optical alignment features. Cumulative mechanical tolerance stack-up includes PCB artwork expansion during lamination, tooling hole drilling variance, fixture plate hole drift, probe barrel wobble, and probe tip thermal expansion.
If total mechanical tolerance stack-up exceeds fifty percent of the target pad radius, the probe tip strikes the solder mask edge, causing false open test results or damaging the circuit board trace.
Target Geometry and Solder Mask Clearance Rules
Surface pads assigned for electrical contact require bare metallic land area unencumbered by polymer coatings. Solder mask openings around test pads must expose enough copper area to absorb total fixture alignment tolerances. Solder mask overhang onto the test pad creates an insulated lip.
When a spring probe hits this polymer lip, the tip fails to make electrical contact with the copper below, triggering an erroneous circuit open failure code.
Liquid solder mask can bleed onto bare copper lands during fabrication if clearance tolerances are set too tight.
Preferred test pad geometry specifies a round copper pad with a diameter of 0.80 millimeters exposed by a solder mask opening of 0.90 millimeters, establishing a 0.05 millimeter annular mask clearance. Square pads present sharp corners that accelerate probe tip wear and generate airborne metallic flaking during high-volume testing. Topography across the pad surface influences probe landing repeatability.
Electroless Nickel Immersion Gold provides a flat, highly conductive surface with low contact resistance. Hot Air Solder Leveling produces a dome-shaped solder surface, causing spring probes to skid off-center during fixture actuation, increasing mechanical strain on adjacent trace geometry.
Single-sided fixtures reduce mechanical complexity, simplify board loading mechanics, and lower fixture tooling costs by forty to sixty percent compared to dual-sided clamshell designs.
Organic Solderability Preservatives yield flat copper surfaces but form thin non-conductive organic films. Penetrating this organic film demands aggressive probe tip geometries, such as chisel or spear heads, paired with adequate spring force. Standard immersion silver and immersion tin surface finishes offer excellent planarity and low contact resistance, though immersion tin exhibits susceptibility to fretting corrosion and tin whisker formation if stored in non-climate-controlled environments before test execution.
Component Height Envelope and Probe Clearance Limits
Tall surface mount packages located adjacent to probed surface pads create collision hazards for fixture top plates. Fixture push pins and probe guide plates must clear tall components like electrolytic capacitors, transformers, power inductors, and connectors during board actuation. A minimum physical clearance envelope of 2.0 millimeters must surround the perimeter of every test pad.
This keep-out zone remains free of components exceeding 3.0 millimeters in height.
Attempting to place test points directly underneath low-clearance components leads to physical collisions and severe pin misalignment.
When tall components stand near test pads, spring probes must utilize long stroke travel configurations or extended probe sockets. Long stroke probes increase beam deflection under compressive force, worsening probe tip location drift. Fixture fabricators cut relief pockets into acrylic top plates to accommodate tall components.
If a test pad sits too close to a tall component wall, the relief pocket edge weakens the structural integrity of the fixture plate, allowing local plate flexure during actuation. Plate flexure causes non-uniform probe contact pressure across the target array.
Probing directly on component leads, solder joints, or surface mount land patterns presents severe reliability risks. Pressing a hard steel probe tip onto a surface mount passive component solder termination induces high localized mechanical stress. This stress propagates into the ceramic dielectric body of multilayer ceramic capacitors, initiating micro-cracks that manifest later as intermittent short circuits in field operation.
Probing active component leads risks bending delicate quad flat package pins, creating adjacent solder bridges or lifting leads from circuit pads entirely.
High Speed Signal Degradation and Test Stub Tolerances
Adding physical landing pads to high speed transmission lines introduces parasitic capacitance and impedance discontinuities. A standard 0.8 millimeter test pad laid down over a ground plane creates a localized capacitive stub ranging from 0.5 to 1.8 picofarads, depending on PCB dielectric constant and copper distance to reference planes. On digital signal lines operating above 5 Gigabits per second, such as PCIe Gen 4, USB4, or Ethernet interfaces, this parasitic capacitance causes signal reflection, increased jitter, and insertion loss degradation.
Heavier copper weights alter surface topography and increase the contact pressure needed for reliable electrical probing.
Mitigating high speed signal degradation requires strict control over test stub geometry. Routing a high speed differential pair into a test pad via a long stub line forms an open-ended transmission line segment. The stub reflects high frequency energy back into the primary signal channel, creating destructive interference at specific notch frequencies.
To prevent signal degradation, test pads on high speed traces must sit directly on the signal path, forming an in-line pad, or connect using a stub length shorter than one-tenth of the signal edge transition wavelength.
Where transmission line integrity prohibits physical test pads, alternative test strategies replace direct fixture probing. Functional test access shifts toward boundary scan registers, internal silicon loopback modes, or specialized AC-coupled capacitive probe pads. Standard layout guidelines set minimum target diameters at 0.8 millimeters for automated bed of nails fixtures, enforcing a hard rule that any departure below 0.6 millimeters requires formal sign-off from both the hardware architect and the test development manager.
Layout access rules dictate that test pads remain fixed on a uniform grid, isolated from mechanical interference, and protected by generous solder mask clearances across the entire printed circuit assembly.
Pin
Spring-loaded test probes form the physical electrical bridge between the circuit assembly and measurement instrumentation. Selecting the physical construction, plunger tip shape, spring rating, and plating material of these probes dictates fixture reliability on the assembly line. A fixture specified with improper probe hardware suffers from elevated contact resistance, frequent false defect calls, pin damage, and excessive mechanical stress imparted onto the circuit board under test.
The core mechanical structure of a spring probe consists of three distinct components: an outer barrel, an internal helical spring, and a moving plunger. The barrel acts as the structural housing and mechnical conductor, typically machined from nickel-silver or brass and plated internally and externally with gold. The internal spring, coiled from heat-treated beryllium copper or stainless steel, supplies the force required to depress the plunger onto the target surface.
Plungers are turned from heat-treated steel or beryllium copper, designed with specific head geometries to penetrate surface contaminants while maximizing electrical contact area.
Contact resistance across a spring probe interface depends on the mechanical force pressing the plunger head into the test target copper pad. Cold-welded electrical contacts require metallic clean contact points. Flux residues from wave soldering or reflow operations leave tough, insulating organic films over test targets.
Penetrating these films requires probe tip geometries that concentrate spring force into sharp cutting points or self-cleaning wiping actions during plunger stroke travel.
Probe Tip Topography and Surface Contact Dynamics
Selecting the correct plunger head profile determines how reliably measurement contacts penetrate surface oxides and flux residues. Spear point and chisel tips deliver high localized pressure at a single point, cutting through thick flux encrustations and OSP films easily. Spear tips concentrate the entire spring force onto a microscopic contact point, creating deep indentations in soft solder or immersion gold surfaces.
While electrical contact is highly reliable, spear tips wear down quickly when striking hard nickel layers under ENIG finishes.
Keeping test pads free of oxidation and flux residues prevents premature wear on probe plungers.
Crown tips, multi-point waffle heads, and cup tips distribute contact force across multiple raised points around the plunger perimeter. A 4-point crown tip provides multiple redundant contact points on flat test pads. If flux residue insulates one point, the remaining three points preserve electrical continuity.
Crown tips perform exceptionally well on solder-coated test pads where the teeth dig into the solder dome. Cup tips target long component leads or header pins, centering the lead inside the cup recess to maintain contact without slipping off the side of the pin.
Internal springs gradually lose their nominal force over extended cycling, weakening tip contact pressure.
Plating materials applied to plunger heads dictate contact resistance degradation over hundreds of thousands of test actuations. Standard gold plating over a nickel underlayer delivers low initial contact resistance, under 20 milliohms. Gold suffers from solder transfer, where tin from HASL or solder-capped pads diffuses into the gold layer, forming brittle, resistive intermetallic compounds.
Rhodium and Palladium-Cobalt platings offer superior hardness and resistance to solder buildup. Plungers plated with Palladium-Cobalt resist tin contamination, extending probe cleaning intervals by three hundred percent in continuous high-volume production environments.

Actuation Forces and Board Deflection Limits
Vacuum or pneumatic pressure pulling an assembly onto probe arrays generates thousands of Newtons of total compressive load. Calculating total fixture actuation force requires summing individual probe spring forces at full working stroke. A high density circuit board containing 1,500 test pads probed with standard 2.0 Newton 100 mil spring probes experiences a total downward compressive force of 3,000 Newtons, equivalent to over 300 kilograms of force pressing against the bottom surface of the PCB.
High-density test fixtures generate substantial total downward force across the printed circuit assembly.
Non-uniform probe distribution creates severe bending moments across the printed circuit assembly. Regions with high test pad density push up against the board with strong localized force, while un-probed regions experience zero support. Under heavy compressive force, the circuit board flexes down toward the probe plate.
Uncontrolled structural deflection causes dynamic pin misalignments, solder joint cracking, micro-via delamination, and mechanical damage to fragile surface mount components located near high deflection zones.
Mitigating deflection requires installing mechanical support pins, rigid push plates, and vacuum backing structures. Support pins sit directly behind high probe density regions, transferring compressive forces into the fixture chassis rather than allowing the circuit board to flex. Standard assembly guidelines prohibit board deflection exceeding 0.75 millimeters per 100 millimeters of linear board span during fixture actuation.
In high reliability automotive and medical applications, maximum allowable deflection drops to 0.50 millimeters per 100 millimeters, requiring rigorous mechanical strain gauge testing before fixture sign-off.
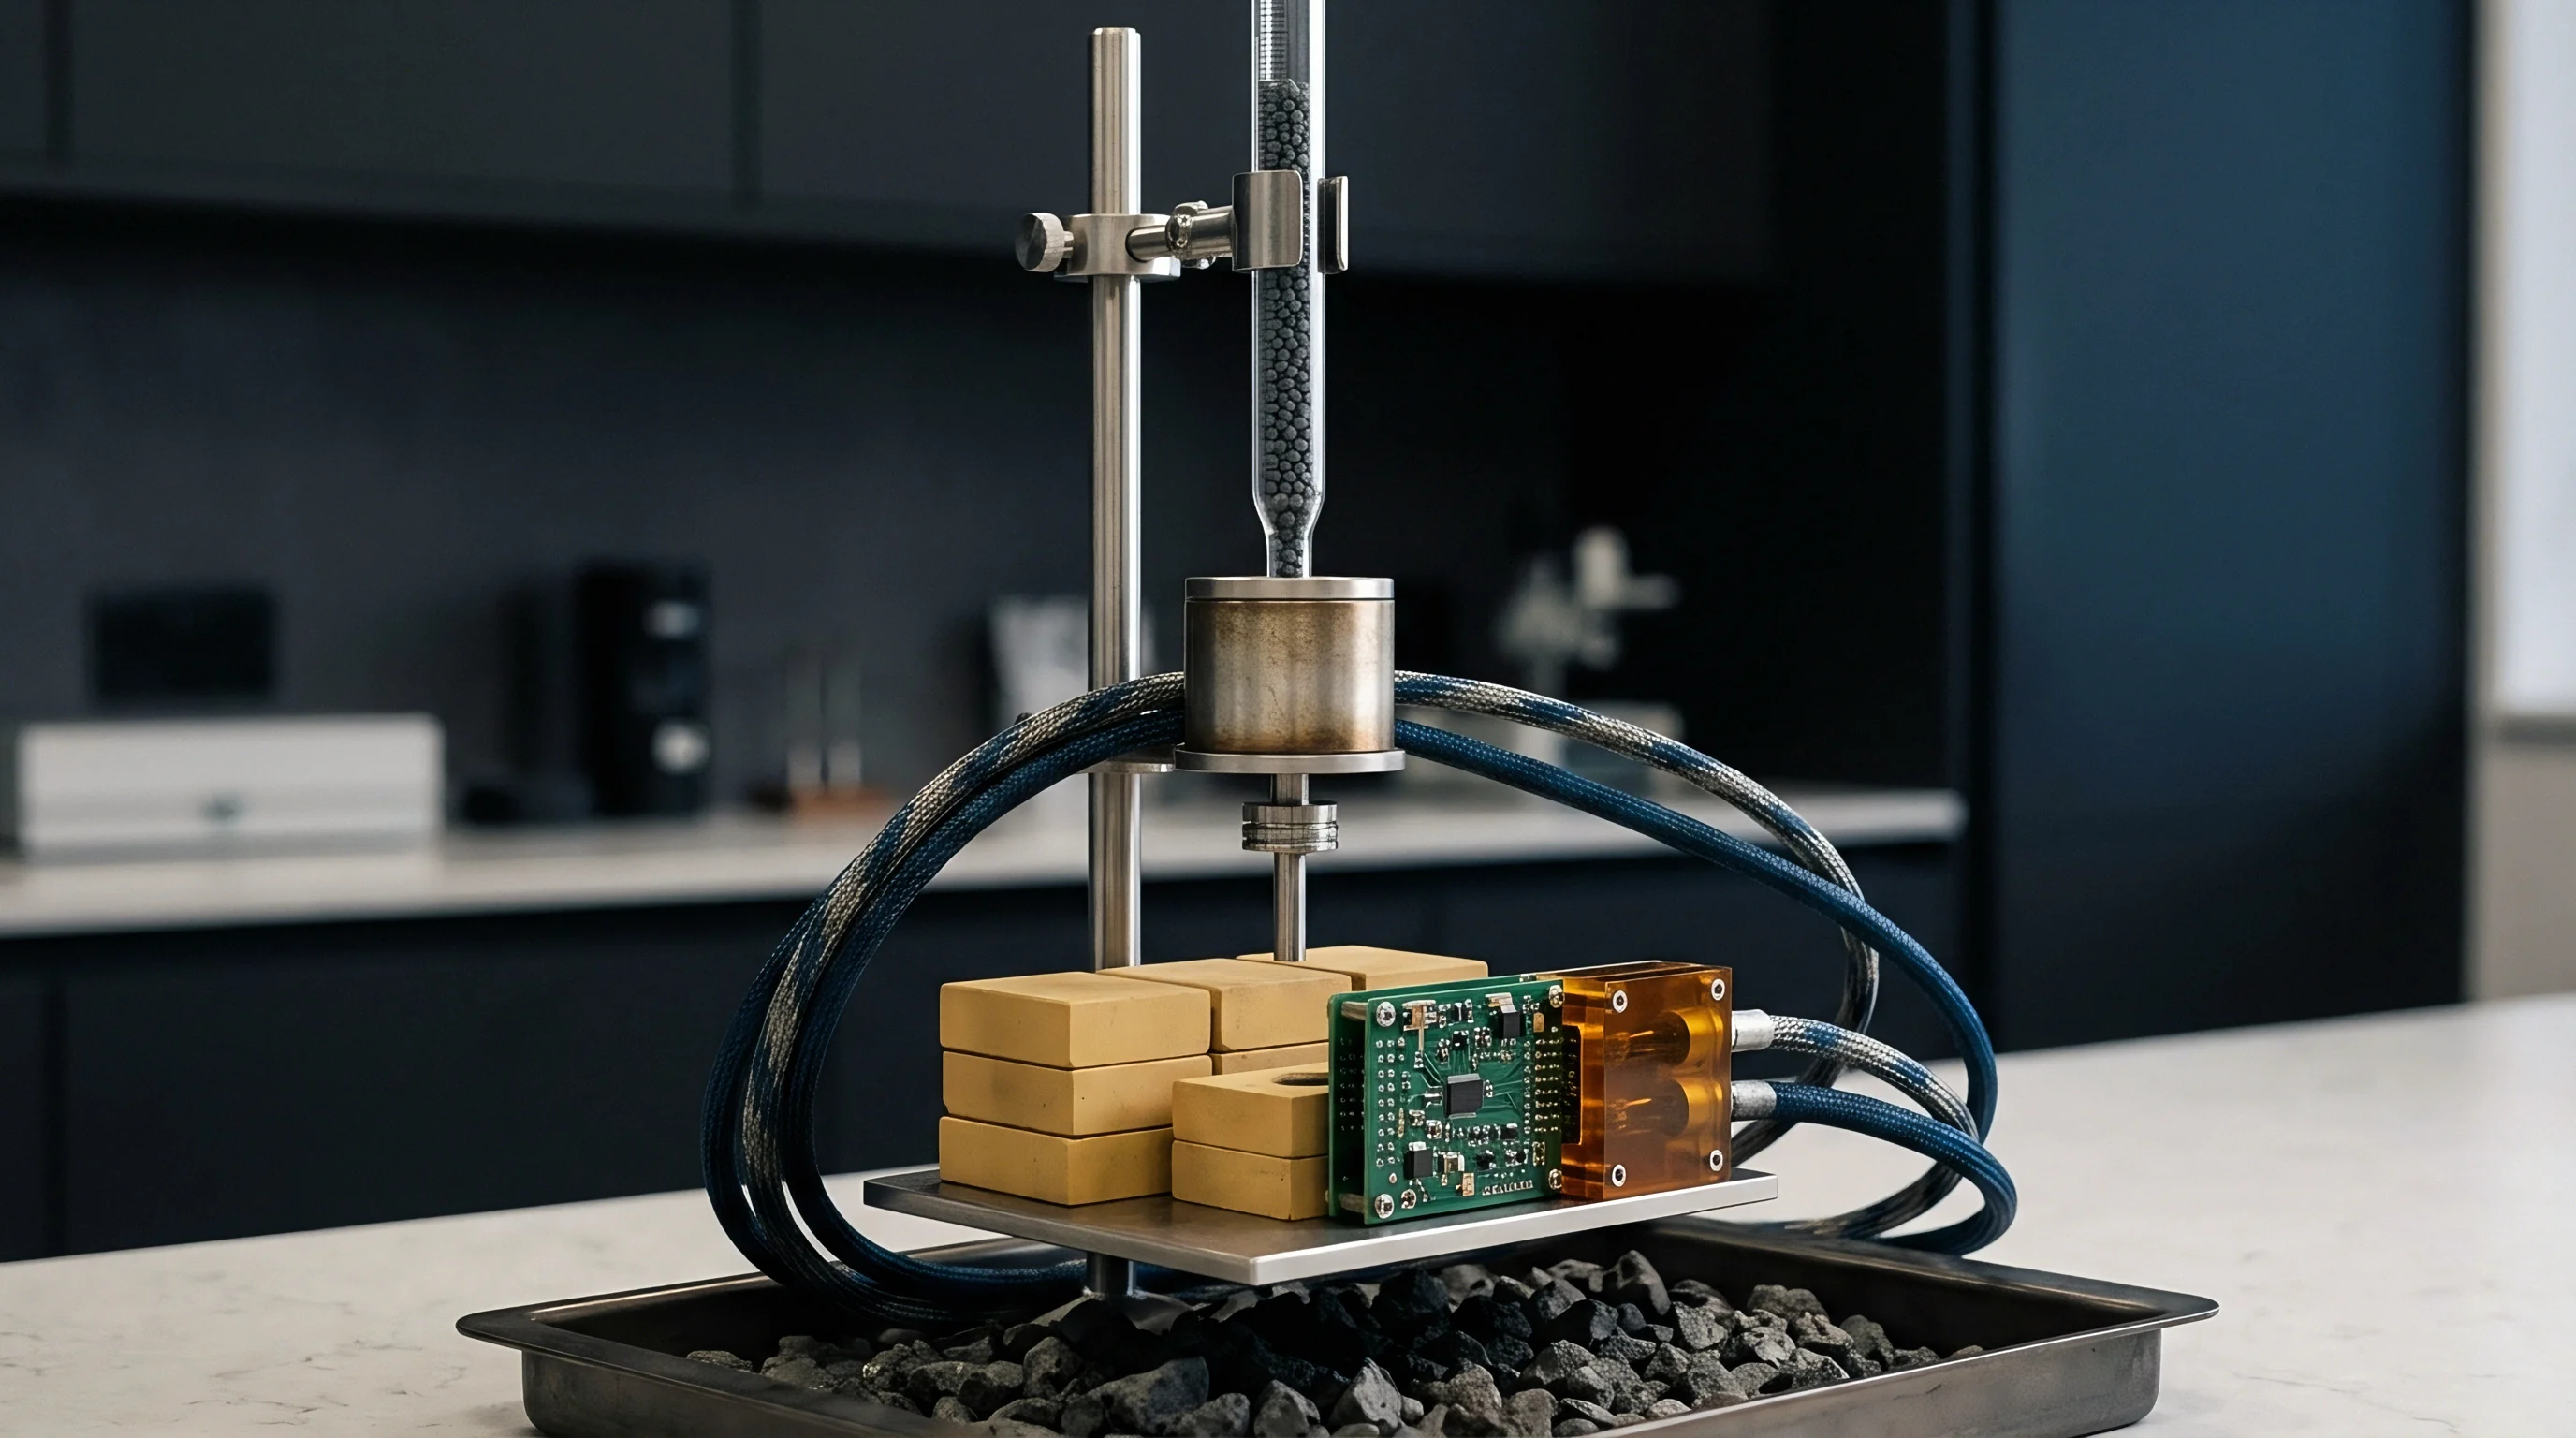
Flying Probe Trajectory and Throughput Mechanics
Automated probe needles moving across board surfaces on precision gantry systems eliminate hardwired bed fixtures. Flying probe test systems utilize four to eight independent probe heads mounted on high-speed linear motor drives. These heads travel rapidly in x, y, and z axes, landing software-guided probe tips onto test pads, component leads, and via pads.
Flying probe testing eliminates the custom fixture build lead time and non-recurring engineering charges associated with bed of nails fixtures.
Flying probe contact mechanics differ fundamentally from bed of nails fixtures. Flying probes land on targets with precise velocity control, adjusting landing impact force down to 0.3 Newtons. Soft touch control prevents probe tips from penetrating thin copper traces or marking cosmetically sensitive surfaces.
Programmable landing angles allow flying probes to contact tilted component leads or reach into narrow gaps between tall surface mount connectors where standard vertical fixture pins cannot fit.
Throughput trade-offs restrict flying probe deployment to low volume production, prototype validation, and high mix manufacturing. A bed of nails fixture evaluates a 1,000-net circuit board in 15 to 30 seconds, measuring all nodes in parallel through switching matrix cards. A flying probe system tests the same board sequentially, requiring 8 to 15 minutes to complete nodal continuity, short circuit scans, and passive component value measurements.
Flying probe test software uses vectorless options and nodal impedance signatures to reduce test time, but execution speed remains strictly limited by the mechanical movement speed of the probe gantries.

Fixturing Mechanical Strain and Joint Cracking Risks
Localized bending during test actuation induces tensile stresses that threaten fragile ceramic capacitors and solder joints. Strain gauge analysis conducted according to IPC/JEDEC-9704 guidelines identifies hazardous stress conditions during fixture operation. Multi-axis strain gauge rosettes glued to critical board areas measure principal micro-strain values during board loading, clamping, probing, and release phases.
Maintaining adequate clearance from board edges prevents localized flexure and trace damage during clamping.
Dynamic micro-strain limits depend on substrate thickness, board material, and component architecture. Standard FR4 assemblies populated with 0402 or 0201 ceramic capacitors permit maximum principal tensile strain levels of 500 to 750 micro-strain during fixture actuation. Exceeding 1,000 micro-strain risks fracturing ceramic dielectrics, causing immediate short circuit failures or latent field reliability failures.
The table below details probe tip geometry selection parameters and operational trade-offs across common surface finishes.
| Probe Tip Shape | Target Finish Compatibility | Initial Contact Resistance | Flux Penetration Ability | Mechanical Durability |
|---|---|---|---|---|
| Spear Point (Single Sharp Point) | OSP, Thick Flux, Bare Copper | < 15 mΩ | Excellent | Moderate (Tip Dull Rate High) |
| 4-Point Crown (Self Cleaning) | HASL, ENIG, Immersion Tin | < 20 mΩ | High | High (Redundant Contacts) |
| Multi-Point Waffle Head | Flat Gold, Smooth Solder | < 20 mΩ | Moderate | Very High |
| Conical / Spherical (Soft Touch) | Sensitive Pads, Thin Foil | < 35 mΩ | Low | High |
| Chisel Tip (Blade Edge) | Contaminated OSP, Vias | < 18 mΩ | Excellent | High |
Exceeding 2.2 Newtons of spring probe force per pin on unsupported 1.0 millimeter FR4 panels leads to substrate fracturing. Installing back-stop support pins directly beneath high density test pad clusters reduced maximum measured board micro-strain from 1,280 down to 340 micro-strain, fully eliminating substrate cracking and preventing component solder joint shear failure.
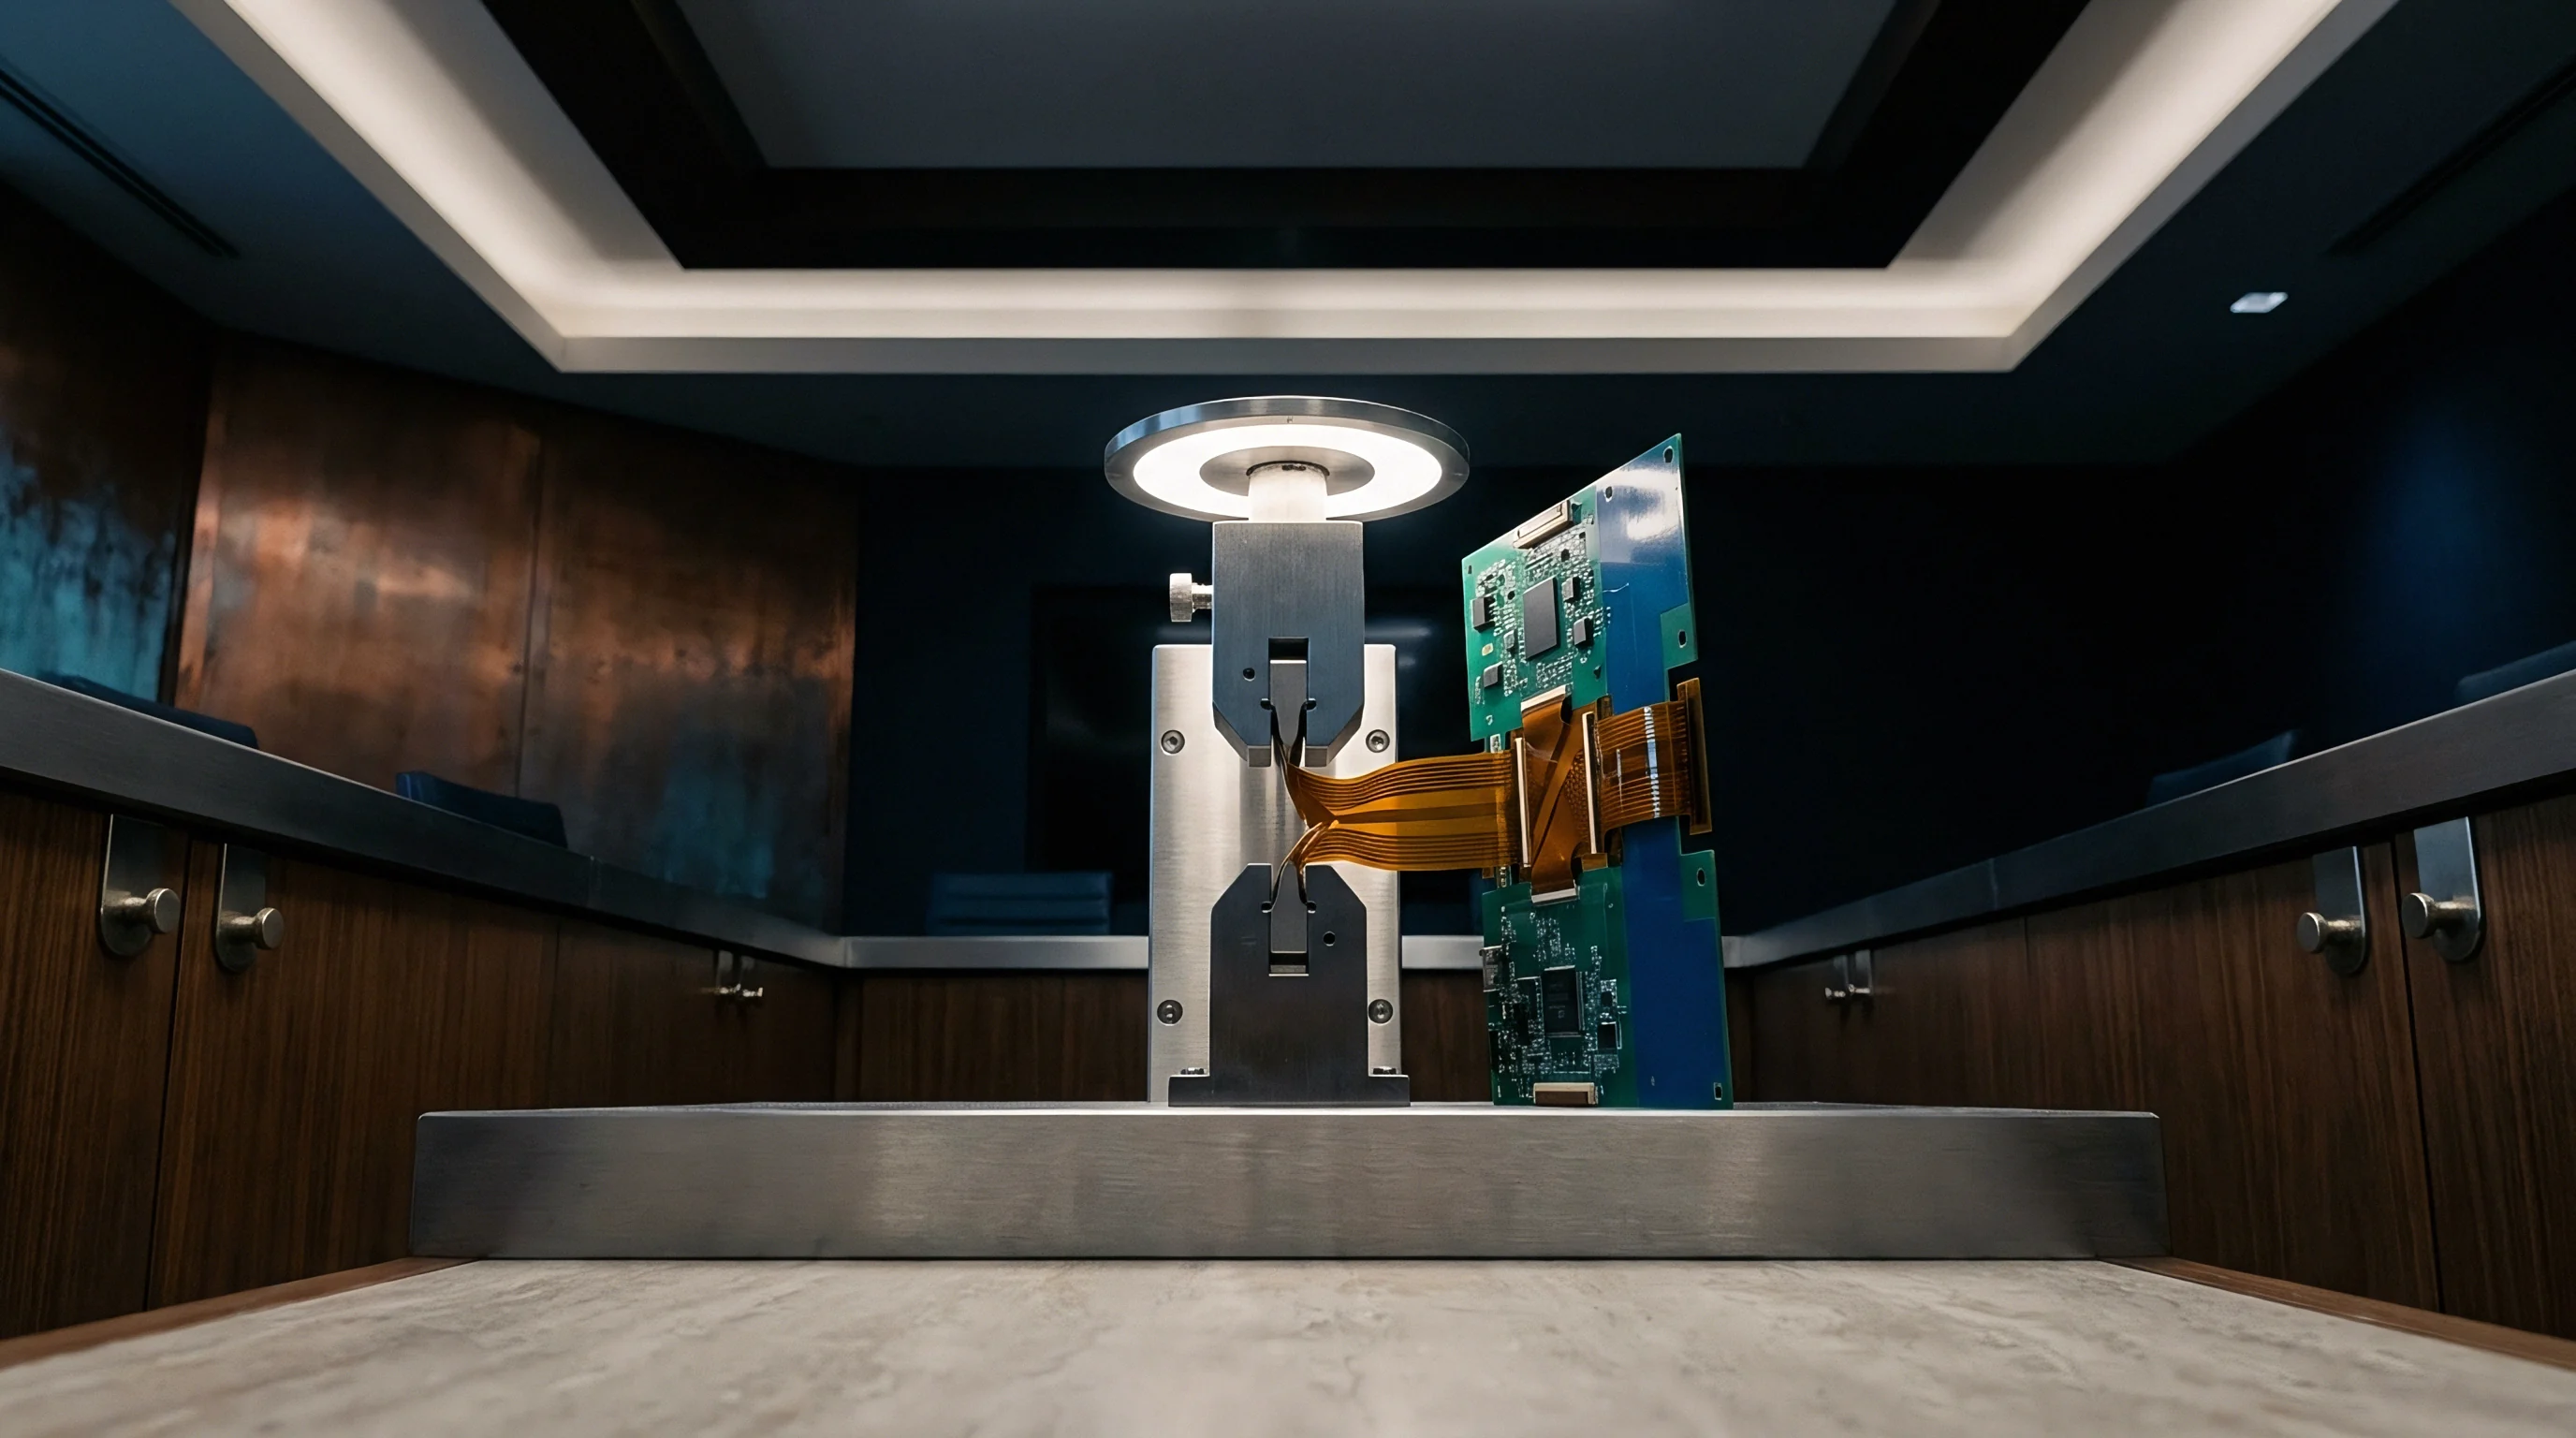
Maintenance Schedules and Contact Resistance Drift
Repeated mechanical cycling transfers metallic debris and un-cured flux residue onto probe plunger tips. Contamination builds up inside plunger flutes and across cutting edges, creating an insulating layer that drives contact resistance from a nominal 20 milliohms up past 5 ohms. High contact resistance triggers false open circuit failures, forcing operators to abort test sequences and manually re-test functional circuit boards, dropping first pass yield metrics.
Preventive maintenance programs monitor fixture health using statistical process control on contact resistance trends. Automated testers track average contact resistance across specific probe groups. When a probe group displays a mean resistance drift exceeding 200 milliohms above baseline, the system flags the fixture for maintenance.
Cleaning procedures utilize specialized brushes, automated ultrasonic wash stations, or abrasive cleaning plates cycling through the fixture to scour debris off plunger tips.
Replacing spring probes on fixed schedules avoids unexpected production stoppages. Standard 100 mil spring probes reach end of life at 1,000,000 actuations, while 50 mil probes require replacement after 300,000 actuations. Ultra-fine pitch 39 mil probes degrade rapidly, calling for replacement after 100,000 cycles.
Maintaining detailed cycle logs per fixture secures consistent measurement accuracy and avoids destructive over-use of worn, dull spring probes.
Contractual sign-off guidelines written under IPC-A-610 Class 3 require that test fixture contact marks on surface mount lands must not reduce the remaining effective solderable area by more than ten percent.
Under IPC-A-610 Class 3 standards, probe impressions left on surface mount lands cannot diminish the net solderable pad area beyond the allowable ten percent threshold.

Yield
Structural fault detection capabilities determine the proportion of manufactured defects caught during factory testing. High first pass yield metrics often mask undetected manufacturing escapes when test access remains incomplete. True process quality measurements compare caught defects against the complete theoretical fault universe.
Releasing a circuit board layout without comprehensive test access leaves significant portions of the fault universe unmonitored, ensuring that manufacturing defects escape directly into end products.
A comprehensive manufacturing fault universe divides into five distinct defect categories: short circuits between electrical nodes, open circuits at component terminals or trace segments, incorrect component values or part types, misaligned or reversed components, and completely missing passive or active devices. In circuit test fixtures achieve high detection rates on passive component misplacements and net-to-net short circuits, provided every electrical node presents an accessible test pad.
Calculating overall structural test coverage demands rigorous mathematical accounting. Nodal access percentage represents the simple ratio of probed nodes divided by total electrical nodes on the assembly. Nodal access alone does not equate to fault coverage.
Component coverage metrics evaluate whether specific component values, polarities, and pin continuity states can be verified using available nodal access combined with vectorless test techniques, boundary scan capabilities, and automated optical inspection coverage.

Fault Universe Partitioning and Nodal Access Arithmetic
Counting total manufacturing defects requires categorizing electrical short circuits, open traces, incorrect component values, and wrong orientation. Short circuit detection requires access to adjacent nets. Testing every possible pair of nets on a board with N nodes theoretical calls for N multiplied by (N – 1) divided by 2 individual continuity checks.
Automated in-circuit test algorithms optimize this check using parallel impedance scanning, reducing execution steps while maintaining full coverage across adjacent conductor paths.
Net-to-net short circuits and solder bridges account for most faults detected during early assembly runs.
Open circuit fault detection relies on probing both ends of a passive component or signal path. If a signal path contains series components, such as AC-coupling capacitors on high speed differential lines, direct DC continuity checking fails. Verifying continuity through a series capacitor requires high frequency AC impedance measurement techniques.
If test pads sit on only one side of a series capacitor, the in-circuit tester cannot evaluate the integrity of the trace segment extending beyond the un-probed side of the capacitor.
Component value verification uses guarded three-wire or four-wire Kelvin impedance measurement topologies. In parallel resistor-capacitor networks, measuring an individual component demands placing guarding voltages on surrounding nodes to isolate the target component from parallel current paths. If the layout omits test access to guarding nodes, parallel impedances corrupt the measurement, making it impossible to distinguish a correct component from an incorrect or missing device.

Which Fault Classes Escape Boundary Scan Interrogation?
IEEE 1149.1 boundary register architecture verifies digital interconnect logic but remains blind to analog component tolerances and passive component values. Boundary scan technology places dedicated shift registers, known as boundary cells, behind digital device I/O pins. Serial test vectors clocked into the JTAG test access port drive logical high and low states onto device output pins, while adjacent boundary scan devices sample incoming logic states on their input pins, isolating open traces and digital shorts without requiring physical bed of nails test pads.
Boundary scan testing effectively catches open trace connections across complex digital IC pins.
Despite its power on dense digital interconnects, boundary scan leaves large portions of the fault universe un-monitored. Boundary scan cannot detect drift in analog pull-up or pull-down resistor values, timing jitter on clock lines, power supply decoupling capacitor opens, or incorrect component tolerances in RF matching networks. A 10k ohm pull-up resistor shorted to a 100 ohm value will pass boundary scan logic tests because the node still toggles logic states, but the circuit will fail functionally due to excessive current draw or marginal signal rise times.
IEEE 1149.6 extends boundary scan standards to cover AC-coupled high speed differential signal lines containing series capacitors. IEEE 1149.6 pulse-based driver cells send step pulses across series capacitors, observing edge transitions at the receiver cell. Interfacing non-boundary scan digital components or purely analog networks with JTAG chains still requires hybrid testing strategies, combining boundary scan with physical flying probe or bed of nails access to ensure acceptable fault coverage levels.

Optical and Electrical Defect Intersection Limits
Automated camera systems identify surface pad wetting and component presence without confirming electrical continuity. Automated Optical Inspection uses multi-angle color LED lighting and camera arrays to evaluate solder fillet geometry, component placement offset, tombstoning, and polarity orientation markings. Automated X-ray Inspection penetrates component packages, exposing solder voiding, BGA head-in-pillow defects, and hidden bridge formations underneath heavy land patterns.
Unplanned layout re-spins introduce high NRE costs and delay commercial product shipping.
Optical and X-ray inspection regimes complement but cannot fully replace electrical nodal probing. An AOI system observes a solder joint that appears physically sound, yet an microscopic intermetallic fracture or un-removed organic flux pocket prevents electrical contact. Conversely, an AOI system flags a component for minor alignment tilt that remains fully functional electrically.
Relying solely on optical inspection without electrical verification increases false call rates, driving up unnecessary manual touch-up labor on the production floor.
Integrating optical data with electrical test logs establishes a comprehensive defect escape filter. When layout restrictions force the removal of test pads on specific high density nodes, AOI and AXI rules must be tightened over those specific un-probed component clusters. The table below illustrates the fault detection capabilities across competing factory inspection and testing regimes.
| Defect Category | AOI Coverage | AXI Coverage | Flying Probe | In-Circuit Test | IEEE 1149.1 JTAG |
|---|---|---|---|---|---|
| Adjacent Net Solder Bridges | 85% to 92% | 90% to 98% | 98% to 100% | 99% to 100% | 80% to 90% |
| Open Solder Joints (Standard SMT) | 80% to 90% | 85% to 95% | 95% to 99% | 98% to 100% | 85% to 95% |
| BGA Head-in-Pillow / Hidden Opens | 0% (Hidden) | 80% to 92% | 90% to 98% | 95% to 99% | 90% to 95% |
| Passive Value Drift / Wrong Part | 0% (Visual) | 0% (Visual) | 95% to 99% | 98% to 100% | 0% (No Read) |
| Reversed Polarized Capacitors | 90% to 95% | 70% to 80% | 90% to 98% | 95% to 99% | 0% (No Read) |
| Power Supply Rail Short to Ground | 0% (Visual) | 0% (Visual) | 100% | 100% | 0% (No Read) |
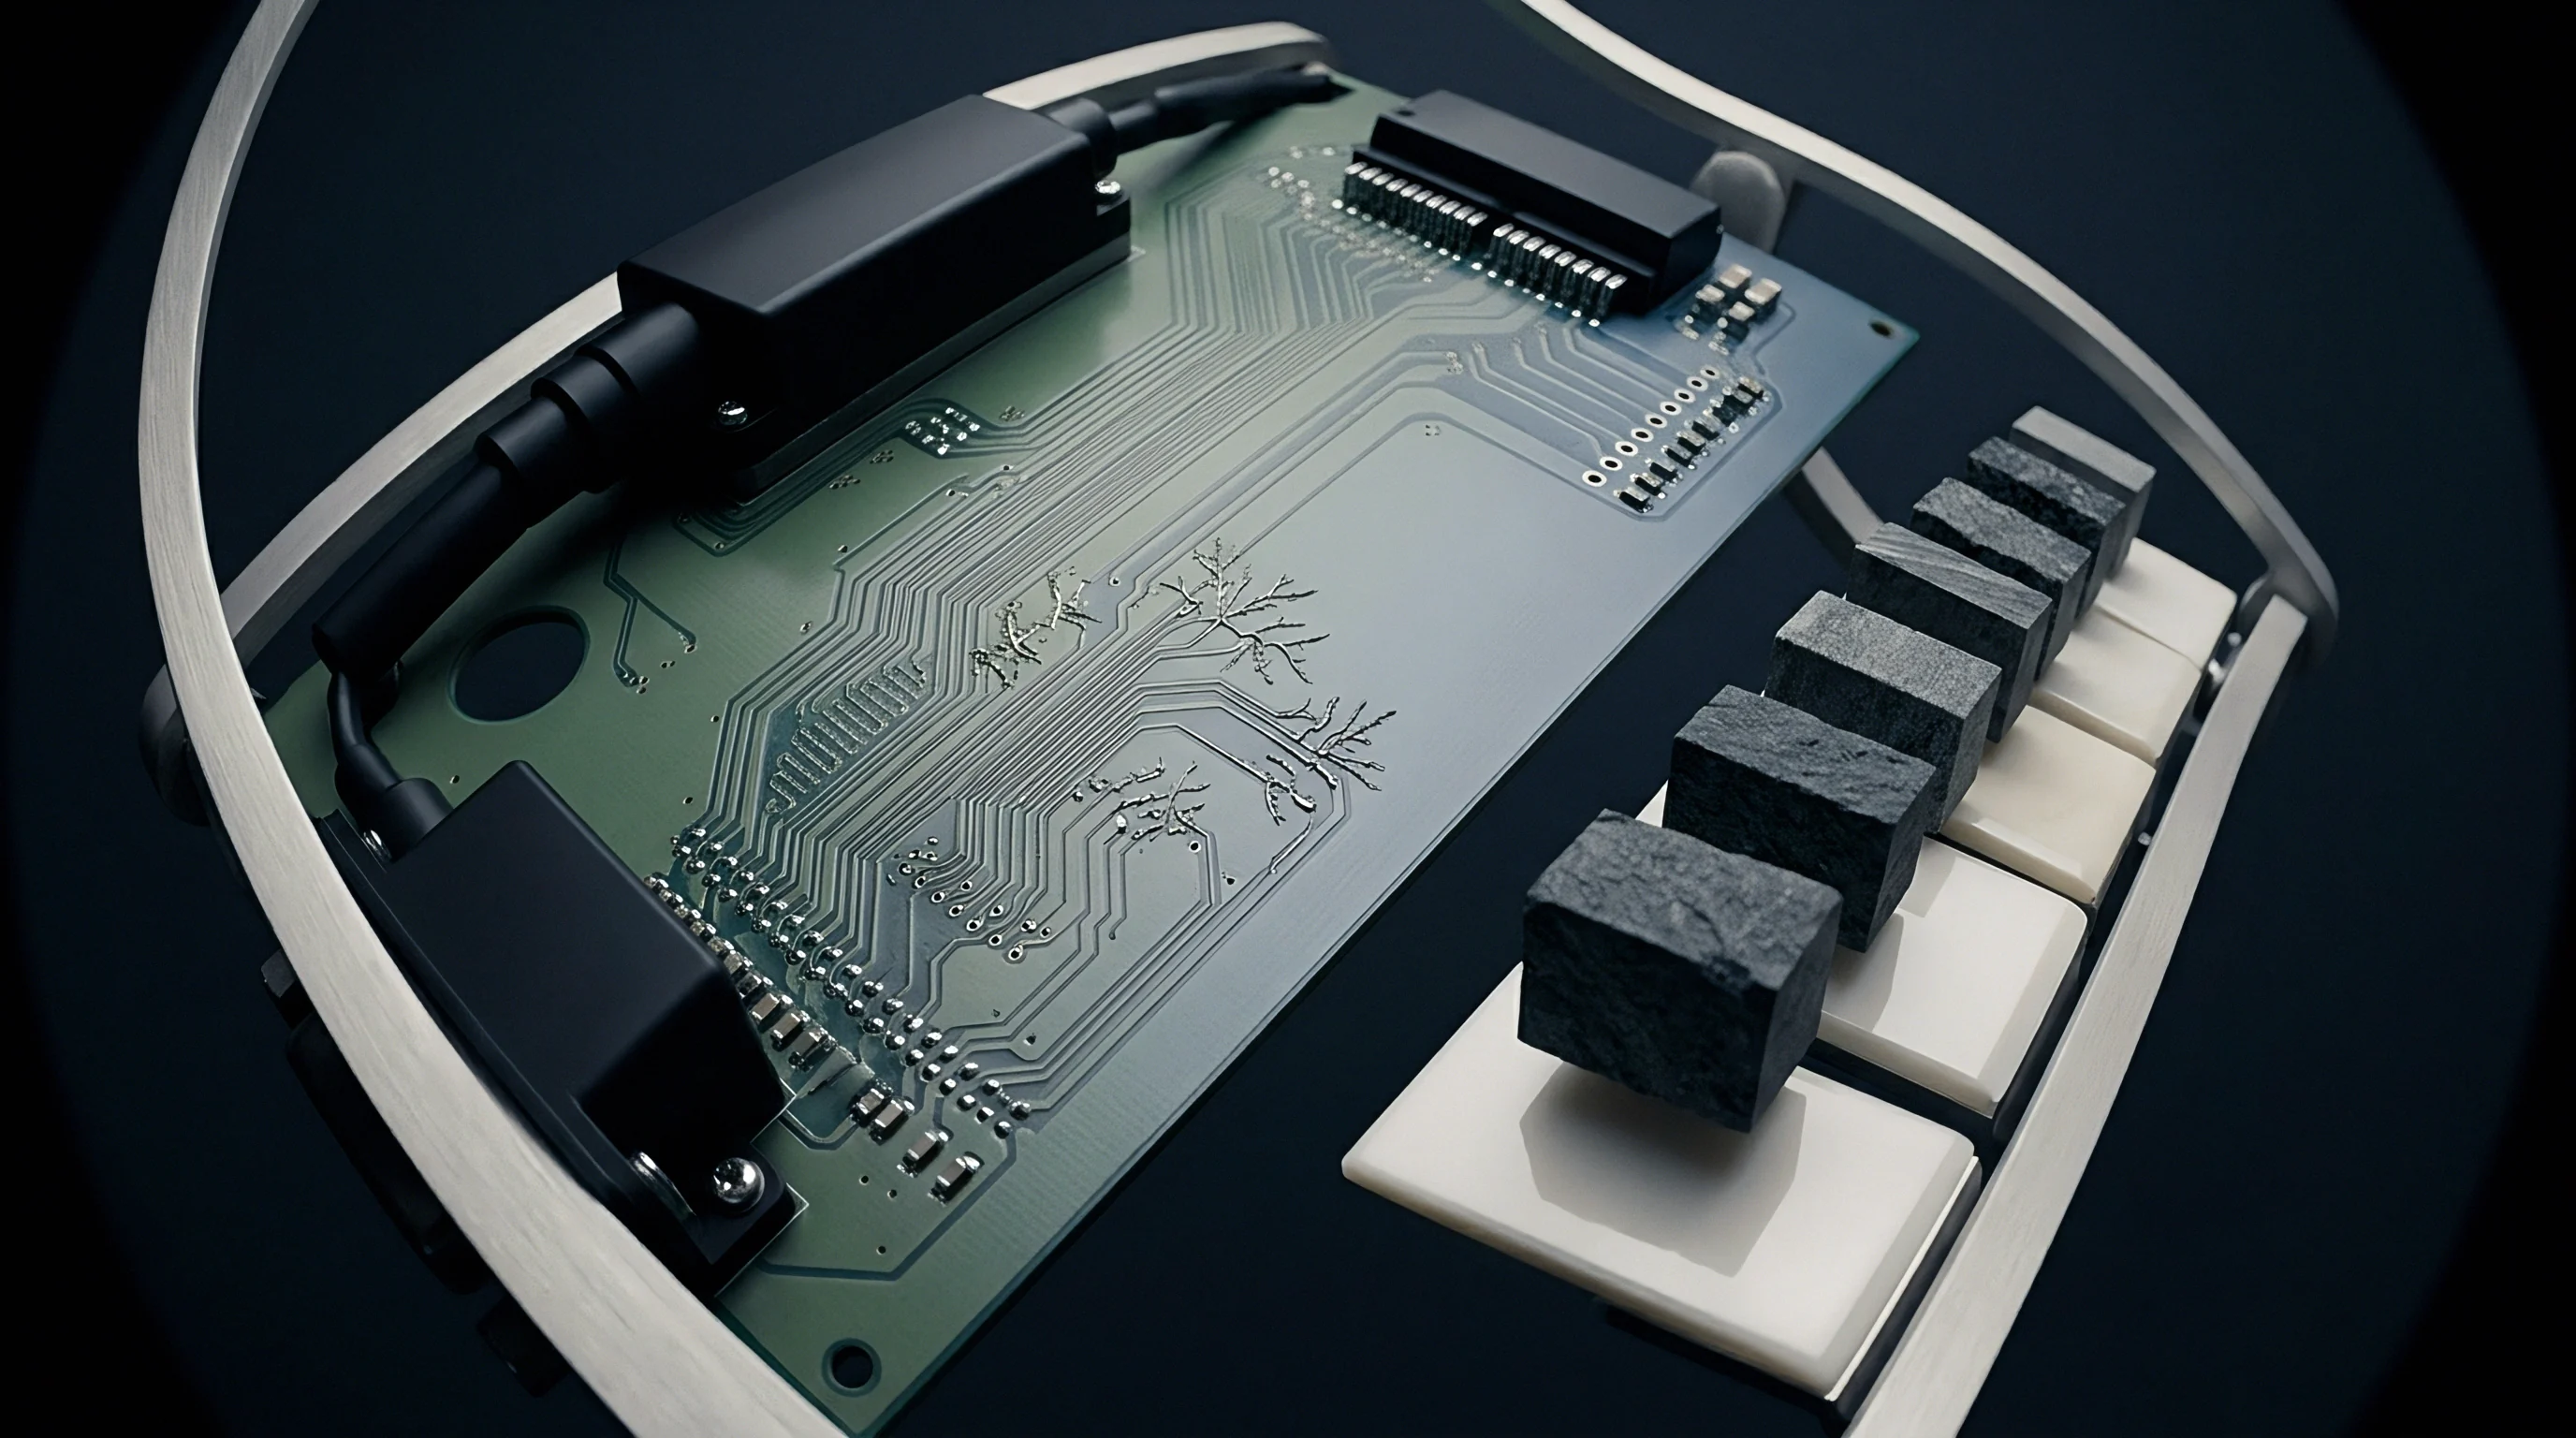
Stress Screening Escape Mechanics and Latent Failure
Environmental stress chambers isolate latent solder fatigue and thermal expansion mismatches before product integration. Highly Accelerated Stress Screening and thermal cycling per JESD22-A104 subject manufactured boards to rapid temperature ramp rates, ranging from minus 40 degrees Celsius to 125 degrees Celsius. These thermal swings induce mechanical expansion mismatch stresses between copper traces, FR4 glass epoxy laminates, and ceramic component bodies.
Higher defect escape rates from inadequate fixture coverage lead directly to elevated warranty returns.
A circuit board containing un-probed nodes that skips comprehensive in-circuit testing enters stress screening with unverified manufacturing defects. A marginal solder joint or microscopic copper trace hairline crack passes initial visual inspection, then opens permanently under thermal cycling stress. If the test plan lacks full nodal access during post-screening functional diagnostics, identifying which specific trace or component failed inside the stress chamber requires hours of manual oscilloscope probing.
Quantifying escape rate risk uses process defect density models. Assuming an assembly process yields an average defect rate of 500 Parts Per Million across all component terminals and solder joints, a board with 2,000 solder joints contains an average of 1.0 defect per assembly. If in-circuit testing achieves 95 percent structural fault coverage, the escape rate equals 500 multiplied by (1 minus 0.95), leaving 25 PPM undetected defects entering final product assembly or field deployment.

Post Mortem Analysis of Unprobed Circuit Nets
Field failures arriving from untested circuit paths highlight the commercial exposure of dropping test points during board routing. Root cause failure analysis on returned warranty units frequently uncovers manufacturing anomalies on signal paths where test pads were eliminated to simplify PCB layout. Common failure modes include un-detected microscopic solder bridges underneath QFN ground pads, intermittent via barrel fractures, and cracked chip resistors.
- Verify CAD database netlist against physical test access reports to isolate all un-probed signal nodes.
- Extract manufacturing optical and X-ray inspection logs for the specific production lot containing the failed unit.
- Conduct non-destructive acoustic microscopy or micro-focus X-ray imaging over un-probed component clusters.
- Perform cross-sectional micro-sectioning and polishing across suspect solder joints to expose internal micro-fractures.
- Implement corrective action by adding dedicated test pads to the un-probed nodes on the next PCB layout spin.
An un-probed enable trace on a switching regulator can experience intermittent solder bridging to an adjacent status line under high-humidity field conditions, resulting in severe field failures.


Ledger
Financial allocations for electrical testing balance capital expenditure against operational testing time and warranty reserves. Deciding whether to invest in custom bed of nails tooling, commit to longer flying probe test execution times, or risk shipping partially tested assemblies dictates production unit profitability. Eliminating test points prior to layout release appears to save PCB real estate and layer count, but silently shifts massive cost burdens into downstream manufacturing scrap, bench troubleshooting, and warranty exposure.
Capital expenses involved in fixture fabrication comprise mechanical fixture frames, precision drilled probe plates, spring probes, socket wiring, personality interface boards, and software test program generation. A fully wired, double-sided vacuum bed of nails fixture for a high density circuit board costs between $8,000 and $25,000 in upfront non-recurring engineering fees. Non-recurring engineering expenses amortize efficiently over large production runs, reducing test tooling cost to cents per unit over hundreds of thousands of assemblies.
Operational expenses depend directly on test execution time. Flying probe systems require zero custom fixture capital investment, charging operational fees calculated per minute of machine run time. Testing a board on a flying probe system at $2.00 per minute with an 8-minute run time adds $16.00 in direct operational testing costs to every shipped unit.
Calculating the economic tipping point between flying probe testing and bed of nails fixturing requires evaluating total order volume, product lifecycle duration, and layout revision stability.

Capital Allocation for Fixturing versus Flying Probe
Tooling custom test heads requires upfront non-recurring expense that only amortizes efficiently over high production volumes. When launch volumes remain uncertain or layout revisions occur frequently, committing $20,000 to a hardwired bed of nails fixture introduces write-off risks. Every minor layout change that shifts test pad positions by more than 0.2 millimeters renders an existing probe plate obsolete, requiring a new fixture top plate re-drill or full fixture remanufacture.
Custom-milled push plates isolate test pins and prevent mechanical displacement during fixture closure.
Flying probe testing serves as the financial bridge during prototype runs and early ramp phases. Because flying probe platforms rely on programmable software coordinates imported directly from CAD netlists, engineering change orders require only minutes of program updating rather than physical fixture rebuilds. As production ramps beyond ten thousand units, cumulative flying probe machine time costs surpass the non-recurring engineering expense of a bed of nails fixture, signaling the transition to hardwired testing hardware.
Financial decision models evaluate total landed test cost per assembly. Total test cost equals fixture non-recurring engineering expense divided by total volume, plus unit test execution expense, plus expected field warranty loss derived from un-probed fault escapes. The table below compares financial commitment profiles across production volume tiers.
| Production Volume | Primary Test Strategy | Upfront NRE Cost | Unit Test Execution Cost | Layout ECO Change Cost |
|---|---|---|---|---|
| 1 to 500 units | Flying Probe + Boundary Scan | $500 to $1,200 | $12.00 to $20.00 | $150 (Software Update) |
| 500 to 5,000 units | Hybrid Flying Probe / ICT | $2,500 to $5,000 | $4.00 to $8.00 | $500 (Partial Re-wire) |
| 5,000 to 50,000 units | Single-Sided Bed of Nails ICT | $8,000 to $14,000 | $0.50 to $1.20 | $2,500 (New Probe Plate) |
| > 50,000 units | Dual-Sided ICT + JTAG + Flash | $15,000 to $30,000 | $0.15 to $0.40 | $8,000 (Full Fixture Remake) |

Engineering Change Order Costs for Late Access Additions
Modifying printed circuit layouts after routing sign-off triggers photoplotting fees, assembly drawing revisions, and scrap material write-downs. Discovering during prototype functional validation that critical nets lack test access forces an immediate engineering change order. Modifying the CAD database to insert missing test pads disrupts component placement, breaks established differential pair routing, and forces re-execution of signal integrity and power integrity simulations.
Late layout modifications generate domino effects across production schedules. Re-spinning a 10-layer circuit board layout consumes two to four weeks of design effort. Ordering new prototype fabrication panels and SMT assembly stencils incurs charges between $3,000 and $10,000 depending on factory acceleration fees.
Line stoppage costs at contract manufacturing facilities scale rapidly, reaching $5,000 to $20,000 per day in delayed product shipment revenues.
Standard engineering change management protocols quantify the cost escalation ratio of late layout changes. Adding a test point during the initial schematic layout phase costs virtually zero design dollars. Adding the same test point during the PCB routing phase costs $500 in design labor.
Adding it after CAD release costs $8,000 in tooling and prototype scrap. Adding it after mass production deployment costs over $100,000 in field retrofits, recalled inventory, and customer commercial penalties.
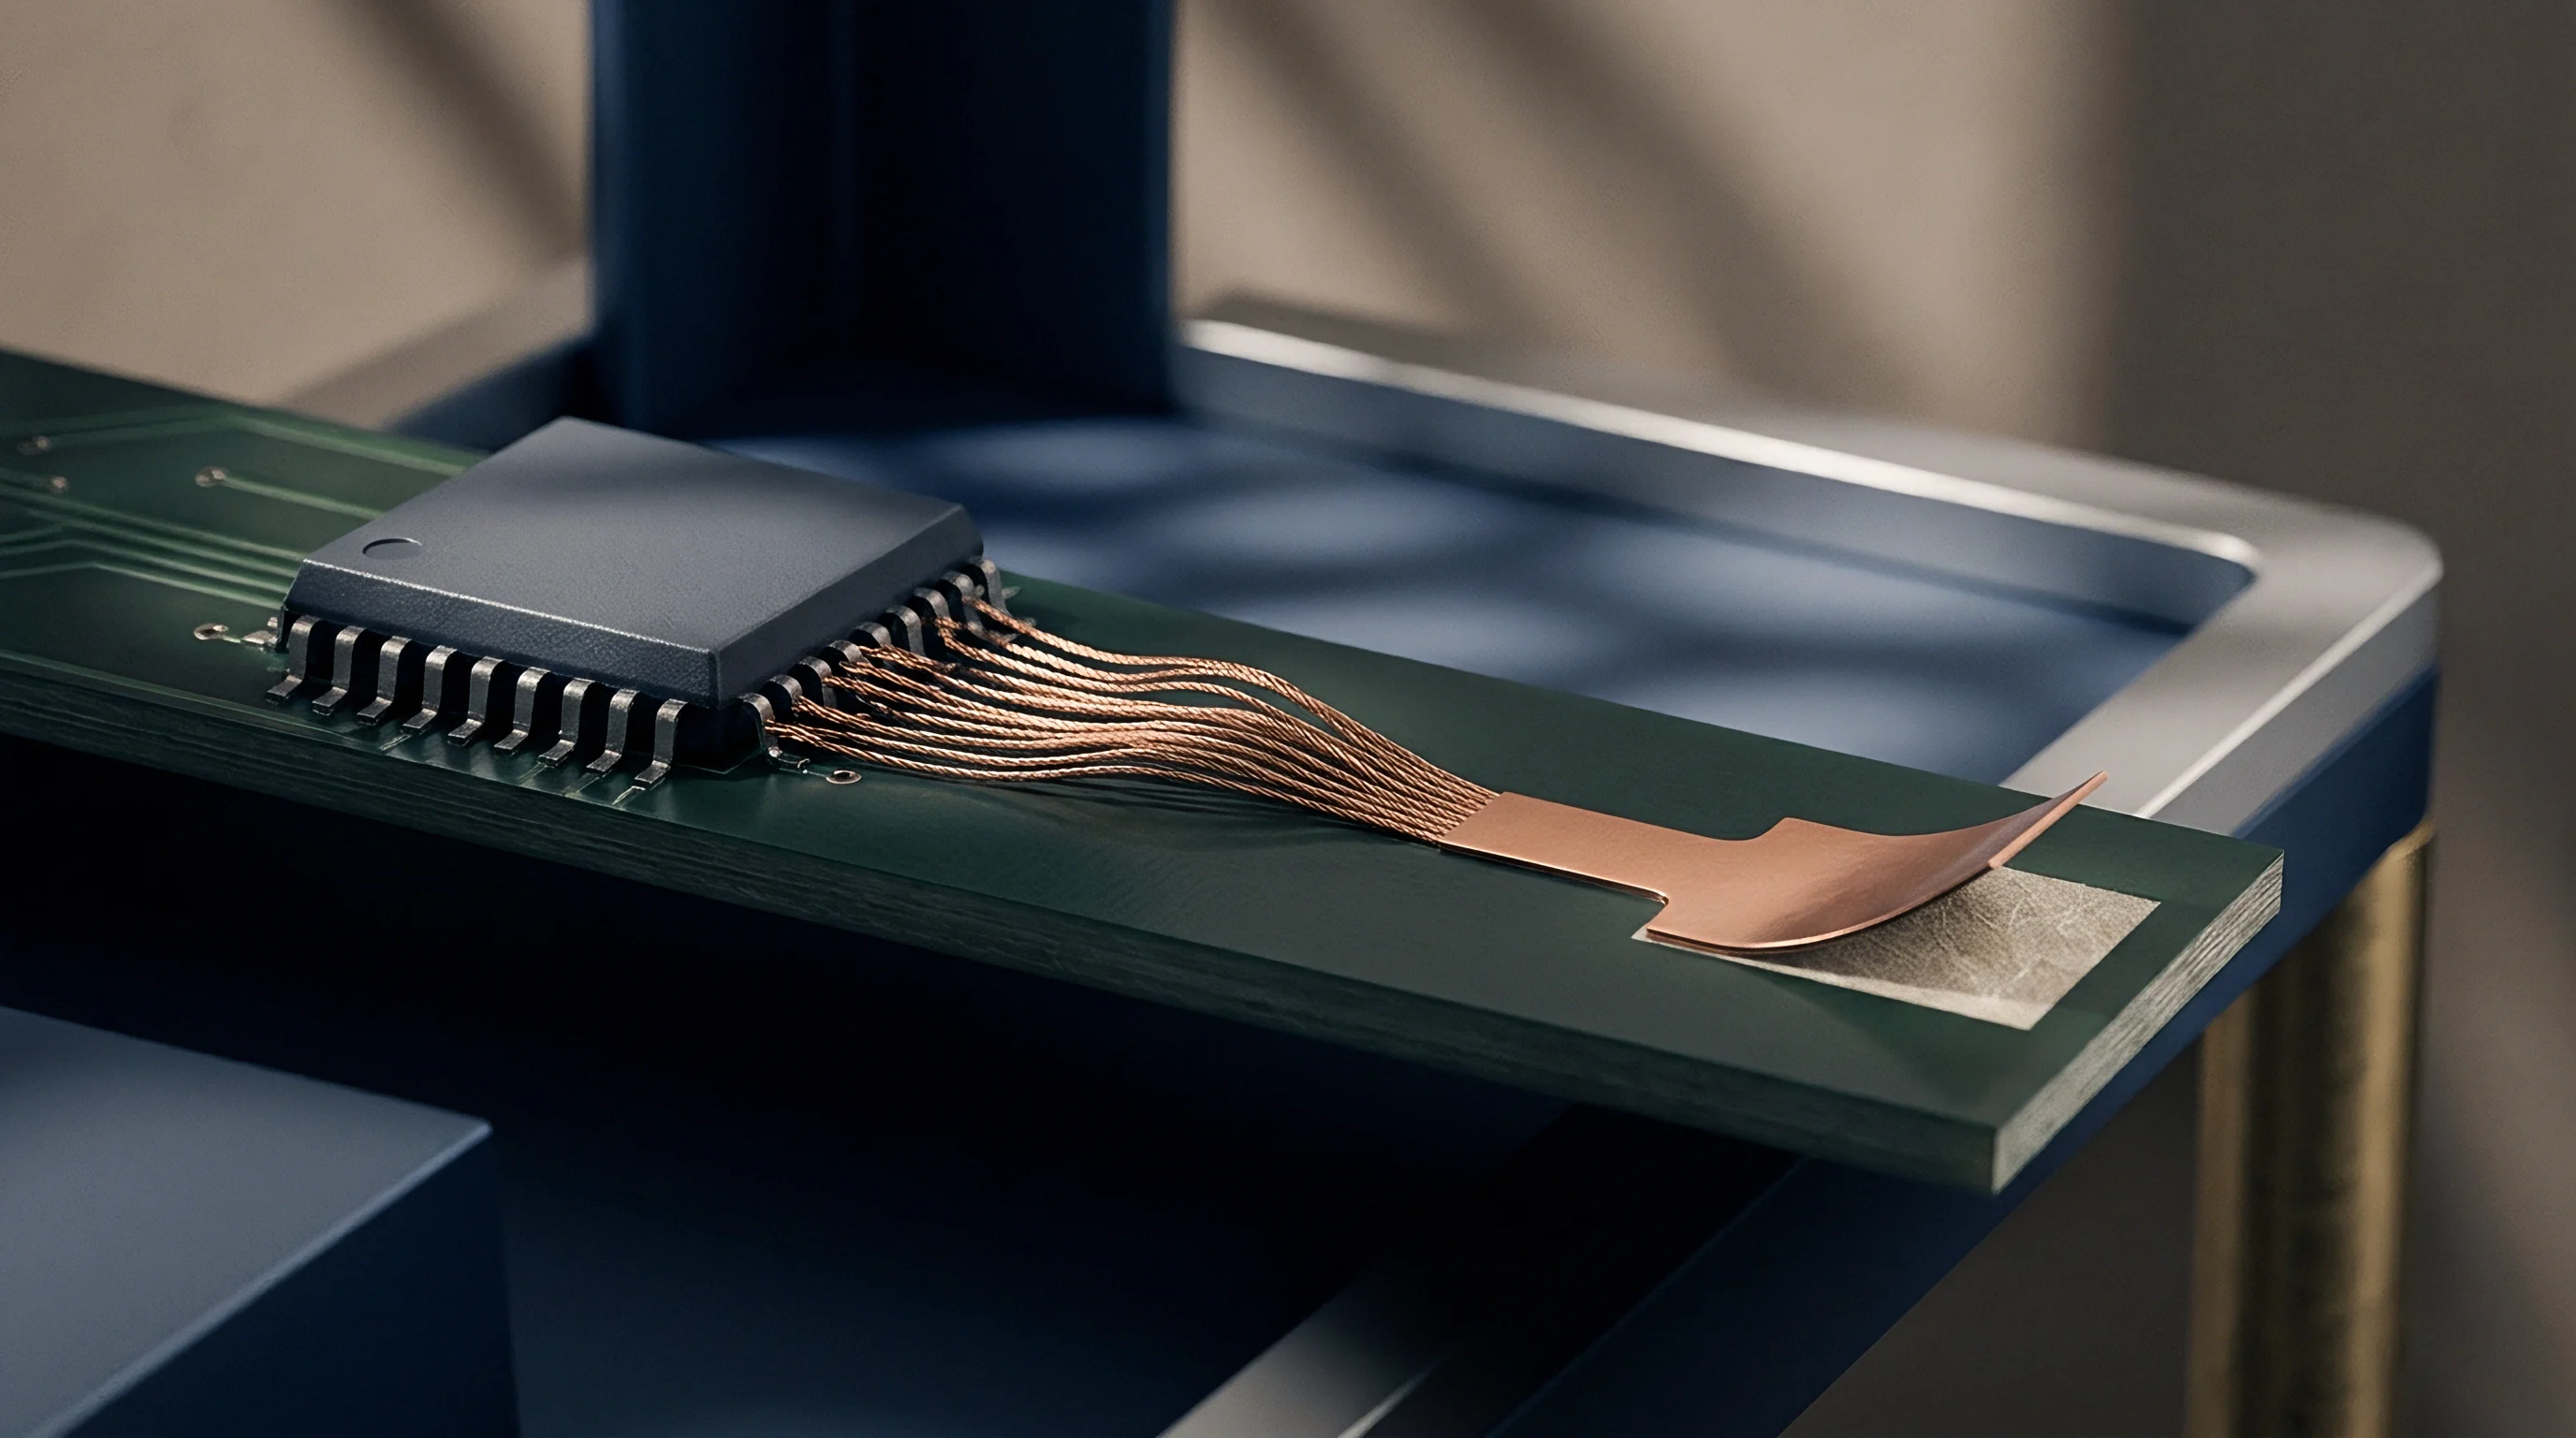
Landed Cost Impact of Test Time and Escape Reserves
Unit manufacturing expense includes the direct bench time required to execute electrical diagnostics on each circuit board. Testers cost $150,000 to $400,000 per machine station, amortized over five years alongside operator labor and factory overhead. Every second of test cycle time carries a direct monetary charge, typically calculated between $0.03 and $0.08 per second.
Shortening test time by optimizing bed of nails pin counts or improving boundary scan execution speed yields direct, measurable unit cost savings.
Calculated risk reserves offset un-tested manufacturing escape exposure. Sourcing practices set financial warranty reserves based on estimated fault escape rates derived from test access metrics. If a circuit layout achieves only 80 percent structural fault coverage, historical data indicates a field escape rate of 1,500 PPM.
On a production run of 100,000 units selling at $200 per unit, 150 failed boards enter the field. With field warranty replacement and processing costs averaging $500 per returned unit, the un-tested access gap creates an explicit $75,000 warranty liability.
Raising structural test coverage to 98 percent through comprehensive test point access before layout freeze reduces field escapes down to 150 PPM. This coverage improvement slashes the warranty liability from $75,000 down to $7,500, freeing $67,500 in net capital reserves that far outweighs the minor layout routing time required to add test pads before Gerber release.

Contractual Milestones for Layout Release Approval
Formally locking design files requires dual sign-off between hardware engineering leads and test development managers. Procurement contracts and manufacturing service agreements specify that layout databases will not be released for production tooling until a formal Testability Review Approval document is fully executed. This gateway document records total nodal access metrics, component coverage percentages, and explicit design rule exception waivers.
Design rule exception waivers document every un-probed electrical node on the circuit board assembly. Each waiver must state the technical justification for omitting the test point, such as high-speed signal integrity constraints or physical spatial impossibility under micro-BGA packages. The waiver assigns legal and financial responsibility for any resulting un-detected defect escapes directly to the engineering group requesting the test point omission.
Incorporating testability review milestones into the master project schedule prevents layout designers from bypassing access rules to meet tight prototype shipment dates. Contract electronics manufacturers enforce these sign-off gates to protect their own production yield guarantees. If an original equipment manufacturer forces production release without meeting agreed testability coverage thresholds, the contract manufacturer voids standard process yield indemnities, transferring full financial responsibility for factory scrap and rework labor back to the original equipment manufacturer.

Indemnity and Defect Escalation Frameworks
Commercial manufacturing agreements establish cost allocation rules when field failure rates exceed agreed parts per million thresholds. Standard Acceptance Quality Limits governed by ANSI/ASQ Z1.4 define lot rejection criteria based on sampled defect density. Contract clauses link process quality metrics directly to the fault coverage capabilities verified during layout sign-off.
When field failure rates exceed contractually established PPM limits, escalation clauses trigger technical audits of the manufacturing line and test files. If the technical audit demonstrates that the field failures originated from manufacturing defects on un-probed nodes that were explicitly waived by the customer, the customer absorbs all recall and repair expenses. If the failures originated on probed nodes where the test house failed to execute screening protocols correctly, the manufacturing partner assumes liability for component replacement, board rework labor, and logistics freight charges.
Commercial supply contracts state that if un-probed net count exceeds five percent of total board nodes without written sign-off, the manufacturing service provider disclaims all liability for field defect escape costs.
Re-spinning a printed circuit layout prior to release remains the cheapest engineering intervention available to a product team. Adding test points consumes CAD routing hours, but secures verifiable structural coverage, controls test execution expense, protects assembly yield, and fixes warranty exposure before production capital is committed.